OAuth2 Facebook and Github using Kotlin + Spring Boot
Bài đăng này đã không được cập nhật trong 8 năm
Bài viết này sẽ giúp giới thiệu về cách xây dựng một app mẫu về "social login" sử dụng OAuth2 và Spring Boot trong đó chúng ta có thể lựa chọn OAuth2 Authorize Server cùng cập bởi Facebook và Github.
Cài đặt
Đầu tiên để tạo project có thể tham khảo tutorial này Kotlin-Getting Started with IntelliJ IDEA và Kotlin-Using Gradle.
Securing application
Để đảm bảo app bảo mật cần thêm dependency Spring security và cần cả Spring Security OAuth2 để làm việc với social login (Facebook và Github).
Vào build.gradle và thêm các dòng sau
buildscript {
...
    ext.spring_boot_version = '1.5.4.RELEASE'
...
       dependencies {
        ...
        classpath "org.jetbrains.kotlin:kotlin-allopen:$kotlin_version"
        classpath "org.springframework.boot:spring-boot-gradle-plugin:$spring_boot_version"
    }
}

..
apply plugin: "kotlin-spring"
apply plugin: 'org.springframework.boot'

dependencies {
    ...
    compile 'org.springframework.boot:spring-boot-starter-security'
    compile "org.springframework.security.oauth:spring-security-oauth2"
    compile group: 'org.webjars', name: 'js-cookie', version: '2.1.0'
    compile group: 'org.webjars', name: 'jquery', version: '2.1.1'
    compile group: 'org.webjars', name: 'bootstrap', version: '3.2.0'
    compile group: 'org.webjars', name: 'webjars-locator'
    ...
}
Tạo một Homepage
Trong project mới tạo một index.html trong thư mục "src/main/resources/static".
<!doctype html>
<html lang="en">
<head>
<meta charset="utf-8"/>
<meta http-equiv="X-UA-Compatible" content="IE=edge"/>
<title>Demo</title>
<meta name="description" content=""/>
<meta name="viewport" content="width=device-width"/>
<base href="/"/>
<link rel="stylesheet" type="text/css" href="/webjars/bootstrap/css/bootstrap.min.css"/>
<script type="text/javascript" src="/webjars/jquery/jquery.min.js"></script>
<script type="text/javascript" src="/webjars/bootstrap/js/bootstrap.min.js"></script>
<script type="text/javascript" src="/webjars/js-cookie/js.cookie.js"></script>
</head>
<body>
<div class="container">
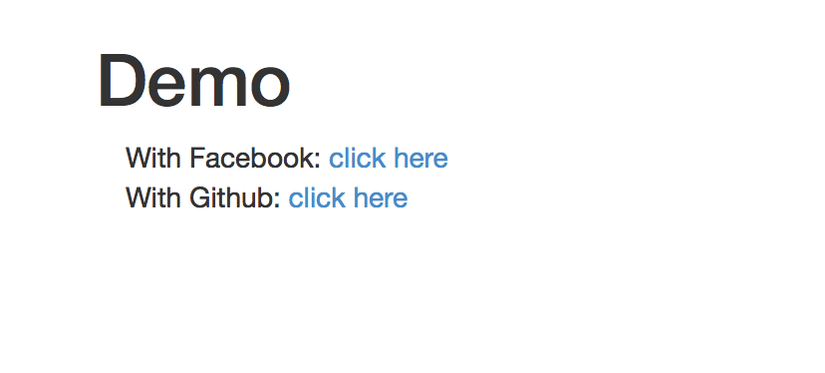
<h1>Demo</h1>
<div class="container unauthenticated">
<div>
With Facebook: <a href="/login/facebook">click here</a>
</div>
<div>
With Github: <a href="/login/github">click here</a>
</div>
</div>
<div class="container authenticated" style="display:none">
Logged in as: <span id="user"></span>
<div>
<button onClick="logout()" class="btn btn-primary">Logout</button>
</div>
</div>
</div>
</body>
</html>
Trong đó có 2 link để login với facebook và github khi chưa xác thực còn sau khi xác thực sẽ hiển thị tên của user đã đăng nhập để làm việc này cần thêm đoạn javascript sau vào index.html:
<script type="text/javascript">
    $.get("/user", function(data) {
        $("#user").html(data.userAuthentication.details.name);
        $(".unauthenticated").hide();
        $(".authenticated").show()
    });
</script>
Server side
Trong file WebApplication sẽ thêm annotation @EnableOAuth2Client cùng cập bởi Spring Security OAuth2.
@SpringBootApplication
@EnableOAuth2Client
class WebApplication {
...
}
Tạo các tùy chọn vào file application.yml trong thư mục src/main/resources.
facebook:
  client:
    clientId: <your_id>
    clientSecret: <your_secret>
    accessTokenUri: https://graph.facebook.com/oauth/access_token
    userAuthorizationUri: https://www.facebook.com/dialog/oauth
    tokenName: oauth_token
    authenticationScheme: query
    clientAuthenticationScheme: form
  resource:
    userInfoUri: https://graph.facebook.com/me

github:
  client:
    clientId: <your_id>
    clientSecret: <your_secret>
    accessTokenUri: https://github.com/login/oauth/access_token
    userAuthorizationUri: https://github.com/login/oauth/authorize
    clientAuthenticationScheme: form
  resource:
    userInfoUri: https://api.github.com/user
Từ đoạn script trong index.html cần tạo endpoint tại /user để mô tả về user đã xác thực.
@SpringBootApplication
@EnableOAuth2Client
@RestController
class WebApplication {
    @RequestMapping("/user")
    fun user(principal: Principal): Principal {
        return principal
    }
}
fun main(args: Array<String>) {
    SpringApplication.run(WebApplication::class.java, *args)
}
Ở đây chưa phải là phương án tốt khi return
Principletrong một endpoint/uservì nó có thể chứa những thông tin không mong muốn cho browser client biết.
App sẽ hoạt động xác thực bình thường nhưng chưa cho user click link đã cung cập và để giải quyết thì cần tắt đi bảo mật trên trang home bằng cách thêm WebSecurityConfigurer nó dùng để cấu hình security filter chain mang bộ xử lý xác thực OAuth2. Vì vậy cần làm cho trang chủ có thể hiển thị rõ ràng là authorizeRequests() vào trang chủ và các tài nguyên tĩnh nó chứa (bao gồm truy cập vào các endpoint đăng nhập xử lý việc xác thực). Tất cả các yêu cầu khác (ví dụ endpoint /user) yêu cầu xác thực.
@SpringBootApplication
@EnableOAuth2Client
@RestController
class WebApplication: WebSecurityConfigurerAdapter() {
    ...
    @Throws(Exception::class)
    override fun configure(http: HttpSecurity) {
        http
            .antMatcher("/**")
            .authorizeRequests()
                .antMatchers("/", "/login**", "/webjars/**")
                .permitAll()
            .anyRequest()
                .authenticated()
}
...
Xử lý Logout
Hàm logout() gọi khi click nút trong index.html định nghĩa bằng thêm đoạn dưới trong phần javascript. Hàm logout() thực hiện một yêu cầu POST tới /logout và xóa tất cả nội dung tự động.
<script type="text/javascript">
    ...
        var logout = function() {
        $.post("/logout", function() {
            $("#user").html('');
            $(".unauthenticated").show();
            $(".authenticated").hide();
        });
        return true;
    }
</script>
Spring Security đã hỗ trợ sẵn cho endpoint logout(xóa session và vô hiệu lực cookie). Để cấu hình cần thêm code vào phương thức configure trong WebSecurityConfigurer
@SpringBootApplication
@EnableOAuth2Client
@RestController
class WebApplication: WebSecurityConfigurerAdapter() {
    ...
    @Throws(Exception::class)
    override fun configure(http: HttpSecurity) {
        http.antMatcher("/**")
        ...
        .and().logout().logoutSuccessUrl("/").permitAll()
    }
}
Với endpoint /logout yêu cầu POST tới nó và để bảo vệ người dùng từ Cross Site Request Forgery(CSRF) nó yêu cầu một token thêm vào trong request. Giá trị của token liên kết với current session. Tiếp theo cầu tạo thêm filter trong WebSecurityConfigurer và sử dụng library js-cookie.
@SpringBootApplication
@EnableOAuth2Client
@RestController
class WebApplication: WebSecurityConfigurerAdapter() {
    ...
    @Throws(Exception::class)
    override fun configure(http: HttpSecurity) {
        http.antMatcher("/**")
        ...
        .and().csrf().csrfTokenRepository(CookieCsrfTokenRepository.withHttpOnlyFalse())
    }
}
Để hoạt động được cần phải thêm đoạn script để thêm token vào request
<script type="text/javascript">
    ...
    $.ajaxSetup({
        beforeSend : function(xhr, settings) {
            if (settings.type == 'POST' || settings.type == 'PUT'
                || settings.type == 'DELETE') {
                if (!(/^http:.*/.test(settings.url) || /^https:.*/
                        .test(settings.url))) {
                    xhr.setRequestHeader("X-XSRF-TOKEN",
                        Cookies.get('XSRF-TOKEN'));
               }
            }
        }
    });
</script>
Với mong muốn xác thực theo provider vậy cần thêm filter trong WebSecurityConfigurer nữa. Trong đó có thể inject OAuth2ClientContext và dùng nó để xây dựng authentication filter.
@SpringBootApplication
@EnableOAuth2Client
@RestController
class WebApplication: WebSecurityConfigurerAdapter() {
    ...
    @Autowired
    val oauth2ClientContext: OAuth2ClientContext? = null
    @Throws(Exception::class)
    override fun configure(http: HttpSecurity) {
        http.antMatcher("/**")
        ...
        .and().addFilterBefore(ssoFilter(), BasicAuthenticationFilter::class.java)
    }

    private fun ssoFilter(): Filter {
        val filter = CompositeFilter()
        val filters: MutableList<Filter> = arrayListOf()
        filters.add(ssoFilter(facebook(), "/login/facebook"))
        filters.add(ssoFilter(github(), "/login/github"))
        filter.setFilters(filters);
        return filter
    }
}
Demo
Đến đây chúng ta có thể chạy được và có được như sau khi run project và vào localhost:8080
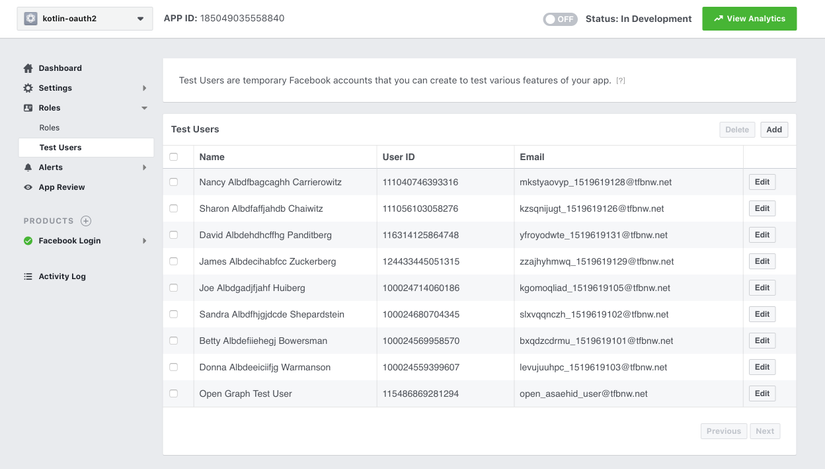
Với Facebook Login
Khi vào trang developer của facebook cho phép tạo các user test, ở đây sẽ lầy 1 user có email là slxvqqnczh_1519619102@tfbnw.net
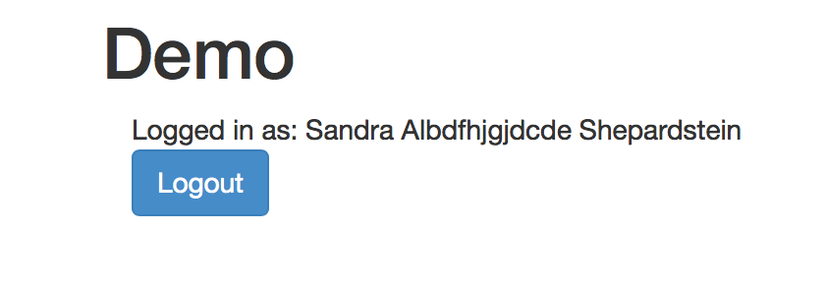
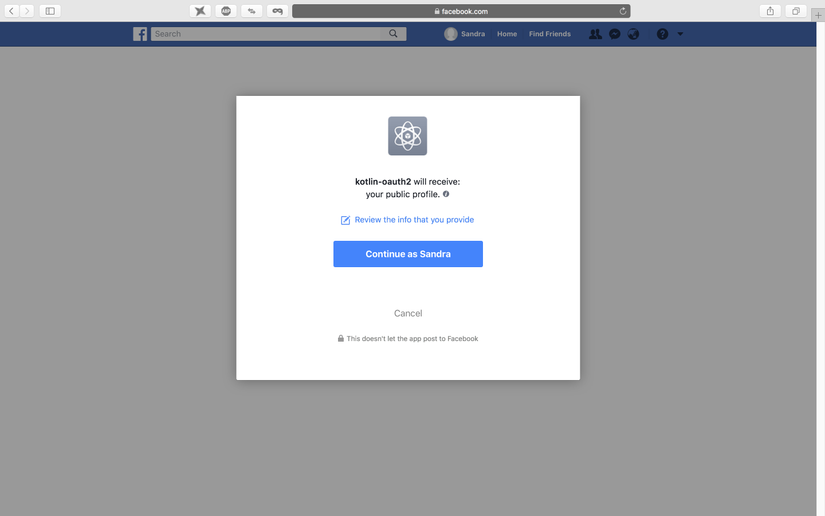 Sau khi user chập nhận cung cập thông tin sẽ redirect sang trang home với hiển thị tên của user đó.
Với Github Login
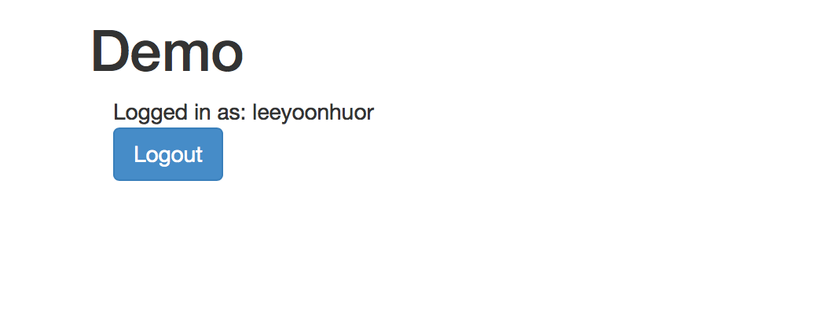
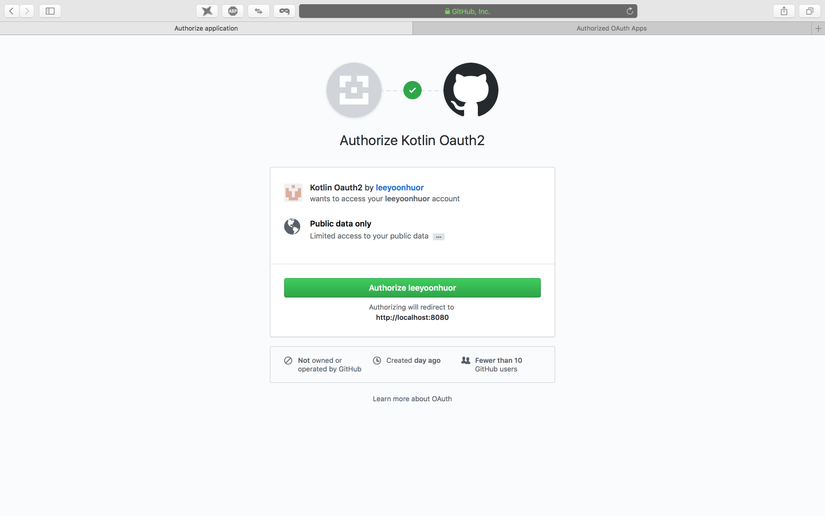 Sau khi redirect về trang home
Kết luận
Do đủ thời gian nên bài viết cũng như code chưa được tốt lắm hy vọng bài này có thể cho ý tưởng bạn để áp dụng trong thực tế.
References
All rights reserved
