Layout trong Android và cách sử dụng
Bài đăng này đã không được cập nhật trong 4 năm
1. Giới thiệu
Để thiết kế được một UI trong android, điều chắc chắn là các bạn phải biết cách sắp xếp (layout) các phần tử view. Bài viết này sẽ giới thiệu ra một số loại layout cơ bản và thường sử dụng trong Android.
2. LinearLayout
LinearLayout sẽ xếp các phần tử View con theo 2 dạng là dạng cột hoặc dạng hàng, không có view nào đè lên view nào.
<LinearLayout xmlns:android="http://schemas.android.com/apk/res/android"
    android:layout_width="match_parent"
    android:layout_height="match_parent"
    android:orientation="vertical"
    android:paddingLeft="16dp"
    android:paddingRight="16dp"
    >

   <!-- child views -->

 </LinearLayout>
Để xác định hướng của layout thì ta sử dụng thuộc tính android:orientation="vertical" với vertical là hướng dọc, horizontal là hướng ngang.
Ví dụ về LinearLayout với hướng dọc:
<?xml version="1.0" encoding="utf-8"?>
<LinearLayout xmlns:android="http://schemas.android.com/apk/res/android"
    android:layout_width="match_parent"
    android:layout_height="match_parent"
    android:orientation="vertical"
    android:paddingLeft="16dp"
    android:paddingRight="16dp"
    >
    <View
        android:background="#af5656"
        android:layout_width="match_parent"
        android:layout_height="50dp" />

    <View
        android:background="#28c6a6"
        android:layout_width="match_parent"
        android:layout_height="50dp" />
    <View
        android:background="#7c145f"
        android:layout_width="match_parent"
        android:layout_height="50dp" />
    <View
        android:background="#c18936"
        android:layout_width="match_parent"
        android:layout_height="50dp" />
    <View
        android:background="#062001"
        android:layout_width="match_parent"
        android:layout_height="50dp" />
</LinearLayout>
Ví dụ về LinearLayout với hướng ngang:
<?xml version="1.0" encoding="utf-8"?>
<LinearLayout xmlns:android="http://schemas.android.com/apk/res/android"
    android:layout_width="match_parent"
    android:layout_height="match_parent"
    android:orientation="horizontal"
    android:paddingLeft="16dp"
    android:paddingRight="16dp"
    >
    <View
        android:layout_width="50dp"
        android:layout_height="match_parent"
        android:background="#af5656"
        />

    <View
        android:layout_width="50dp"
        android:layout_height="match_parent"
        android:background="#28c6a6"
        />
    <View
        android:layout_width="50dp"
        android:layout_height="match_parent"
        android:background="#7c145f"
        />
    <View
        android:layout_width="50dp"
        android:layout_height="match_parent"
        android:background="#c18936"
        />
    <View
        android:layout_width="50dp"
        android:layout_height="match_parent"
        android:background="#062001"
        />
</LinearLayout>
Preview
| LinearLayout hướng dọc | LinearLayout hướng ngang |
|---|---|
 |
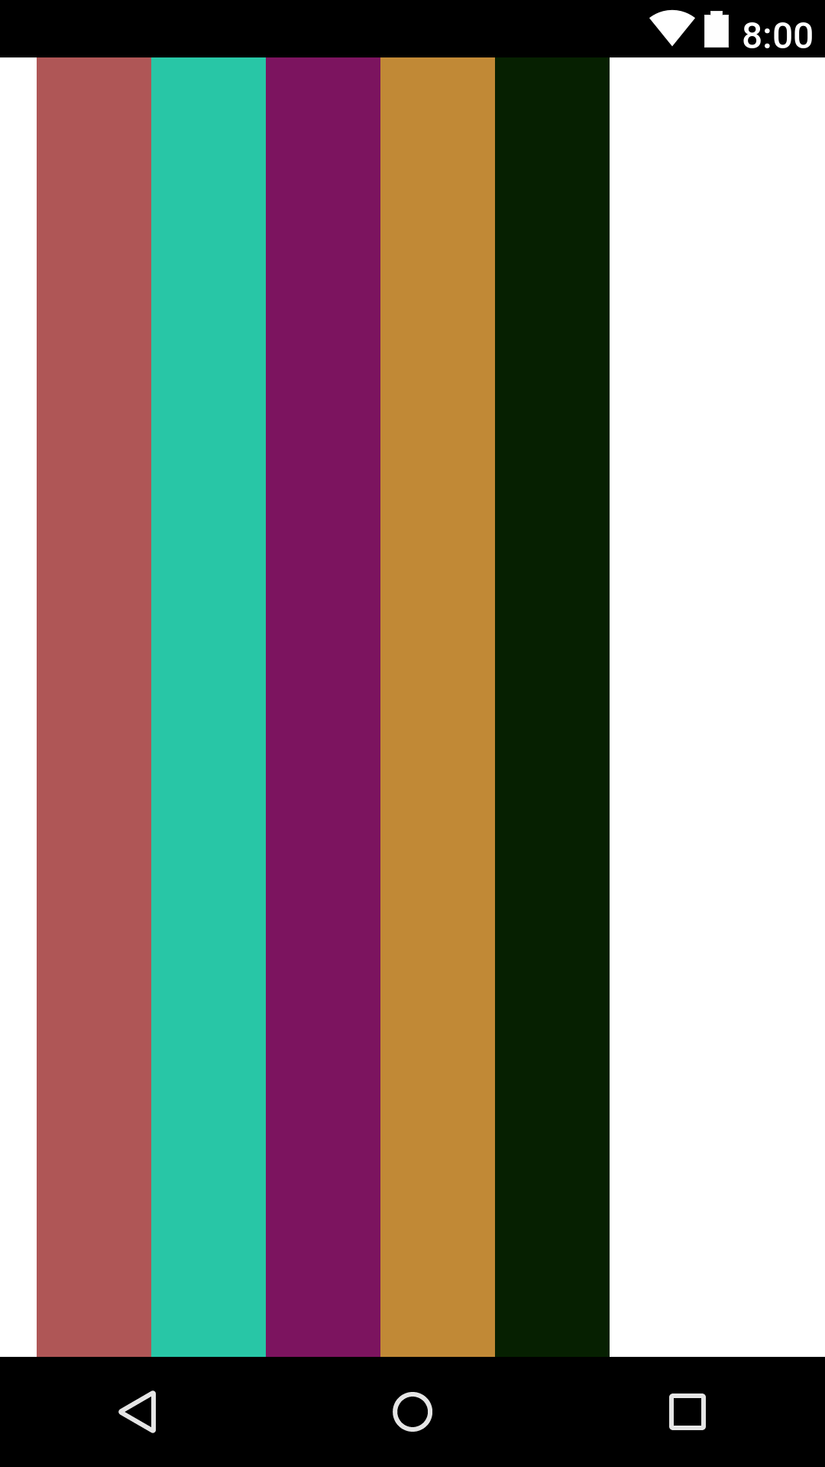 |
Đặc điểm
- Dễ dử dụng
- Thiết kế được các giao diện phức tạp
- Có thể phát triển UI cho nhiều thiết bị có kích thước khác nhau
3. FrameLayout
Các view con trong FrameLayout là các view sẽ nằm chồng lên nhau, view thêm vào sau sẽ nằm đè lên view nằm phía dưới
<?xml version="1.0" encoding="utf-8"?>
<FrameLayout xmlns:android="http://schemas.android.com/apk/res/android"
    android:layout_width="match_parent"
    android:layout_height="match_parent">
    <TextView
        android:layout_width="wrap_content"
        android:layout_height="wrap_content"
        android:text="Text 1"
        android:textColor="#da1f0b"
        android:textSize="32sp" />

    <TextView
        android:layout_width="wrap_content"
        android:layout_height="wrap_content"
        android:text="text2"
        android:textColor="#2a48ac"
        android:textSize="32sp" />
</FrameLayout>
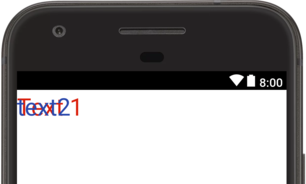 TextView thứ 2 có nội dung là "text2" sẽ được nằm đè lên trên TextView thứ nhất.
Đặc điểm
- Sử dung khá đơn giản
- Khó khăn trong việc thiết kế các giao diện phức tạp
4. RelativeLayout
RelativeLayout cũng gần giống FrameLayout tuy nhiên có một số điểm đặc biệt là các view có thể xác định bằng vị trí tương đối (relative) với các view khác thông qua id.
<?xml version="1.0" encoding="utf-8"?>
<RelativeLayout xmlns:android="http://schemas.android.com/apk/res/android"
    android:layout_width="match_parent"
    android:layout_height="match_parent">

    <TextView
        android:id="@+id/tv_username"
        android:layout_width="wrap_content"
        android:layout_height="wrap_content"
        android:text="username" />

    <EditText
        android:id="@+id/edt_username"
        android:layout_width="match_parent"
        android:layout_height="wrap_content"
        android:layout_below="@+id/tv_username" />

    <TextView
        android:id="@+id/tv_password"
        android:layout_width="wrap_content"
        android:layout_height="wrap_content"
        android:layout_below="@id/edt_username"
        android:text="password" />

    <EditText
        android:id="@+id/edt_password"
        android:layout_width="match_parent"
        android:layout_height="wrap_content"
        android:layout_below="@id/tv_password"
        android:inputType="textPassword" />

</RelativeLayout>
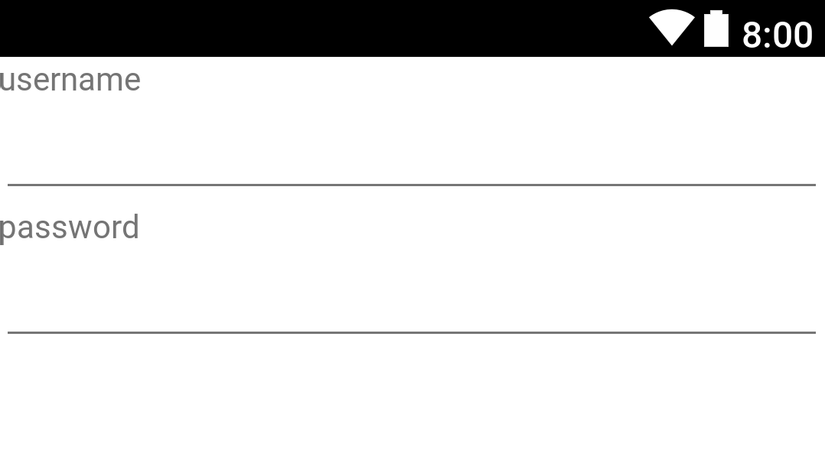 Ta thấy rằng EditText
 edt_username nằm dưới TextView tv_username. Và tương tự TextView tv_password nằm dưới Editext edt_username, EditText edt_password sẽ nằm dưới TextView tv_password.
Ngoài ra còn có một số thuộc tính khác thường xuyên sử dụng với RelativeLayout:
android:layout_alignParentBottom="boolean": Căn dưới phần tử hiện theo phần tử cha nếu set là true.android:layout_alignParentTop="boolean": Căn trên phần hiện tại theo phần tử cha nết set là true.android:layout_alignParentRight="boolean": Căn phải phần tử hiện tại theo phần tử cha nếu set là true.android:layout_alignParentLeft="boolean": Căn trái phần tử hiện tại theo phần tử cha nếu set là true.
Đặc điểm
- Sử dung khá đơn giản
- Dễ dàng khi thiết kế các màn hình có độ phức tạp cao
5. Tạm kết
Việc sử dụng linh hoạt các layout khác nhau trong quá trình thiết kế sẽ giúp chúng ta có thể đơn giản hơn và thiết kế được giao diện đúng theo design. Có thể trong 1 giao diện sẽ có nhiều phần có đặc điểm khác nhau, vì vậy chúng ta nên kết hợp các loại layout với nhau một cách hợp lý để hoàn thành công việc một cách đơn giản nhất và dễ dàng sửa đổi khi có yêu cầu.
All rights reserved
