Laravel Push Notification trên website (Dễ Dàng & Demo)
Bài đăng này đã không được cập nhật trong 5 năm
Sử dụng push notification diễn ra rất thường xuyên trong đa nền tảng bởi tính linh hoạt của nó mang lại cho người dùng có thể cập nhật thông tin quan trọng một cách dễ dàng và thuận tiện nhất. Và một trong những nền tảng đó là Website mà bài viết hôm nay mình sẽ đề cập tới.
Để việc tìm hiểu trở nên dễ dàng hơn mình sẽ tạo ra một DEMO push notification trực tiếp trên trình duyệt luôn nhé, chúng ta cùng bắt đầu nào.
Yêu cầu :
-
- Đã cài đặt Composer
-
- Đã cài Laravel tất nhiên là bắt buộc
Nếu bạn thiếu 1 trong 2 cái trên thì có thể xem lại bài viết hướng dẫn trước đây của mình và cài đặt rồi quay trở lại nha. (Xem hướng dẫn bổ xung ở đây)
1. Tạo project và Migrate
Bạn chạy 1 trong 2 câu lệnh dưới đây trong folder cần chưa project:
Khởi tạo với Laravel
laravel new push-web-notify
Khởi tạo với Composer
composer create-project --prefer-dist laravel/laravel push-web-notify
Sau khi hoàn thành thì bạn mở project đó lên và cd vào root folder của project nha, chúng ta sẽ sang phần chạy lệnh Migrate database.
- Migration :
Để tránh việc bị lỗi migrate vì string bị giới hạn ký tự thì bạn chỉnh sửa một chút trong AppServiceProvider.php
Thêm dòng lệnh sau trong method boot:
Schema::defaultStringLength(191);
Bây giờ các bạn chạy lệnh migrate : php artisan migrate
Tiếp đến bạn chạy lệnh sau và link vào trình duyệt để kiểm tra thành quả cài đặt của mình nhé
php artisan serve
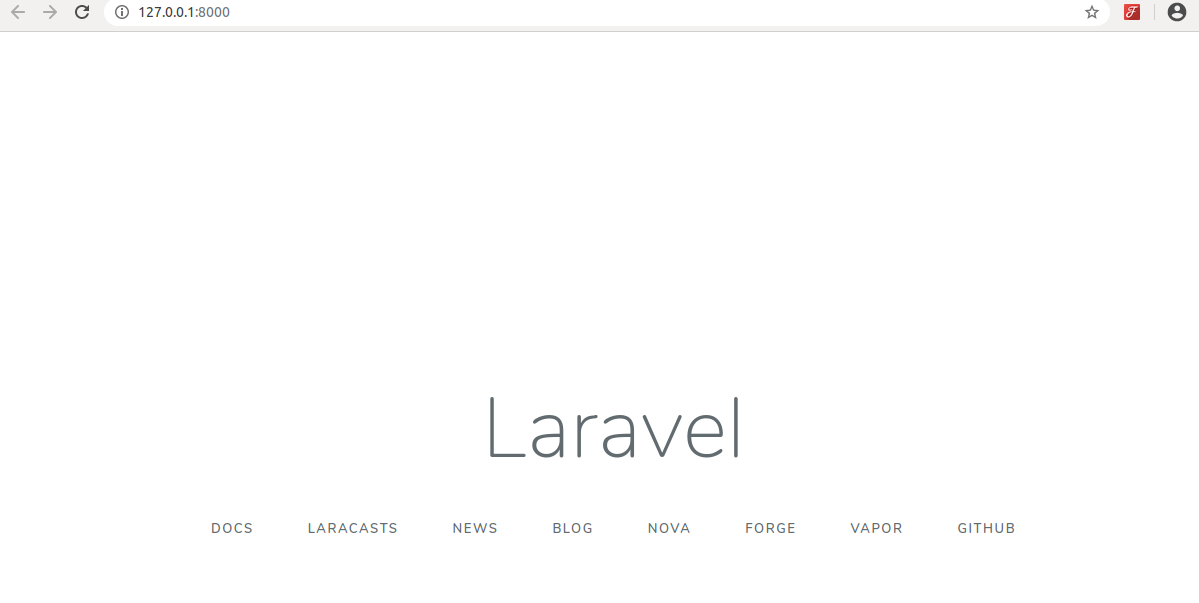
Kết quả giao diện ban đầu của Laravel như sau:
2. Cài đặt WebPush
Trước tiên bạn cần cài đặt thư viện thông qua Node như sau :
npm install -g web-push
Lấy server key (VAPID Keys) bằng lệnh:
web-push generate-vapid-keys
Nó sẽ tạo ra cho bạn Public Key và Private Key như sau :
=======================================

Public Key:
BGqSAaIb4TsB5LHsJ3z_Lu10bZ1r8pYktc1NiU8fTMoEwmj0rz5y5Sz-uhiyoB0QvA1J806t5z06WKkDhMpyJ8U

Private Key:
i_p0qyU8jJ77aRG10jtG0QJNp628hEp-8RYxBWjhH3g

=======================================
Notice: Bạn nên lưu lại để tiện config sau này.
Bước tiếp theo chúng ta import thư viện vào trong project để sử dụng như sau:
Command install : composer require laravel-notification-channels/webpush
Anh em ngồi xuống uống cốc nước mát chờ cho em composer install những thư viện và extension cần thiết tất nhiên là cả webpush nữa. Nhất là lần đầu sau khi vừa mới tạo xong project Laravel. 
Lỗi xảy ra: Rất có thể bạn bắt gặp việc install không thành công và thông báo dòng lệnh như sau
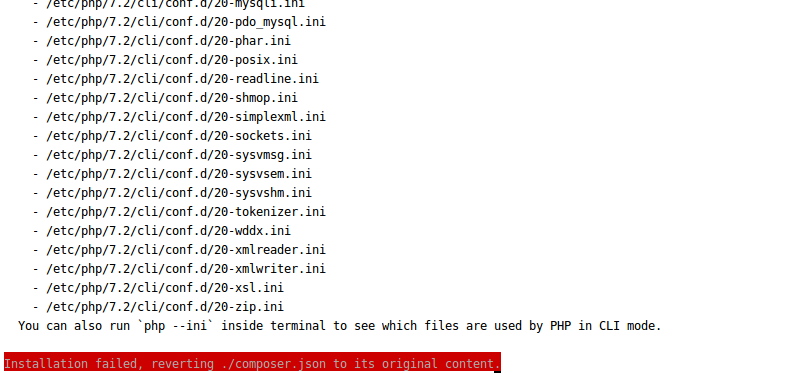
Bạn cài thiếu extension cho PHP 7.2 thôi, không có gì lo lắng cả. Chạy thêm lệnh dưới đây
apt-get install php7.2 libapache2-mod-php7.2 php7.2-common php7.2-gd php7.2-mysql php7.2-curl php7.2-intl php7.2-xsl php7.2-mbstring php7.2-zip php7.2-bcmath php7.2-soap php-xdebug php-imagick
Và thêm lệnh này nữa : sudo apt-get install php7.2-gmp
Do mình đang dùng bản 7.2 nếu của anh em là php bao nhiêu thì thay ở command trên nhé.
Bấm y nếu cần, xong rồi hãy chạy dòng lệnh install webpush ở trên nha.
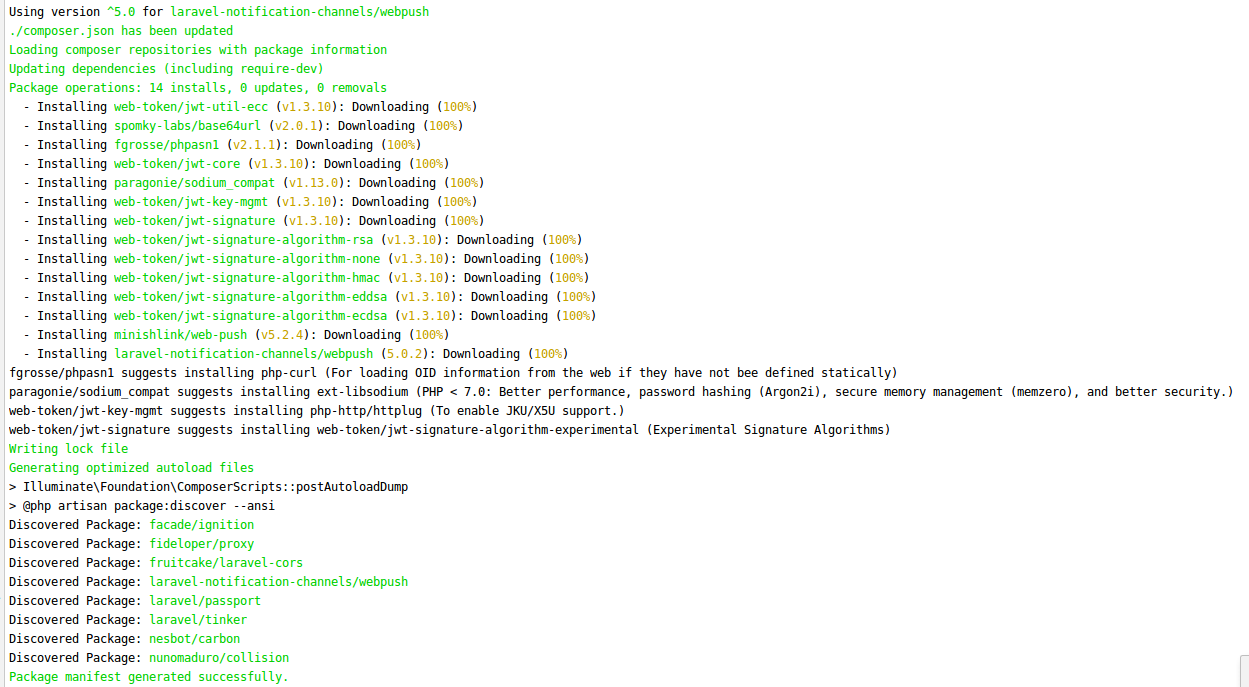
Kết quả composer đã cài xong thư viện như sau là SUCCESS!
3. Config WebPush và Database
Tuy rằng với 2 bước trên không có nhiều phần việc nhưng cũng tốn khá nhiều thời gian để bạn có thể làm quen được với nó và công chờ đợi để cài đặt có thể khá dài. Nhưng từ từ nó sẽ nhanh hơn khi các bạn làm 1 vài lần
Sang bước sau chúng ta sẽ làm nó nhanh hơn 1 chút nhé!
Trước tiên bạn cần tạo 1 bảng push_subscriptions với lệnh sau :
php artisan vendor:publish --provider="NotificationChannels\WebPush\WebPushServiceProvider" --tag="migrations"
Bạn sẽ tìm thấy file create_push_subscriptions_table.php trong folder database/migrations
Tiếp đến bạn chạy lệnh sau để generate key và set nó trong file .env của project nó khác với thông tin key ở trên cũng không sao cả vì key bạn dùng thực sự nó đã được set trong file .env rồi
php artisan webpush:vapid
Khởi tạo 1 Service Worker
Chúng ta cần tạo js để thực hiện việc này, ở đây mình sẽ tạo enable-push.js trong folder public/js như sau :
Cùng với đó là 1 file sw.js với code phía dưới.
function initSW() {
    if (!"serviceWorker" in navigator) {
        //service worker isn't supported
        return;
    }

    //don't use it here if you use service worker
    //for other stuff.
    if (!"PushManager" in window) {
        //push isn't supported
        return;
    }

    //register the service worker
    navigator.serviceWorker.register('../sw.js')
        .then(() => {
            console.log('serviceWorker installed!')
            initPush();
        })
        .catch((err) => {
            console.log(err)
        });
}

function initPush() {
    if (!navigator.serviceWorker.ready) {
        return;
    }

    new Promise(function (resolve, reject) {
        const permissionResult = Notification.requestPermission(function (result) {
            resolve(result);
        });

        if (permissionResult) {
            permissionResult.then(resolve, reject);
        }
    })
        .then((permissionResult) => {
            if (permissionResult !== 'granted') {
                throw new Error('We weren\'t granted permission.');
            }
            subscribeUser();
        });
}

function subscribeUser() {

    navigator.serviceWorker.ready
        .then((registration) => {
            const subscribeOptions = {
                userVisibleOnly: true,
                applicationServerKey: urlBase64ToUint8Array(
                    'BIveGhZWHNrjcWknDQTNcqsB8XxEDtr4PqX6Trv5eiMb7R-rZyry-ZhawpdPlq80a_7VZwewGRmJhYesIbzqWl0'
                )
            };

            return registration.pushManager.subscribe(subscribeOptions);
        })
        .then((pushSubscription) => {
            console.log('Received PushSubscription: ', JSON.stringify(pushSubscription));
            storePushSubscription(pushSubscription);
        });
}

function urlBase64ToUint8Array(base64String) {
    var padding = '='.repeat((4 - base64String.length % 4) % 4);
    var base64 = (base64String + padding)
        .replace(/\-/g, '+')
        .replace(/_/g, '/');

    var rawData = window.atob(base64);
    var outputArray = new Uint8Array(rawData.length);

    for (var i = 0; i < rawData.length; ++i) {
        outputArray[i] = rawData.charCodeAt(i);
    }
    return outputArray;
}


function storePushSubscription(pushSubscription) {
    const token = document.querySelector('meta[name=csrf-token]').getAttribute('content');

    fetch('/push', {
        method: 'POST',
        body: JSON.stringify(pushSubscription),
        headers: {
            'Accept': 'application/json',
            'Content-Type': 'application/json',
            'X-CSRF-Token': token
        }
    })
        .then((res) => {
            return res.json();
        })
        .then((res) => {
            console.log(res)
        })
        .catch((err) => {
            console.log(err)
        });
}
self.addEventListener('push', function (e) {
    if (!(self.Notification && self.Notification.permission === 'granted')) {
        //notifications aren't supported or permission not granted!
        return;
    }

    if (e.data) {
        var msg = e.data.json();
        console.log(msg)
        e.waitUntil(self.registration.showNotification(msg.title, {
            body: msg.body,
            icon: msg.icon,
            actions: msg.actions
        }));
    }
});
Notice: Bạn cần thay public key bằng key của bạn để việc subscription được thực hiện nhé
Khai báo trong app.blade.php
Bạn cần đặt dòng khai báo service này trước tag **</body> **
@auth
    <script src="{{ asset('js/enable-push.js') }}" defer></script>
@endauth
Khởi tạo Object PushNotiController
class PushNotiController extends Controller
{
    public function __construct(){
        $this->middleware('auth');
    }

    /**
     * Store the PushSubscription.
     *
     * @param \Illuminate\Http\Request $request
     * @return \Illuminate\Http\JsonResponse
     */
    public function store(Request $request){
        $this->validate($request,[
            'endpoint'    => 'required',
            'keys.auth'   => 'required',
            'keys.p256dh' => 'required'
        ]);
        $endpoint = $request->endpoint;
        $token = $request->keys['auth'];
        $key = $request->keys['p256dh'];
        $user = Auth::user();
        $user->updatePushSubscription($endpoint, $key, $token);

        return response()->json(['success' => true],200);
    }

    public function push(){
        Notification::send(User::all(),new PushDemo);
        return redirect()->back();
    }
}
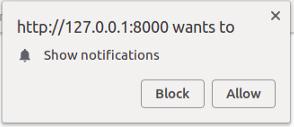
Sau khi bạn thực hiện xong hãy bấm F5 đường link http://127.0.0.1:8000/ trên trình duyệt của bạn và xem kết quả
Hiện thị Request Permission để show Notification như sau:
Thử Chạy 1 Demo Message:
Vậy là quá trình cài đặt đã như ý muốn. Tiếp đến thử làm một push thông báo xem sao bạn nha.
Tạo một object PushMess
php artisan make:notification PushMess
Mở file và chỉnh sửa như sau:
public function via($notifiable)
    {
        return [WebPushChannel::class];
    }

    public function toWebPush($notifiable, $notification)
    {
        return (new WebPushMessage)
            ->title('I\'m Notification Title')
            ->icon('/notification-icon.png')
            ->body('Great, Push Notifications work!')
            ->action('View App', 'notification_action');
    }
Thêm method push trong Object PostNotiController mà bạn đã tạo ở trên:
public function push(){
    Notification::send(User::all(),new PushDemo);
    return redirect()->back();
}
Bạn cần khai báo Route trong web.php
Route::get('/push','PushNotiController@push')->name('push');
Thêm 1 button để tạo push trong home.blade.php
<a href="{{route('push')}}" class="btn btn-outline-primary btn-block">Make a Push Notification!</a>
Sau khi hoàn thành bạn lại tiếp tục refresh lại trang và click vào button để xem kết quả.

4. Tổng kết
Trên đây mình cùng các bạn đã khởi tạo một Service Worker để hiển thị thông báo trên trình duyệt của người dùng cho web và sử dụng framework WebPush, mong rằng bài viết mang lại hữu ích cho các bạn đang cần. Nếu có góp ý hay thắc mắc nào bạn để lại comment mình sẽ trả lời lại. Happy coding !!
All rights reserved
