Làm ứng dụng học toán đơn giản với React Native - Phần 3
Bài đăng này đã không được cập nhật trong 5 năm
Chào các bạn, vậy là mình đã trở lại với series về ứng dụng học toán đơn giản với React Native, qua từng bài viết, mình sẽ dần dần update app bằng việc thêm các tính năng, kỹ thuật cho app. Nếu đây là lần đầu các bạn đọc bài về series của mình thì đây là link của các phần trước
Phần 1 [https://viblo.asia/p/lam-ung-dung-hoc-toan-don-gian-voi-react-native-63vKjzNVK2R]
Phần 2 [https://viblo.asia/p/lam-ung-dung-hoc-toan-don-gian-voi-react-native-phan-2-RQqKLQv4Z7z]
Giới thiệu vầy chắc đủ rồi :3 mình vào lun nhé
1) Đổi icon app trên điện thoại android
Các bạn có thể lựa bất cứ 1 icon nào mà mình thích, lưu ý là chọn icon vuông nhé, vì nếu lựa icon hình dạng khác nó sẽ bị hiển thị sai trên điện thoại, các đổi icon cho app trên android rất đơn giản, chỉ việc vào theo đường link sau tên-app-của-bạn\android\app\src\main\res, trong đó bạn sẽ thấy 4 folder lần lượt là mipmap-hdpi, mipmap-xhdpi, mipmap-xxhdpi, mipmap-xxxhdpi, trong mỗi folder, bạn sẽ thấy 2 file png là ic_launcher_round.png và ic_launcher.png, bạn chỉ việc xóa nó, và thay vào đó bằng icon bạn muốn và nhớ đổi lại tên y chang vậy là được. Đơn giản phải ko :3
2) Chức năng battle trong app
Nhận thấy việc người dùng chỉ có thể chọn đúng và sai với các phép toán đơn giản trong chức năng practice, việc đó sẽ nhanh chóng gây nhàm chán và khiến người dùng xóa app trong 30 giây sau khi sử dụng nên mình sẽ thêm vào cho nó 1 chức năng để tương tác thêm với người chơi khác, đó là chức năng battle.
Chức năng này được mình triển khai khá đơn giản, đó là nhân đôi màn hình practice lên và xoay ngược 1 cái lại, vậy là 2 người có thể đối đầu trực tiếp với nhau, bên cạnh đó mình cũng áp dụng thêm 1 số luật như, ai được 10 điểm trước sẽ thắng, nếu ai trả lời sai sẽ bị trừ 1 điểm, đúng sẽ cộng 1 điểm, sau khi trả lời câu hỏi mới sẽ được tiếp tục. Đó là ý tưởng của mình, giờ bắt đầu thôi
Đầu tiên chúng ta cần thêm 2 biến trong file route.js của trang practice Battle: 'Battle', Success: 'Success',
Tiếp tục chúng ta tạo ra 2 màn hình là battle và success.
//Battle.js
import {observer} from 'mobx-react';
import React, {useState, useEffect} from 'react';
import {StyleSheet, View, Dimensions} from 'react-native';

import {colors} from '../constants/theme';
import {useNavigation} from '@react-navigation/native';
import {StackRoute} from '../constants/route';

import WorkingSection from '../component/WorkingSection';
import AnswerButton from '../component/AnswerButton';
import PointSection from '../component/PointSection';
import BattleStore from '../stores/battleStore';

const windowWidth = Dimensions.get('window').width;

const BattleScreen = observer(() => {
  const Navigate = useNavigation();
  const [result, setResult] = useState(BattleStore.calculateResult());

  function randomNumber(to, from) {
    return Math.floor(Math.random() * from) + to;
  }

  useEffect(() => {
    BattleStore.setFirstParameter(randomNumber(1, 9));
    BattleStore.setSecondParameter(randomNumber(1, 9));
    setResult(BattleStore.calculateResult());
  }, []);

  function pressAnswer(type, player) {
    const isTrue =
      BattleStore.FirstParameter + BattleStore.SecondParameter === result;
    BattleStore.setFirstParameter(randomNumber(1, 9));
    BattleStore.setSecondParameter(randomNumber(1, 9));
    setResult(BattleStore.calculateResult());
    if ((type === 'wrong' && isTrue) || (type === 'right' && !isTrue)) {
      return BattleStore.setPoint(
        BattleStore[`player${player}`].point - 1,
        player,
      );
    }
    if ((type === 'wrong' && !isTrue) || (type === 'right' && isTrue)) {
      const point = BattleStore[`player${player}`].point + 1;
      BattleStore.setPoint(point, player);
      if (point >= 10) {
        return Navigate.navigate(StackRoute.Main.Success);
      }
    }
  }

  return (
    <View style={styles.container}>
      <View style={styles.player1}>
        <PointSection point={BattleStore.player1.point} />
        <View style={styles.body}>
          <WorkingSection
            firstParameter={BattleStore.FirstParameter}
            secondParameter={BattleStore.SecondParameter}
            result={result}
          />
        </View>
        <AnswerButton
          onRightAnswer={() => pressAnswer('right', 1)}
          onWrongAnswer={() => pressAnswer('wrong', 1)}
        />
      </View>
      <View style={styles.player2}>
        <PointSection point={BattleStore.player2.point} />
        <View style={styles.body}>
          <WorkingSection
            firstParameter={BattleStore.FirstParameter}
            secondParameter={BattleStore.SecondParameter}
            result={result}
          />
        </View>
        <AnswerButton
          onRightAnswer={() => pressAnswer('right', 2)}
          onWrongAnswer={() => pressAnswer('wrong', 2)}
        />
      </View>
    </View>
  );
});

export default BattleScreen;

const styles = StyleSheet.create({
  container: {
    flex: 1,
    backgroundColor: colors.bg_primary,
  },
  body: {
    width: windowWidth,
    flex: 1,
    justifyContent: 'center',
    alignItems: 'center',
  },
  player1: {
    flex: 1,
    transform: [{rotate: '180deg'}],
    justifyContent: 'space-between',
    borderTopWidth: 1,
    borderColor: 'white',
    backgroundColor: 'green',
  },
  player2: {
    flex: 1,
    justifyContent: 'space-between',
    borderTopWidth: 1,
    borderColor: 'white',
    backgroundColor: 'red',
  },
});
Trong file battle.js này, chúng t dùng lại tầm các hàm đã có trong practice, tuy nhiên cũng custom lại để phù hợp với việc chơi 2 người. Chẳng hạn như, trong function pressAnswer, chúng ta sẽ thêm 1 parameter là player để biết là player nào sử dụng, và thêm vào đó điều kiện nếu đúng sẽ cộng 1, sai sẽ trừ 1, và ai đạt 10 trước giành chiến thắng.
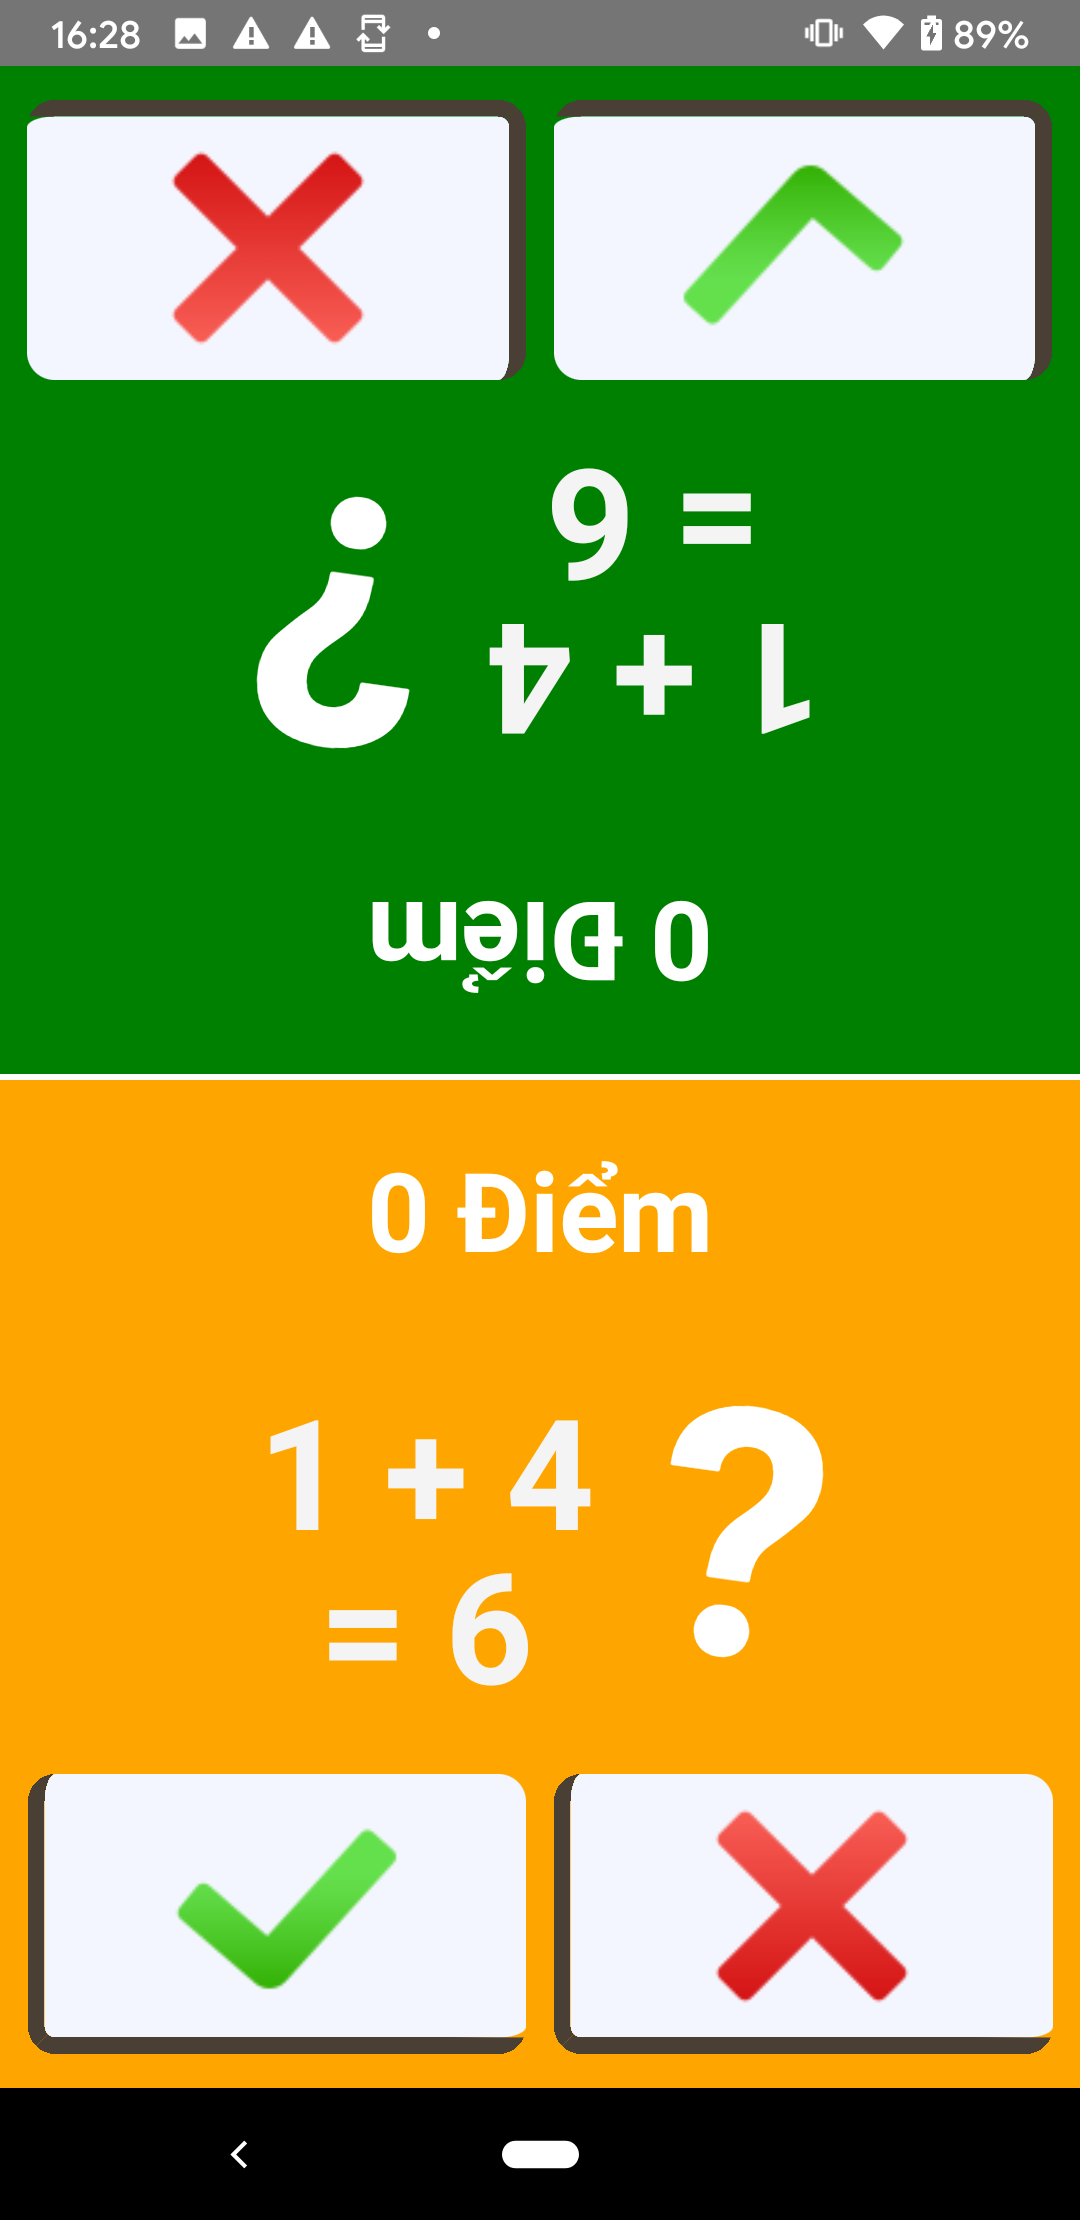
Ở phần giao diện của player1, mình đã dùng thuộc tính transform để xoay ngược sân chơi của player 1 lại 180%, vậy là 2 người chơi sẽ đối đầu nhau transform: [{rotate: '180deg'}],. Thêm vào đó, nếu bạn chú ý kỹ, sẽ thấy mình đã viết thêm 1 store là BattleStore.js, đây là code của nó
import {observable, action, computed} from 'mobx';

class BattleStore {
  @observable firstParameter = 0;
  @observable secondParameter = 0;
  @observable player1 = {
    point: 0,
  };
  @observable player2 = {
    point: 0,
  };

  @action setFirstParameter(item) {
    this.firstParameter = item;
  }
  @action setSecondParameter(item) {
    this.secondParameter = item;
  }

  @action setPoint(point, player) {
    this[`player${player}`].point = point;
  }

  @computed get FirstParameter() {
    return this.firstParameter;
  }
  @computed get SecondParameter() {
    return this.secondParameter;
  }

  randomNumber = (to, from) => {
    return Math.floor(Math.random() * from) + to;
  };

  calculateResult = () => {
    const isTrue = Math.floor(Math.random() * 4);
    if (isTrue === 0) {
      return this.firstParameter + this.secondParameter;
    }
    const isBigger = Math.floor(Math.random() * 4);
    let resultFalse = 0;
    if (isBigger === 0) {
      resultFalse =
        this.firstParameter +
        this.secondParameter +
        Math.floor(Math.random() * 2);
    } else {
      resultFalse =
        this.firstParameter +
        this.secondParameter -
        Math.floor(Math.random() * 2);
    }
    return resultFalse < 0 ? 0 : resultFalse;
  };
}

const battleStore = new BattleStore();
export default battleStore;
Trong mobx bạn hoàn toàn có thể khai @observable là 1 object như mình làm với player1 = {point: 0}, tạm thời nó sẽ chỉ có property là point, sau này phát triển thêm sẽ có thêm các trường là name, rank, ... .
1 lưu ý nhỏ với những bạn chưa biết về syntax này thì BattleStore[`player${player}`].point ( hoặc this[`player${player}`].point) tương đương với BattleStore.player1.point hoặc BattleStore.player2.point, tùy vào biến player mình nhập là 1 hoặc 2.
Vầy là chúng ta đã thêm vào được chức năng battle, nhưng khoan, vẫn còn thiếu 1 thứ, đó là màn hình thông báo người chiến thắng nữa
3) Màn hình success thông báo người chiến thắng
Chúng ta sẽ thiết kế nó dựa trên màn hình failed, tuy nhiên, sẽ chỉ hiện tên người chiến thắng và nút chơi lại, vì vậy giao diện sẽ đơn giản hơn rất nhiều, dưới đây là code để mọi người cùng tham khảo:
import React, {useState} from 'react';
import {StyleSheet, View, Text, TouchableHighlight, Image} from 'react-native';
import {useNavigation} from '@react-navigation/native';
import {
colors,
fonts,
spaces,
borderRadius,
borderWidth,
} from '../constants/theme';
import {PlayIcon} from '../assets/icons/index';
import {StackRoute} from '../constants/route';
import BattleStore from '../stores/battleStore';
export default function SuccessScreen() {
const [isShowOption, setIsShowOption] = useState(false);
const Navigate = useNavigation();
const handleReStart = route => {
BattleStore.setPoint(0, 1);
BattleStore.setPoint(0, 2);
BattleStore.setFirstParameter(BattleStore.randomNumber(1, 9));
BattleStore.setSecondParameter(BattleStore.randomNumber(1, 9));
Navigate.navigate(route);
};
const chooseColor = () => {
return BattleStore.player1.point === 10 ? {color: 'green'} : {color: 'red'};
};
return (
<View style={styles.container}>
<View style={styles.titleContainer}>
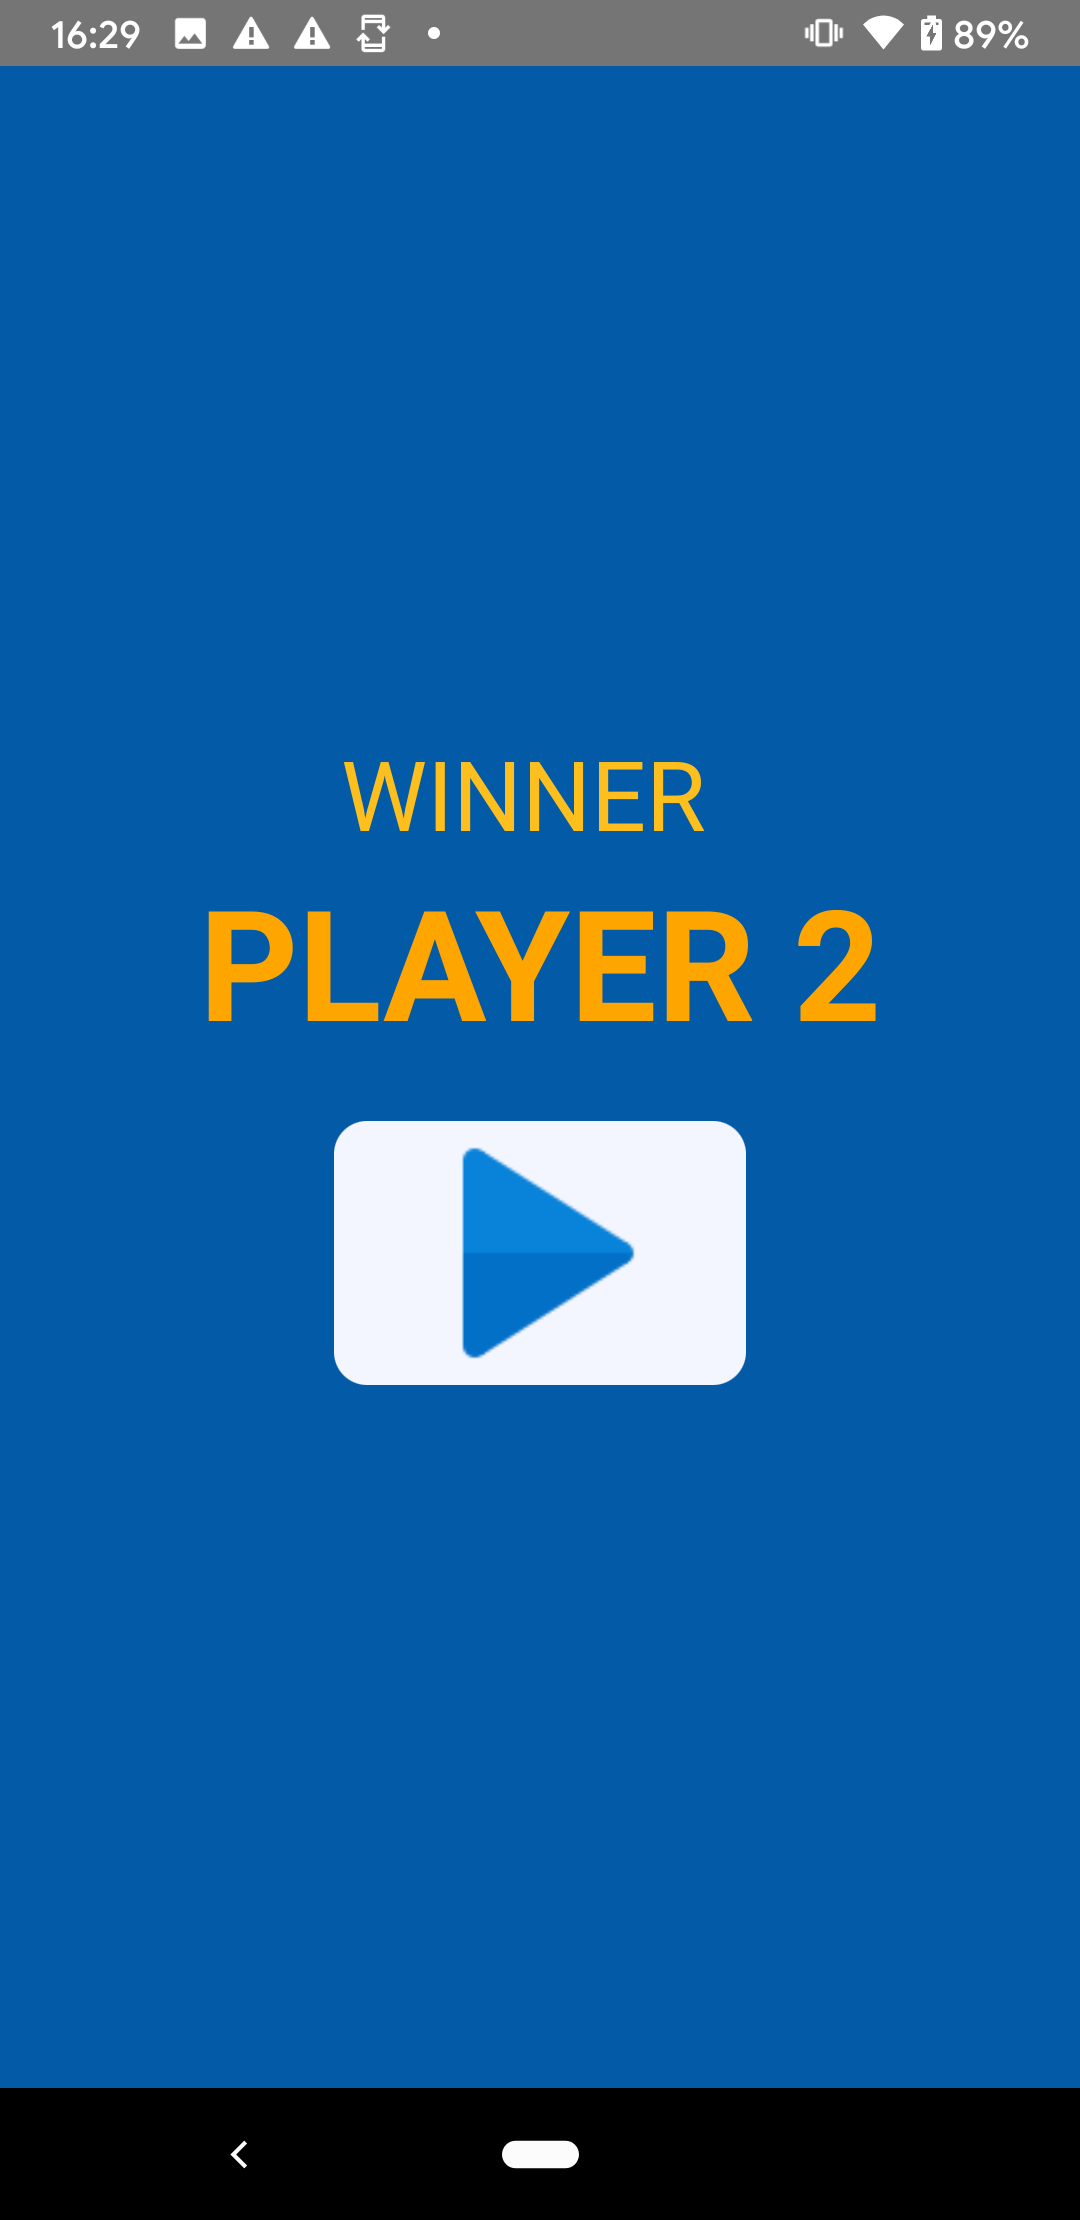
<Text style={[styles.styleTitle, styles.title1]}>Winner</Text>
<Text style={[styles.styleTitle, styles.title2, chooseColor()]}>
Player {BattleStore.player1.point === 10 ? 1 : 2}
</Text>
</View>
{isShowOption ? (
<View>
<TouchableHighlight
style={styles.imageContainer}
onPress={() => handleReStart(StackRoute.Main.Practice)}>
<Text style={[styles.styleTitle, styles.selectText]}>practice</Text>
</TouchableHighlight>
<TouchableHighlight
style={styles.imageContainer}
onPress={() => handleReStart(StackRoute.Main.Battle)}>
<Text style={[styles.styleTitle, styles.selectText]}>battle</Text>
</TouchableHighlight>
</View>
) : (
<TouchableHighlight
style={styles.imageContainer}
onPress={() => setIsShowOption(true)}>
<Image source={PlayIcon} />
</TouchableHighlight>
)}
</View>
);
}
const styles = StyleSheet.create({
container: {
flex: 1,
backgroundColor: colors.bg_primary,
justifyContent: 'center',
alignItems: 'center',
},
titleContainer: {
alignItems: 'center',
borderWidth: borderWidth.normal,
borderColor: 'transparent',
paddingHorizontal: spaces.space3,
borderRadius: borderRadius.header,
marginBottom: spaces.space4,
},
styleTitle: {
textTransform: 'uppercase',
color: colors.text,
},
title1: {
fontSize: fonts.header1,
marginRight: spaces.space2,
},
title2: {
fontSize: fonts.header4,
fontWeight: 'bold',
},
selectText: {
fontWeight: 'bold',
fontSize: fonts.large,
padding: spaces.space4,
},
imageContainer: {
minWidth: 150,
backgroundColor: colors.white,
borderRadius: borderRadius.header,
justifyContent: 'center',
alignItems: 'center',
marginBottom: spaces.space3,
},
});
Chúng ta sẽ cho hiện tên và thông báo người chiến thắng theo từng màu khác nhau.
4) Tổng kể
Vậy là xem như đã xong rồi, cùng chạy thử nào.
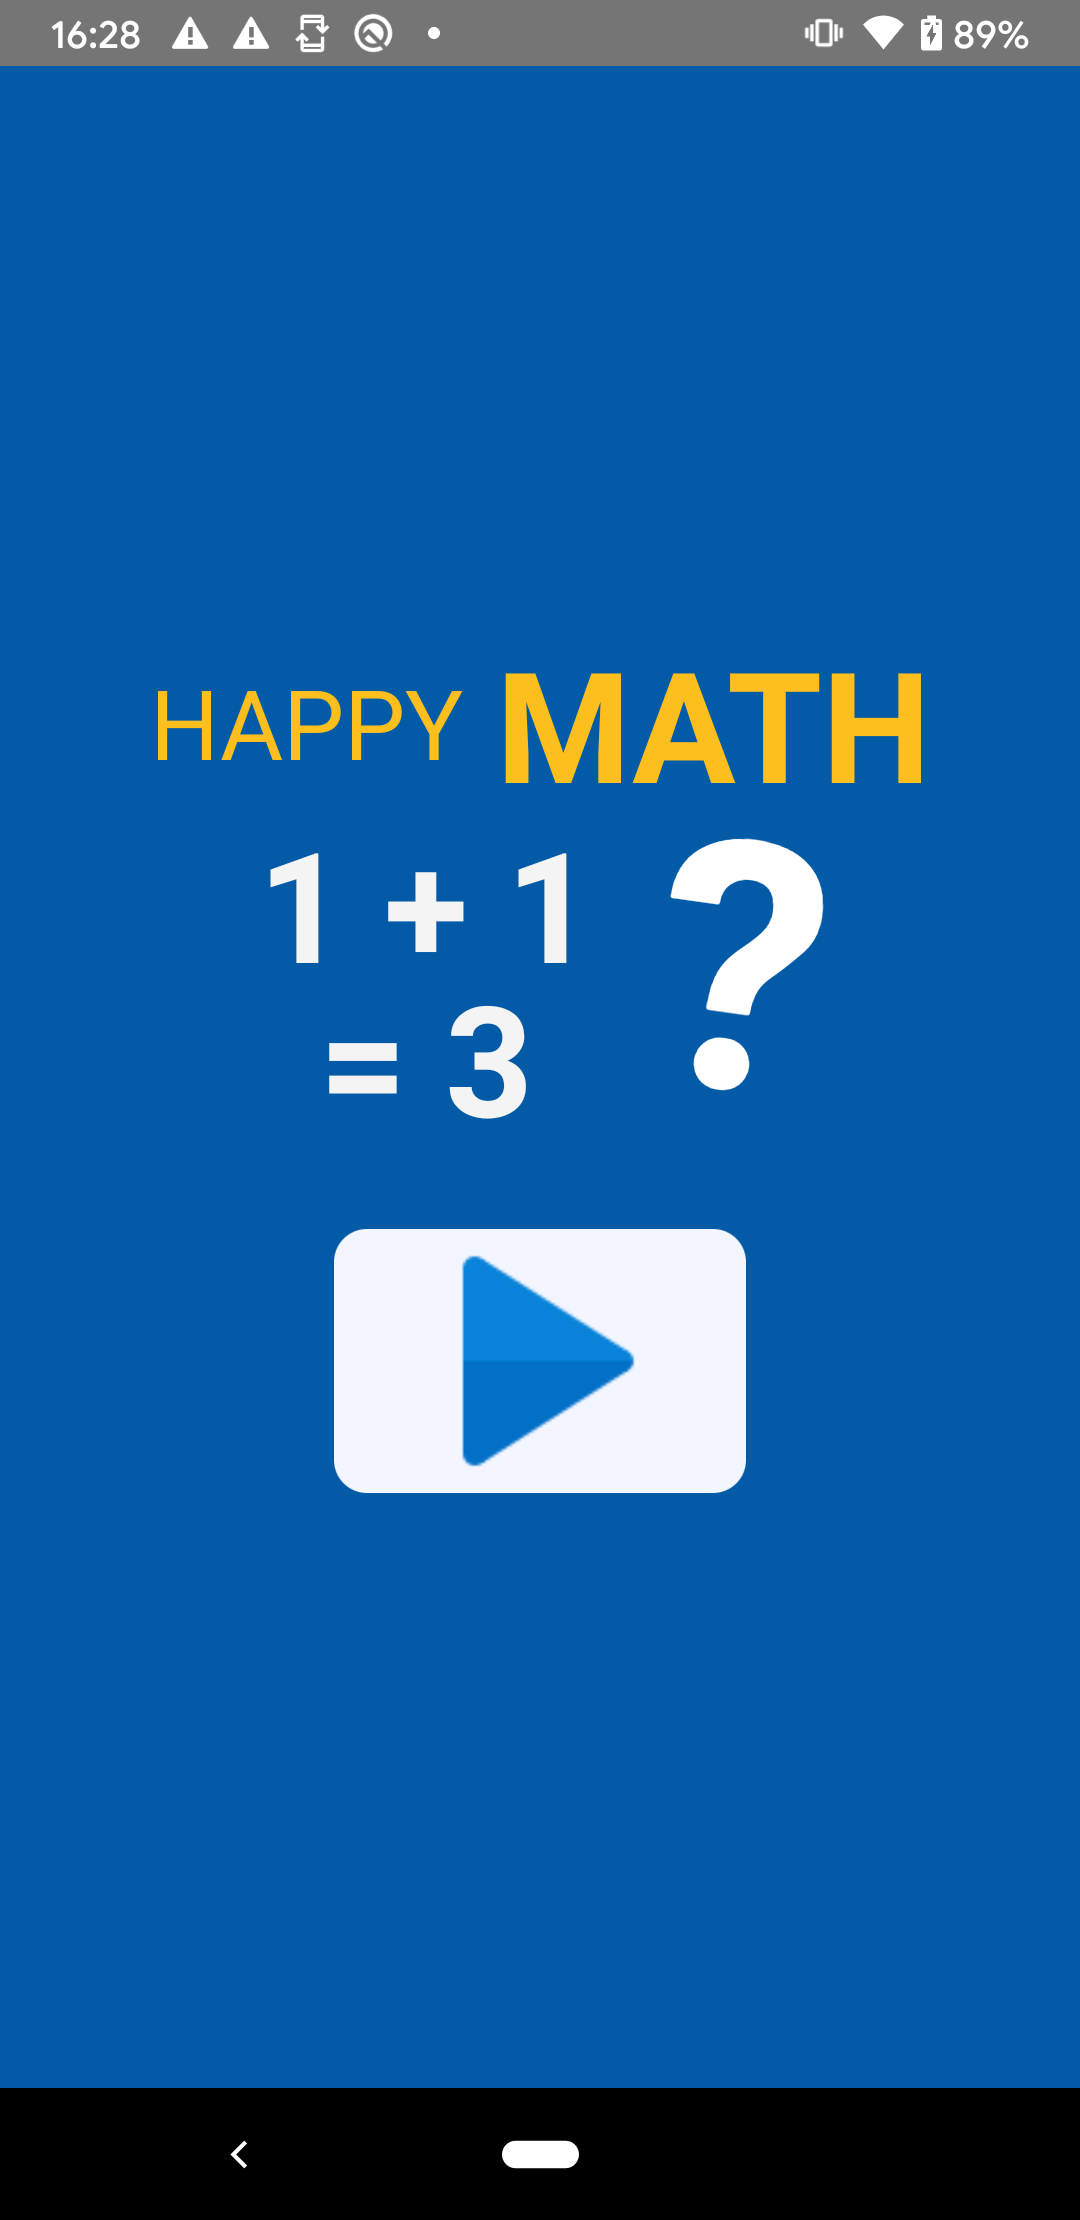
Vào game
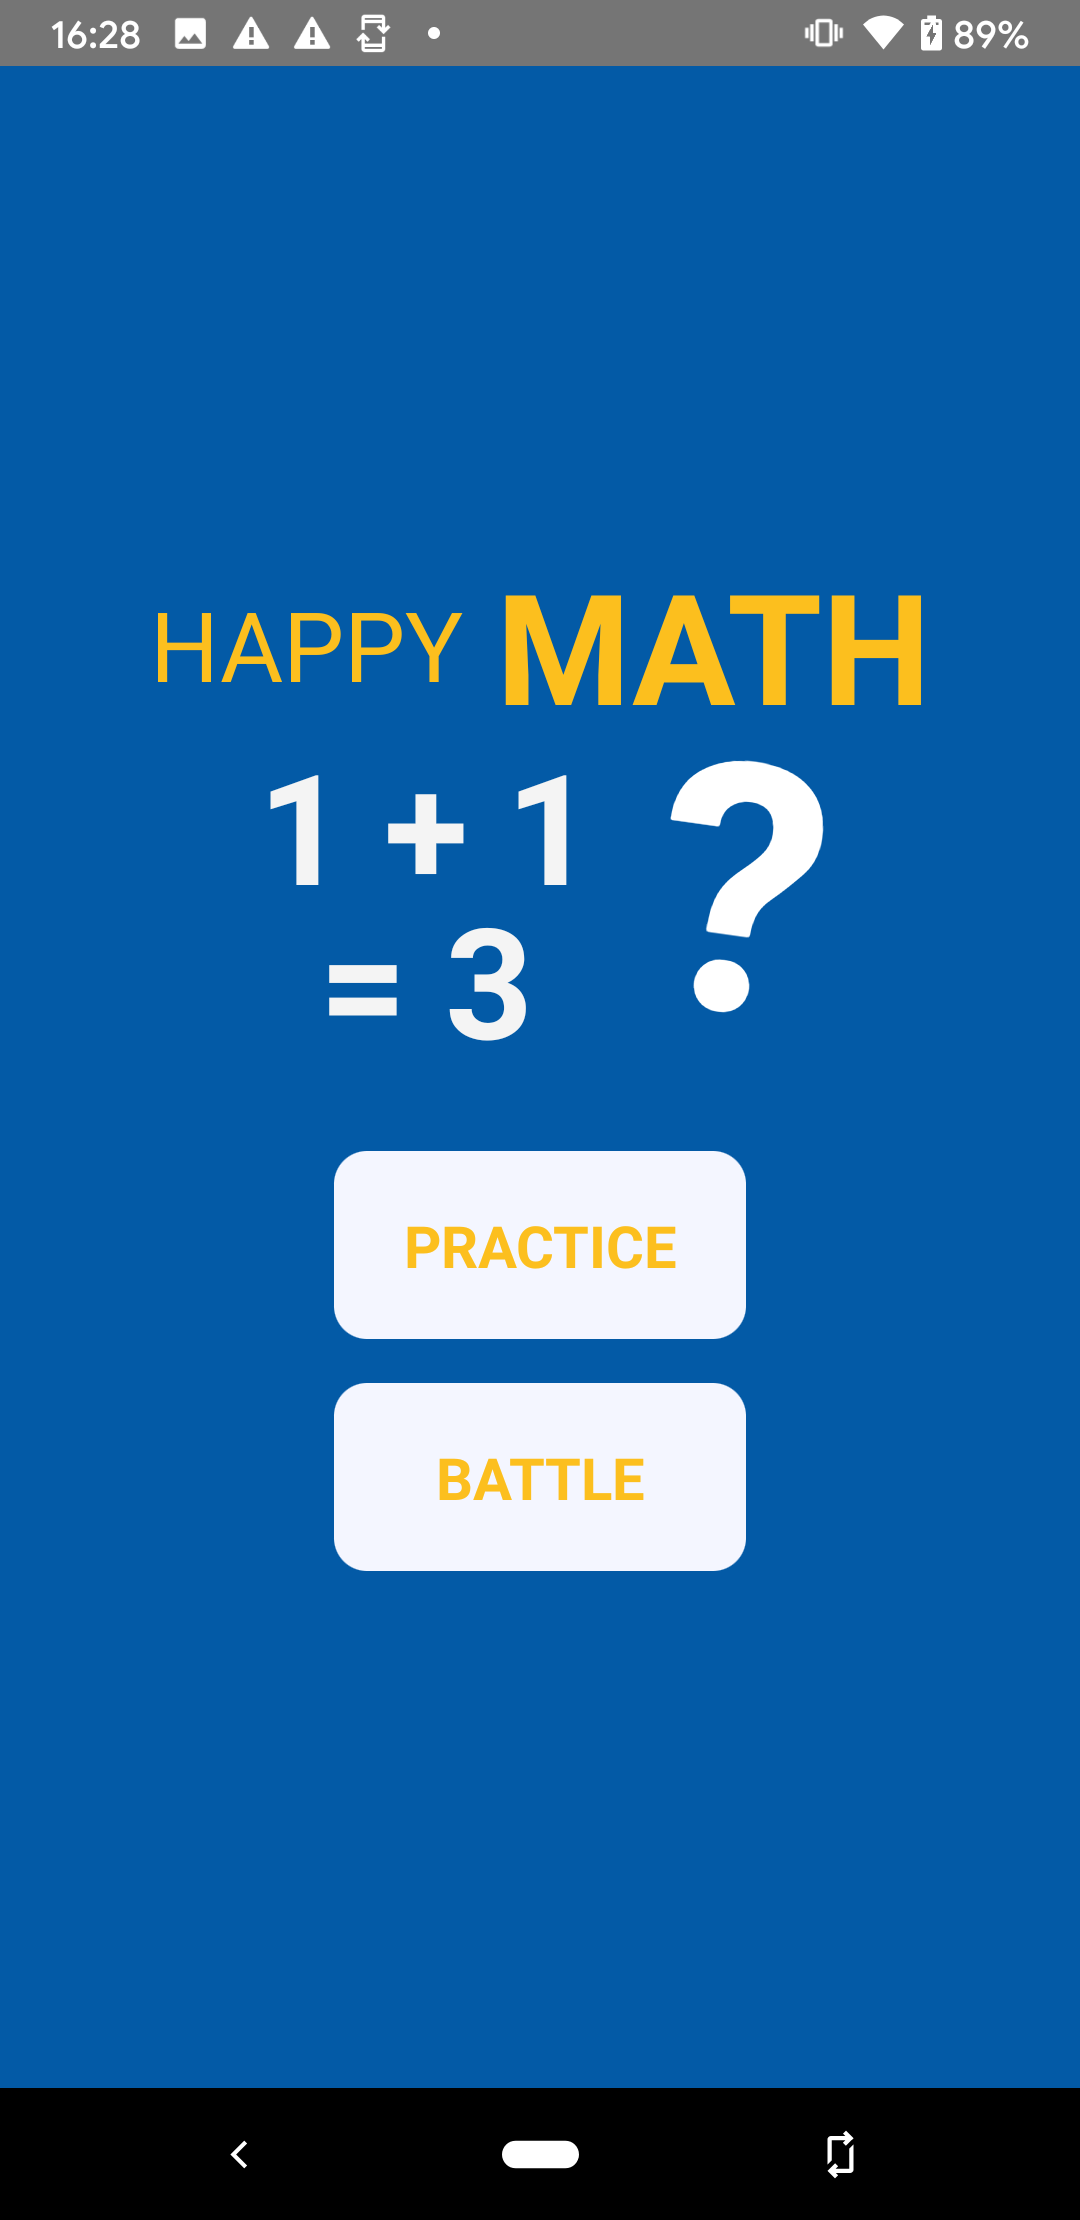
Bấm nút play, chọn chế độ chơi
Vào chế độ battle, xin lỗi nếu màu sắc của nó hiếp dâm thị giác của bạn
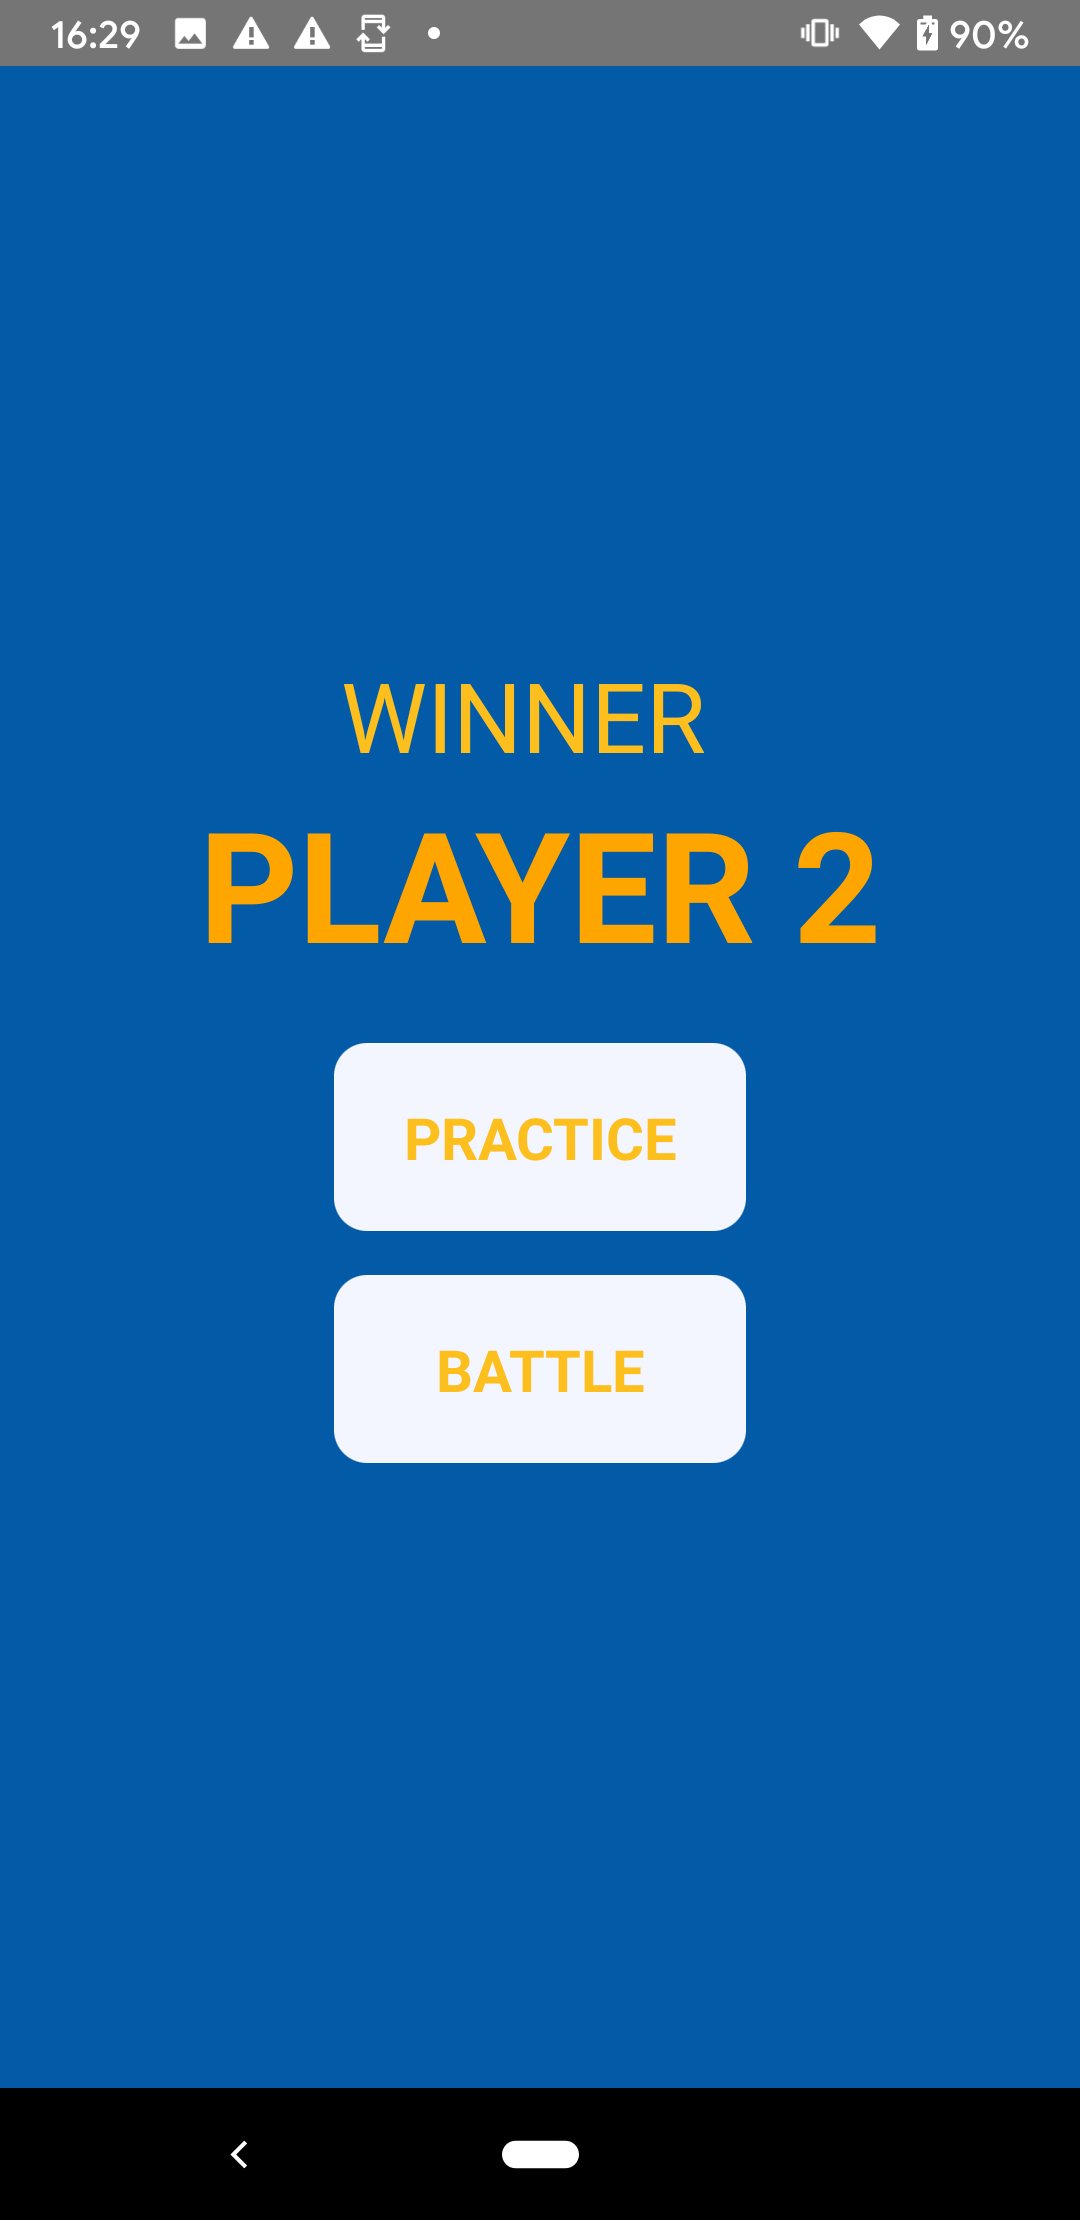
Và khi có người chiến thắng
Làm lại ván khác để xem ai giỏi hơn nào
Bài viết của mình đến đây là đã hết, cảm ơn các bạn đã chịu khó đọc và hẹn gặp lại vào phần tiếp theo trong 1 ngày không xa. (^.^)/
P/S
Các bạn có thể theo dõi full series của mình tại đây: https://viblo.asia/s/lam-ung-dung-hoc-toan-don-gian-voi-react-native-375z0mxPZGW Mình đã upload app lên Google store, các bạn có thể tải về xem trước, tên app mình có hơi thay đổi 1 tí, mong mọi người vẫn ủng hộ series của mình
Link app : https://play.google.com/store/apps/details?id=com.bloodycotech001
Xin chân thành cảm ơn các bạn!!! 
All rights reserved
