Làm quen với Adobe Creative SDK
Bài đăng này đã không được cập nhật trong 4 năm
1. Giới thiệu
Trong quá trình tìm kiếm những thư viện giúp tạo những hiệu ứng cho ảnh, tôi đã tình cờ phát hiện một thư viện là Aviary SDK có module cung cấp những hiệu ứng đó. Hiện giờ Aviary đã được mua lại bởi Adobe và Aviary trở thành một phần thuộc Adobe Creative SDK, một thư viện rất hữu ích cho việc chỉnh sửa ảnh. (hỗ trợ Android, iOS, Web). Sau đây, tôi sẽ giới thiệu với các bạn cách sử dụng thư viện đó trong Android.
2. Cài đặt
-
Đăng ký tài khoản và tải bản phù hợp tại đây: https://creativesdk.adobe.com/downloads.html
-
Đăng ký 1 application tại https://creativesdk.adobe.com/myapps.html và lưu lại Client ID, Client Secret
-
Một số yêu cầu thêm:
- Android Studio trở lên
- Android SDK 14 trở lên
- Gradle 2.2 trở lên
- Android build tools versions 21.1.1 trở lên
- Android Support Repository 22 trở lên
-
Thêm thư viện vào trong chương trình
-
Thêm maven Url của thư viện vào file build.gradle của project.
allprojects {
	repositories {
	    jcenter()
	    maven {
	        url "${project.rootDir}/creativesdk-repo/release" // Location of the CSDK repo
	    }
	}
}
- Để project có thể sử dụng SDK, bạn cần phải thêm một số phần vào file Module build.gradle giống như sau:
apply plugin: 'com.android.application'

android {

    /* 1) Use 21 or 22 */
    compileSdkVersion 22
    buildToolsVersion "23.0.1"

    defaultConfig {
        applicationId "com.adobe.mycsdkapp"
        minSdkVersion 14

        /* 2) Use 21 or 22 */
        targetSdkVersion 22
        versionCode 1
        versionName "1.0"
    }
    buildTypes {
        release {
            minifyEnabled false
            proguardFiles getDefaultProguardFile('proguard-android.txt'), 'proguard-rules.pro'
        }
    }

    /* 3) Compile for Java 1.7 or greater */
    compileOptions {
        sourceCompatibility JavaVersion.VERSION_1_7
        targetCompatibility JavaVersion.VERSION_1_7
    }

    /* 4) Exclude duplicate licenses */
    packagingOptions {
        exclude 'META-INF/LICENSE.txt'
        exclude 'META-INF/NOTICE.txt'
    }
}

dependencies {
    compile fileTree(dir: 'libs', include: ['*.jar'])
    testCompile 'junit:junit:4.12'

    /* 5) Use 21 or 22 */
    compile 'com.android.support:appcompat-v7:22.2.1'
    compile 'com.android.support:design:22.2.1'

    /* 6) Add the CSDK framework dependencies (Make sure these version numbers are correct) */
    compile 'com.adobe.creativesdk.foundation:auth:0.7.329'
    compile 'com.adobe.creativesdk:image:4.0.0'
}
- Tích hợp chương trình của bạn và application bạn đã tạo phía trên. Tạo file MainApplication kế thừa Application với nội dung như dưới, thay ClientID và ClientSecret tương ứng và đăng ký MainApplication trong file Manifest.xml.
public class MainApplication extends Application implements IAdobeAuthClientCredentials {

    /* Be sure to fill in the two strings below. */
    private static final String CREATIVE_SDK_CLIENT_ID = "<YOUR_CLIENT_ID_HERE>";
    private static final String CREATIVE_SDK_CLIENT_SECRET = "<YOUR_CLIENT_SECRET_HERE>";

    @Override
    public void onCreate() {
        super.onCreate();
        AdobeCSDKFoundation.initializeCSDKFoundation(
                getApplicationContext(),
                AdobeAuthIMSEnvironment.AdobeAuthIMSEnvironmentProductionUS
        );
    }

    @Override
    public String getClientID() {
        return CREATIVE_SDK_CLIENT_ID;
    }

    @Override
    public String getClientSecret() {
        return CREATIVE_SDK_CLIENT_SECRET;
    }
}
3. Sử dụng ImageEditor
Sau khi hoàn thành các bước ở trên, bạn đã có thể sử dụng Creative SDK một cách dễ dàng, tiếp tới tôi sẽ giới thiệu việc tạo ứng dụng đơn giản sử dụng ImageEditorUI.
- Thêm các thành phần sau vào file Module build.gradle
/* Add the CSDK framework dependencies (Make sure these version numbers are correct) */
compile 'com.adobe.creativesdk.foundation:auth:0.7.329'
compile 'com.adobe.creativesdk:image:4.0.0'
- Thêm CDS provider vào file Manifest.xml
<application
    // ...
    <activity>
        // ...
    </activity>

    <provider
        android:name="com.aviary.android.feather.sdk.internal.cds.AviaryCdsProvider"
        android:authorities="${applicationId}.AviaryCdsProvider"
        android:exported="false" />
</application>
- Add IAviaryClientCredentials interface cho MainApplication
/* 1) Change the interface to IAviaryClientCredentials */
public class MainApplication extends Application implements IAviaryClientCredentials {

    /* 2) Be sure to fill in the two strings below. */
    private static final String CREATIVE_SDK_CLIENT_ID = "";
    private static final String CREATIVE_SDK_CLIENT_SECRET = "";

    /* 3) Add the getBillingKey() method */
    @Override
    public String getBillingKey() {
        return ""; // Leave this blank
    }

    @Override
    public String getClientID() {
        return CREATIVE_SDK_CLIENT_ID;
    }

    @Override
    public String getClientSecret() {
        return CREATIVE_SDK_CLIENT_SECRET;
    }
}
- Gọi đến intent của ImageEditor và nhận ảnh sau khi chỉnh sửa:
public class MainActivity extends AppCompatActivity {

    /* 1) Add a variable for our Image View */
    private ImageView mResultImageView;

    @Override
    protected void onCreate(Bundle savedInstanceState) {
        // ...

        /* 2) Find the layout's Image View by ID */
        mResultImageView = (ImageView) findViewById(R.id.resultImageView);

        Uri imageUri = Uri.parse("http://my-site-ftw.com/sweet-sweet-image.jpg");

        Intent imageEditorIntent = new AviaryIntent.Builder(this)
                .setData(imageUri)
                .build();

        startActivityForResult(imageEditorIntent, 1);
    }

    // ...

    /* 3) Handle the results */
    @Override
    protected void onActivityResult(int requestCode, int resultCode, Intent data) {
        if (resultCode == RESULT_OK) {
            switch (requestCode) {

                /* 4) Make a case for the request code we passed to startActivityForResult() */
                case 1:

                    /* 5) Show the image! */
                    Uri mImageUri = data.getData();
                    mResultImageView.setImageURI(mImageUri);

                    break;
            }
        }
    }
}
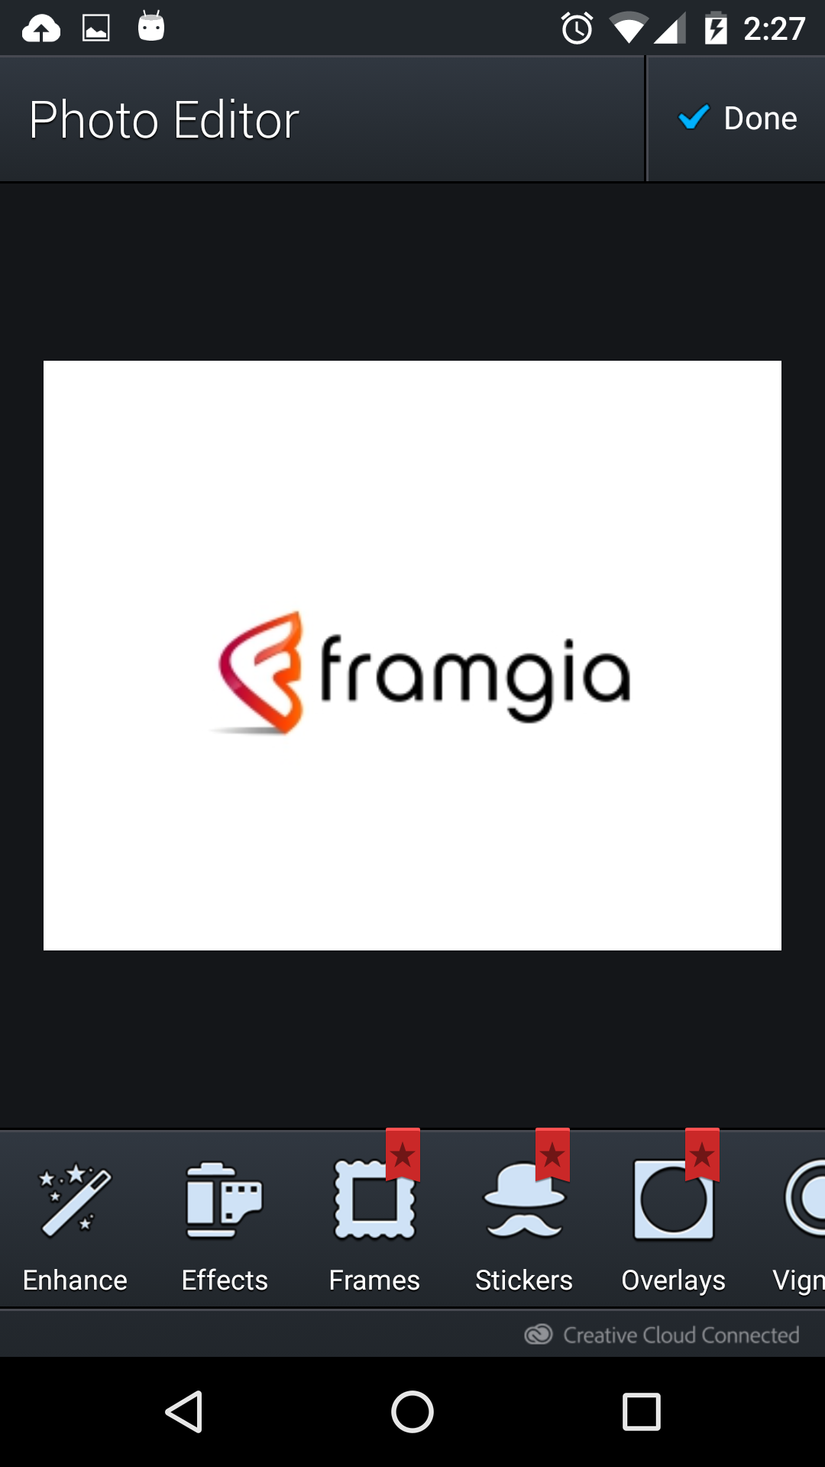
Kết quả
Bạn sẽ được trải nghiệm các chức năng xử lý ảnh rất thú vị.
All rights reserved
