Hiển thị banner quảng cáo trong iOS app
Bài đăng này đã không được cập nhật trong 4 năm
Chắc hẳn đã không ít lần bạn nghe đến việc kiếm tiền bằng cách đưa quảng cáo vào app? Làm sao để thực hiện điều này? Bài viết hôm nay sẽ giới thiệu với các bạn cách để sử dụng banner quảng cáo bằng Google AdMod.
Google Admod là một dịch vụ nổi tiếng của Google, nó cung cấp các SDK để nhúng quảng cáo vào các ứng dụng của developers. Google bán các không gian quảng cáo (banner) bên trong app của bạn cho các khách hàng của họ. Ta sẽ thu được tiền khi người dùng kích vào quảng cáo đó.
Để sử dụng AdMod trong ứng dụng, ta sẽ sử dụng Google Mobiles Ads SDK, cách tích hợp không hề phức tạp, chỉ mất một vài thao tác là ta đã có thể kiếm lời từ ứng dụng của mình.
Tạo tài khoản Google AdMob
Ta cần tạo tài khoản AdMob trước khi tích hợp dịch vụ này vào ứng dụng. Ta có thể tạo tài khoản từ link sau https://www.google.com/admob/ AdMob cũng yêu cầu ta cần phải có tài khoản AdSense và AdWords, nếu bạn chưa có, chỉ cần làm theo hướng dẫn có sẵn trong link đăng ký là được.
Sau khi hoàn thành bước đăng ký, từ AdMob dashboard, kích vào Monetize New App để tạo ứng dụng mới. Ở màn hình tiếp theo, chọn mục Add Your App Manually. Ta sẽ đăng ký app bằng việc điền thông tin mới, nếu sau này bạn đã có sẵn app trên App Store thì chỉ cần search để tìm ứng dụng.
Đặt tên app là GoodleAdMobSample, chọn iOS platform, click Add App. AdMod sẽ tạo App ID cho app và yêu cầu ta chọn format của quảng cáo. Trong demo này, ta sẽ sử dụng banner ad format, vì vậy chọn Banner và chấp nhận những các lựa chọn khác theo mặc định. Đặt AdBanner cho Ad unit name.
Sau khi hoàn thành các bước đăng ký, ta sẽ nhận được App ID và Ad unit ID để sử dụng trong app, hãy lưu những thông tin này lại để sử dụng sau này.
Sử dụng Google Mobile Ads Framework
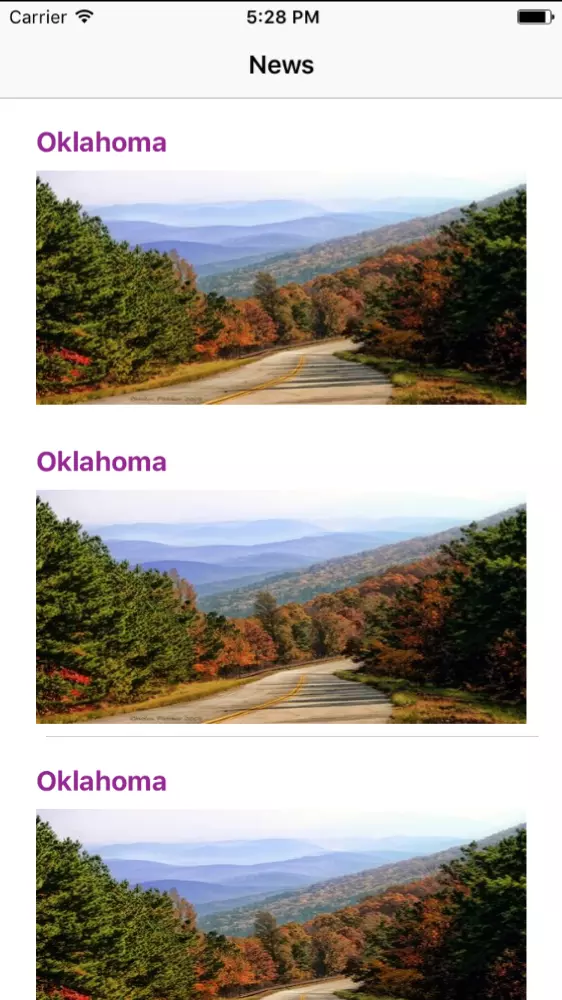
Ta đã hoàn thành các bước cấu hình cần thiết trong AdMob, tiếp theo ta sẽ chuyển sang phần implement. Bạn có thể tạo mới một ứng dụng trong Xcode và đặt tên GoodleAdMobSample. Tạo mới view controller và đặt tên là NewsViewController. Trong view controller này, bạn có thể tạo giao diện sample như sau:

Để tích hợp Google AdMob vào ứng dụng, điều đầu tiên ta cần làm là cài Google Mobile Ads frameword vào project, khởi tạo CocoaPods cho project và thêm vào Podfile dòng sau:
pod 'Google-Mobile-Ads-SDK'
Để sử dụng Google Mobile Ads SDK, ta cần import framework vào project và đăng ký App ID ta vừa tạo ở trên. Trong file AppDelegate.swift, thêm vào dòng import sau:
import GoogleMobileAds
Tiếp theo, chèn dòng code sau vào function application(_:didFinishLaunchingWithOptions:) :
func application(_ application: UIApplication, didFinishLaunchingWithOptions launchOptions: [UIApplicationLaunchOptionsKey: Any]?) -> Bool {

    // Override point for customization after application launch.

    GADMobileAds.configure(withApplicationID: "ca-app-pub-8501671653071605~9497926137")

    return true
}
Hãy nhớ thay App ID trên bằng App ID của bạn.
Hiển thị Banner Ads lên table view header
Hãy bắt đầu bằng cách đơn giản nhất để hiển thị banner ad trên ứng dụng. Ta sẽ request một ad banner từ Google và hiển thị ad này lên table header. Để hiển thị tại vị trí đó, ta sẽ tạo một object của GADBannerView, set delegate và root view controller. Sau đó gọi load method với một ad request để nhận về banner ad. Khi ad đã sẵn sàng để hiện lên, nó sẽ gọi tới hàm adViewDidReceiveAd(bannerView:) của GADBannerViewDelegate protocol. Vì vậy ta chỉ cần implement phương thức để hiển thị banner ad này lên table header. Mở file NewsViewController.swift, import GoogleMobileAds và implement GADBannerViewDelegate protocol:
import GoogleMobileAds

class NewsViewController: UIViewController, GADBannerViewDelegate {
Tiếp theo, khai báo biến GADBannerView:
lazy var adBannerView: GADBannerView = {
    let adBannerView = GADBannerView(adSize: kGADAdSizeSmartBannerPortrait)
    adBannerView.adUnitID = "ca-app-pub-8501671653071605/1974659335"
    adBannerView.delegate = self
    adBannerView.rootViewController = self

    return adBannerView
}()
Trong đoạn code trên, ta sử dụng closure để khởi tạo adBannerView, trong quá trình khởi tạo, SDK sẽ hiểu là ta muốn nhận một smart banner (kGADAdSizeSmartBannerPortrait), là ads unit có thể detect chiều rộng của màn hình và điều chỉnh size của nó sao cho phù hợp. Ta cũng cần thiết lập ad unit ID, delegate và root view controller. Hãy nhớ thay ad unit ID bằng ID của bạn.
Tiếp theo, thêm dòng code sau trong viewDidLoad để thực hiện request ad:
adBannerView.load(GADRequest())
Cuối cùng, ta cần implement hai optional methods của GADBannerViewDelegate protocol như sau:
func adViewDidReceiveAd(_ bannerView: GADBannerView!) {
    print("Banner loaded successfully")
    tableView.tableHeaderView?.frame = bannerView.frame
    tableView.tableHeaderView = bannerView

}

func adView(_ bannerView: GADBannerView!, didFailToReceiveAdWithError error: GADRequestError!) {
    print("Fail to receive ads")
    print(error)
}
Khi ad được load thành công, phương thức adViewDidReceiveAd được gọi đến. Trong phương thức này, ta thực hiện gán banner view cho table view header. Điều này giúp banner ad được hiển thị lên vị trí header của table.
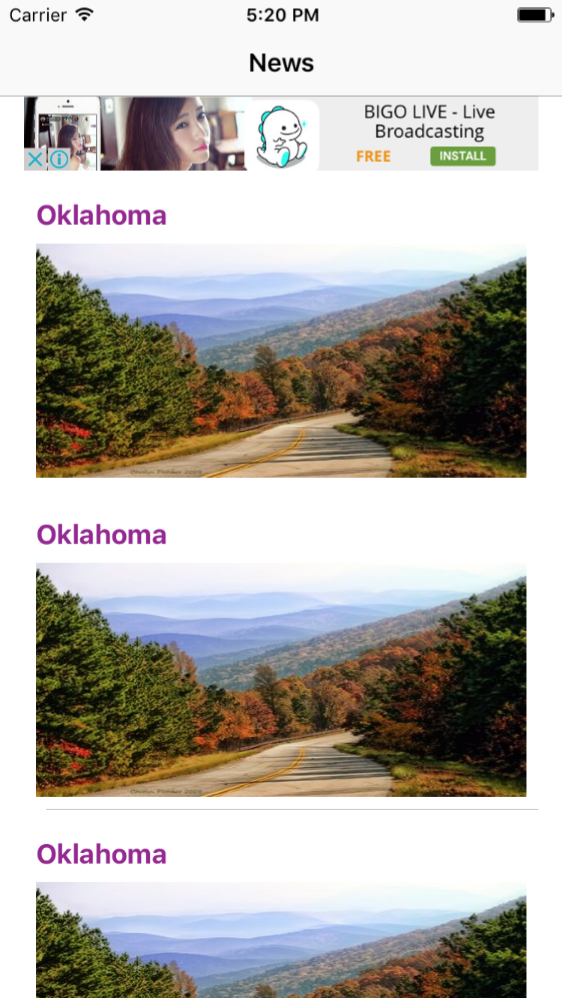
Build và chạy project, ta đã có ad banner đầu tiên như mong đợi:

Thêm Subtle Animation
Thỉnh thoảng việc add thêm subtle animation cho banner ads có thể đem đến user experience tốt hơn cho việc chuyển ad lên màn hình. Section này sẽ giúp bạn animate banner ad. Ta sẽ thêm animation trượt xuống khi ad được đưa lên màn hình. Khi add được load, ta chỉ cần đưa vị trí của ad ra khỏi màn hình, sau đó, đưa nó xuống sử dụng side down animation. Chỉnh lại phương thức adViewDidReceiveAd như sau:
func adViewDidReceiveAd(_ bannerView: GADBannerView!) {
    print("Banner loaded successfully")

    // Reposition the banner ad to create a slide down effect
    let translateTransform = CGAffineTransform(translationX: 0, y: -bannerView.bounds.size.height)
    bannerView.transform = translateTransform

    UIView.animate(withDuration: 0.5) {
        self.tableView.tableHeaderView?.frame = bannerView.frame
        bannerView.transform = CGAffineTransform.identity
        self.tableView.tableHeaderView = bannerView
    }
}
Chạy lại project, và lần này ad sẽ được hiện thị với effect đẹp mắt.
Hiển thị Sticky Banner Ad
Bình thường, khi kéo table view, ad banner sẽ biến mất, nó không luôn được hiển thị ở table header, để luôn hiện thị ad ở top của màn hình, ta có thể thêm nó vào header view của table section thay vì table header.
Thêm đoạn code sau vào NewsViewController class:
func tableView(_ tableView: UITableView, viewForHeaderInSection section: Int) -> UIView? {
    return adBannerView
}

func tableView(_ tableView: UITableView, heightForHeaderInSection section: Int) -> CGFloat {
    return adBannerView.frame.height
}
Cuối cùng, chỉnh lại phương thức adViewDidReceiveAd như sau:
func adViewDidReceiveAd(_ bannerView: GADBannerView!) {
    print("Banner loaded successfully")

    // Reposition the banner ad to create a slide down effect
    let translateTransform = CGAffineTransform(translationX: 0, y: -bannerView.bounds.size.height)
    bannerView.transform = translateTransform

    UIView.animate(withDuration: 0.5) {
        bannerView.transform = CGAffineTransform.identity
    }
}
Bây giờ, ad banner đã được gắn ở vị trí cố định rồi đấy.
Làm việc với Ads chuyển tiếp
Bạn không chỉ tích hợp banner ads vào ứng dụng của mình, mà còn có thể hiển thị ads chuyển tiếp (ví dụ: toàn màn hình). Theo cách này, ta sẽ kiếm được nhiều tiền hơn nhờ ad chuyển tiếp này sẽ block toàn bộ nội dung app và thu hút được sự chú ý của người dùng. Việc này thỉnh thoảng sẽ gây khó chịu cho người dùng vì họ bắt buộc phải xem ad cho đến khi tắt nó đi. Tuy nhiên, nó còn phụ thuộc vào tần suất ta cho xuất hiện ad toàn màn hình này. Vị trí hiển thị tốt cũng sẽ giảm đi sự khó chịu, ví dụ, ta chỉ hiển thị ad giữa các game level nếu đó là app game. Sau đây, ta sẽ cho hiện thị nó ngay khi người dùng mở app.
Để làm được điều này, ta cần quay lại AdMob dashboard (https://apps.admob.com) để tạo ad chuyển tiếp cho demo app. Chọn mục Manage your apps và kích vào active link bên cạnh GoogleAdMobSample. Trong màn hình tiếp theo, chọn New Ad Unit để tạo mới ad unit.

Sau đó chọn Interstitial và đặt tên cho ad này, click done.
Việc implement ad chuyển tiếp cũng tương tự như banner ad. Thay vì sử dụng GADBannerView class, ta sử dụng GADInterstitial class. Vì vậy ta cần khai báo một biến lưu trữ GADInterstitial object
var interstitial: GADInterstitial?
Tuy nhiên, điểm khác nhau giữa GADBannerView và GADInterstitial là GADInterstitial là object sử dụng một lần. Điều này có nghĩa là interstitial không thể dùng để load ad khác một khi nó đã được hiển thị lên.
Do đó, ta sẽ tạo một phương thức helper createAndLoadInterstitial() để tạo ad. Thêm phương thức sau vào NewsViewController class:
private func createAndLoadInterstitial() -> GADInterstitial? {
    interstitial = GADInterstitial(adUnitID: "ca-app-pub-8501671653071605/2568258533")

    guard let interstitial = interstitial else {
        return nil
    }

    let request = GADRequest()
    // Remove the following line before you upload the app
    request.testDevices = [ kGADSimulatorID ]
    interstitial.load(request)
    interstitial.delegate = self

    return interstitial
}
Đoạn code trên có set testDevice cho ad request. Việc này giúp hiển thị interstitial ads lên test device. kGADSimulatorID mặc định cho built-in simulator. Ta sẽ tạo ad khi view được load lên, thêm đoạn code sau vào viewDidLoad():
interstitial = createAndLoadInterstitial()
Tương tự như GADBannerView, ta cần implement GADInterstitialDelegate protocol để kiểm tra trạng thái của ad:
func interstitialDidReceiveAd(_ ad: GADInterstitial!) {
    print("Interstitial loaded successfully")
    ad.present(fromRootViewController: self)
}

func interstitialDidFail(toPresentScreen ad: GADInterstitial!) {
    print("Fail to receive interstitial")
}
Khi interstitial đã sẵn sàng, phương thức interstitialDidReceiveAd(ad:) sẽ được gọi.
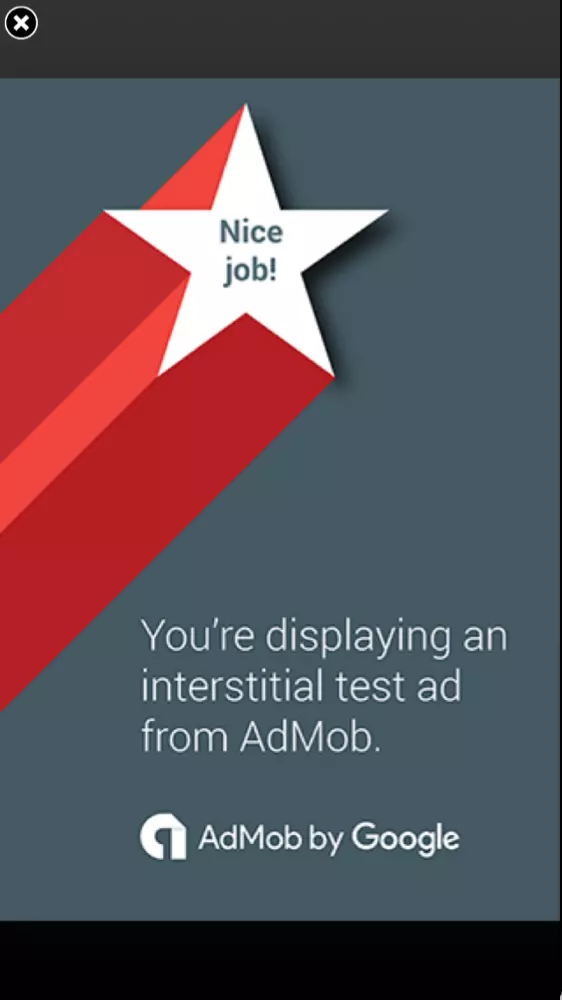
Nếu chạy app lên, bạn sẽ thấy sự xuất hiện của interstitial ngay khi app vừa được load:

Đến đây, ta đã hoàn thành demo về việc sử dụng Google AdMob để hiện thị quảng cáo lên ứng dụng của mình. Bạn có thể download demo project ở đây. Chúc các bạn thành công.
All rights reserved