Custom circle image view
Bài đăng này đã không được cập nhật trong 4 năm
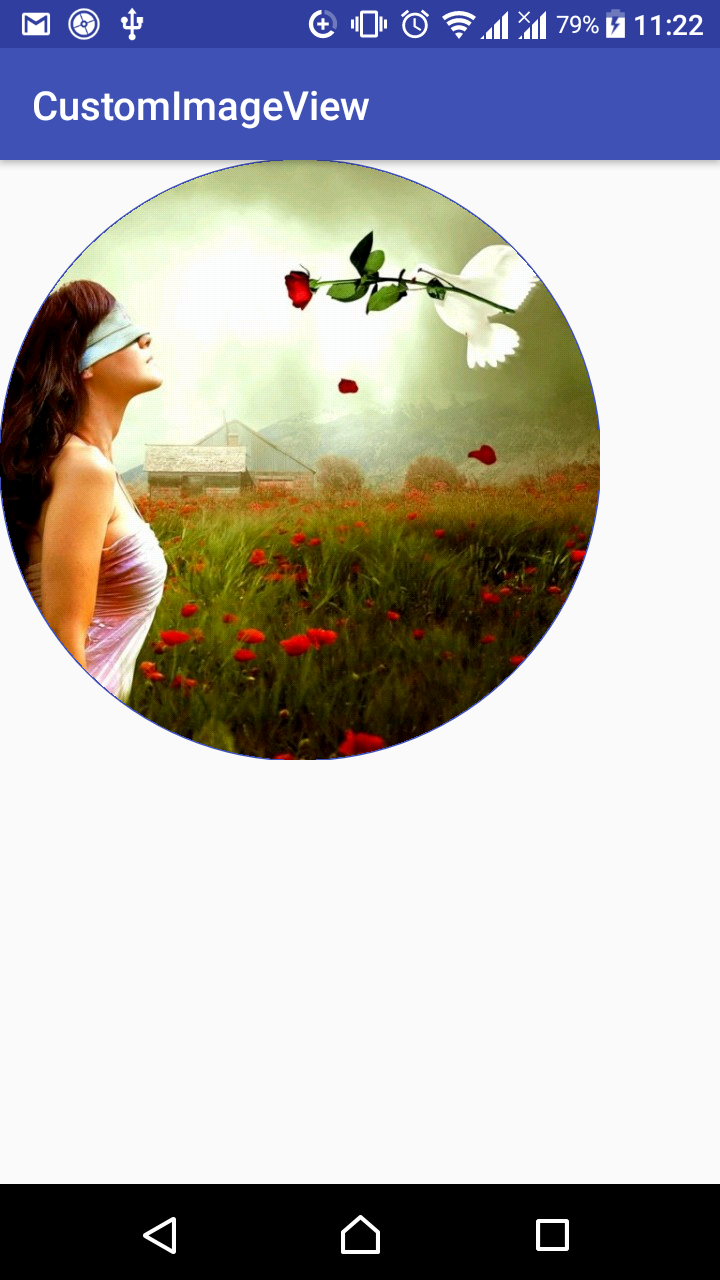
Android supports imageview but it is bounded in rectangle. Sometime, we want to make something awesome or special, like circle image ^^. There are some ways to make circle image. We can create a circle shape as background. After that, load the image into it. Today, I will introduce another way. We don't need to make shape. We just create a CircleImage class to replace ImageView of android by default. Now, let 's start 
Step1, We have to define attributes of your image in attr.xml. Example, we define border color and source of image:
<?xml version="1.0" encoding="utf-8"?>
<resources>
    <declare-styleable name="CircleImage">
        <attr name="border_color" format="color"/>
        <attr name="src" format="integer"></attr>
    </declare-styleable>
</resources>
Step2, Create CircleImage class to declare circle image. In construction function, we need to get all atributes defined and initialize something necessary.
public CircleImage(Context context) {
        super(context);
        init();
    }

    public CircleImage(Context context, @Nullable AttributeSet attrs) {
        super(context, attrs);
        getAttributes(attrs);
        init();
    }

    public CircleImage(Context context, @Nullable AttributeSet attrs, int defStyleAttr) {
        super(context, attrs, defStyleAttr);
        getAttributes(attrs);
        init();
    }

    private void getAttributes(AttributeSet attr) {
        TypedArray typedArray = getContext()
                .getTheme()
                .obtainStyledAttributes(attr, R.styleable.CircleImage, 0, 0);
        try {
            mBorderCorlor = typedArray.getColor(R.styleable.CircleImage_border_color,
                    getResources().getColor(R.color.colorAccent));
            mImageResource = typedArray.getInteger(R.styleable.CircleImage_src, R.drawable.her);
        } finally {
            typedArray.recycle();
        }

    }

    protected void init() {
        /**
         * Below Jelly Bean, clipPath on canvas would not work because lack of hardware acceleration
         * support. Hence, we should explicitly say to use software acceleration.
         **/
        if (Build.VERSION.SDK_INT < Build.VERSION_CODES.ICE_CREAM_SANDWICH
                && Build.VERSION.SDK_INT >= Build.VERSION_CODES.HONEYCOMB) {
            setLayerType(LAYER_TYPE_SOFTWARE, null);
        }
        mImageSize = getContext().getResources().getDimensionPixelSize(R.dimen.dp_300);
        setBorderCorlor(mBorderCorlor);

    }
Let 's talk about our idea. We create a place holder drawable and after that, we fill in by our image we want. Of course, drawable is circle shape. Create drawable via below function:
  private void createDrawable() {
        mDrawable = new Drawable() {
            @Override
            public void draw(@NonNull Canvas canvas) {
                int centerX = Math.round(canvas.getWidth() * 0.5f);
                int centerY = Math.round(canvas.getHeight() * 0.5f);

                /**
                 * draw a circle shape for placeholder image
                 */
                canvas.drawCircle(centerX, centerY, canvas.getHeight() / 2, mPaint);
                canvas.drawCircle(centerX, centerY, canvas.getHeight() / 2, mBorderPaint);
            }

            @Override
            public void setAlpha(int i) {

            }

            @Override
            public void setColorFilter(@Nullable ColorFilter colorFilter) {

            }

            @Override
            public int getOpacity() {
                return PixelFormat.UNKNOWN;
            }
        };
    }
We need to initialize rectF which would contain the bounds of the view. Deal with onMeasure() function.
 @Override
    protected void onMeasure(int widthMeasureSpec, int heightMeasureSpec) {
        super.onMeasure(widthMeasureSpec, heightMeasureSpec);
        int screenWidth = MeasureSpec.getSize(widthMeasureSpec);
        int screenHeight = MeasureSpec.getSize(heightMeasureSpec);
        mRect.set(0, 0, screenWidth, screenHeight);
    }
Override onDraw() function to draw your circle shape and border .
  @Override
    protected void onDraw(Canvas canvas) {
        float borderWidth = 1f;
        canvas.drawCircle(mRect.centerX(), mRect.centerY(), (mRect.height() / 2) - borderWidth, mPaint);
        canvas.drawCircle(mRect.centerX(), mRect.centerY(), (mRect.height() / 2) - borderWidth, mBorderPaint);
        mClipPath.addCircle(mRect.centerX(), mRect.centerY(), (mRect.height() / 2), Path.Direction.CW);
        canvas.clipPath(mClipPath);
        super.onDraw(canvas);
    }
At the end, we use CircleImage in our layout and call showImage() method in activity to show image.
<?xml version="1.0" encoding="utf-8"?>
<LinearLayout xmlns:android="http://schemas.android.com/apk/res/android"
    xmlns:app="http://schemas.android.com/apk/res-auto"
    xmlns:tools="http://schemas.android.com/tools"
    android:layout_width="match_parent"
    android:layout_height="match_parent"
    tools:context="com.example.ongnau.customimageview.MainActivity">

    <com.example.ongnau.customimageview.CircleImage
        android:layout_width="@dimen/dp_300"
        android:layout_height="@dimen/dp_300"
        android:id="@+id/image_circle"
        app:border_color="@color/colorPrimary"
        android:layout_gravity="center_horizontal"
        android:src="@drawable/her"/>
</LinearLayout>
public class MainActivity extends AppCompatActivity {

    @Override
    protected void onCreate(Bundle savedInstanceState) {
        super.onCreate(savedInstanceState);
        setContentView(R.layout.activity_main);
        CircleImage image = findViewById(R.id.image_circle);
        image.showImage();
    }
}
You can retrieve full code at circle image
All rights reserved
