[Codeigniter Framework] Phần 3: Upload image trong Codeigniter
Bài đăng này đã không được cập nhật trong 4 năm

Tiếp tục loạt bài về CI, chúng ta tiếp tục tìm hiểu thư viện tiếp theo, đó là Library Upload.
1. Cấu hình library upload
Cũng giống như các library khác, để thao tác với nó phải gọi ra bằng cú pháp như sau:
$this->load->library('upload');
Và sau đó chúng ta sẽ cấu hình 1 số thông tin về đường dẫn, định dạng, size, kích thước của ảnh như sau:
$config['upload_path'] = 'upload';
$config['allowed_types'] = 'jpg|jpeg|png|gif';
$config['max_size'] = '100';
$config['max_width']  = '1024';
$config['max_height']  = '768';
Sau khi cấu hình xong, chúng ta thực hiện lệnh để thực thi việc upload:
$this->upload->do_upload('Ten file')
2. Thực hành upload file
Vẫn tiếp tục với demo Quản lý sinh viên của phần trước, ở bài này, chúng ta sẽ thực hiện upload ảnh cho thông tin sinh viên. Thêm 1 trường image vào bảng students

Ở student controller, ta thêm thông tin để upload ảnh vào function add như sau:
<?php
defined('BASEPATH') OR exit('No direct script access allowed');

class Student extends CI_Controller {

  public function index(){
  	$this->load->model("student_model");
  	$data["list"] = $this->student_model->getList();
    $this->load->view("student/index", $data);
  }

  public function add(){
  	if ($this->input->post("btnadd")) {
      $data["name"] = $this->input->post("name");
      $data["age"] = $this->input->post("age");

      if (!empty($_FILES['picture']['name'])) {
        $config['upload_path'] = 'upload';
        $config['allowed_types'] = 'jpg|jpeg|png|gif';
        $config['file_name'] = $_FILES['picture']['name'];

        $this->load->library('upload', $config);
        $this->upload->initialize($config);

        if ($this->upload->do_upload('picture')) {
          $uploadData = $this->upload->data();
          $data["image"] = $uploadData['file_name'];
        } else{
          $data["image"] = '';
        }
      }else{
        $data["image"] = '';
      }

      $this->form_validation->set_rules("name", "Tên sinh viên", "required|min_length[3]");
      $this->form_validation->set_rules("age", "Tuổi", "required|is_numeric");

      if ($this->form_validation->run() == TRUE) {
        $this->db->insert("students", $data);
        header('Location: '.BASE_URL.'/student');
      }
  	}
    $this->load->view("student/add");
  }
}
Tiếp tục, chúng ta thao tác trên file add trong forder student, truyền vào thẻ form câu lệnh enctype="multipart/form-data" để trình duyệt có thể hiều và mã hóa dữ liệu thành nhiều phần.
<h2>Add student</h2>
<form action="" method="post" enctype="multipart/form-data">
	<table>
        <tr>
        	<td></td>
        	<td><span style="color: red;"><?php echo validation_errors(); ?></span></td>
        </tr>
		<tr>
			<td>Name</td>
			<td><input type="text" name="name"></td>
		</tr>
		<tr>
			<td>Age</td>
			<td><input type="text" name="age"></td>
		</tr>
		<tr>
			<td>Image</td>
			<td><input type="file" name="picture"></td>
		</tr>
		<tr>
			<td></td>
			<td><input type="submit" name="btnadd" value="Add"></td>
		</tr>
	</table>
</form>
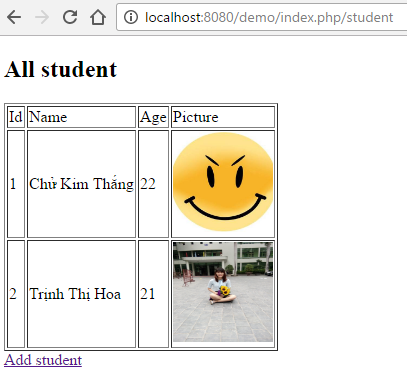
Sau khi upload thành công thì sẽ chuyển về trang index, show ra bảng danh sách sinh viên có cột picture
<!DOCTYPE html>
<html>
<head>
  <title>Danh sách sinh viên</title>
  <base href="<?php echo BASE_URL;?>">
</head>
<body>
<h2>All student</h2>
  <table border="1">
    <tr>
  	  <td>Id</td>
  	  <td>Name</td>
  	  <td>Age</td>
      <td>Picture</td>
  	</tr>
  	<?php foreach ($list as $value) {?>
  	<tr>
  	  <td><?php echo $value["id"];?></td>
  	  <td><?php echo $value["name"];?></td>
  	  <td><?php echo $value["age"];?></td>
      <td><img src="upload/<?php echo $value['image'];?>" width="100px" height="100px" ></td>
  	</tr>
  	<?php } ?>
  </table>
  <a href = "<?php echo BASE_URL; ?>/student/add">Add student</a>
</body>
</html>
Và cuối cùng sẽ ra kết quả như sau:
Chúc các bạn thành công 
All rights reserved
