Chat Realtime the Rails Way
Bài đăng này đã không được cập nhật trong 4 năm
I. Giới Thiệu
Actioncable là một bước tiến đáng kể cho nền tảng Rails, nó cung cấp cơ chế để bạn đưa Rails app hoặc một phần nào của app có thể thực thi được tính năng realtime thông qua công nghệ WebSocket với phần hỗ trợ ở client là code Javascript và phần server là Ruby. Vì được tích hợp vào Rails nên bạn hoàn toàn có thể xử lý các truy vấn đến CSDL một cách dễ dàng thông qua ActiveRecord hoặc ORM khác.
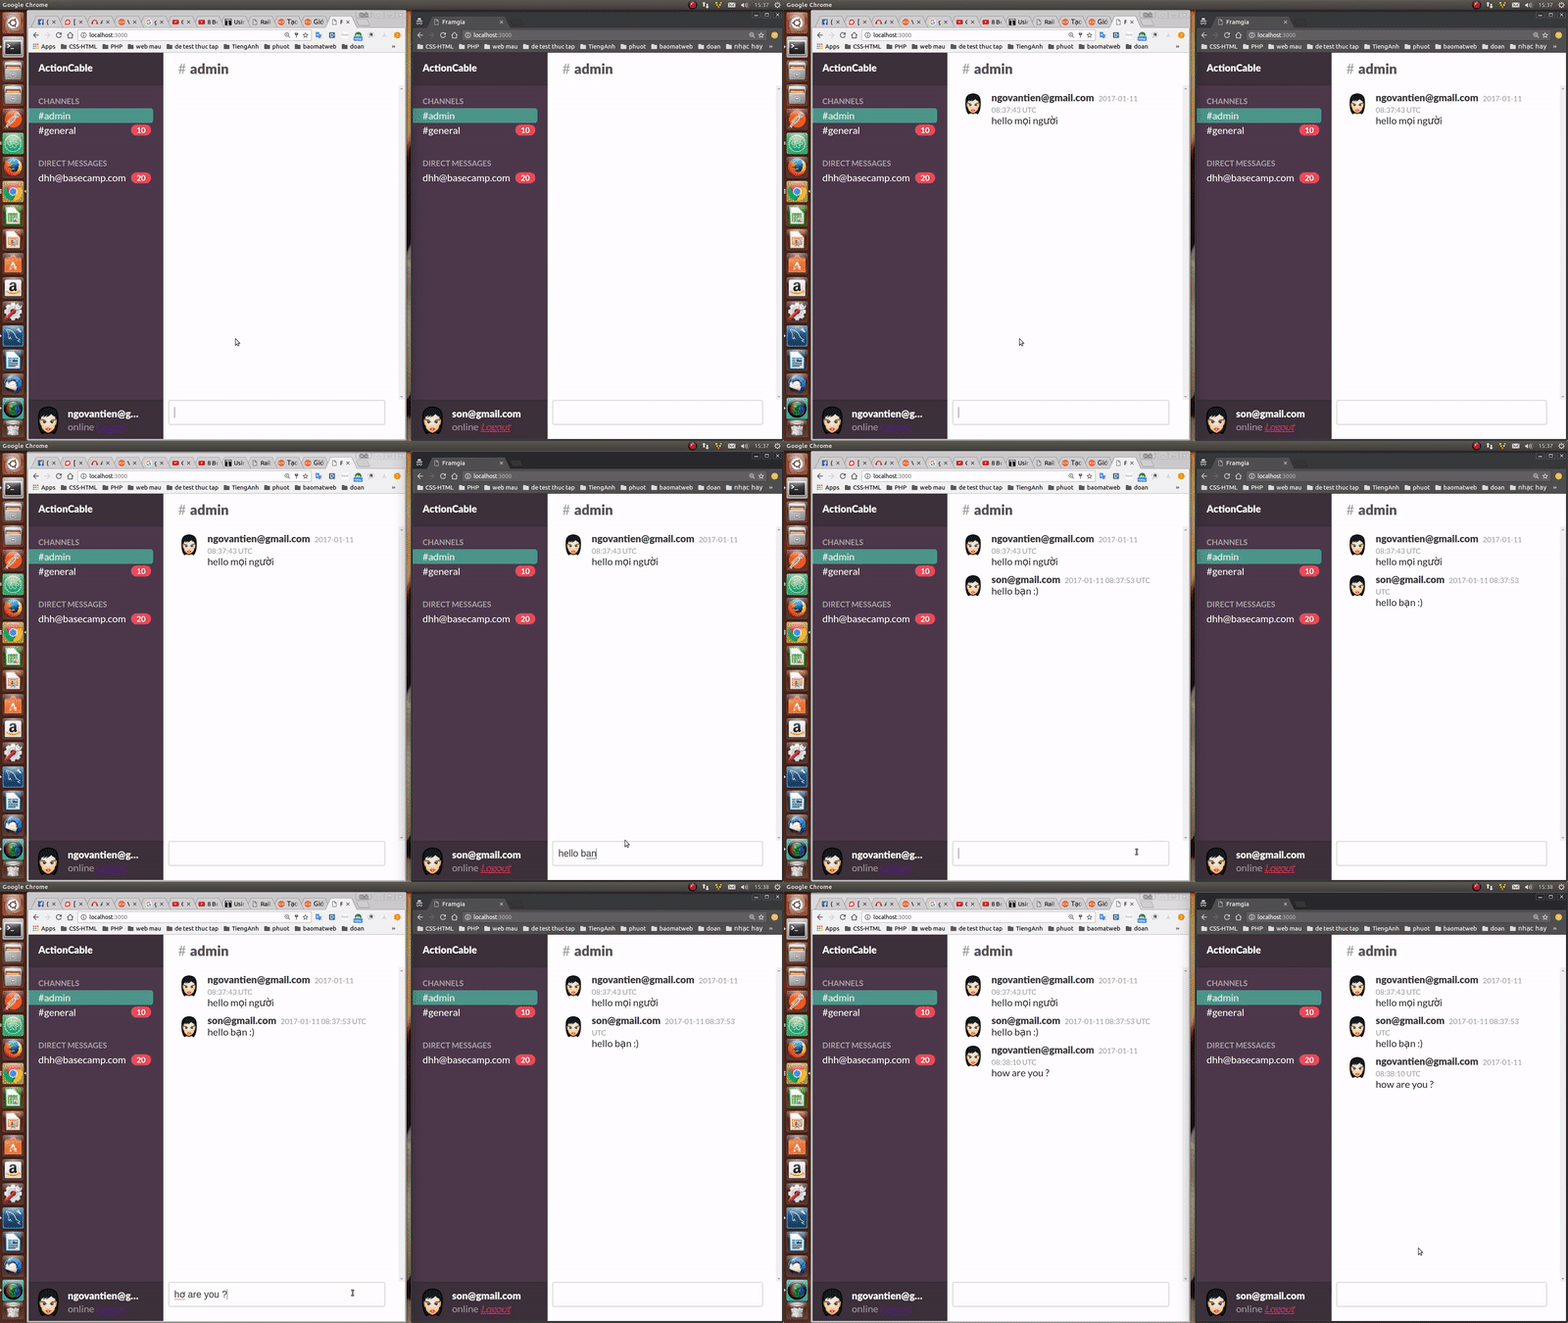
Giao diện mình tham khảo nhé.Ví dụ về ứng dụng mình sắp hướng dẩn .

II. Từ A đến Z cho người mới bắt đầu học Ruby on Rails
1. Khởi động
Sau đây mình sẽ giới thiệu chi tiết các bước từ A đến Z một ví dụ demo đơn giản . Đầu tiên bạn New một App với rails có tên là framgia chẳng hạn.
rails new framgia -d mysql
Ở đây mình dùng mysql các bạn vào /config/database.yml của dự án và cấu hình kết nối database lại nhé. Tạo database cho dự án đi nào.
rake db:create db:migrate
Nếu chạy lệnh không thấy báo lỗi gì là bạn đã tạo DB thành công, còn các cảnh bảo warning thì không cần để ý lắm nếu nó không quá quan trọng. Những lỗi có thể xảy ra ở đây là bạn chưa cài MySQL, lỗi quyền truy cập MySQL…
Để chắc chắn thì các bạn có thể kiểm tra xem database đã được tạo chưa bằng cách gõ lệnh:
mysql -u"username" -p"password"
Ví dụ:
mysql -uroot -p12345678
Sau đó gõ tiếp “show databases;” để xem danh sách các DB đã được tạo. Ok. mình nói vấn đề này hơi nhiều. Qua bước tiếp theo nào Chúng ta tạo controller có tên là rooms với hàm routes là show .
rails g controller rooms show
Tiếp tục tạo modle massage nhé .
rails g modle massage content:text
Tạm thời như thế cái đã . Thay đổi cấu trúc Database nào.
rake db:migrate
Tiếp theo bạn vào change file routes chút .
root to: "rooms#show"
Vào controller show all message ra xem.Mấy bước này là các bước cơ bản cho những bạn mới học Rails nhe.
#rooms_controller.erb
 def show
    @messages = Message.all
 end
// views/show.html.erb
<h1>ActionCable Chat</h1>
<div id="messages">
   <%= render @messages %>
</div>
// view/messages/_mesages.html.erb
<div class="message">
  <p><%= message.content %></p>
</div>
2. Thêm kênh giao tiếp.
Bước tiếp theo chúng ta sẽ làm là tạo một kênh mà chúng ta có thể sử dụng để giao tiếp qua WebSockets giữa máy khách và máy chủ.
rails g channel room speak
Tiếp theo, chúng ta cần phải kích hoạt Action Cable bằng cách config các file sau. Ở file cable.js thêm
(function() {
  this.App || (this.App = {});

  App.cable = ActionCable.createConsumer();

}).call(this);
và file routes.rb
mount ActionCable.server => '/cable'
Trong file dưới ta thay đổi một vài chổ như sau.
// app/assets/javascripts/channels/room.coffee
  received: (data) ->
    // Called when there's incoming data on the websocket for this channel
    $('#messages').append "<p>#{data}</p>"
  speak: (message) ->
    @perform 'speak', message: message
Ở room_channel.rb
  def subscribed
    stream_from "room_channel"
  end
và
  def speak(data)
    ActionCable.server.broadcast "room_channel", data["message"]
  end
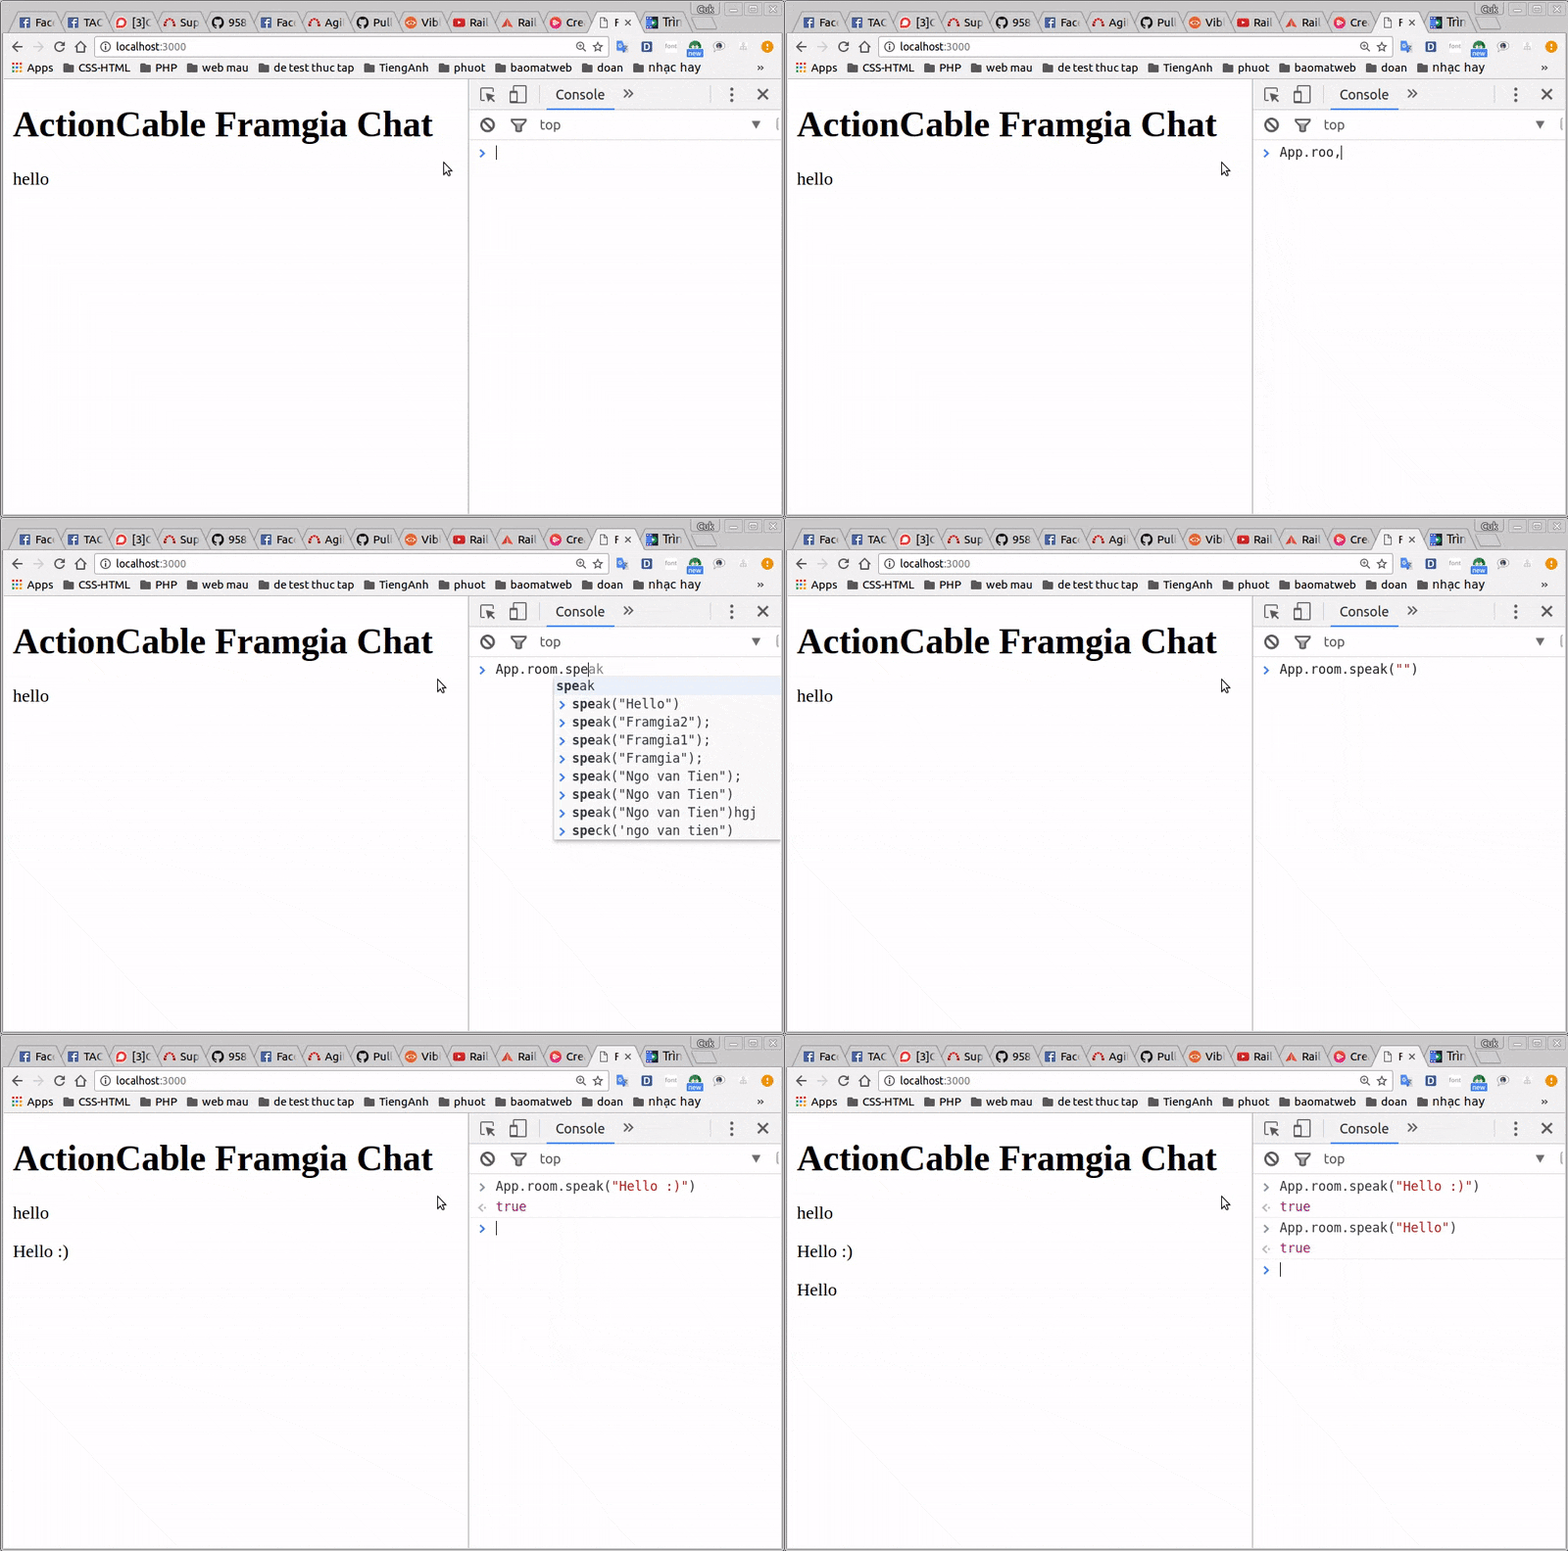
Chúng ta "rails s" test thử nhé.. Dử liệu lúc này vẩn chưa được lưu vào DB các bạn nhé. Thực hiện xong và reload lại trang xem nhe.

3. Kết nối.
Bây giờ chúng ta sẽ tiến hành lưu dử liệu vào database nhé Tiến hành thay đổi 1 số chổ nào Trong room_channel.rb .
  def speak(data)
    Message.create content: data["message"]
  end
Model Message.rb.
class Message < ApplicationRecord
  after_create_commit { BroadcastMessageJob.perform_later self }
end
Tạo một công việc mới.
rails g job BroadcastMessage
Trong broadcast_message_job.rb
  def perform(message)
    ActionCable.server.broadcast "room_channel", render_message["message"]
  end

  private
  def render_message(message)
    ApplicationController.renderer.render message
  end
#app/jobs/broadcast_message_job.rb
  received: (data) ->
    # Called when there's incoming data on the websocket for this channel
    $('#messages').append data
  speak: (message) ->
    @perform 'speak', message: message
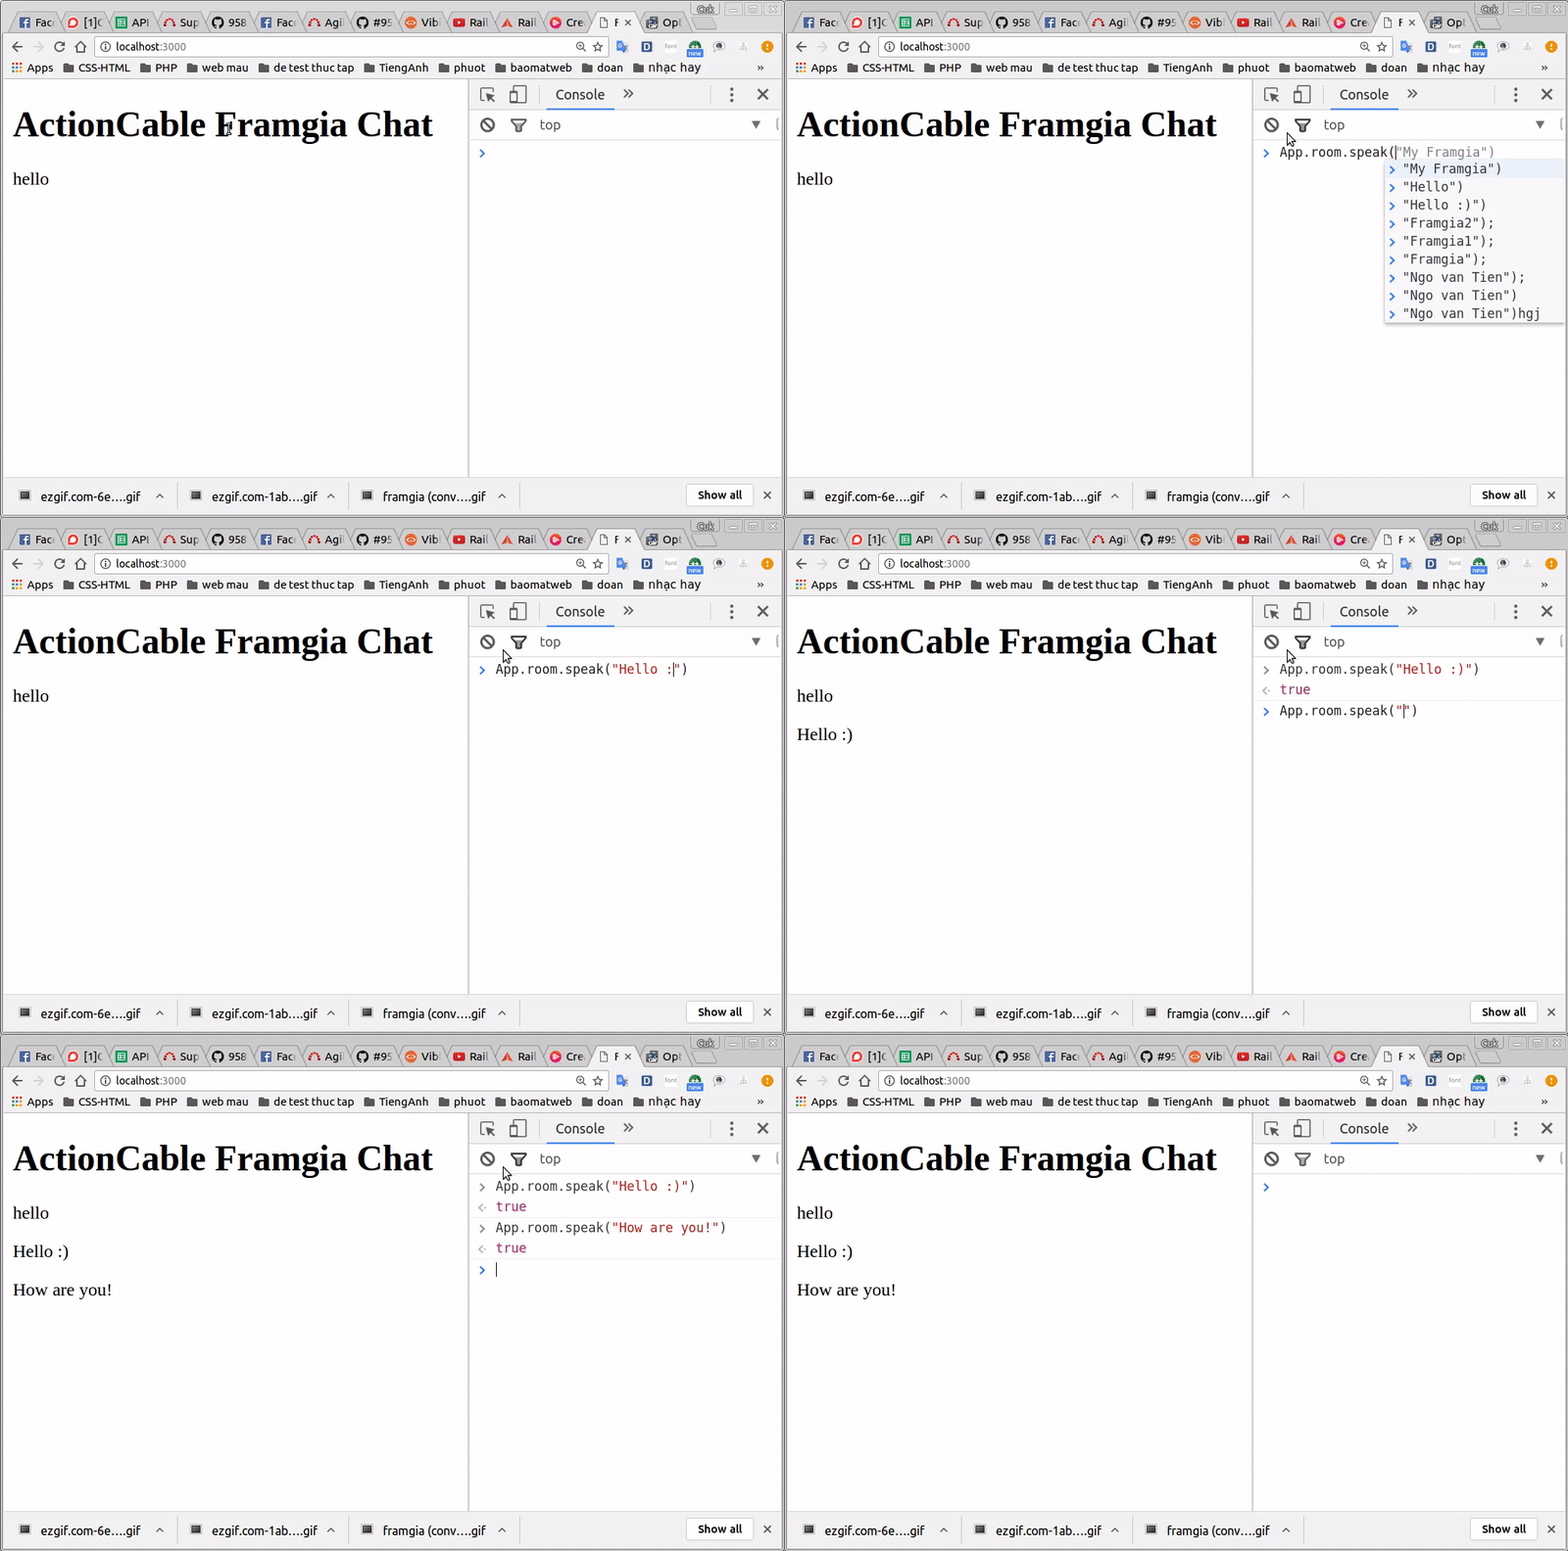
Kết quả như thế này nhé

4. Liên kết và ràng buộc logic cùng gem Devise
Bây giờ bạn sử dụng gem Devise nhe. Bạn thêm dòng này vào Gemfile của dự án.
gem 'devise'
Devise là một gem rất linh hoạt được sử trong quá trình xác thực người dùng.Nó hỗ trợ hầu hết tất cả mọi việc bạn cần trong việc quản lí và xác thực người dùng trong hệ thống của bạn.Nó cho phép bạn có thể tạo nhiều Model trong cùng một lúc;Nó dược xây dựng dựa trên các module nên bạn có thể chỉ sử dụng những gì bạn thực sự cần.
Chạy bundle install và thực hiện tiếp lệnh sau.
rails generate devise:install
Sau khi add gem devise vào bước tiếp theo cần generate model sử dụng dem devise cho hệ thống.Ví dụ bạn muốn quản lí người dùng trong bảng User gõ lệnh sau.Ở đây mình củng đang cần dùng Modle User.
rail g devise User
Bây giờ chúng ta tiến hành tạo ràng buôc cho chúng nhé.
rails g migration AddUserToMessages user:references:index
rake db:migrate
Thêm vào Model Message.rb
belongs_to :user
và room_controller.rb
before_action :authenticate_user!
Vào layout/application.html.erb thêm vào như sau.
    <title><%= content_for?(:title) ? yield(:title) : 'ActionCable Chat' %></title>
    <%= csrf_meta_tags %>
    <%= action_cable_meta_tag %>

    <%= stylesheet_link_tag    'application', media: 'all', 'data-turbolinks-track' => 'reload' %>
    <%= javascript_include_tag 'application', 'data-turbolinks-track' => 'reload' %>
    <link href="http://fonts.googleapis.com/css?family=Lato:400,700,900" rel="stylesheet" type="text/css"/>
_message.html.erb
<div class="message">
  <a href="" class="message_profile-pic"></a>
  <a href="" class="message_username"><%= message.user.email %></a>
  <span class="message_timestamp">
    <%= message.created_at %>
  </span>
  <span class="message_star"></span>
  <span class="message_content">
    <%= message.content %>
  </span>
</div>
Thay đổi một chút ở room.coffee
#app/assets/javascripts/channels/room.coffee
  received: (data) ->
    # Called when there's incoming data on the websocket for this channel
    $messages = $('#messages')
    $messages.append data
    $messages.scrollTop $messages.prop('scrollHeight')
  speak: (message) ->
    @perform 'speak', message: message
#app/assets/javascripts/rooms.coffee
$ ->
  $messages = $('#messages')
  $messages.scrollTop $messages.prop('scrollHeight')
  $('#message_input').focus()

$(document).on 'keypress', '#message_input', (e) ->
  if e.keyCode == 13 and e.target.value
    App.room.speak(e.target.value)
    e.target.value = ''
    e.preventDefault()
#app/views/rooms/show.html.erb
<%= link_to("Logout", destroy_user_session_path, :method => :delete) %>
Tạo mới file config/initializers/warden_hooks.rb với nội dung
Warden::Manager.after_set_user do |user, auth, opts|
  scope = opts[:scope]
  auth.cookies.signed["#{scope}.id"] = user.id
  auth.cookies.signed["#{scope}.expires_at"] = 30.minutes.from_now
end

Warden::Manager.before_logout do |user, auth, opts|
  scope = opts[:scope]
  auth.cookies.signed["#{scope}.id"] = nil
  auth.cookies.signed["#{scope}.expires_at"] = nil
end
Edit app/channels/application_cable/connection.rb một chút nhé
    identified_by :current_user

    def connect
      self.current_user = find_verified_user
      logger.add_tags 'ActionCable', current_user.email
    end

    protected
    def find_verified_user
      if (current_user = User.find_by_id cookies.signed['user.id'])
        current_user
      else
        reject_unauthorized_connection
      end
    end
Cuối cùng
#app/channels/room_channel.rb
  def speak(data)
    # ActionCable.server.broadcast "room_channel", data["message"]
    Message.create content: data["message"], user: current_user
  end
Xem thành quả của bạn đi nào.
III. Kết luận.
IV. Tài liệu tham khảo.
All rights reserved