BLoC Pattern in Flutter - Phần 2
Bài đăng này đã không được cập nhật trong 6 năm
Giới thiệu
Trong phần trước mình đã giới thiệu về BLoC patten trong lập trình Flutter. Chúng ta đã hiểu rõ về nguyên lý hoạt động cũng như ưu nhược điểm của nó so với các mô hình khác. Ở phần này mình sẽ hướng dẫn các bạn cách implement một BLoC trong Flutter cụ thể sẽ như thế nào
Tiến hành
Đầu tiên các bạn cần phải import thư viện flutter_bloc vào file pubspec.yaml
dependencies:
  flutter:
    sdk: flutter

  # The following adds the Cupertino Icons font to your application.
  # Use with the CupertinoIcons class for iOS style icons.
  cupertino_icons: ^0.1.2
  flutter_bloc: ^0.18.2
Để implement một BLoC chúng ta cần phải tạo ra 3 file
Đầu tiên là file State, đây là file chứa các state của BLoC, ở đây mình sẽ đặt tên là get_user_state.dart vì BLoC này mình sẽ thực hiện chức năng get một list user
import '../user.dart';

class GetUsersState {}

class GetUsersUnInitial extends GetUsersState {}

class GetUsersLoading extends GetUsersState {}

class GetUsersSuccess extends GetUsersState {
  List<User> users;

  GetUsersSuccess(this.users) : assert(users != null);
}

class GetUsersError extends GetUsersState {}
Tuỳ theo trường hợp cụ thể mà State của BLoC sẽ khác nhau ở đây mình sẽ thực hiện các state cơ bản trong truy vấn một API bao gồm UnInitial, Loading, Success, Error
Tiếp theo sẽ là file event, đối với file này bạn có thể dùng chung cho nhiều BLoC hoặc có thể chia nhiều event cho cùng một BLoC tuỳ theo nhu cầu của bạn. Ở đây mình sẽ đặt tên là UsersEvent. Trong này có thế chứa nhiều event khác nhau.
class UsersEvent{}

class GetUsersEvent extends UsersEvent{
  // you can pass param here
  String id;
  GetUsersEvent({this.id});
}
Tiếp theo sẽ là file quan trọng nhất, chính là file Bloc
import 'package:bloc/bloc.dart';
import 'package:flutter_demo_bloc_1/bloc/get_user_state.dart';
import 'package:flutter_demo_bloc_1/bloc/user_event.dart';
import 'package:flutter_demo_bloc_1/user.dart';

class GetUsersBloc extends Bloc<UsersEvent, GetUsersState> {
  @override
  GetUsersState get initialState => GetUsersUnInitial();

  @override
  Stream<GetUsersState> mapEventToState(UsersEvent event) async*{
    // to notify that is loading
    yield GetUsersLoading();
    // if you have multiple event
    if(event is GetUsersEvent){
      yield GetUsersSuccess(listUsers());
    }
    // if have error you can yield GetUsersError state
  }
}
File này sẽ chịu trách nhiệm map sữa event và sate, đồng thời xử lý/get data trả về cho từng state
Đây là model User của mình. Đễ đơn giản hoá ví dụ mình sẽ trả về một list user tĩnh. Còn trong thực tế các bạn sẽ thôn qua truy vấn API hoặc DB để get dữ liệu nhé
class User {
  String name;
  String avatar;
  String address;

  User({this.name, this.avatar, this.address});
}

List<User> listUsers() {
  List<User> users = List();
  users.add(User(name: "Cristiano ronaldo", address: "Hospital Dr. Nélio Mendonça, Funchal, Bồ Đào Nha", avatar: "https://specials-images.forbesimg.com/imageserve/5d2388f14c687b00085c0f91/416x416.jpg?background=000000&cropX1=0&cropX2=1559&cropY1=130&cropY2=1690"));
  users.add(User(name: "Cristiano ronaldo", address: "Hospital Dr. Nélio Mendonça, Funchal, Bồ Đào Nha", avatar: "https://specials-images.forbesimg.com/imageserve/5d2388f14c687b00085c0f91/416x416.jpg?background=000000&cropX1=0&cropX2=1559&cropY1=130&cropY2=1690"));
  users.add(User(name: "Cristiano ronaldo", address: "Hospital Dr. Nélio Mendonça, Funchal, Bồ Đào Nha", avatar: "https://specials-images.forbesimg.com/imageserve/5d2388f14c687b00085c0f91/416x416.jpg?background=000000&cropX1=0&cropX2=1559&cropY1=130&cropY2=1690"));
  users.add(User(name: "Cristiano ronaldo", address: "Hospital Dr. Nélio Mendonça, Funchal, Bồ Đào Nha", avatar: "https://specials-images.forbesimg.com/imageserve/5d2388f14c687b00085c0f91/416x416.jpg?background=000000&cropX1=0&cropX2=1559&cropY1=130&cropY2=1690"));
  users.add(User(name: "Cristiano ronaldo", address: "Hospital Dr. Nélio Mendonça, Funchal, Bồ Đào Nha", avatar: "https://specials-images.forbesimg.com/imageserve/5d2388f14c687b00085c0f91/416x416.jpg?background=000000&cropX1=0&cropX2=1559&cropY1=130&cropY2=1690"));
  users.add(User(name: "Cristiano ronaldo", address: "Hospital Dr. Nélio Mendonça, Funchal, Bồ Đào Nha", avatar: "https://specials-images.forbesimg.com/imageserve/5d2388f14c687b00085c0f91/416x416.jpg?background=000000&cropX1=0&cropX2=1559&cropY1=130&cropY2=1690"));
  users.add(User(name: "Cristiano ronaldo", address: "Hospital Dr. Nélio Mendonça, Funchal, Bồ Đào Nha", avatar: "https://specials-images.forbesimg.com/imageserve/5d2388f14c687b00085c0f91/416x416.jpg?background=000000&cropX1=0&cropX2=1559&cropY1=130&cropY2=1690"));
  return users;
}
Tiến hành provide BLoC trong màn hình mà bạn cần sử dụng BLoC này, Ở đây mình sẽ thực hiện trong màn hình home
class _MyHomePageState extends State<MyHomePage> {
  GetUsersBloc _getUsersBloc;

  @override
  void initState() {
    super.initState();
    _getUsersBloc = GetUsersBloc();
  }

  @override
  Widget build(BuildContext context) {
    _getUsersBloc.dispatch(GetUsersEvent());
    return BlocProvider(
      builder: (context) => _getUsersBloc,
      child: Scaffold(
        appBar: AppBar(
          title: Text("Demo BLoC"),
          centerTitle: true,
        ),
        body: BlocBuilder(
          bloc: _getUsersBloc,
          builder: (context, GetUsersState state) {
            if (state is GetUsersUnInitial)
              return Container();
            else if (state is GetUsersLoading)
              return Center(child: CircularProgressIndicator());
            else if (state is GetUsersSuccess)
              return _buildListUser(state.users);
            else {
              return Center(child: Text("Error"));
            }
          },
        ),
      ),
    );
  }

  Widget _buildListUser(List<User> users) {
    return ListView.separated(
        itemBuilder: (context, index) {
          return ListTile(
            leading: CircleAvatar(
              backgroundImage: NetworkImage(users[index].avatar),
            ),
            title: Text(
              users[index].name,
              style: TextStyle(color: Colors.black, fontSize: 16),
            ),
            subtitle: Text(
              users[index].address,
              style: TextStyle(color: Colors.grey, fontSize: 14),
            ),
          );
        },
        separatorBuilder: (context, index) {
          return Divider(
            height: 1,
          );
        },
        itemCount: users.length);
  }
}
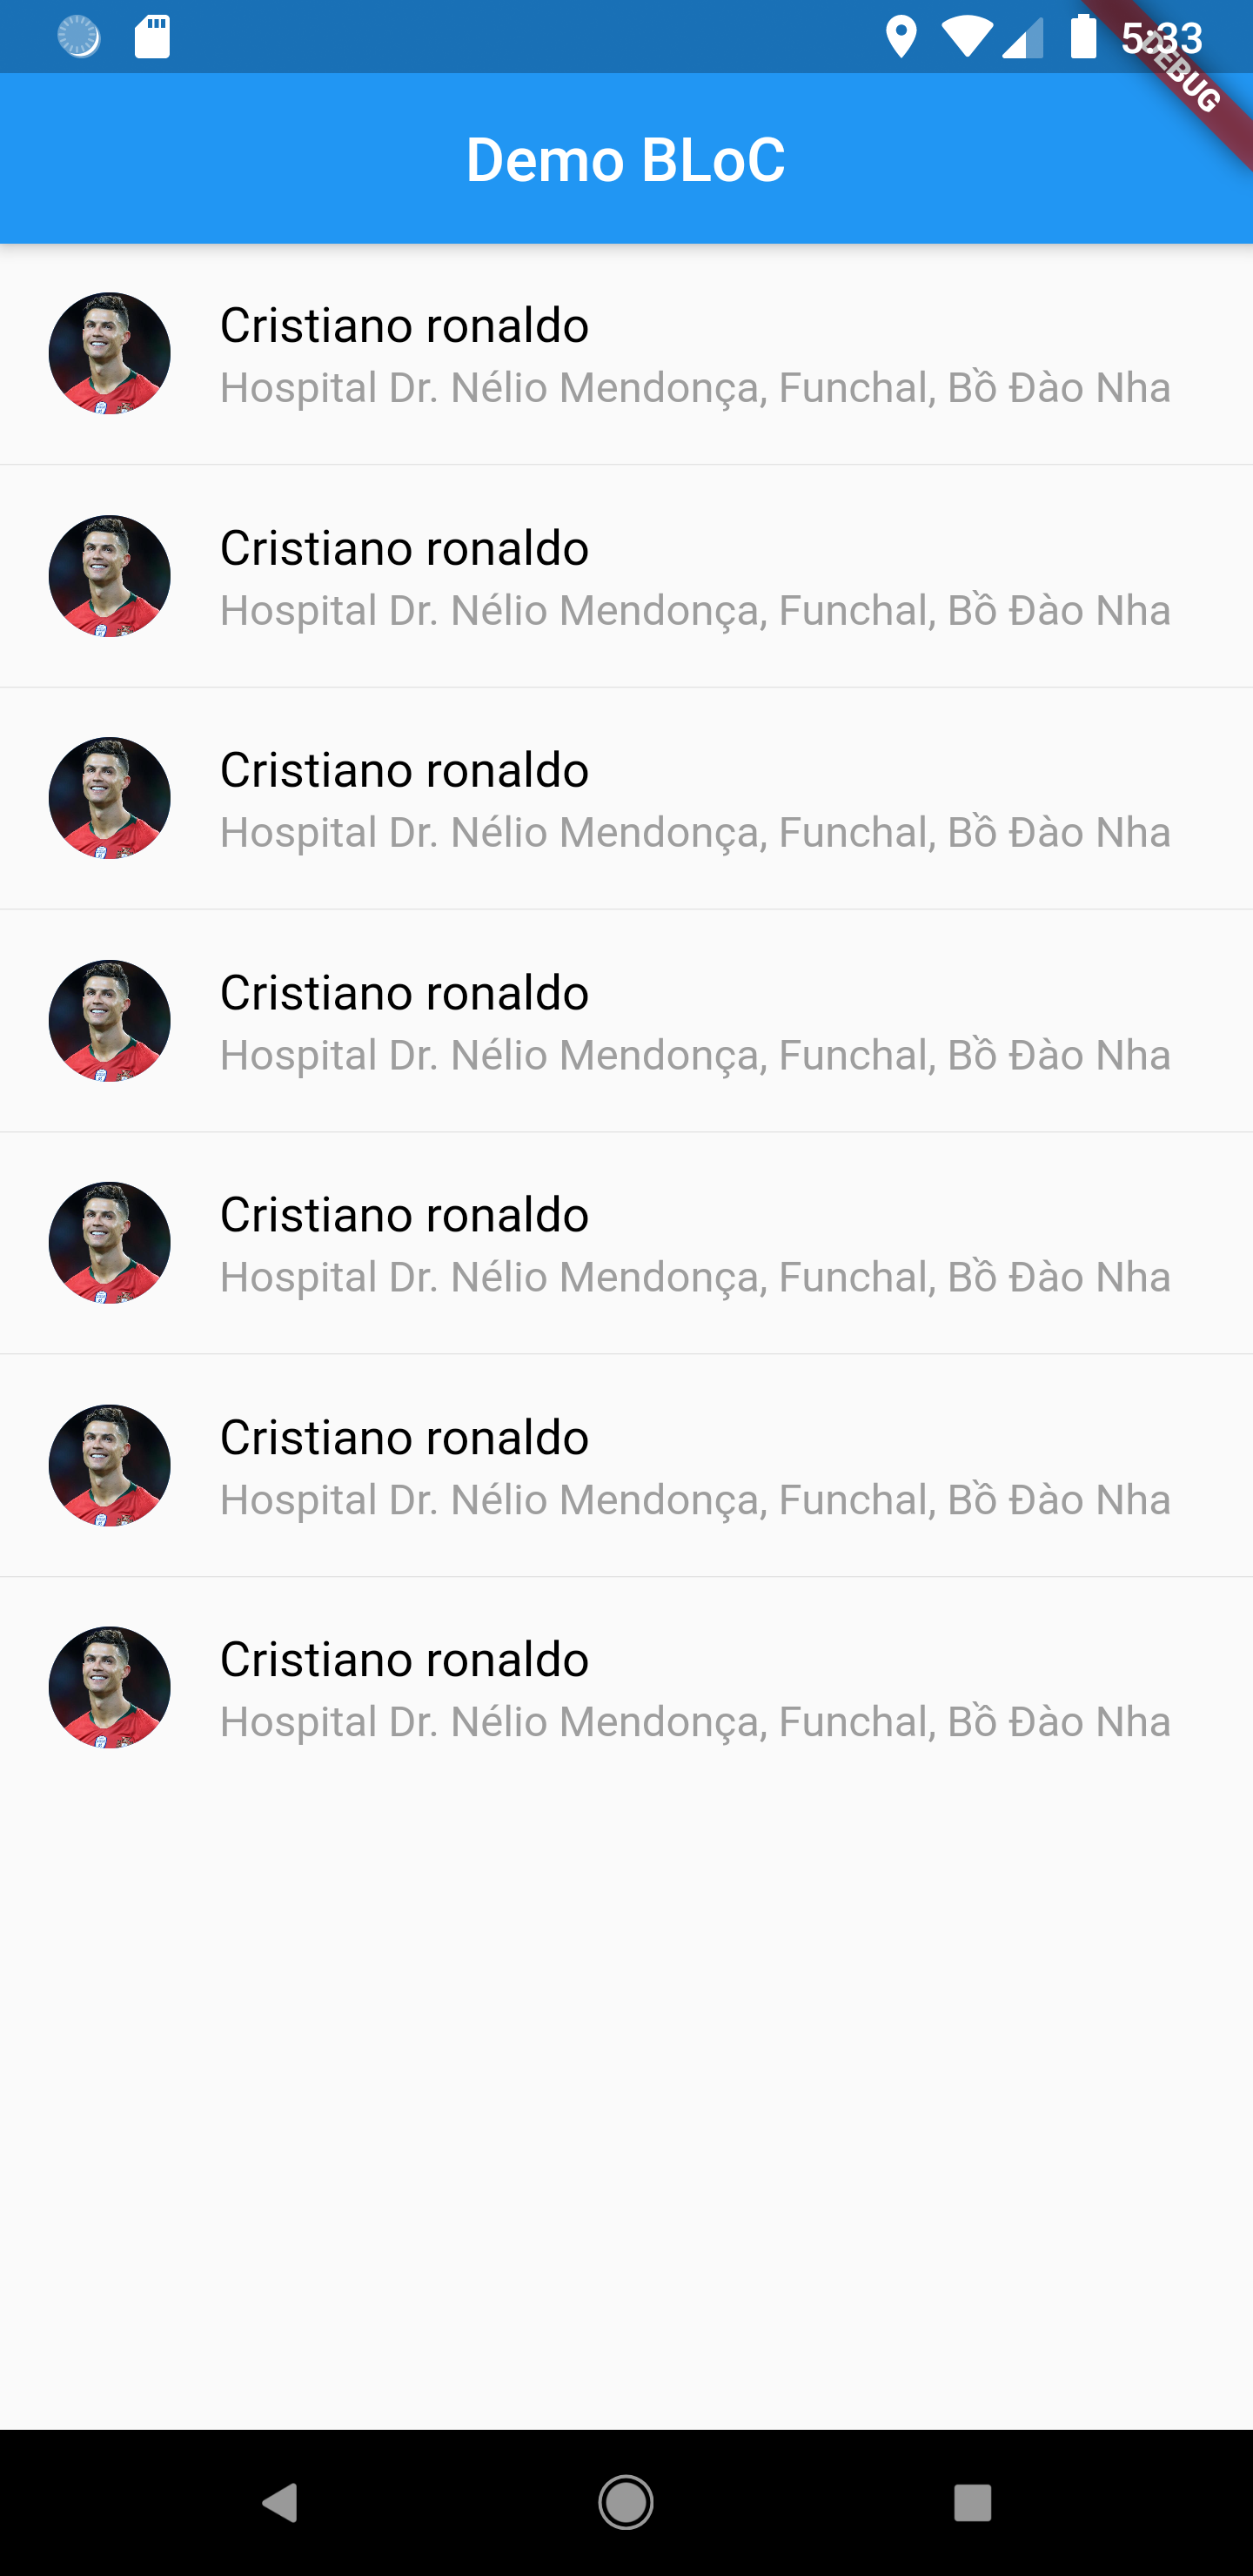
Kết quả

Trên đây là bài hướng dẫn sử dụng BLoC cơ bản. Chúc các bạn thành công với Flutter
All rights reserved