User Authentication with Laravel
Bài đăng này đã không được cập nhật trong 4 năm
Laravel giúp cho việc thực hiện việc xác thực vô cùng đơn giản. Trong thực tế, hầu hết mọi thứ đã được cấu hình cho bạn. Các file cấu hình xác thực được đặt tại config/auth.php, bao gồm một số hướng dẫn tùy biến rõ ràng cho việc tinh chỉnh cách xử lí của các dịch vụ Authentication.
Để tìm hiểu chi tiết các bạn tham khảo chi tiết tại link sau: mình thấy cũng khá đầy đủ. https://viblo.asia/nguyen.manh.thang/posts/EyORkbOeGqB
Trong bài này để hiểu rõ cách thức hoạt động của nó, mình sẽ tự code trang login admin cho site của mình:
Step 1 : Cài đặt laravel
Cài đặt: Laravel Installer
$ composer global require "laravel/installer=~1.1"
$ laravel new laravelShop
#2: Cấu hình Database
Cài đặt thông tin database: .env
DB_CONNECTION=mysql
DB_HOST=127.0.0.1
DB_PORT=3306
DB_DATABASE=laravelshop
DB_USERNAME=root
DB_PASSWORD=xxxx
#3: Tạo Table users
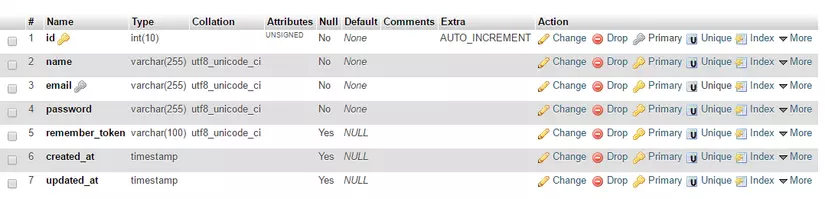
Sau khi đã connect db thành công, để xây dựng trang login chúng ta cần tạo table users trong database.
$ php artisan migrate
Sau khi chạy cmd trên, bạn kiểm tra database, nó sẽ tạo ra sẵn cho ta 1 table users. với các trường như sau:
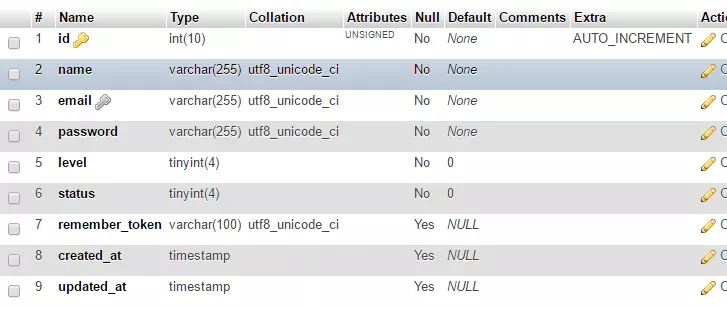
Adding a new Column to Users Table
level: để phân biệt, người dùng hay adminstatus: chỉ trạng thái user đang hoạt động hay không
Rất đơn giản Để thêm 2 Column trên ta làm như sau: sử dụng cmd
php artisan make:migration add_level_status_to_users_table --table=users
sau đó file add_level_status_to_users_table sẽ được tạo ra trong folder database/migrations. Mở file đó ra và thêm đoạn code khai báo level, status như sau vào function up:
public function up()
    {
        Schema::table('users', function (Blueprint $table) {
             $table->tinyInteger('level')->after('password')->default(0);
             $table->tinyInteger('status')->after('level')->default(0);
        });
    }
tiếp theo run cmd
$ php artisan migrate
kiểm tra database:
Để có dữ liệu mẫu bạn tự insert vài user vào table users nhé.
4. Tạo giao diện trang login, admin
Giao diện trang admin mình sẽ sử dụng AdminLTE Control Panel Template, Các bài viết sau mình sẽ sử dụng teamplate này, nếu bạn k thích có thể tự code form  .
Link Template: https://almsaeedstudio.com/themes/AdminLTE/index2.html
Link download: https://almsaeedstudio.com/
.
Link Template: https://almsaeedstudio.com/themes/AdminLTE/index2.html
Link download: https://almsaeedstudio.com/
Khi đã download xong. các bạn tự ghép trang login nhé. Bài trước mình đã hướng dẫn sử dụng blade teamplate rồi, nếu bạn chưa đọc có thể xem tại địa chỉ. https://viblo.asia/vu.huy.tuan/posts/RnB5pnpwZPG.
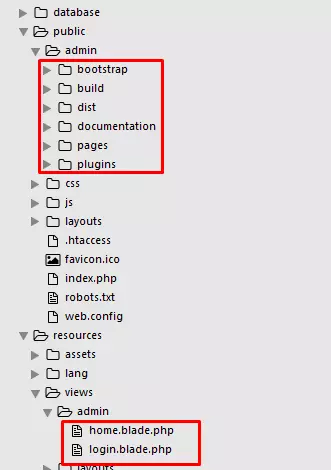
Cấu trúc thư mục:
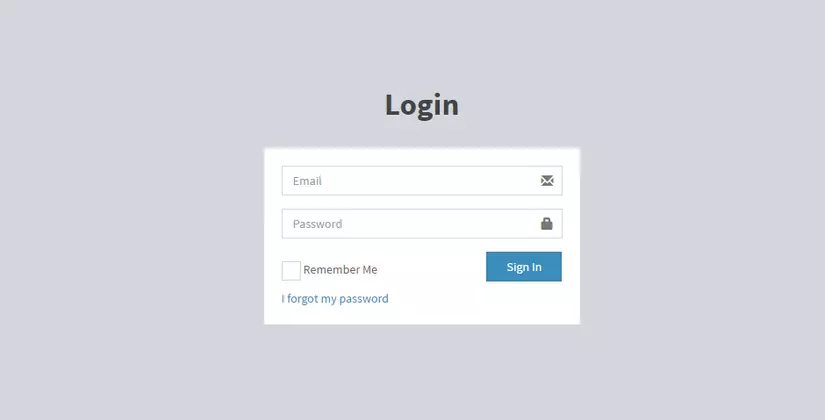
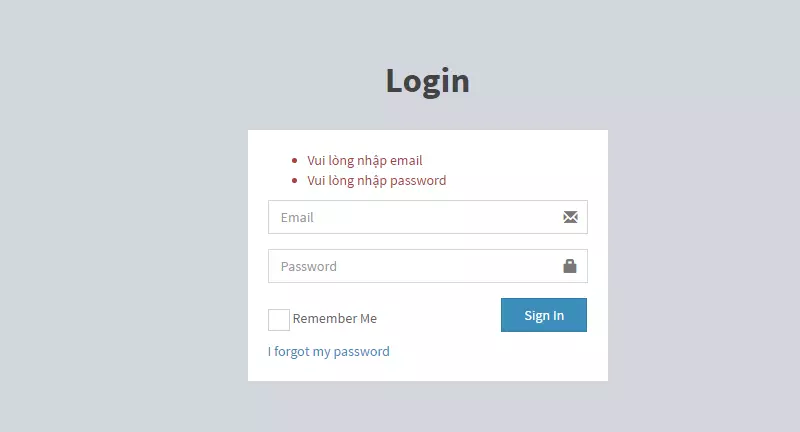
 Đây là form login sau khi đã ghép xong:
5. Route
method get để vào trang đăng nhập và một method post xử lý đăng nhập. Bạn vào file routes/web.php tạo như sau.
Route::get('admincp/login', ['as' => 'getLogin', 'uses' => 'Admin\AdminLoginController@getLogin']);
Route::post('admincp/login', ['as' => 'postLogin', 'uses' => 'Admin\AdminLoginController@postLogin']);
Route::get('admincp/logout', ['as' => 'getLogout', 'uses' => 'Admin\AdminLoginController@getLogout']);

Route::group(['middleware' => 'checkAdminLogin', 'prefix' => 'admincp', 'namespace' => 'Admin'], function() {
	Route::get('/', function() {
		return view('admin.home');
	});
});
6. Valid form
tạo file App/Http/Controllers/Requests/LoginRequest.php
<?php

namespace App\Http\Requests;

use Illuminate\Foundation\Http\FormRequest;

class LoginRequest extends FormRequest
{
    /**
     * Determine if the user is authorized to make this request.
     *
     * @return bool
     */
    public function authorize()
    {
        return true;
    }

    /**
     * Get the validation rules that apply to the request.
     *
     * @return array
     */
    public function rules()
    {
        return [
            'txtEmail' => 'required',
            'txtPassword' => 'required'
        ];
    }

    /**
     * customize msg error
     * @return array
     */
    public function messages()
    {
        return [
            'txtEmail.required' => 'Vui lòng nhập email',
            'txtPassword.required' => 'Vui lòng nhập password'
        ];
    }
}
hiển thị lỗi login.blade.php
@if (count($errors) >0)
         <ul>
             @foreach($errors->all() as $error)
                 <li class="text-danger"> {{ $error }}</li>
             @endforeach
         </ul>
     @endif

     @if (session('status'))
         <ul>
             <li class="text-danger"> {{ session('status') }}</li>
         </ul>
     @endif
     <form action="{{ route('getLogin') }}" method="post">
         {{ csrf_field() }}
         <div class="form-group has-feedback">
             <input type="email" class="form-control" name="txtEmail" placeholder="Email">
             <span class="glyphicon glyphicon-envelope form-control-feedback"></span>
         </div>
         <div class="form-group has-feedback">
             <input type="password" class="form-control" placeholder="Password" name="txtPassword">
             <span class="glyphicon glyphicon-lock form-control-feedback"></span>
         </div>
         <div class="row">
             <div class="col-xs-8">
                 <div class="checkbox icheck">
                     <label>
                         <input type="checkbox"> Remember Me
                     </label>
                 </div>
             </div>
             <div class="col-xs-4">
                 <button type="submit" class="btn btn-primary btn-block btn-flat">Sign In</button>
             </div>
         </div>
     </form>
7. Tạo Controller AdminLoginController
php artisan make:controller AdminLoginController
<?php

namespace App\Http\Controllers\Admin;

use Illuminate\Http\Request;
use App\Http\Controllers\Controller;
// khai báo sử dụng loginRequest
use App\Http\Requests\LoginRequest;
use Auth;
use App\User;
class AdminLoginController extends Controller
{

    public function getLogin()
    {
        if (Auth::check()) {
            // nếu đăng nhập thàng công thì
            return redirect('admincp');
        } else {
            return view('admin.login');
        }

    }

    /**
     * @param LoginRequest $request
     * @return RedirectResponse
     */
    public function postLogin(LoginRequest $request)
    {
        $login = [
            'email' => $request->txtEmail,
            'password' => $request->txtPassword,
            'level' => 1,
            'status' => 1
        ];
        if (Auth::attempt($login)) {
            return redirect('admincp');
        } else {
            return redirect()->back()->with('status', 'Email hoặc Password không chính xác');
        }
    }

    /**
     * action admincp/logout
     * @return RedirectResponse
     */
    public function getLogout()
    {
        Auth::logout();
        return redirect()->route('getLogin');
    }

}
#8. Middleware
Middleware xác thực người dùng đăng nhập vào hệ thống. Nếu user chưa đăng nhập, middleware sẽ chuyển hướng user tới màn hình đăng nhập. Tuy nhiên, nếu user đã đăng nhập rồi, thì middleware sẽ cho phép request được thực hiện tiếp tiến trình xử lý vào ứng dụng. Để tạo mới một middleware, sử dụng lệnh make:middleware
php artisan make:middleware checkAdminLogin
mở file app/http/Middleware/checkAdminLogin.php, thêm vào function handle, kiểm tra login như sau:
<?php

namespace App\Http\Middleware;

use Closure;
use Auth;
class checkAdminLogin
{
    /**
     * Handle an incoming request.
     *
     * @param  \Illuminate\Http\Request  $request
     * @param  \Closure  $next
     * @return mixed
     */
    public function handle($request, Closure $next)
    {
        // nếu user đã đăng nhập
        if (Auth::check())
        {
            $user = Auth::user();
            // nếu level =1 (admin), status = 1 (actived) thì cho qua.
            if ($user->level == 1 && $user->status == 1 )
            {
                return $next($request);
            }
            else
            {
                Auth::logout();
                return redirect()->route('getLogin');
            }
        } else
            return redirect('admincp/login');

    }
}
#9 Test
Trường hợp user & pass k input: màn hình sẽ xuất hiện thông báo lỗi
Login thành công, redirect-> home
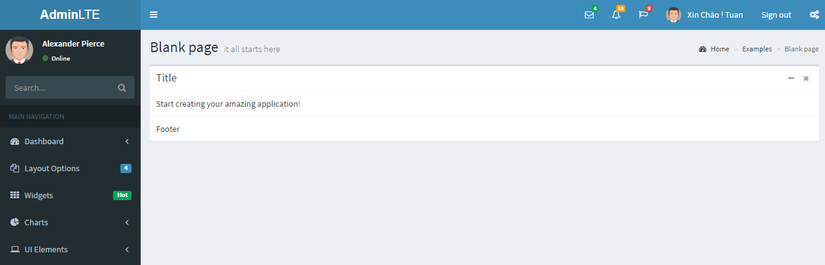
Như vậy tới đây bạn đã hoàn tất quá trình xây dựng trang login, cách xác thực người dùng.
All rights reserved
