[Zabbix-3] Thiết lập giám sát Database MySQL/MariaDB bằng Zabbix Server
Bài đăng này đã không được cập nhật trong 3 năm
Tiếp tục về series về zabbix, ở bài viết này mình sẽ hướng dẫn các bạn cách giám sát MySQL/MariaDB với Zabbix. Nếu các bạn chưa xem các bài viết trước, các bạn có thể xem lại tại đây
Trước khi đi vào thiết lập giám sát MySQL/MariaDB, bạn cần đảm bảo rằng trên máy chủ đã cài đặt zabbix agent.
Hướng dẫn cấu hình
Bước 1: Cấu hình MySQL/MariaDB
Tạo một user mới, ở đây mình tạo một user có tên là zabbix, và grant các quyền cho nó
mysql -u root -p
CREATE USER zabbix@localhost IDENTIFIED BY '<password>';
GRANT USAGE,REPLICATION CLIENT,PROCESS,SHOW DATABASES,SHOW VIEW ON *.* TO 'zabbix'@'localhost';
FLUSH PRIVILEGES;
quit;
Bước 2: Tạo file .my.cnf
Bạn cần tạo file .my.cnf trong đường dẫn home của zabbix /var/lib/zabbix, khai báo thông tin như sau:
mkdir -p /var/lib/zabbix
vi /var/lib/zabbix/.my.cnf
sau đó dán nội dung sau vào file .my,cnd
[client]
user = zabbix
password = <password>
Bước 3: Kiểm tra cấu hình trong file zabbix_agentd.conf
Bây giờ chúng ta sẽ kiểm tra trong file /etc/zabbix/zabbix_agentd.conf đã bỏ comment dòng sau chưa (nếu chưa có thì thêm vào)
Include=/etc/zabbix/zabbix_agentd.d/*.conf
Bước 4: Tạo file userparameter_mysql.conf Tiếp đến vào bên trong thư mục /etc/zabbix/zabbix_agent.d/ sẽ có file userparameter_mysql.conf. Nếu chưa, bạn tạo lại file này và thêm nội dung sau:
#template_db_mysql.conf created by Zabbix for "Template DB MySQL" and Zabbix 4.2
#For OS Linux: You need create .my.cnf in zabbix-agent home directory (/var/lib/zabbix by default)
#For OS Windows: You need add PATH to mysql and mysqladmin and create my.cnf in %WINDIR%\my.cnf,C:\my.cnf,BASEDIR\my.cnf https://dev.mysql.com/doc/refman/5.7/en/option-files.html
#The file must have three strings:
#[client]
#user='zbx_monitor'
#password='<password>'
#
UserParameter=mysql.ping[*], mysqladmin -h"$1" -P"$2" ping
UserParameter=mysql.get_status_variables[*], mysql -h"$1" -P"$2" -sNX -e "show global status"
UserParameter=mysql.version[*], mysqladmin -s -h"$1" -P"$2" version
UserParameter=mysql.db.discovery[*], mysql -h"$1" -P"$2" -sN -e "show databases"
UserParameter=mysql.dbsize[*], mysql -h"$1" -P"$2" -sN -e "SELECT COALESCE(SUM(DATA_LENGTH + INDEX_LENGTH),0) FROM INFORMATION_SCHEMA.TABLES WHERE TABLE_SCHEMA='$3'"
UserParameter=mysql.replication.discovery[*], mysql -h"$1" -P"$2" -sNX -e "show slave status"
UserParameter=mysql.slave_status[*], mysql -h"$1" -P"$2" -sNX -e "show slave status"
Note: Các bạn nhớ chú ý tìm đúng template monitor theo version của mysql và zabbix, template trên mình đang test cho mysql version 5.6 và zabbix server 5.0
Bước 5: Bây giờ khởi động lại zabbix agent
systemctl restart zabbix-agent
Bước 6: Thêm Host và chọn template MySQL/MariaDB
Truy cập giao diện zabbix server, chọn Configuration >> Host >> Create Host
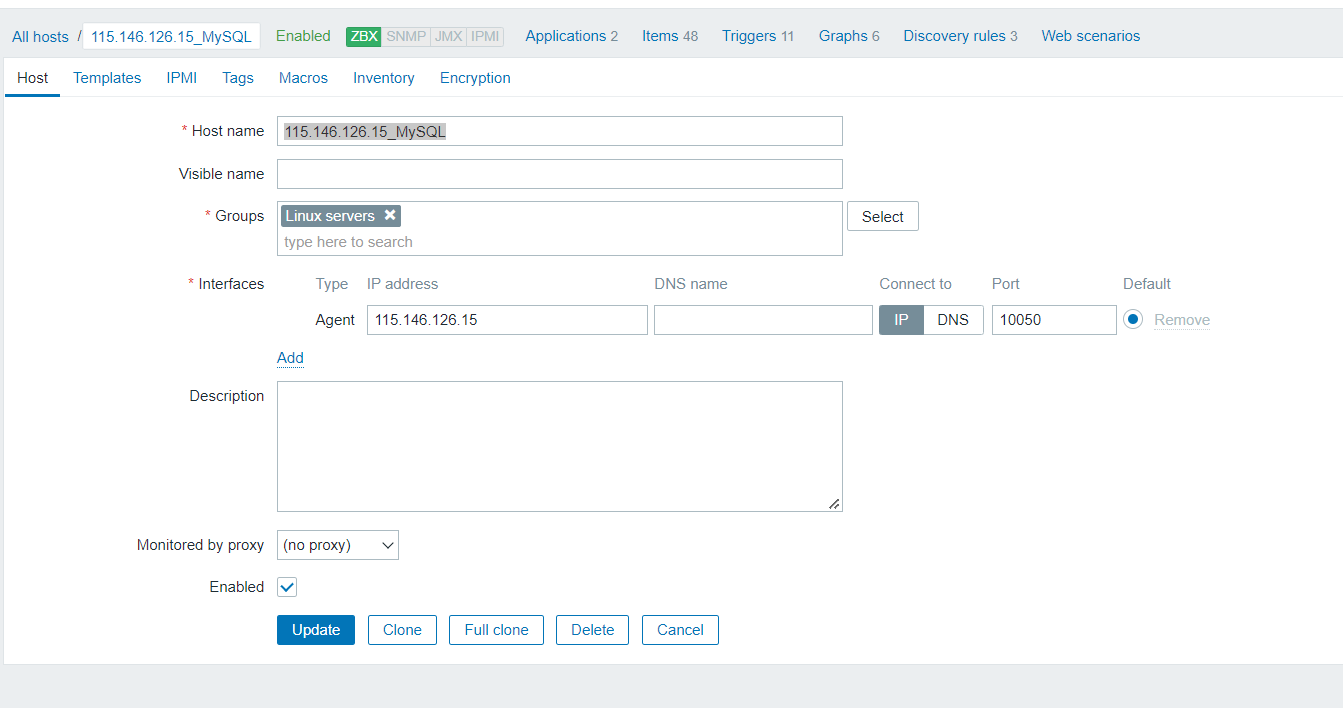
Chọn template DB MySQL
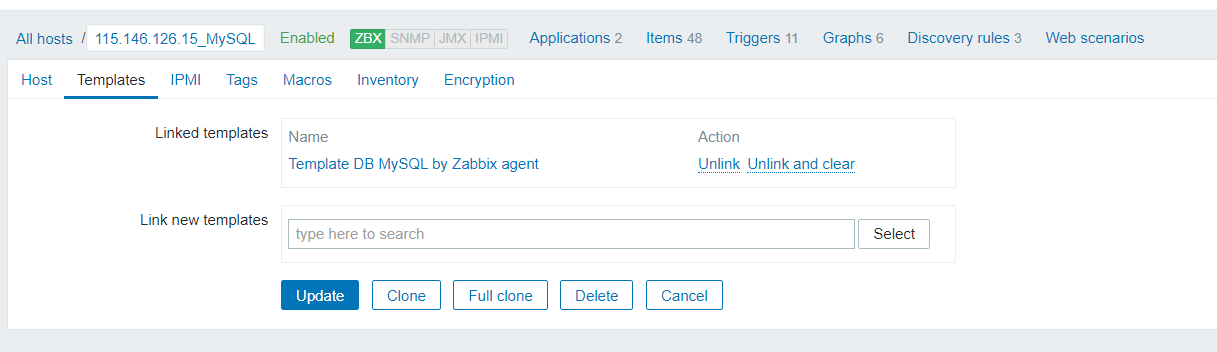
Sau khi điền các thông tin cần thiết như hình trên, nhấn Add để hoàn thành.
All rights reserved
