Xử lý render một mảng lớn dữ liệu trong ReactJS - Phần 3: Xây dựng component virtualized cho riêng mình
Bài đăng này đã không được cập nhật trong 7 năm
Giới thiệu:
Lại tiếp tục về chủ đề xử lý 1 mảng lớn dữ liệu trong ReactJS, hôm nay mình sẽ giới thiệu cho các bạn cách tự xây dựng 1 component virtualized để đề phòng trường hợp các bạn muốn dùng virtualized nhưng không được phép dùng thư viện, hay đơn giản hơn là việc hiểu sâu hơn về cách thư viện này hoạt động như thế nào từ đó tự mình phát triển hoặc xây dựng thư viện của riêng mình.
Ở phần 2 của seri Xử lý render một mảng lớn dữ liệu trong ReactJS, mình có nói qua về phương pháp virtualized rồi nên bài này mình sẽ không nhắc lại nữa. Để đỡ tốn thời gian của các bạn và để hiểu hơn về nó, mình đi vào ví làm ví dụ luôn nhé.
Cài đặt môi trường và ví dụ:
Để đơn giản và tiết kiệm thời gian mình tiếp tục dùng create-react-app của facebook, các bạn tạo thư mục project mà bạn mong muốn rồi mở terminal trong đó và gõ lệnh create-react-app create-react-virtualized, nhớ chạy lệnh npm start để start app nhé.
Trong file App.js bạn tạo 1 mảng có 10.000 phần tử:
const data = [...Array(10000).keys()];
Bạn khai báo tiếp 1 class để style cho mỗi item trong 10.000 phần tử:
const itemStyle = {
  padding: 10,
  boxSizing: "border-box",
  borderBottom: "1px solid #eee"
}
Trong component App mình tiếp tục khai báo 1 div container với width và height tương ứng là 400px và 500px để chứa List component, nơi mà hiển thị list virtualized của bạn. Đây là file App.js hoàn chỉnh:
import React from 'react';
import List from './List'
import './App.css';

const data = [...Array(10000).keys()];

const itemStyle = {
  padding: 10,
  boxSizing: "border-box",
  borderBottom: "1px solid #eee"
}

function App() {
  return (
    <div >
      <p>10000 items</p>
      <div className="App" style={{ width: 400, height: 500, background: '#fafafa', border: '1px solid #eee' }}>
        <List
          source={data}
          rowHeight={60}
          overScanCount={3}
          renderItem={({ index, style }) => (
            <div key={index} style={{ ...itemStyle, ...style }}>
              List Item {index}
            </div>
          )}
        />
      </div>
    </div>
  );
}

export default App;
Trong component List, ta truyền các attributes:
- source: mảng 10.000 phần tử của bạn.
- rowHeight: chiều cao của từng phần tử trong mảng.
- overScanCount: số phần tử load sẵn mà không nằm trong khung hiển thị các phần tử (các phần tử load sẵn này giúp cho việc scroll của bạn smooth hơn).
- renderItem: cách bạn hiển thị các item trong 10.000 phần tử.
Hiện tại component List ở file index.js trong thư mục List ta chỉ style đơn giản và chưa làm gì cả:
import React, { Component } from 'react'

export default class List extends Component {
  render() {
    return (
      <div style={{ height: '100%', width: '100%', position: 'relative'}}>
      </div>
    )
  }
}
Mình để width và height là 100% để nó tự động mở rộng theo chiều dài và chiều rộng của container chứa nó, cụ thể là div element với with=400px height=500px trong file App.js
Trên trình duyệt của ta sẽ hiển thị như sau:
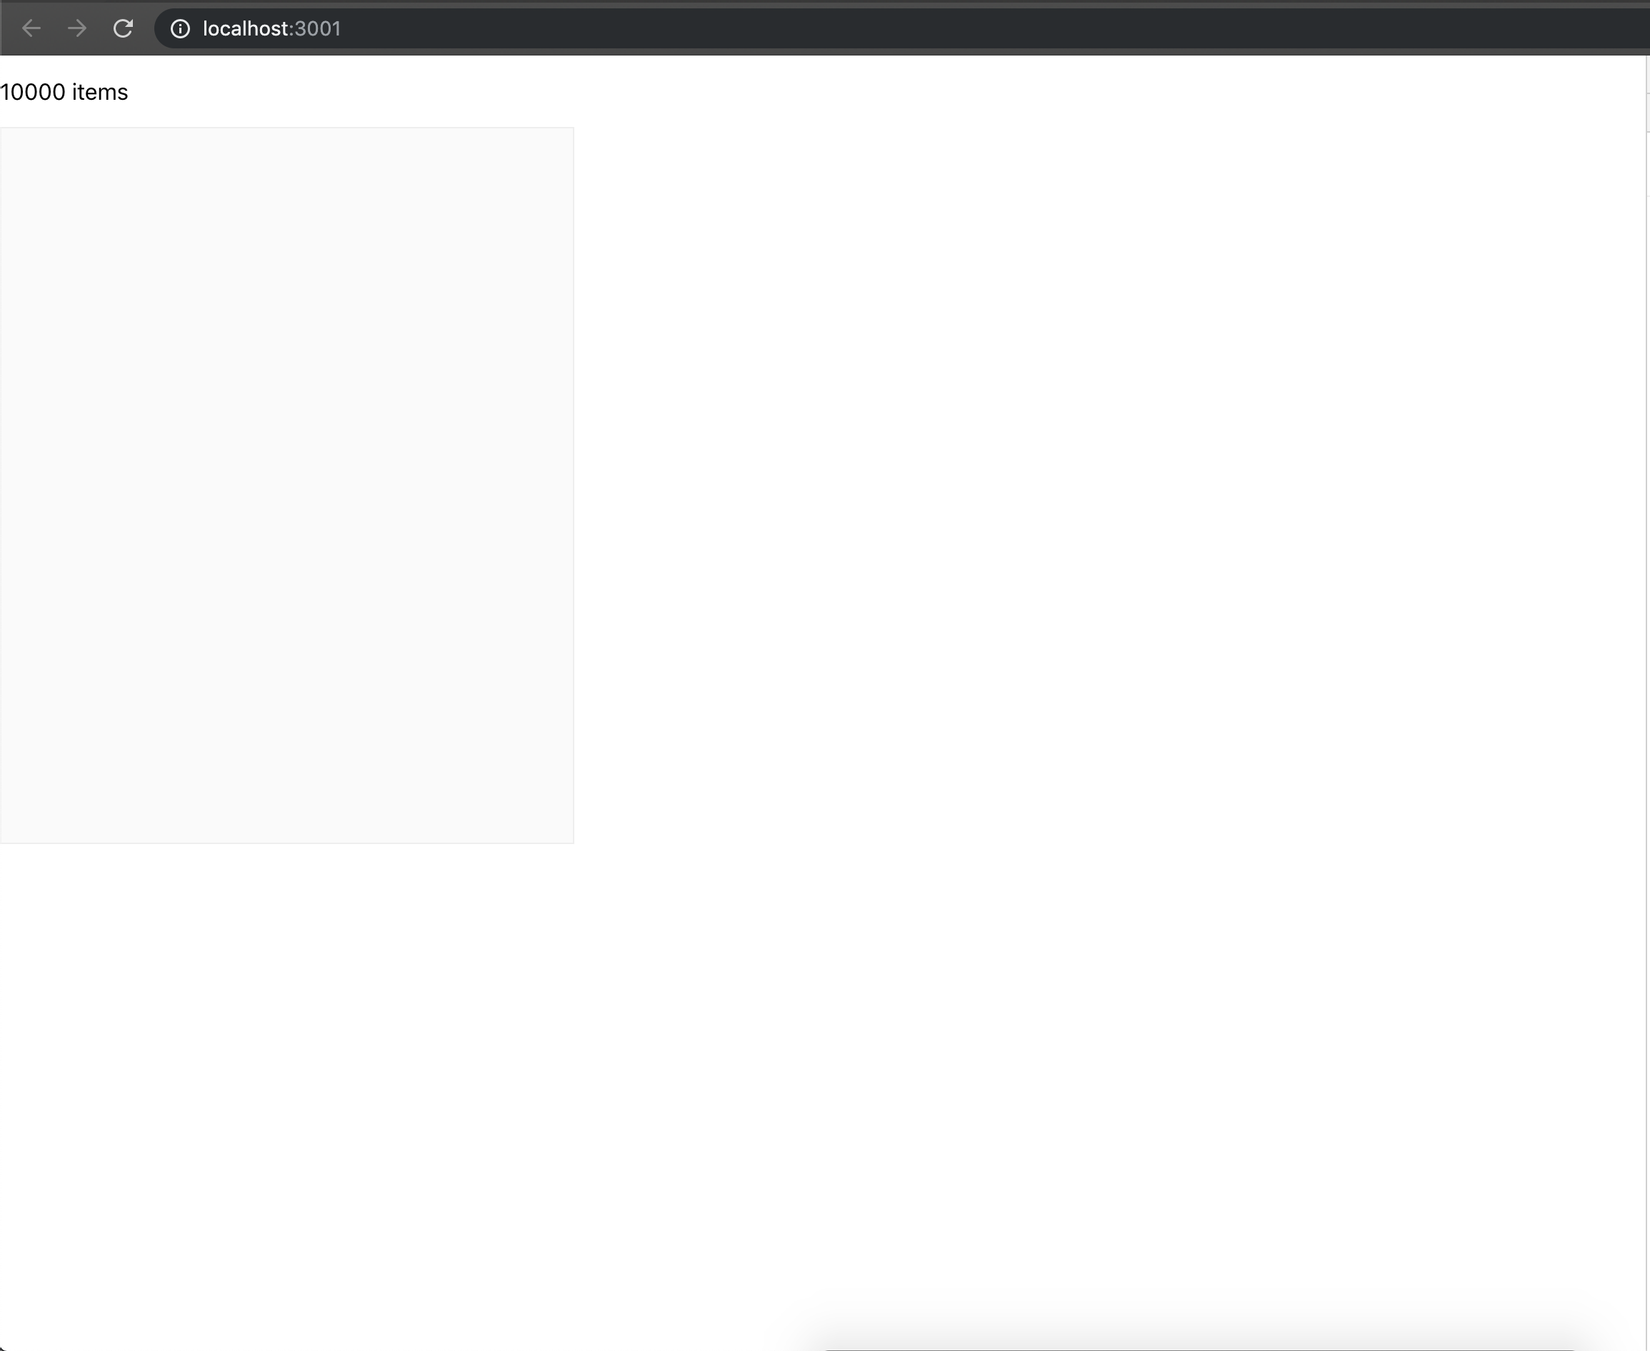
Và giờ chúng ta đi sâu vào phương pháp virtualized trong List component nhé. Trong thư mục List, mình thêm file style.js trả về 1 object như sau:
export default {
  listWrapper: {
    position: 'absolute',
    top: 0,
    left: 0,
    right: 0,
    bottom: 0,
    overflowY: 'auto'
  },
}
sau đó import nó vào List component trong index.js file:
import style from './style'
Mình thêm 1 div element con trong component List và tạo reference listWrapper trỏ đến node này:
<div
   style={style.listWrapper}
   ref={c => this.listWrapper = c}
></div>
đồng thời mình cũng add componentDidMount lifecycle với và set biến visibleHeight là chiều cao của node listWrapper và set nó cho state:
export default class List extends Component {
  state = {
    visibleHeight: 0
  }
  componentDidMount() {
    const visibleHeight = parseFloat(
      window.getComputedStyle(this.listWrapper, null).getPropertyValue('height')
    );
    console.log("visibleHeight", visibleHeight)
    this.setState({
      visibleHeight: visibleHeight
    })
  }
  render() {
    return (
      <div style={{ height: '100%', width: '100%', position: 'relative' }}>
        <div
          style={style.listWrapper}
          ref={c => this.listWrapper = c}
        ></div>
      </div>
    )
  }
}
Mở trình duyệt lên bạn sẽ thấy visibleHeight trên console là 500px = height mà chúng ta đã set ở App.js.
Oki, vậy là ta đã lấy được height của khung view, giờ là việc lấy height của tất cả 10.000 phần tử, ta chỉ việc lấy số lượng data * với rowHeight mà ta đã truyền vào List component dưới dạng props:
getHeight = () => this.props.source.length * this.props.rowHeight;
Trong component List, mình thêm 1 div element nữa như sau:
<div
   style={style.list(this.getHeight())}
></div>
và trong file style.js thêm 1 key list trả về style tuỳ theo height có được từ function getHeight dạng:
list: height => ({
    position: 'relative',
    height,
  }),
Quan sát trên trình duyệt có thể thấy thẻ div mới của chúng ta có height = 600.000px:
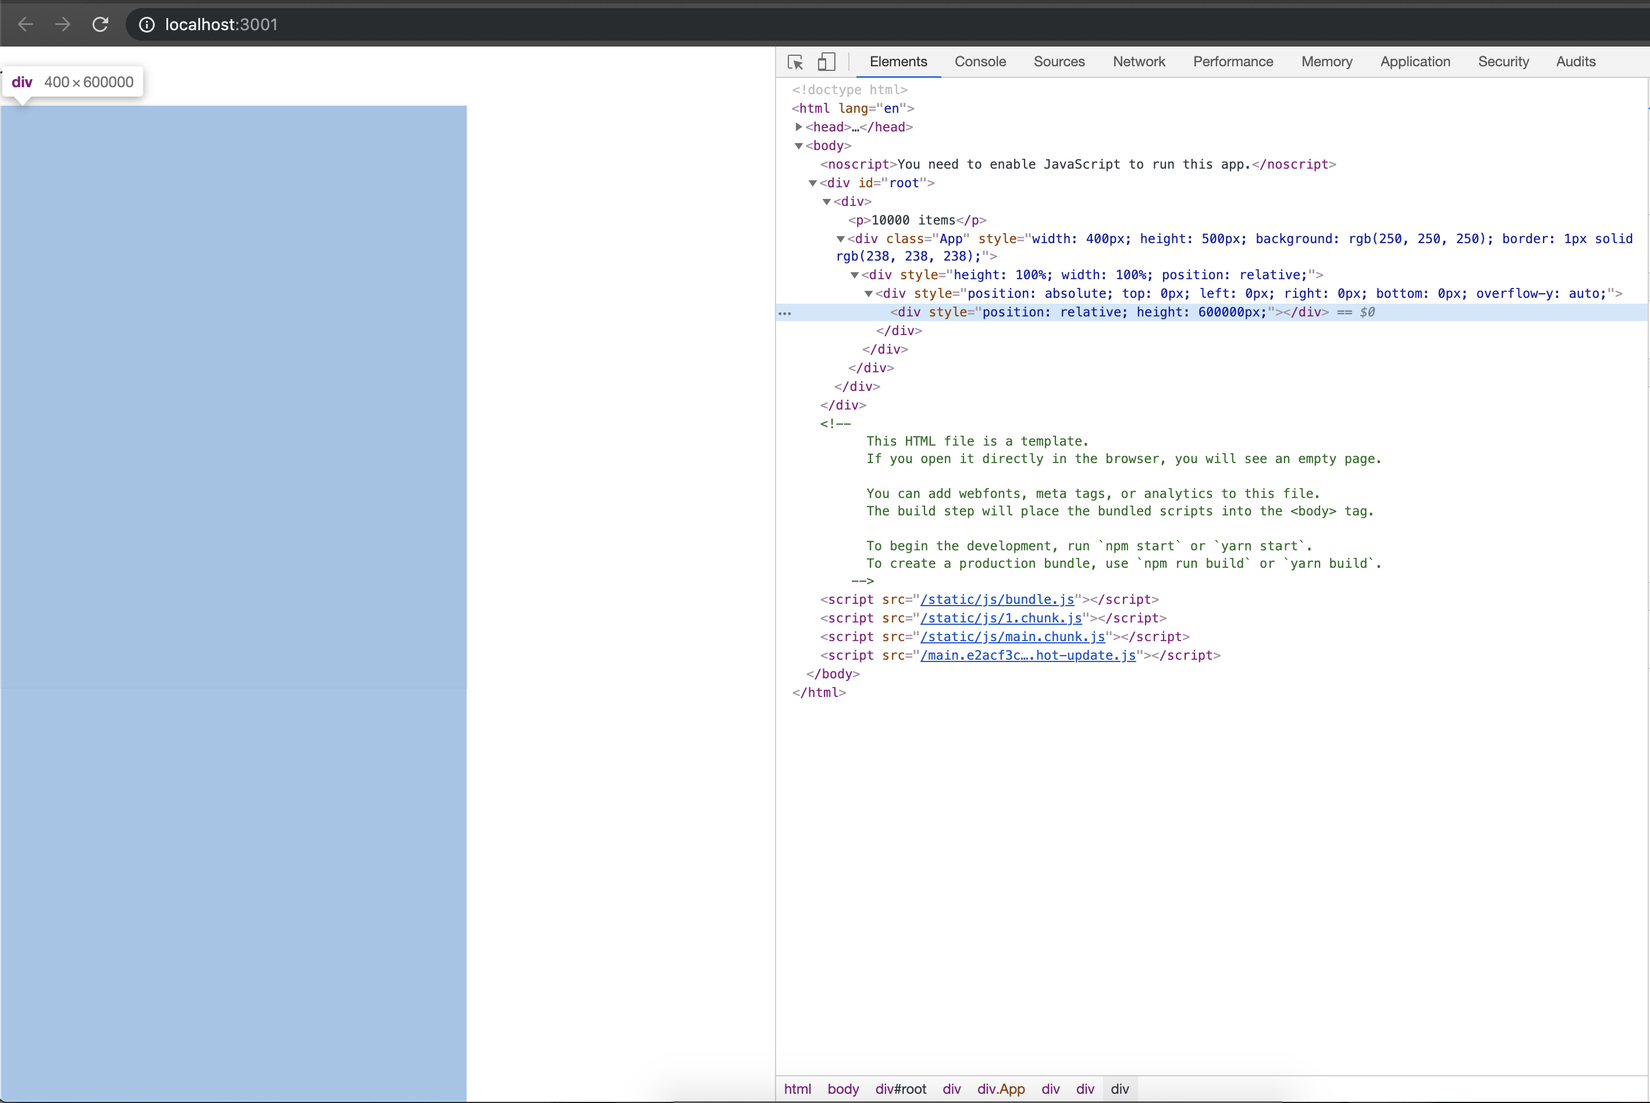
Nếu bạn còn nhớ ta đã lấy được heigh của node listWrapper = 500px, giờ ta sẽ thêm sự kiện scroll cho nó ở componentDidMount:
this.listWrapper.addEventListener('scroll', e => this.setScrollPosition(e));
đồng thời lưu độ lớn mà ta scroll vào biến scrollTop strong state:
setScrollPosition = event => {
    this.setState({
      scrollTop: event.target.scrollTop
    }, () => console.error("scrollTop", this.state.scrollTop))
  };
Giờ check trên trình duyệt khi scroll, giá trị scrollTop hiển thị tăng dần trên console, giá trị này lúc sau sẽ được dùng để tính xem item nào trong 10.000 phần tử của mảng đầu vào sẽ được hiển thị trong node listWrapper
Cuối cùng ta thêm 1 hàm quan trọng nhất vào component List, hàm checkIfVisible:
checkIfVisible = index => {
    const elemPosition = index * this.props.rowHeight;
    return (
      elemPosition > this.state.scrollTop - this.props.overScanCount * this.props.rowHeight &&
      elemPosition + this.props.rowHeight < this.state.scrollTop + this.state.visibleHeight + this.props.overScanCount * this.props.rowHeight
    );
  };
- Hàm checkIfVisible lấy index của item trong mảng 10.000 phần tử đầu vào làm tham số.
- Biến elemPosition được tính = index của element * rowHeight truyền vào dưới dạng props từ file App.js
- Hàm checkIfVisible kiểm tra xem nếu position của item trong 10.000 phần tử có thuộc khung view của node listWrapper + chiều cao của số phần tử load sẵn overScanCount(nếu bạn nhớ thì nó là 3 được truyền dưới dạng props trong file App.js) ở 2 phía trên và phía dưới của khung view.
Cuối cùng là hiển thị dánh sách các item từ mảng đầu vào trong khung view:
{this.props.source.map(
   (_, index) =>
     this.checkIfVisible(index) &&
     this.props.renderItem({
       index: index,
       style: style.item(index, this.props.rowHeight)
     })
   )}
và style cho item đó trong file style.js:
item: (index, height) => ({
    position: 'absolute',
    height,
    left: 0,
    right: 0,
    top: height * index,
  })
Đây là component List hoàn chỉnh:
import React, { Component } from 'react'
import style from './style'

export default class List extends Component {
  state = {
    visibleHeight: 0,
    scrollTop: 0
  }
  componentDidMount() {
    this.listWrapper.addEventListener('scroll', e => this.setScrollPosition(e));
    const visibleHeight = parseFloat(
      window.getComputedStyle(this.listWrapper, null).getPropertyValue('height')
    );
    console.log("visibleHeight", visibleHeight)
    this.setState({
      visibleHeight: visibleHeight
    })
  }
  setScrollPosition = event => {
    this.setState({
      scrollTop: event.target.scrollTop
    }, () => console.error("scrollTop", this.state.scrollTop))
  };
  getHeight = () => this.props.source.length * this.props.rowHeight;
  checkIfVisible = index => {
    const elemPosition = index * this.props.rowHeight;
    return (
      elemPosition > this.state.scrollTop - this.props.overScanCount * this.props.rowHeight &&
      elemPosition + this.props.rowHeight < this.state.scrollTop + this.state.visibleHeight + this.props.overScanCount * this.props.rowHeight
    );
  };
  render() {
    return (
      <div style={{ height: '100%', width: '100%', position: 'relative' }}>
        <div
          style={style.listWrapper}
          ref={c => this.listWrapper = c}
        >
          <div
            style={style.list(this.getHeight())}
          >
            {this.props.source.map(
              (_, index) =>
                this.checkIfVisible(index) &&
                this.props.renderItem({
                  index: index,
                  style: style.item(index, this.props.rowHeight)
                })
            )}
          </div>
        </div>
      </div>
    )
  }
}
và file style.js hoàn chỉnh:
export default {
  listWrapper: {
    position: 'absolute',
    top: 0,
    left: 0,
    right: 0,
    bottom: 0,
    overflowY: 'auto'
  },
  list: height => ({
    position: 'relative',
    height,
  }),
  item: (index, height) => ({
    position: 'absolute',
    height,
    left: 0,
    right: 0,
    top: height * index,
  })
}
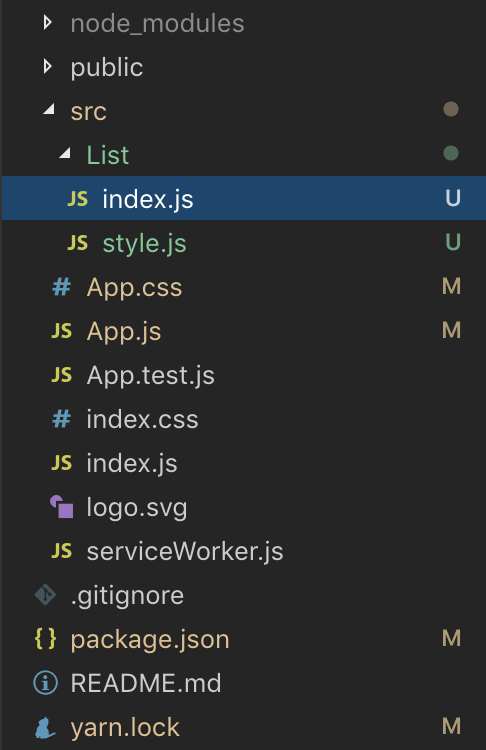
Cấu trúc thư mục:
Kết quả trên trình duyệt:
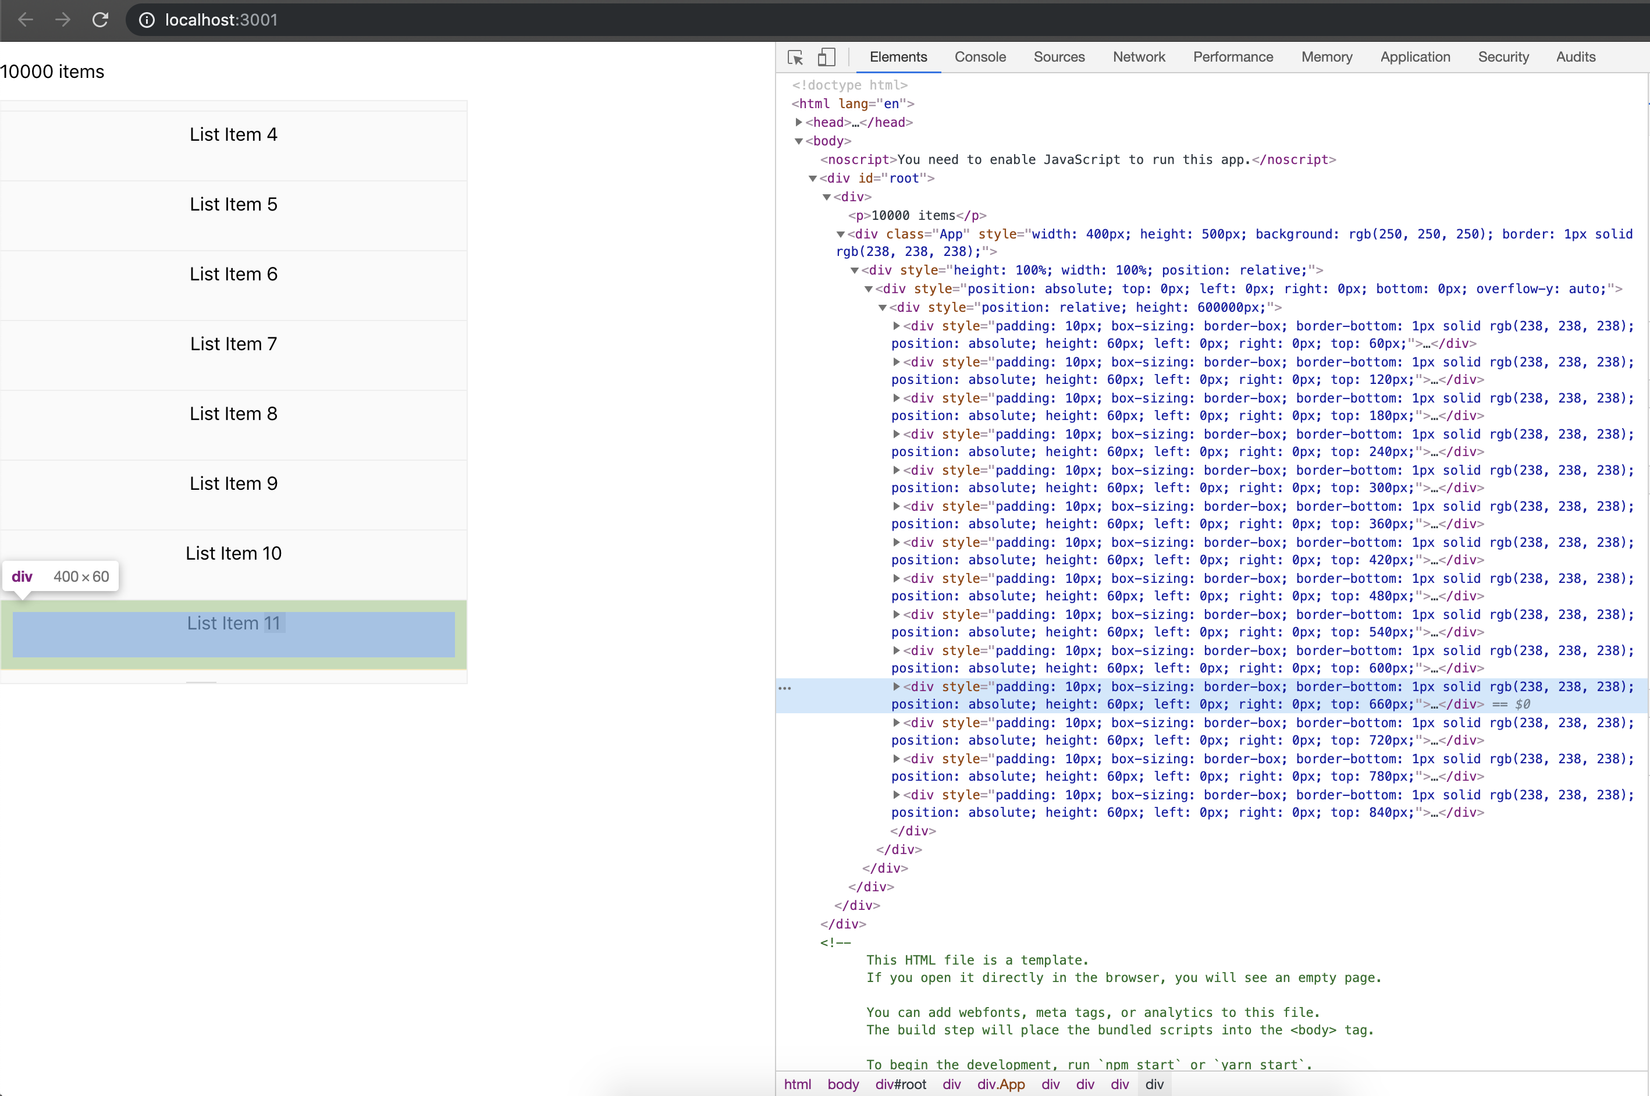
Những điểm cần chú ý:
Ta phải sử dụng position: absolute lên các elements để kiểm tra scroll position của list.
Tổng kết và tài liệu tham khảo:
Qua bài viết này, mình hi vọng các bạn sẽ hiểu hơn về phương pháp virtualized trong React và cách thư viện react-virtualized hoạt động.
All rights reserved
