Xây dựng ứng dụng la bàn đơn giản sử dụng SwiftUI
Bài đăng này đã không được cập nhật trong 6 năm
Trong bài viết này ta sẽ tưng bước xây dựng một ứng la bàn đơn giản, sử dụng Swift UI
- Ứng dụng mô phỏng chức năng cơ bản của la bàn dựa trên API CoreLocation
- Phần giao diện sử dụng Swift UI (đây cũng là mục đích chính của bài viết này)
Ứng dụng sẽ có giao diện như hình dưới đây:
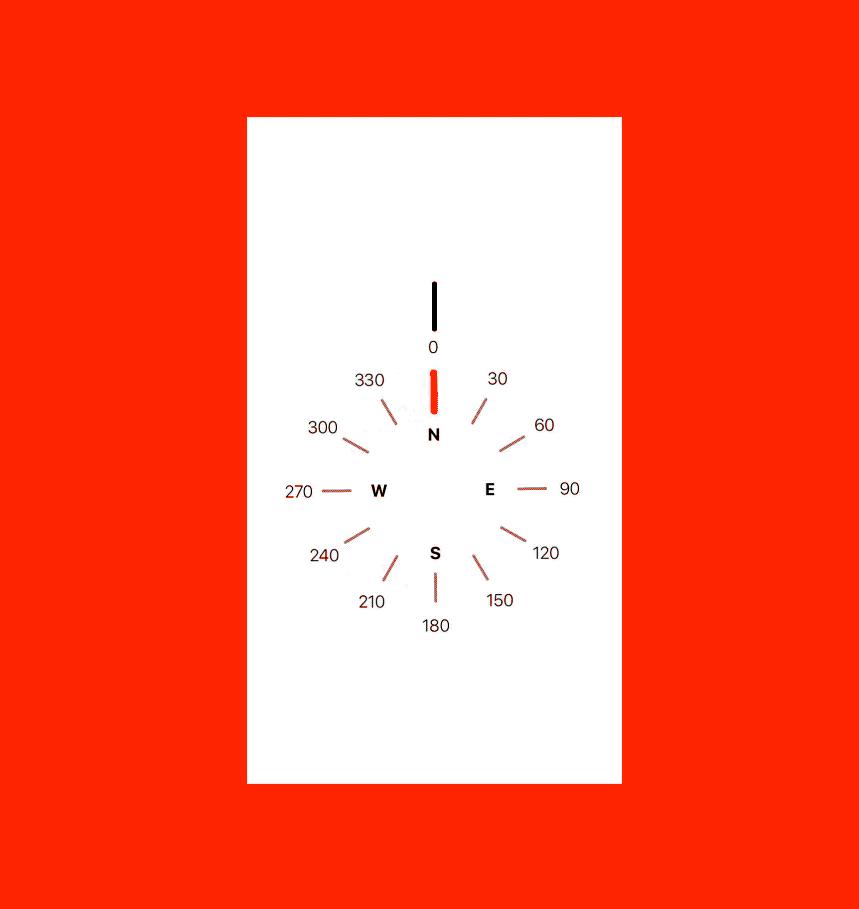
Bước 1: Khởi tạo ContentView
struct ContentView : View {
    var body: some View {
        VStack {
            // Code here
        }
    }
}
Trong ContentView, ta sẽ sử dụng VStack làm base container của phần giao diện. Tiếp theo, ta sẽ thêm Capsule view để hiện thị hướng mặt của người dùng.
struct ContentView : View {
    var body: some View {
        VStack {
            Capsule()
                .frame(width: 5,
                       height: 50)
        }
    }
}
Đoạn code trên sẽ được hiện thị trên ứng dụng như sau
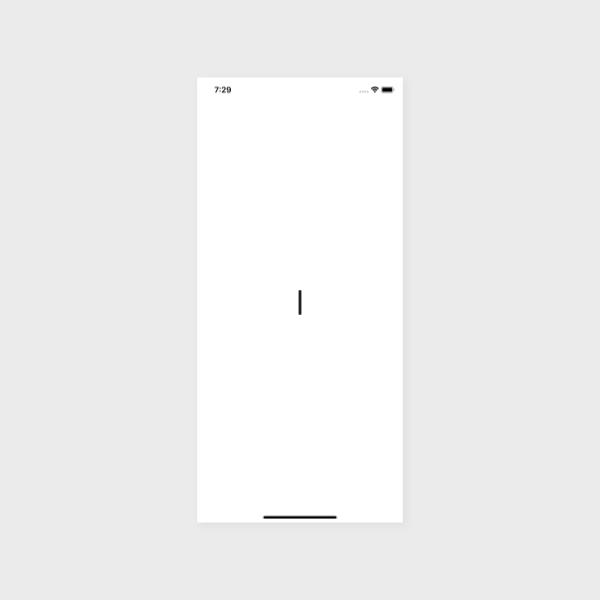
Cập nhật ContentView
struct ContentView : View {
    var body: some View {
        VStack {
            Capsule()
                .frame(width: 5,
                       height: 50)

            // 1
            ZStack {
                // 2
                ForEach([0, 30, 60, 90, 120, 150, 180, 210, 240, 270, 300, 330], id: \.self) { marker in
                    // CompassViewMarker(still to come)
                }
            }
            .frame(width: 300,
                   height: 300)
            .rotationEffect(Angle(degrees: 0)) // 3
            .statusBar(hidden: true)
        }
    }
}
Ý nghĩa của đoạn code trên như sau:
- Do các Marker chỉ hướng của la bàn luôn nằm trên các thành phần giao diện khác, nên ta sẽ sử dụng ZStack làm base container. Ta sẽ định nghĩa đối tượng CompassMarkerView để đặc trưng cho các Marker chỉ hướng của la bàn.
- Do có nhiều Marker khác nhau trên la bàn, nên ta sẽ dùng cú pháp ForEach để thêm các ký hiệu này vào phần giao diện. Cụ thể trong ứng dụng này ta sẽ có 12 Marker nằm ở các góc khác nhau trên la bàn
- .rotationEffect được dùng để tạo chuyển động quay của phần ZStack, phần tính toán góc quay của la bàn sẽ được giải thích chi tiết ở phần kế tiếp của bài viêt.
Bước 2: Tính toán và cập nhật thông tin hiển thị trên la bàn
Trong bước 1, ta đã làm xong phần giao diện cho các marker trên la bàn. Tiếp theo ta sẽ định nghĩa cấu trúc dữ liệu và thiết lập dữ liệu cho các marker này. Ta sử dụng struct Marker để định nghĩa cho các Marker. Mỗi Marker gồm 2 thông tin sau:
- degrees: góc đặt marker
- label: text hiển thị trên Marker
struct Marker: Hashable {
    let degrees: Double
    let label: String

    init(degrees: Double, label: String = "") {
        self.degrees = degrees
        self.label = label
    }
}
Ta sẽ tạo một hàm để trả về toàn bộ 12 Marker trên la bàn:
struct Marker: Hashable {
    let degrees: Double
    let label: String

    init(degrees: Double, label: String = "") {
        self.degrees = degrees
        self.label = label
    }

    static func markers() -> [Marker] {
        return [
            Marker(degrees: 0, label: "N"),
            Marker(degrees: 30),
            Marker(degrees: 60),
            Marker(degrees: 90, label: "E"),
            Marker(degrees: 120),
            Marker(degrees: 150),
            Marker(degrees: 180, label: "S"),
            Marker(degrees: 210),
            Marker(degrees: 240),
            Marker(degrees: 270, label: "w"),
            Marker(degrees: 300),
            Marker(degrees: 330)
        ]
    }
}
Bước 3: Xây dựng lớp CompassMarkerView
CompassMarkerView gồm 3 thành phần giao diện chính, 2 **Text **View, và một **Capsule **view CompassMarkerView có 2 thuộc tính chính:
- marker: Marker trên la bàn
- compassDegress: góc quay
struct CompassMarkerView: View {
    let marker: Marker
    let compassDegress: Double

    var body: some View {
        VStack {
            // 1
            Text("\(marker.degrees)")

            // 2
            Capsule()
                    .frame(width: 3,
                            height: 30)
                    .foregroundColor(Color.gray)

            // 3
            Text(marker.label)
        }
        .rotationEffect(Angle(degrees: marker.degrees)) // 4
    }
}
Ý nghĩa từng đoạn code trên như sau:
- Text View đầu tiên sẽ được dùng để hiển thị giá trị góc của Marker khi khởi tạo.
- Đường thẳng biểu diễn giá trị góc của la bàn
- Text View còn lại sẽ dùng để hiển thị hướng quay của la bàn (N, S, E, W)
- rotationEffect sẽ quay từng VStack hay các Marker theo giá trị góc hiện tại.
Giờ ta có thể sử dụng CompassMarker để làm dữ liệu cho ContentView
struct ContentView : View {
    var body: some View {
        VStack {
            Capsule()
                .frame(width: 5,
                       height: 50)

            ZStack {
                ForEach(Marker.markers(), id: \.self) { marker in
                    CompassMarkerView(marker: marker,
                                      compassDegress: 0)
                }
            }
            .frame(width: 300,
                   height: 300)
            .rotationEffect(Angle(degrees: 0))
            .statusBar(hidden: true)
        }
    }
}
Lúc này giao diện của ứng dụng sẽ như ảnh dưới đây
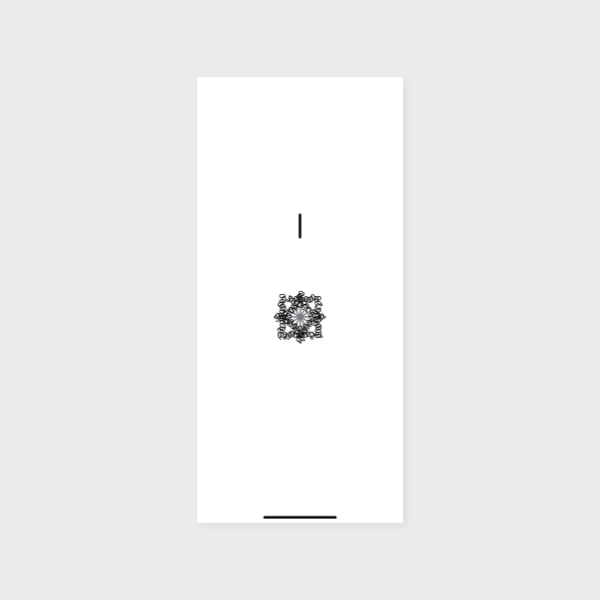
Bước 4: Thay đổi style của các thành phần giao diện trong CompassMarkerView
Trước hết ta sẽ thay đổi style của các Text View
Text View 1:
Text("\(marker.degrees)")
    .fontWeight(.light)
    .rotationEffect(Angle(degrees: 0))
Text View 2:
Text(marker.label)
    .fontWeight(.bold)
    .rotationEffect(Angle(degrees: 0))
    .padding(.bottom, 80)
Capsule View: Capsule() .frame(width: 3, height: 30) .foregroundColor(Color.gray) .padding(.bottom, 120)
Lúc này giao diện ứng dụng sẽ thay đổi như hình dưới:
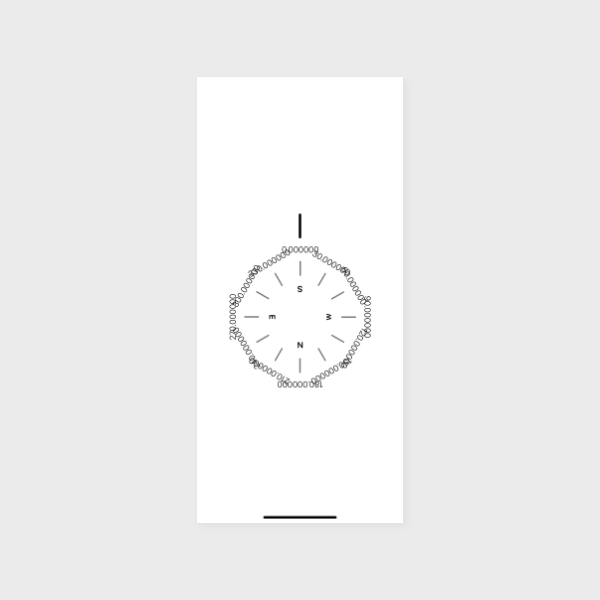
Bước 5: Cập nhật đúng giá trị góc của các label.
Ở các bước trên, ta đang hard code giá trị hiển thị trên các label. Ta sẽ thêm một hàm tiện ích để lấy giá trị hiển thị đúng trên từng marker.
func degreeText() -> String {
    return String(format: "%.0f", self.degrees)
}
Ta sẽ dùng hàm này ở phần CompassMarkerView
Text(marker.degreeText())
        .fontWeight(.light)
        .rotationEffect(Angle(degrees: 0))
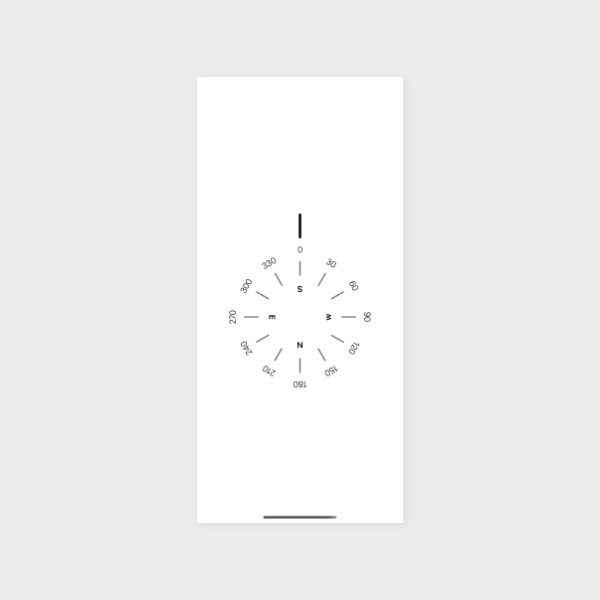
Khi này giao diện của chúng ta sẽ giống như hình dưới đây
Bước 6: Hiển thị theo giá trị thực của la bàn
Để ứng dụng của chúng ta hoạt động giống như một la bàn thực sự. Ta cần phải lấy dữ liệu la bàn từ API CoreLocation
Ta sẽ tạo một lớp tiện ích CompassHeading để quản lý giá trị góc thay đổi của la bàn
Giá trị góc này sẽ được lưu trong thuộc tính degrees
class CompassHeading: NSObject, ObservableObject, CLLocationManagerDelegate {
    var objectWillChange = PassthroughSubject<Void, Never>()
    var degrees: Double = .zero {
        didSet {
            objectWillChange.send()
        }
    }

    private let locationManager: CLLocationManager

    override init() {
        self.locationManager = CLLocationManager()
        super.init()

        self.locationManager.delegate = self
        self.setup()
    }

    private func setup() {
        self.locationManager.requestWhenInUseAuthorization()

        if CLLocationManager.headingAvailable() {
            self.locationManager.startUpdatingLocation()
            self.locationManager.startUpdatingHeading()
        }
    }

    func locationManager(_ manager: CLLocationManager, didUpdateHeading newHeading: CLHeading) {
        self.degrees = -1 * newHeading.magneticHeading
    }
}
Để phần giao diện ContentView thay đổi theo thuộc tính degrees của CompassHeading, ta cần thêm thuộc tính sau cho ContentView
@ObservedObject var compassHeading = CompassHeading()
Khi đó đoạn code giao diện sẽ như sau:
struct Marker: Hashable {
    let degrees: Double
    let label: String

    init(degrees: Double, label: String = "") {
        self.degrees = degrees
        self.label = label
    }

    func degreeText() -> String {
        return String(format: "%.0f", self.degrees)
    }

    static func markers() -> [Marker] {
        return [
            Marker(degrees: 0, label: "S"),
            Marker(degrees: 30),
            Marker(degrees: 60),
            Marker(degrees: 90, label: "W"),
            Marker(degrees: 120),
            Marker(degrees: 150),
            Marker(degrees: 180, label: "N"),
            Marker(degrees: 210),
            Marker(degrees: 240),
            Marker(degrees: 270, label: "E"),
            Marker(degrees: 300),
            Marker(degrees: 330)
        ]
    }
}
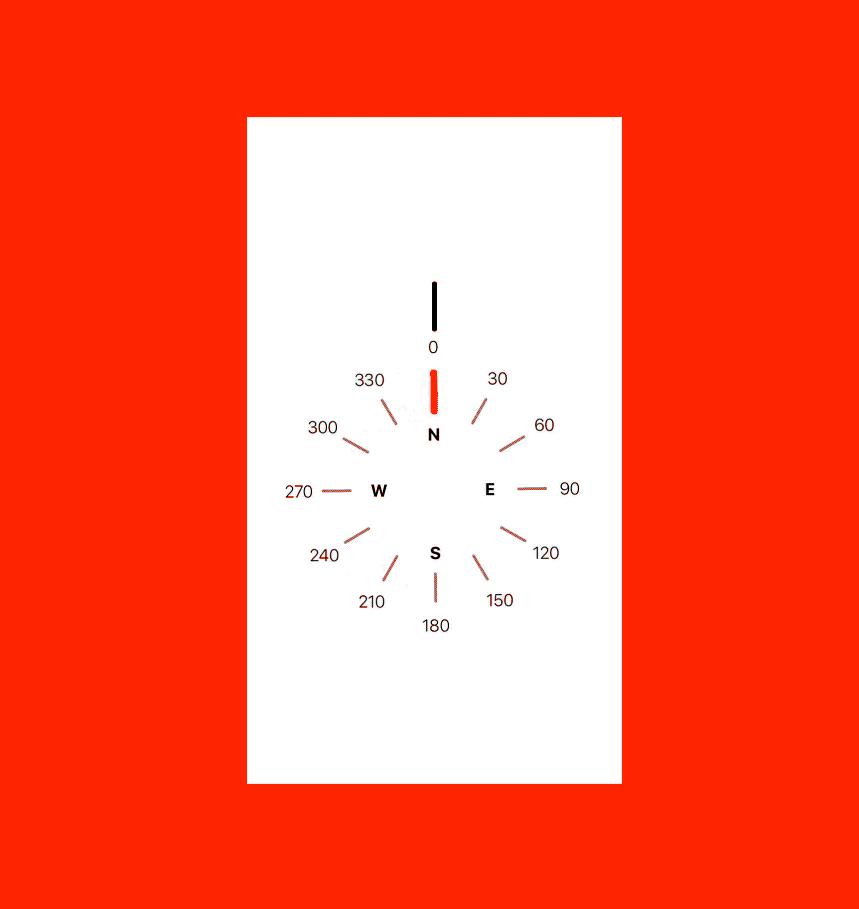
Lúc này các chức năng đã hoàn thành và chương trình sẽ hoạt động theo hình dưới đây.
Nguồn tham khảo và mã nguồn
- Nguồn tham khảo: https://medium.com/flawless-app-stories/build-a-compass-app-with-swiftui-f9b7faa78098
- Mã nguồn chương trình: https://github.com/oLeThiVanAnh/R9_2019
All rights reserved