Xây dựng ứng dụng cơ bản kết hợp Rails 5 API với Backbone (Part 2)
Bài đăng này đã không được cập nhật trong 7 năm
Trong bài viết trước, mình đã giới thiệu về Backbone là gì, các thành phần cơ bản của Backbone như: Models, Controllers, Routes,... Để tìm hiểu kỹ hơn thì các bạn có thể đọc lại bài viết trước của mình ở đây
Trong bài viết ngày hôm nay, chúng ta sẽ bắt tay xây dựng 1 ứng dụng cơ bản kết hợp Rails 5 API với Backbone theo các phần dưới đây nha.
1. Chuẩn bị
Đầu tiên các bạn cần phải cài đặt Ruby 2.2.2 trở lên và Rails 5.
  ruby -v
  -> ruby 2.4.2p198 (2017-09-14 revision 59899) [x86_64-linux]
  rails -v
  -> Rails 5.1.7
Các bạn có thể tham khảo hướng dẫn cài đặt tại đây https://gorails.com/setup/ubuntu/14.04
2. Khởi tạo project
Để khởi tạo được project của chúng ta, thì các bạn chạy lệnh dưới đây nhé
rails new my_post
Ok, vậy là chúng ta đã tạo được thành công project rồi. Chúng ta cùng xử lý các phần tiếp theo nào:
3. Cấu hình Mysql
Theo mặc định thì khi tạo mới 1 ứng dụng rails thì database sẽ là sqlite3, vì vậy chúng ta sẽ cấu hình lại ứng dụng để có thể sử dụng được Mysql.
Đầu tiên chúng ta sẽ thay thế dòng gem "sqlite3" bằng dòng gem "mysql2", ">= 0.3.18", "< 0.5 ở trong file: Gemfile
source "https://rubygems.org"

git_source(:github) do |repo_name|
  repo_name = "#{repo_name}/#{repo_name}" unless repo_name.include?("/")
  "https://github.com/#{repo_name}.git"
end


gem "rails", "~> 5.1.7"
gem "mysql2", ">= 0.3.18", "< 0.5"
gem "puma", "~> 3.7"

group :development, :test do
  gem "byebug", platforms: [:mri, :mingw, :x64_mingw]
end

group :development do
  gem "listen", ">= 3.0.5", "< 3.2"
  gem "spring"
  gem "spring-watcher-listen", "~> 2.0.0"
end

gem "tzinfo-data", platforms: [:mingw, :mswin, :x64_mingw, :jruby]
Sau đó đừng quên chạy lệnh: bundle install nhé.
Tiếp theo chúng ta sẽ sửa lại file: config/database.yml như sau:
default: &default
  adapter: mysql2
  encoding: utf8
  pool: 5
  username: root
  password: your_pass
  socket: /var/run/mysqld/mysqld.sock

development:
  <<: *default
  database: my_post_dev

test:
  <<: *default
  database: my_post_test

production:
  <<: *default
  database: my_post_product
Chúng ta cần chạy lệnh nàyrails db:create để tạo database cho project
Ok. Vậy là chúng ta đã cấu hình xong Mysql cho project, bây giờ chúng ta cùng đi tới các bước tiếp theo
4. Khởi tạo Model
Chúng ta sẽ tạo model Post như sau:
rails g model Post title:string body:text
Sau khi chạy lệnh trên thì chúng ta đã tạo được 1 model Post
class CreatePosts < ActiveRecord::Migration[5.1]
  def change
    create_table :posts do |t|
      t.string :title
      t.text :body

      t.timestamps
    end
  end
end
Tiếp theo chúng ta migrations để tạo bảng trong DB
rails db:migrate
Chúng ta sẽ validate các trường của model Post
# app/models/post.rb

class Post < ApplicationRecord
  validates :title, :body, presence: true
end
Tiếp theo chúng ta sẽ seed dữ liệu vào DB:
Bạn phải thêm gem "faker" vào gemfile và chạy bundle install
# Gemfile

[...]
group :development, :test do
  gem "byebug", platforms: [:mri, :mingw, :x64_mingw]
  gem "faker"
end
[...]
Ta sẽ tạo 5 bản ghi mẫu trong file db/seeds như sau:

# db/seeds
5.times do
  Post.create(title: Faker::Book.title, body: Faker::Lorem.sentence)
end
Chạy rails db:seed để import data vào db
5. Xây dựng API
Chúng tạo sẽ tạo thư mục mới /app/controllers/api/v1 với file posts_controller.rb
class Api::V1::PostsController < ApplicationController
  def index
     @posts = Post.order('created_at DESC')
     render json: @posts.as_json, status: :ok
  end
end
Cấu hình lại file config/routes.rb như sau:
Rails.application.routes.draw do
  namespace "api" do
    namespace "v1" do
      resources :posts
    end
  end
end
4. Cài đặt backbone
Đầu tiên chúng ta sẽ tạo ra Controller-View cho Post để dùng làm trang root. Chúng ta cùng chạy lệnh sau:
rails g controller posts index --skip-javascripts // Chúng ta sẽ bỏ qua file posts.js được auto sinh ra khi chạy
Chúng ta sẽ sửa lại các files dưới đây như sau:
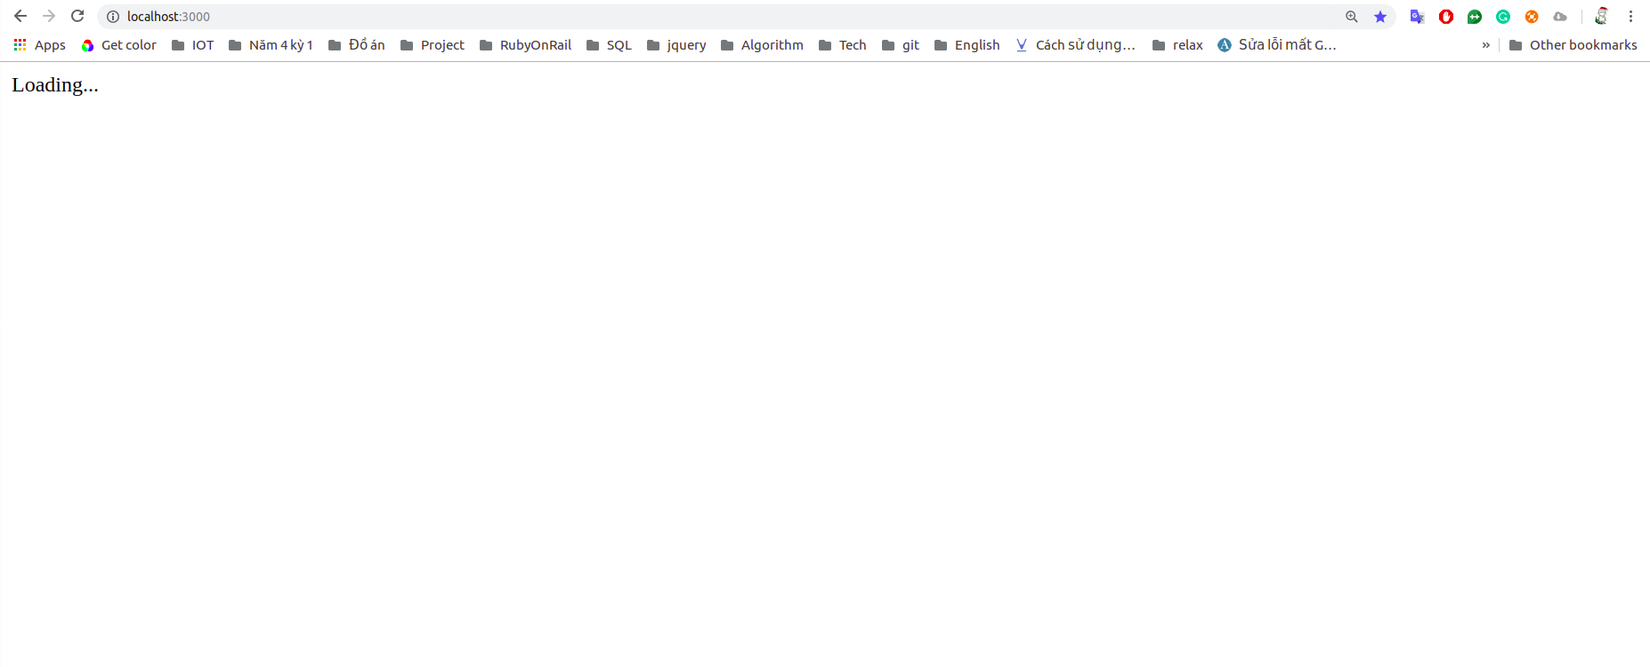
  # view/posts/index.html.erb
  <div id="container">Loading...</div>

  # config/routes.rb
  Rails.application.routes.draw do
    root "posts#index"

    namespace "api" do
      namespace "v1" do
        resources :posts
      end
    end
end
Bây giờ chúng ta cùng chạy lệnh rails s để bật server và xem kq như thế nào :v
Ok. Tiếp theo thì chúng ta sẽ nhúng Backbone vào project của chúng ta:
Để nhúng được Backbone vào project thì chúng ta sẽ thêm gem "jquery-rails" và gem "backbone-on-rails" vào Gemfile
Các bạn cần thêm jquery vào file javascripts/application.js
  //= require jquery
  [...]
Sau đó chúng ta sẽ chạy các lệnh dưới đây để cài đặt
  bundle install
  rails g backbone:install
Project của chúng ta sẽ được sinh ra các files như sau:
      create  app/assets/javascripts/models
      create  app/assets/javascripts/collections
      create  app/assets/javascripts/routers
      create  app/assets/javascripts/views
      create  app/assets/templates
      create  app/assets/javascripts/my_post.js.coffee
      create  app/assets/javascripts/application.js
      append  app/assets/javascripts/application.js
Ở đây, Backbone mặc định sử dụng file .js.coffee, nếu như bạn nào chưa được làm quen với dạng này thì các bạn có thể truy cập vào trang này để có thể convert được nội dung của file .js.coffee sang dạng file .js
Trong project của chúng ta có 1 file là my_post.js.coffee, và bh mình sẽ convert sang dạng .js để cho các bạn nào chưa quen với dạng kia
# /javascripts/my_posts.js

window.MyPost = {
    Models: {},
    Collections: {},
    Views: {},
    Routers: {},
    initialize: function() {
      return alert('Hello from Backbone!');
    }
  };

  $(document).ready(function() {
    return MyPost.initialize();
  });
Chúng ta cùng load lại project thì sẽ có kết quả như sau:

Và bây giờ chúng ta sẽ đi tạo các files cho từng thành phần trong backbone nhé
4.1 Model
Chúng ta sẽ tạo ra 1 file post.js như sau
# /javascripts/models/posts.js

MyPost.Models.Post = Backbone.Model.extend({
  initialize: function(options) {
    this.url = 'api/v1/posts';
  }
});
4.2. Collections
# /javascripts/collecions/posts.js

MyPost.Collections.Posts = Backbone.Collection.extend({
  model: MyPost.Models.Post,
  url: 'api/v1/posts'
});
Ở đây, chúng ta sẽ lấy ra 1 danh sách Posts được gọi qua API
4.3. Routers
# /javacripts/routers/post_router.js

MyPost.Routers.Posts = Backbone.Router.extend({
  routes: {
    '': 'index'
  },

  index: function() {
    this.collection = new MyPost.Collections.Posts();
    this.collection.fetch({reset: true});

    this.postIndexView = new MyPost.Views.PostsIndex({el: '#container', collection: this.collection});
  },

  start: function() {
    Backbone.history.start();
  }
});
Phần routes chúng ta sẽ định nghĩa ra các function, thường thì các funtion này ứng vs các funtion trong api/v1/posts_controller.rb.
Trong function index thì chúng ta sẽ lấy danh sách các Posts và được truyền vào View backbone.
4.4. Views
Chúng ta sẽ tạo file này theo đường dẫn sau: javascripts/views/posts/index.js
# javascripts/views/posts/index.js

MyPost.Views.PostsIndex = Backbone.View.extend({
  template: JST['posts/index'],

  initialize: function() {
    this.collection.on('reset', this.render, this);
  },

  render: function() {
    return this.$el.html(this.template({posts: this.collection.models}));
  }
});
Chúng ta sẽ lấy danh sách các Post (chính là this.collection) được truyền từ Routers và hiển thị chúng ở template
4.5 Templates
Ở đây, chúng ta sẽ hiển dữ liệu của bảng Posts
# /javascripts/templates/posts/index.js

<h1>List Posts</h1>

<table id="posts-table", style="border: 1px solid black;">
  <tr>
    <th>Title</th>
    <th>Body</th>
  </tr>
  <% _.each(posts, function(post) { %>
    <tr>
      <td><%= post.get('title') %></td>
      <td><%= post.get('body') %></td>
    </tr>
  <% }) %>
</table>

<br/>

<a href="#/new">New Post</a>
Cuối cùng, chúng ta cùng sửa lại file /javascripts/my_post.js như sau
window.MyPost = {
    Models: {},
    Collections: {},
    Views: {},
    Routers: {},
    initialize: function() {
      posts = new MyPost.Routers.Posts();
      return posts.start();
    }
  };

  $(document).ready(function() {
    return MyPost.initialize();
  });
Và đây là kết quả chúng ta thu được
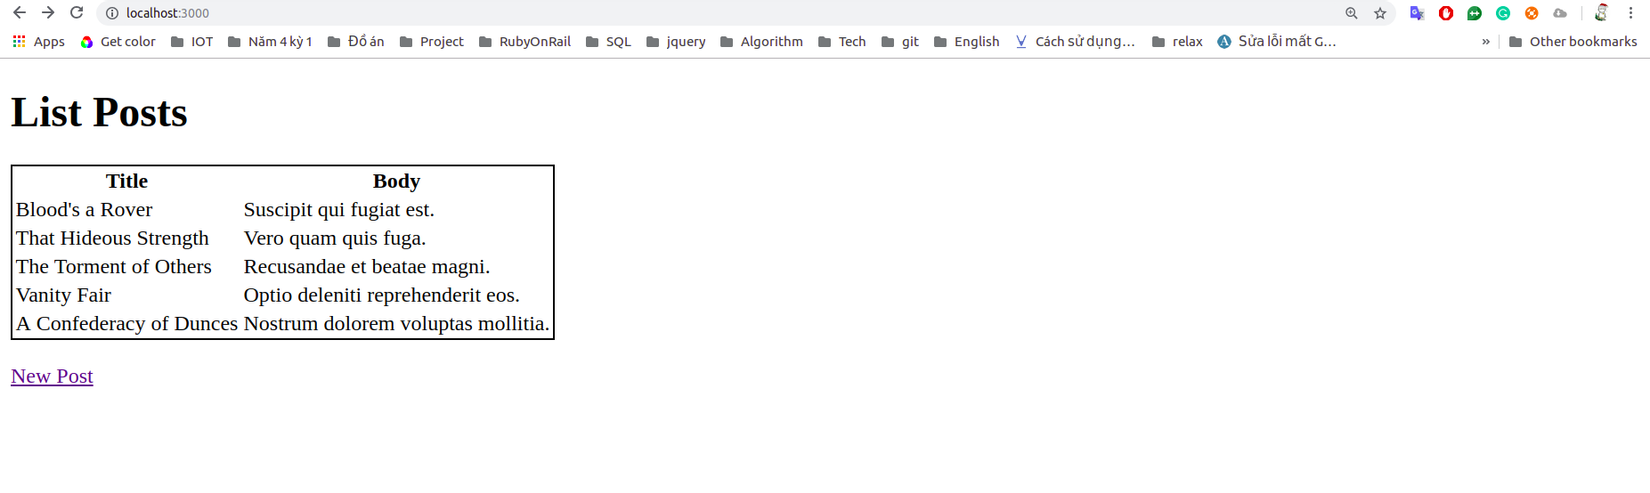
Trong bài viết này, mình chỉ dừng lại ở phần hiển thị danh sách Post. Và trong phần tiếp theo, chúng ta cùng thực hiện thêm các phương thức như: show, create, update và destroy cho Post nhé.
Part 1: https://viblo.asia/p/xay-dung-ung-dung-co-ban-ket-hop-rails-5-api-voi-backbone-part-1-yMnKMNAAZ7P
Cảm ơn các bạn đã đọc bài viết của mình. Nếu như có chỗ nào sai sót, mình rất mong được sự góp ý của các bạn. Mình xin cảm ơn ^^
Tài liệu tham khảo
http://blog.magmalabs.io/2012/08/28/backbone-js-basic-rails-example.html
All rights reserved
