Vuejs trong docker như thế nào.
Bài đăng này đã không được cập nhật trong 6 năm
Như ở phần trước chúng ta có cấu trúc thư mục sau đây:
.
├── backend
│   ├── app
│   │   ├── app
│   │   │   ├── cors.py
│   │   │   ├── __init__.py
│   │   │   ├── main.py
│   │   │   └── test
│   │   │       ├── __init__.py
│   │   │       └── test_hello.py
│   │   ├── backend-live.sh
│   │   └── uwsgi.ini
│   └── Dockerfile
├── db
│   └── init.sql
├── docker-compose.yml
├── frontend
│   ├── babel.config.js
│   ├── Dockerfile
│   ├── package.json
│   ├── package-lock.json
│   ├── public
│   │   ├── favicon.ico
│   │   └── index.html
│   ├── README.md
│   └── src
│       ├── App.vue
│       ├── assets
│       │   └── logo.png
│       ├── components
│       │   └── HelloWorld.vue
│       ├── config.js
│       └── main.js
├── README.md
└── traefik
    ├── acme
    │   └── acme.json
    └── traefik.toml
Ở bài viết này chúng ta tập trung vào phần frontend đó là vuejs của chúng ta ở đó.
├── docker-compose.yml
├── frontend
│   ├── babel.config.js
│   ├── Dockerfile
│   ├── package.json
│   ├── package-lock.json
│   ├── public
│   │   ├── favicon.ico
│   │   └── index.html
│   ├── README.md
│   └── src
│       ├── App.vue
│       ├── assets
│       │   └── logo.png
│       ├── components
│       │   └── HelloWorld.vue
│       ├── config.js
│       └── main.js
Xây dựng Vuejs từ CLI
Cài đặt vue-cli:
npm install -g @vue/cli
# OR
yarn global add @vue/cli
Khởi tạo project frontend:
vue create frontend
thư mục frontend nên cùng cấp với thư mục backend, sau đó là 1 loạt các lựa chọn từ babel, eslint, test... Tùy vào mục đích có thể chọn các option cần thiết.
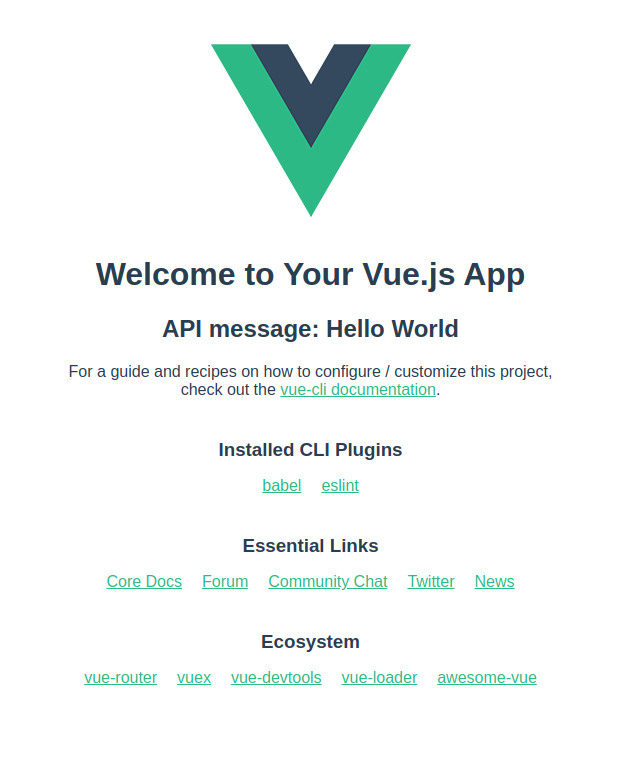
Chạy được Vuejs kết hợp flask trên local
Ở thư mục ./frontend chạy terminal:
npm install
npm run serve
Vậy chúng ta có 1 backend http://localhost:5000/api/ chạy ở local sau khi đọc tại đây, và một frontend http://localhost:8080
Tạo chút sự kết nối
Ở đây chúng ta muốn chữ Hello World hiển thị lên frontend Vuejs, vì backend trả về 1 JSON:
{"message": "Hello World"}
Ở file HelloWorld.vue chúng ta sẽ modify như sau:
// thêm state apiMessage
data: () => {
    return {
        apiMessage: '',
    }
}
.
.
.
// gọi api khi created
created: async function () {
    try {
      const res = await fetch('localhost:5000/api/');
      const data = await res.json();
      this.apiMessage = data.message;
    } catch (error) {
      throw error;
    }
  }
// thêm đoạn này vào template của Hellowold.vue để hiển thị
<h2>API message: {{ apiMessage }} </h2>
Docker hóa phần mình vừa tạo
Tạo thêm file .dockerignore
node_modules
Tạo thêm file nginx.conf cho Vuejs khi build production
server {
  listen 80;

  location / {
    root /usr/share/nginx/html;
    index index.html index.htm;
    try_files $uri $uri/ /index.html =404;
  }

  include /etc/nginx/extra-conf.d/*.conf;
}
Tạo thêm file Dockerfile
# Stage 0, "build-stage", based on Node.js, to build and compile the frontend
FROM node:10-alpine as build-stage
WORKDIR /app
COPY package*.json /app/
RUN npm install
COPY ./ /app/
ARG FRONTEND_ENV=production
ENV VUE_APP_ENV=${FRONTEND_ENV}
# Un-comment the next line to enable tests after implementing them
# RUN npm run test:unit
RUN npm run build
# Stage 1, based on Nginx, to have only the compiled app, ready for production with Nginx
FROM nginx:1.15
COPY /app/dist/ /usr/share/nginx/html
COPY ./nginx.conf /etc/nginx/conf.d/default.conf
Thêm file .env, chúng ta định nghĩa domain ảo chúng ta là service.test
VUE_APP_DOMAIN_DEV=localhost
VUE_APP_DOMAIN_PROD=service.test
VUE_APP_NAME=service.test
VUE_APP_ENV=development
# VUE_APP_ENV=production
Thêm file config.js
export let apiUrl = '';

if (process.env.VUE_APP_ENV == 'production') {
    apiUrl = `https://${process.env.VUE_APP_DOMAIN_PROD}`;
} else {
    apiUrl = 'http://localhost:5000'
}
Sửa lại file HelloWorld.vue
// config
const config = require('../config');
.
.
.
created: async function () {
    try {

      const res = await fetch(`${config.apiUrl}/api/`);
      const data = await res.json();
      this.apiMessage = data.message;
    } catch (error) {
      throw error;
    }
  }
Sửa file docker-compose và thêm traefik
Trước hết chúng ta tạo traefik.toml định nghĩa một số config như https acme
Chúng ta config domain ảo là service.test
Tại file /etc/hosts thêm:
127.0.0.1 service.test
defaultEntryPoints = ["http", "https"]

[web]
# Port for the status page
address = ":8080"

# Entrypoints, http and https
[entryPoints]
  # http should be redirected to https
  [entryPoints.http]
  address = ":80"
    [entryPoints.http.redirect]
    entryPoint = "https"
  # https is the default
  [entryPoints.https]
  address = ":443"
    [entryPoints.https.tls]

# Enable ACME (Let's Encrypt): automatic SSL
[acme]
# Email address used for registration
email = "test@traefik.io"
storageFile = "/etc/traefik/acme/acme.json"
entryPoint = "https"
onDemand = false
OnHostRule = true
  # Use a HTTP-01 acme challenge rather than TLS-SNI-01 challenge
  [acme.httpChallenge]
  entryPoint = "http"

# Enable Docker configuration backend
[docker]
endpoint = "unix:///var/run/docker.sock"
domain = "service.test"
watch = true
exposedbydefault = false
Tạo thêm file rỗng ./traefik/acme/acme.json
Sau đó chúng ta sửa lại docker-compose.yml
version: "3.7"

services:

  backend:
    build: ./backend
    labels:
      - "traefik.enable=true"
      - "traefik.backend=backend"
      - "traefik.frontend.rule=PathPrefix:/api"

  frontend:
    build:
      context: ./frontend
      args:
          FRONTEND_ENV: ${FRONTEND_ENV-production}
    labels:
        traefik.enable: "true"
        traefik.frontend.rule: PathPrefix:/
        traefik.port: '80'

  traefik:
    image: traefik:1.7
    volumes:
      - /var/run/docker.sock:/var/run/docker.sock:ro
      - ./traefik/traefik.toml:/etc/traefik/traefik.toml:ro
      - ./traefik/acme:/etc/traefik/acme
    ports:
     - "80:80"
     - "443:443"
     - "8080:8080"
Giải thích qua thì backend có quy tắc ở prefix: '/api' còn frontend có quy tắc prefix: '/' mọi thứ để qua cổng 80, còn service traefik kia là để theo dõi tình trạng service. Kèm theo đó là cài đặt https.
Mọi thứ xong xuôi, chúng ta chạy
docker-composer up -d --build
Sau đó chúng ta truy cập: https://service.test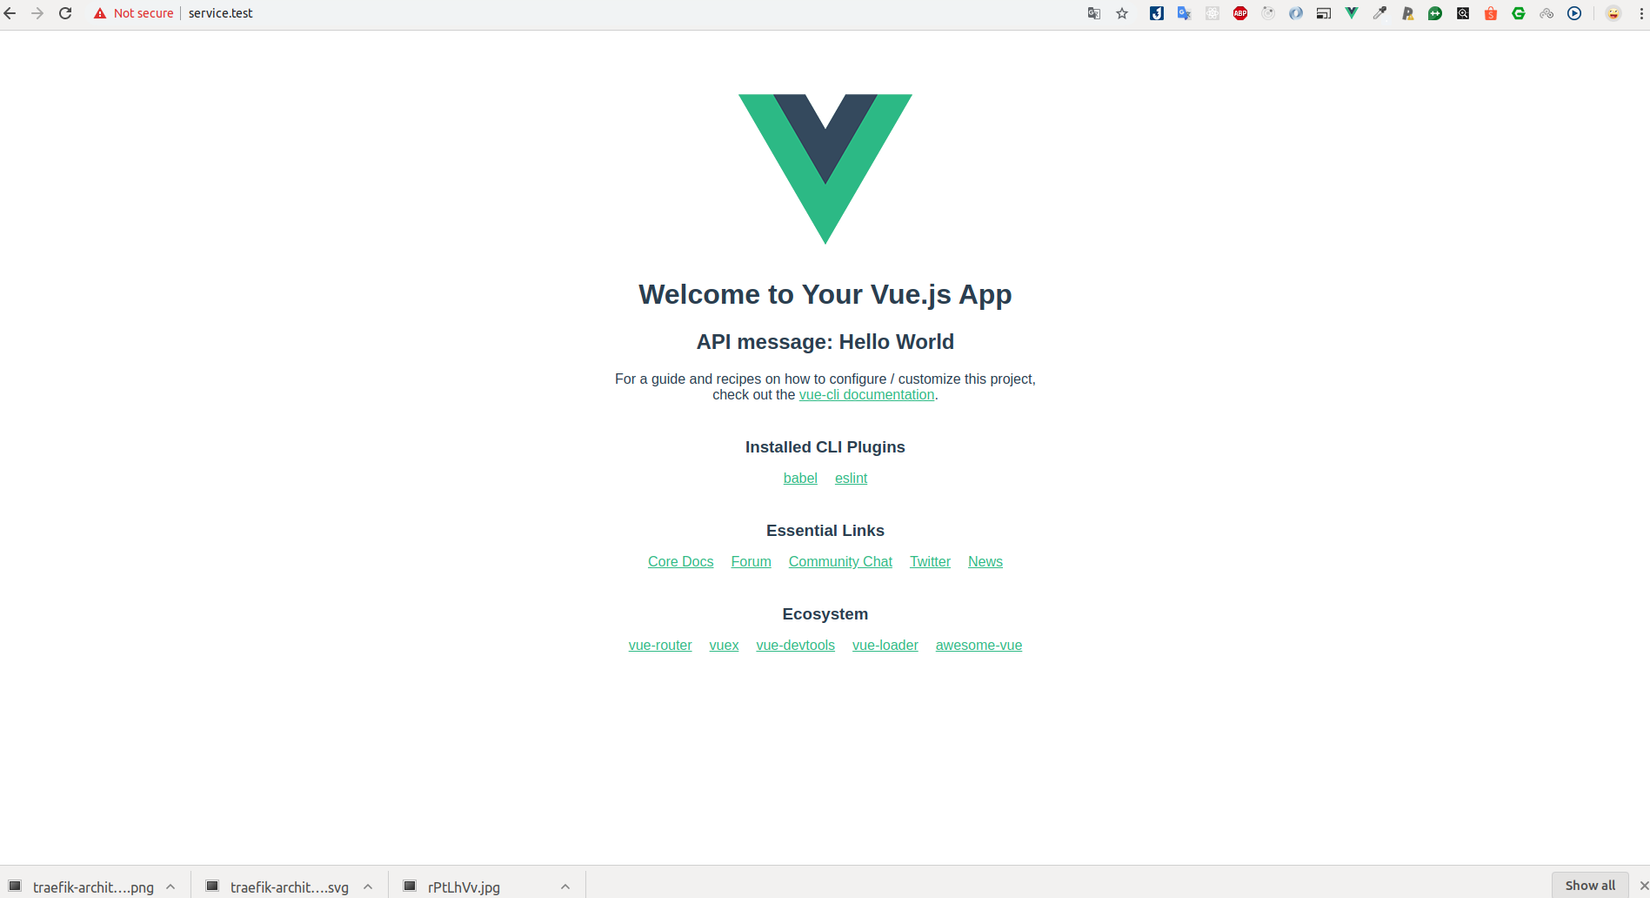
Theo dõi traefik: http://service.test:8080 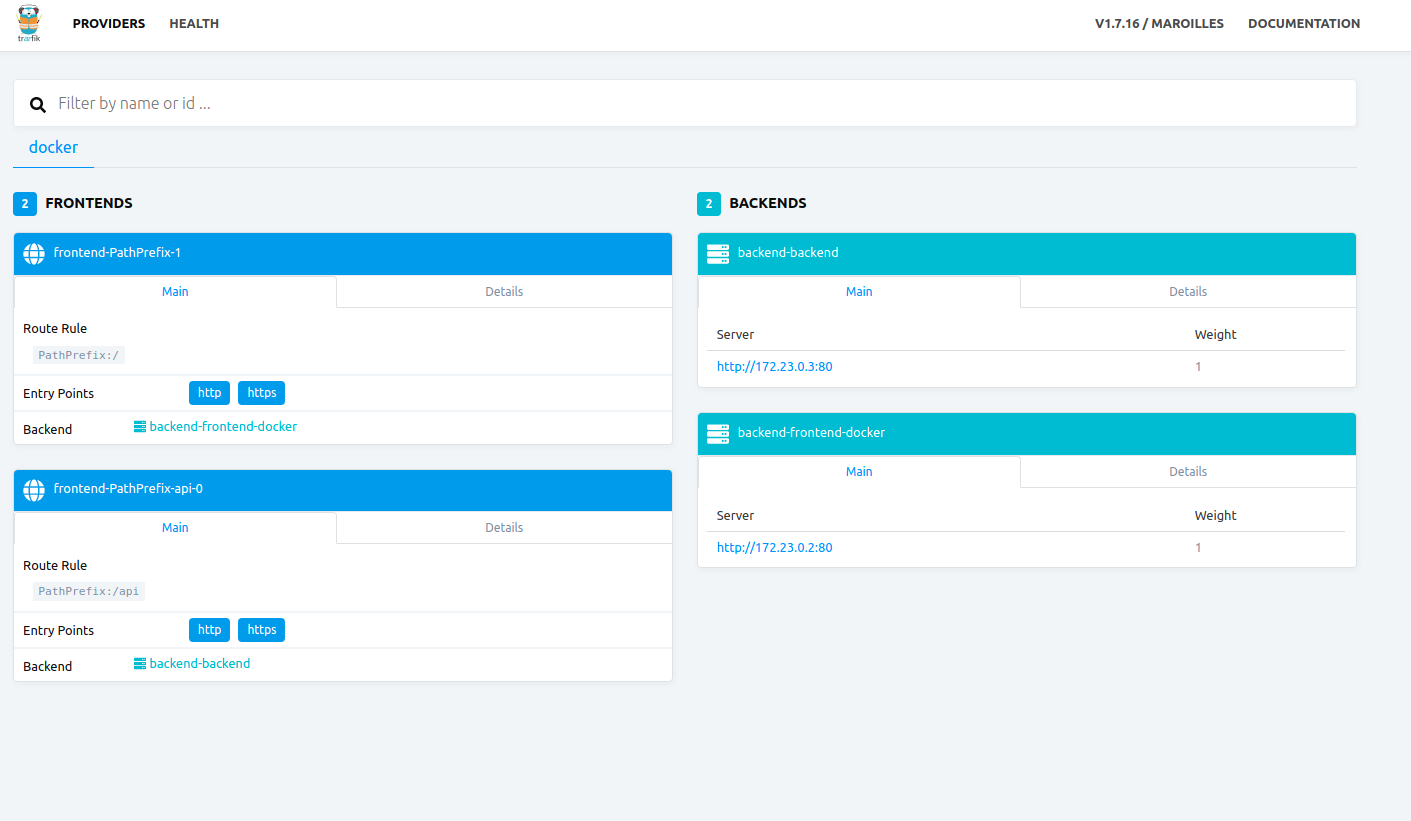
Kết luận
Vậy môi trường local chúng ta như là 1 môi trường production, bước tiếp theo là chúng ta có 1 server với tên miền được mua sẵn, chạy docker là xong.
Đối với việc development thay vì sử dụng docker chúng ta vẫn có thể sử dụng dạng localhost trực tiếp mà không vấn đề gì cả như port 5000 đối với flask và port 8080 của Vuejs
Đối với bạn nào muốn mì ăn liền thì có thể sử dụng cái này của tớ: https://github.com/quanghung97/flask-vuejs-traefik-docker. Ở đây có thể khác 1 chút vì thêm 1 số service như mysql  . Các bạn có thể xóa đi nếu không cần.
facebook: https://www.facebook.com/quanghung997
All rights reserved
