Ví dụ nhỏ về Weex
Bài đăng này đã không được cập nhật trong 4 năm
Weex là gì?
Weex là giải pháp về ứng dụng đa nền tảng. Nó hoạt động tốt ở cả iOS lẫn Android. Lập trình viên chỉ việc viết template/CSS/JavaScript một lần để build ra native UI. Thêm nữa, Weex có thể port ra HTML5. Nếu không có component native nào, thì nó sẽ được render trong Browser/WebView.
 Cú pháp của Weex lấy cảm hứng từ VueJS, một framework JS rất mạnh mẽ nhưng nhẹ và có hiệu năng rất cao, hiện tại đã có phiên bản 2.
Nào, ta cùng bắt đầu khám phá!
Cú pháp của Weex lấy cảm hứng từ VueJS, một framework JS rất mạnh mẽ nhưng nhẹ và có hiệu năng rất cao, hiện tại đã có phiên bản 2.
Nào, ta cùng bắt đầu khám phá!
Cái nhìn đầu tiên
Đầu tiên, bạn hãy download thử Weex Playground cho Android/iOS. Ứng dụng này sẽ cung cấp bộ máy render các ứng dụng Weex và vài ví dụ cơ bản viết bằng Weex.
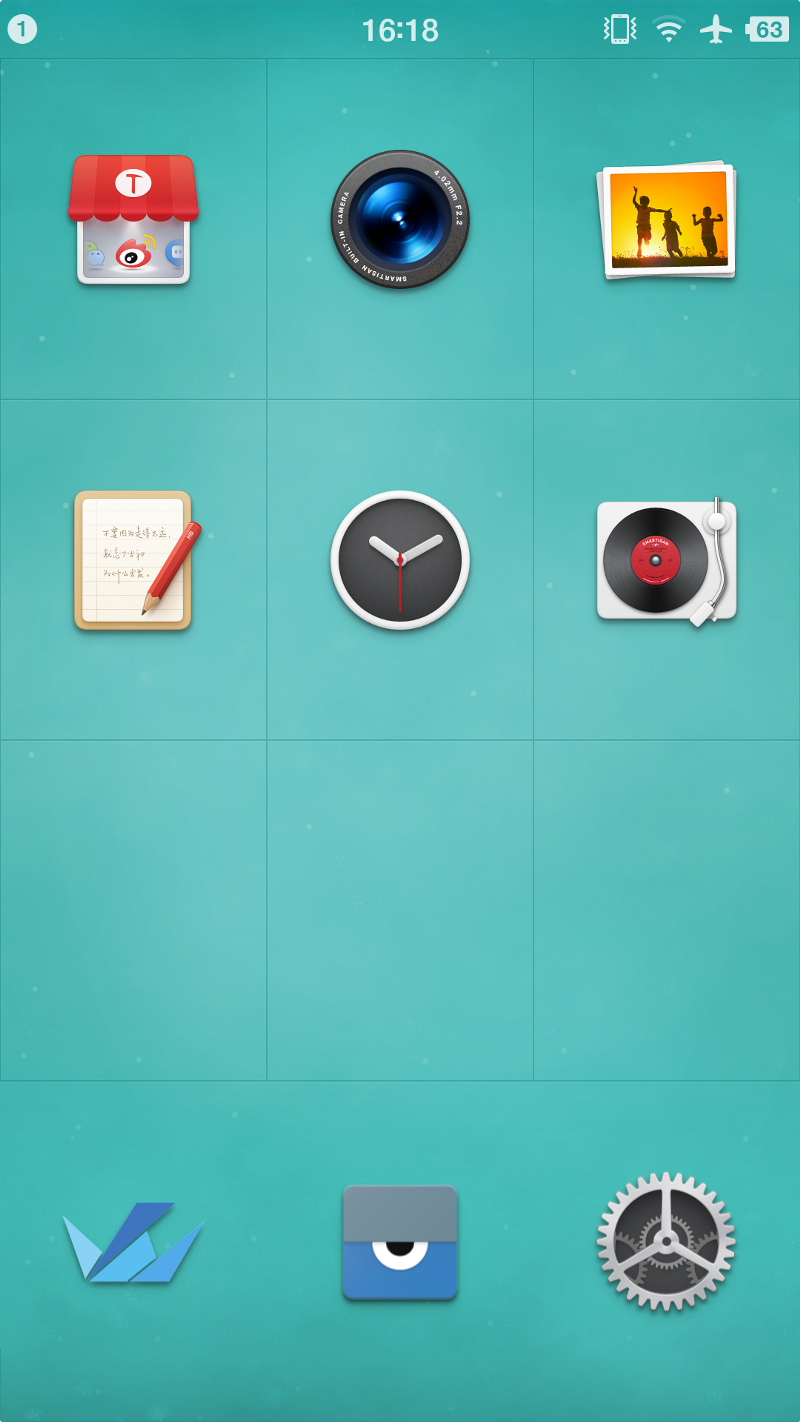 Weex Playground App in the left-bottom corner
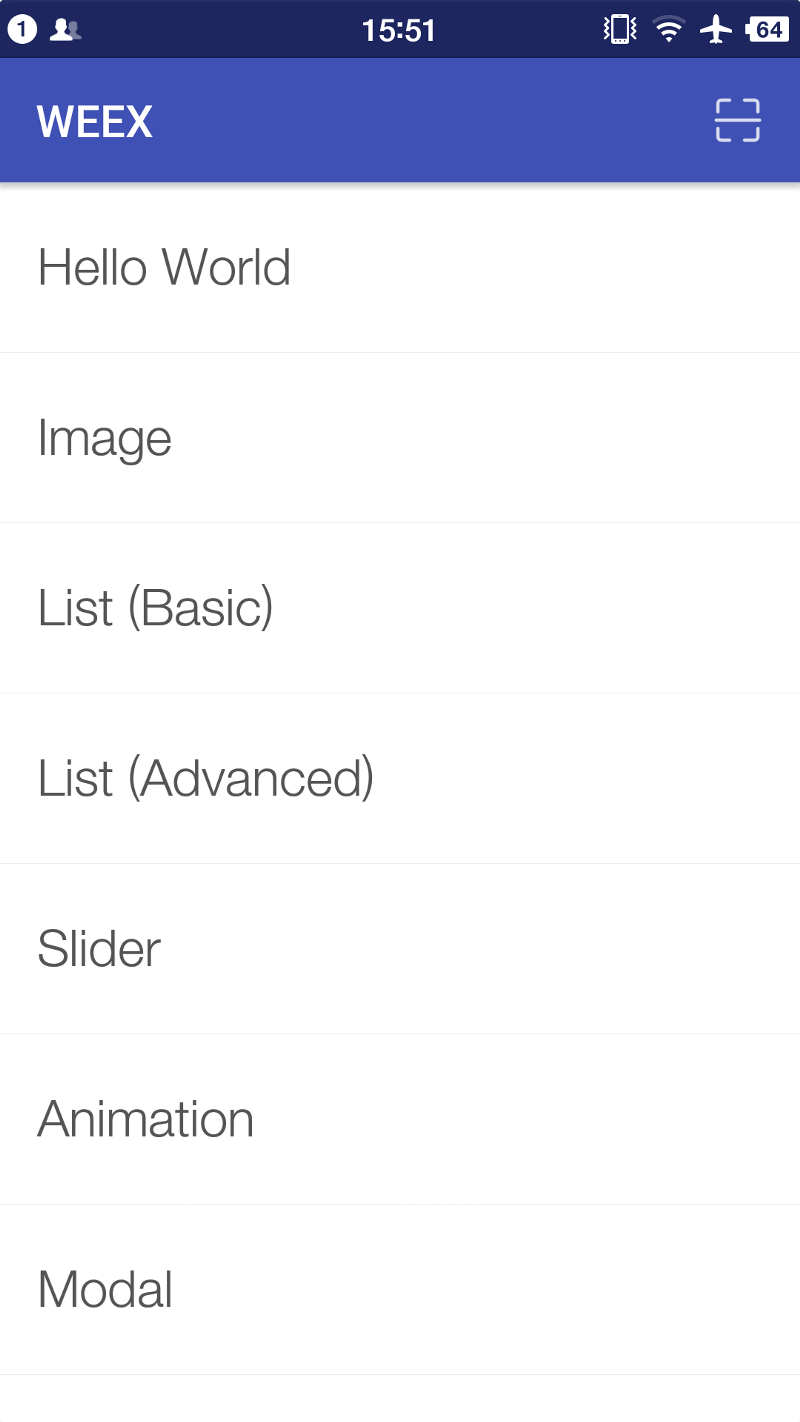 First sight of Weex Playground App
Bạn chỉ việc click vào các items để mở các ví dụ. Nó hỗ trợ các native components cơ bản như <text>, <image>, <slider> etc. Và bạn cũng có thể mở ví dụ “List (Advanced)” để thấy được hiệu năng của Weex. Tất cả các ví dụ này đều được viết với template/CSS/JavaScript nhưng nó rất nhanh và mượt, hơn cả trên Browser/Webview. Bây giờ bạn đã nóng lòng muốn viết 1 demo đơn giản rồi đúng k nào. Bắt đầu thôi!
Thử
Bạn nên cài đặt sẵn Node.js. Sau đó cài công cụ có tên là "weex-toolkit" từ NPM. Nếu bạn đã có sẵn Node thì chỉ cần gõ lệnh sau: "npm install -g weex-toolkit". Quá trình cài đặt sẽ rất nhanh tùy thuộc vào mạng của bạn.
$ npm install -g weex-toolkit

> websocket@1.0.22 install /usr/local/lib/node_modules/weex-toolkit/node_modules/websocket
> (node-gyp rebuild 2> builderror.log) || (exit 0)

  CXX(target) Release/obj.target/bufferutil/src/bufferutil.o
  SOLINK_MODULE(target) Release/bufferutil.node
  CXX(target) Release/obj.target/validation/src/validation.o
  SOLINK_MODULE(target) Release/validation.node
/usr/local/bin/weex -> /usr/local/lib/node_modules/weex-toolkit/bin/weex.js
weex-toolkit@0.0.22 /usr/local/lib/node_modules/weex-toolkit
├── opener@1.4.1
├── node-watch@0.3.5
├── underscore@1.8.3
├── qrcode-terminal@0.10.0
├── yargs@3.32.0 (decamelize@1.2.0, camelcase@2.1.1, y18n@3.2.1, window-size@0.1.4, os-locale@1.4.0, cliui@3.2.0, string-width@1.0.1)
├── lie@3.0.2 (immediate@3.0.5, inline-process-browser@1.0.0, unreachable-branch-transform@0.3.0, es3ify@0.1.4)
├── fs-extra@0.26.7 (path-is-absolute@1.0.0, klaw@1.2.0, jsonfile@2.3.0, graceful-fs@4.1.3, rimraf@2.5.2)
├── websocket@1.0.22 (yaeti@0.0.6, nan@2.0.9, typedarray-to-buffer@3.0.5, debug@2.2.0)
├── weex-transformer@0.3.1 (printf@0.2.3, weex-templater@0.2.1, md5@2.1.0, parse5@2.1.5, chalk@1.1.3, commander@2.9.0, weex-styler@0.0.17, weex-scripter@0.1.4)
└── http-server@0.8.5 (corser@2.0.0, colors@1.0.3, optimist@0.6.1, http-proxy@1.13.2, union@0.4.4, ecstatic@0.7.6, portfinder@0.4.0)
$
Sau khi cài đặt xong, trong máy bạn sẽ có 1 cli tool tên là weex. CLI này sẽ giúp bạn build file Weex thành JavaScript, và có thể đọc được bởi ứng dụng Weex Playground App. Hãy thử tạo 1 file với tên "live.we" nội dung như sau:
<template>
  <div>
    <text>Hello World!</text>
  </div>
</template>
Và sau đó chạy lệnh:
weex live.we
Bạn sẽ thấy weex sinh ra 1 mã QR code ở màn hình terminal. Hãy dùng Weex Playground App trên điện thoại và quét mã này, bạn sẽ chạy được demo vừa làm ở trên. Bây giờ làm thêm một tí nào, mình sẽ thêm chút style vào để cho chữ Hello World được lớn hơn:
<template>
  <div>
    <text style="font-size: 48px;">Hello World!</text>
  </div>
</template>
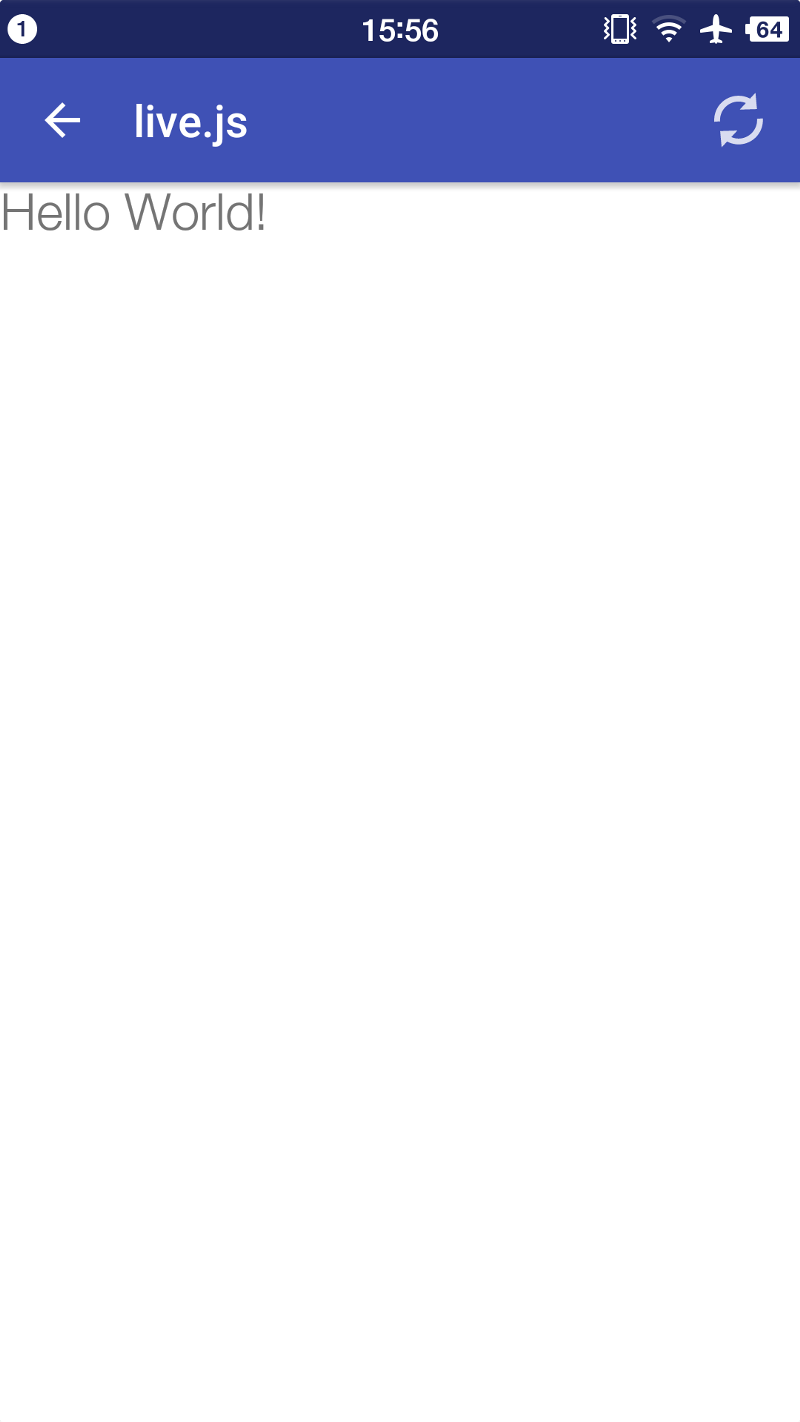 Hello World
Và sau khi lưu file, bạn sẽ thấy Weex Playground App tải lại. Vâng, Weex cli sẽ track các sự thay đổi và dùng WebSocket để nói cho Weex Playground App biết và refresh. Vì vậy, bạn sẽ thấy chữ "Hello World!" lớn hơn ngay lập tức.
Ở đây chúng ta mới chỉ sử dụng các cú pháp HTML, CSS. Template mô tả cấu trúc giao diện bằng các tên thẻ, thuộc tính, style, nội dung, các phần tử con.
Chúng ta sẽ thử thêm class, event, thẻ <script> và data-binding nhé:
Hello World
Và sau khi lưu file, bạn sẽ thấy Weex Playground App tải lại. Vâng, Weex cli sẽ track các sự thay đổi và dùng WebSocket để nói cho Weex Playground App biết và refresh. Vì vậy, bạn sẽ thấy chữ "Hello World!" lớn hơn ngay lập tức.
Ở đây chúng ta mới chỉ sử dụng các cú pháp HTML, CSS. Template mô tả cấu trúc giao diện bằng các tên thẻ, thuộc tính, style, nội dung, các phần tử con.
Chúng ta sẽ thử thêm class, event, thẻ <script> và data-binding nhé:
<template>
  <div class="wrapper" onclick="update">
    <image class="thumb" src="http://alibaba.github.io/weex/img/weex_logo_blue@3x.png"></image>
    <text style="font-size: 48px;">Hello {{who}}!</text>
  </div>
</template>

<style>
  .wrapper {align-items: center; margin-top: 80px;}
  .thumb {width: 360px; height: 82px;}
</style>

<script>
  module.exports = {
    data: function () {
      return {who: 'World'}
    },
    methods: {
      update: function (e) {
        this.who = 'Weex'
      }
    }
  }
</script>
 <image> + <text> with flexbox layout
Lưu nó lại và để App refresh, bạn sẽ thấy logo của Weex và dòng chữ "Hello World!" ngay giữa. Thẻ <style> cung cấp tất cả style cho thẻ <template>.
Nội dung của text thì được binding bởi biến "who", biến này được định nghĩa ở mục data trong thẻ <script>. Thẻ <script> nó exports tất cả mọi thứ thông qua module.exports. Khi click vào màn hình, phương thức update sẽ thực hiện và đổi giá trị của biến "who". Nên sau đó App sẽ render ra chữ "Hello Weex!"
Với ví dụ này, bạn đã biết cách viết <template>, <style>, <script>, và các thẻ, thuộc tính, events, data-bindings, methods,...
Tiếp đến là phần hiển thị logic. Chúng ta sẽ dùng 2 cái thường xuyên dùng đó là if và repeat:
<image> + <text> with flexbox layout
Lưu nó lại và để App refresh, bạn sẽ thấy logo của Weex và dòng chữ "Hello World!" ngay giữa. Thẻ <style> cung cấp tất cả style cho thẻ <template>.
Nội dung của text thì được binding bởi biến "who", biến này được định nghĩa ở mục data trong thẻ <script>. Thẻ <script> nó exports tất cả mọi thứ thông qua module.exports. Khi click vào màn hình, phương thức update sẽ thực hiện và đổi giá trị của biến "who". Nên sau đó App sẽ render ra chữ "Hello Weex!"
Với ví dụ này, bạn đã biết cách viết <template>, <style>, <script>, và các thẻ, thuộc tính, events, data-bindings, methods,...
Tiếp đến là phần hiển thị logic. Chúng ta sẽ dùng 2 cái thường xuyên dùng đó là if và repeat:
<template>
  <div>
    <text repeat="list" if="value % 2" style="font-size: 48px;">
      {{value}}
    </text>
  </div>
</template>
<script>
  module.exports = {
    data: function () {
      return {
        list: [{value: 1}, {value: 2}, {value: 3}, {value: 4}, {value: 5}]
      }
    }
  }
</script>
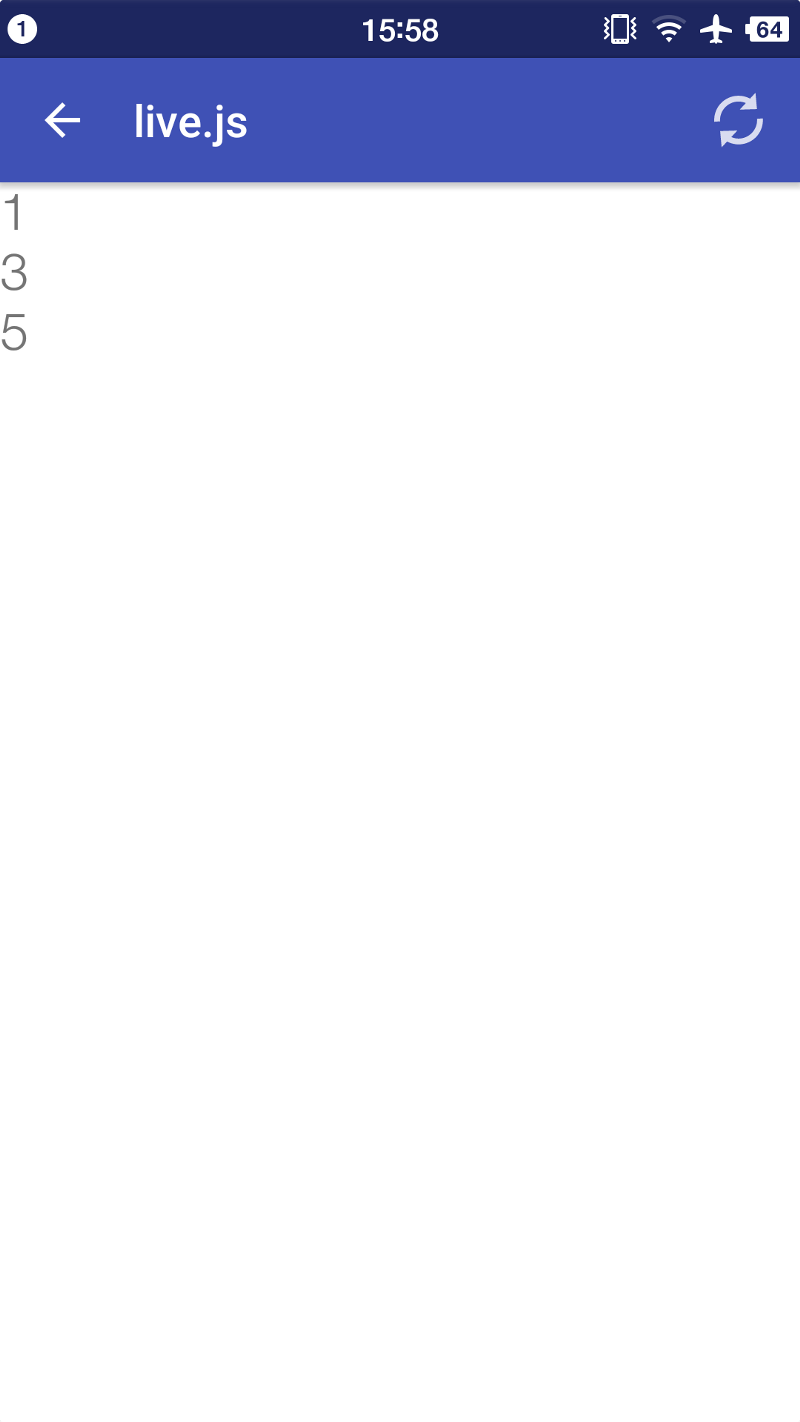 repeat and if directives in Weex
Trong trường hợp này, dùng cả 2 cách repeat=”list” và repeat=”{{list}}” đều ổn. Và đoạn if="..." sẽ giúp chúng ta in ra các số "1 3 5". Nếu bạn muốn xây dựng UI phức tạp hơn, tôi khuyên bạn nên tùy biến các components. Để thử điều này, bạn nên tạo 1 file khác có tên là "foo.we" và có nội dung sau:
<!-- foo.we -->
<template>
  <text style="font-size: 48px; color: {{color}}">{{content}}</text>
</template><script>
  module.exports = {
    data: function () {
      return {
        color: '', content: ''
      }
    }
  }
</script>
Và sau đó sẽ sử dụng component <foo> ở trong file live.we:
<template>
  <div>
    <foo color="#ff0000" content="Hello foo component"></foo>
  </div>
</template>
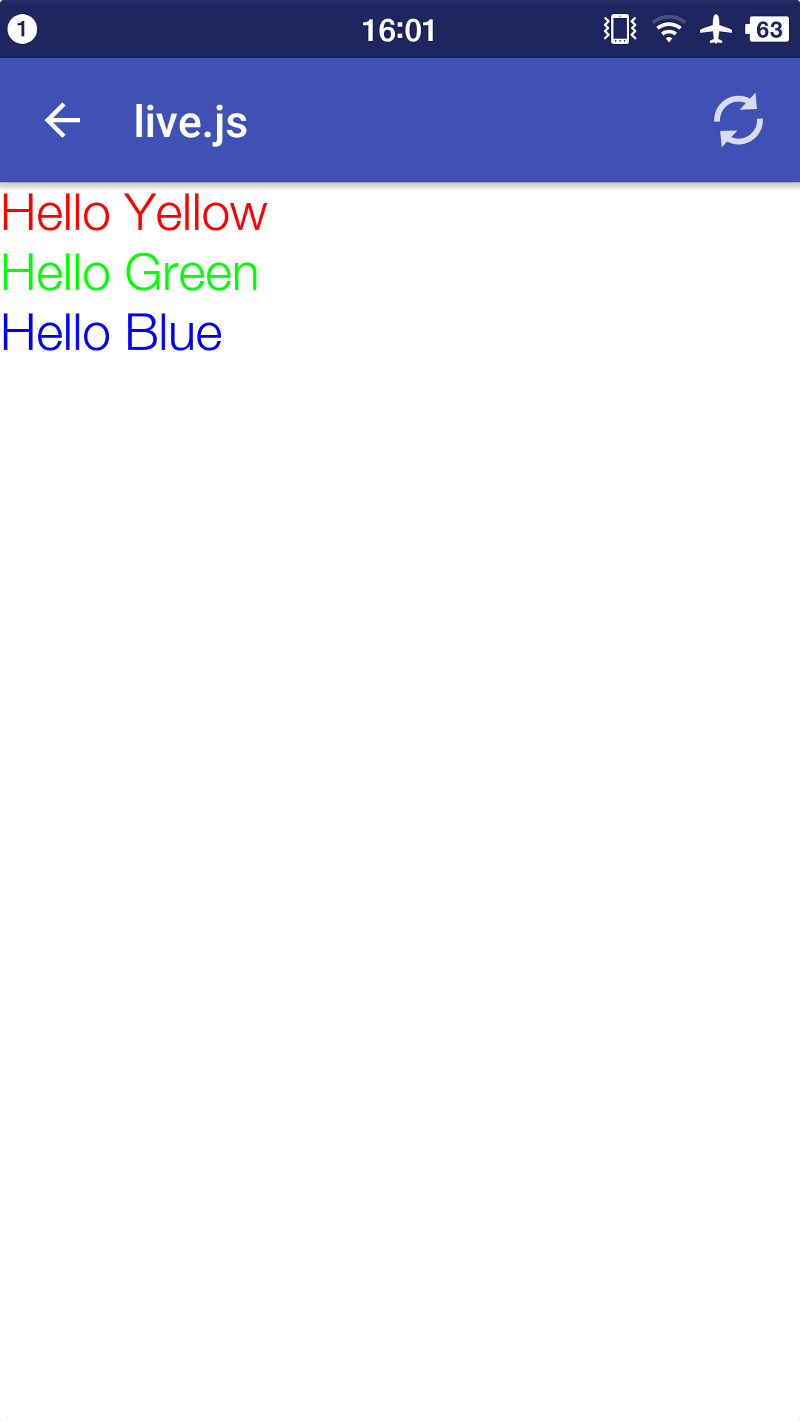
và bạn cũng có thể repeat cái component vừa tạo, sau đó truyền data vào:
<template>
  <div>
    <foo repeat="list" color="{{a}}" content="Hello {{b}}"></foo>
  </div>
</template>

<script>
  module.exports = {
    data: function () {
      return {
        list: [
          {a: '#ff0000', b: 'Yellow'},
          {a: '#00ff00', b: 'Green'},
          {a: '#0000ff', b: 'Blue'}
        ]
      }
    }
  }
</script>
Cách các file *.we hoạt động?
Ở các phần trên, thực ta, weex-toolkit đã biến đổi các template/CSS thành JavaScript, sau đó tổng hợp các thẻ <script> lại và build ra một JS Bundle. Ví dụ:
<template>
  <div>
    <text style="color: #ff0000" class="a">Hello {{who}}</text>
  </div>
</template>
<style>
  .a {font-size: 48px;}
</style>
<script>
  module.exports = {
    data: function () {
      return {
        who: 'World'
      }
    }
  }
</script>
Sẽ được biến đổi thành:
// origin script code
module.exports = {
  data: function () {
    return {
      who: 'World'
    }
  }
}

// style content into JSON
module.exports.style = {a: {fontSize: 48}}

// template content into JavaScript object
module.exports.template = {
  type: 'div',
  children: [{
    type: 'text',
    style: {color: '#ff0000'},
    attr: {value: function () {return 'Hello ' + this.who}}
  }]
}
Và đoạn code này sẽ dễ dàng chạy ở môi trường JavaScript. Vì thế, chúng ta không cần HTML parse hay CSS parser mà chỉ cấn duy nhất một thứ đó là JavaScript Engine. Mã QR code được sinh ra bởi weex-toolkit thực ra chỉ là cầu nối giữa app và file JS Bundlle. Nếu bạn đã quen với JS Bundle thì có thể viết code JS Bundle trực tiếp, sau đó tạo 1 mã QR code và dùng Playground App để quét và chạy thử. Vừa rồi là một ví dụ đơn giản về Weex. Hiện tại nó vẫn đang được phát triển nên còn ít các components, styles, và tính năng hay. Nhưng trong tương lai gần, tôi tin chắc nó sẽ phổ biến rộng rãi và nhanh hơn nhiều so với hiện giờ. Nguồn: https://medium.com/@jinjiang/a-simple-tutorial-for-weex-353cd4142b48#.3fw66ls28
All rights reserved
