Upload video in Ruby on Rails use gem Carrierwave
Bài đăng này đã không được cập nhật trong 4 năm
Xin chào tất cả các bạn, chắc hẳn trong chúng ta không ai còn xa lạ gì với trang video nổi tiếng như Youtobe.
Trong bài viết này tôi xin giới thiệu tới các bạn cách upload video lên rails server lưu vào thư mục /public/uploads từ điểm khởi đầu giúp tất cả các bạn mới làm quen với RoR cũng có thể dễ dàng làm được một trang demo. Để cho các bạn có thể dễ dàng tạo một trang chia sẻ video mà không cần tới bất kì dịch vụ hỗ trợ của bên thứ 3 nào. chỉ cần các bạn có một con server đủ mạnh thì các bạn cũng có thể phát triển thêm các tính năng khác như Youtobe.
1. Khởi tạo app
rails new upload_video -d mysql
2. Tạo model Post
Để đỡ mất thời gian của các bạn tôi dùng lệnh rails generate với tùy chọn scaffold để tạo ra một trang Post với đầy đủ các tính năng thêm sửa xóa cơ bản. Chúng ta cần thêm hai trường đó là name và video đều có kiểu dữ liệu là string. Trường video dùng để lưu đường dẫn của file video mình sẽ upload
rails generate scaffold Post name:string video:string
3. Thêm gem
Thêm vào Gemfile
gem 'carrierwave'
bundle install
rails g uploader video
Lệnh trên sẽ tạo ra file video_uploader.rb trong thư mục uploaders với nội dung sau
# encoding: utf-8

class VideoUploader < CarrierWave::Uploader::Base

  # Include RMagick or MiniMagick support:
  # include CarrierWave::RMagick
  # include CarrierWave::MiniMagick

  # Choose what kind of storage to use for this uploader:
  storage :file
  # storage :fog

  # Override the directory where uploaded files will be stored.
  # This is a sensible default for uploaders that are meant to be mounted:
  def store_dir
    "uploads/#{model.class.to_s.underscore}/#{mounted_as}/#{model.id}"
  end

  # Provide a default URL as a default if there hasn't been a file uploaded:
  # def default_url
  #   # For Rails 3.1+ asset pipeline compatibility:
  #   # ActionController::Base.helpers.asset_path("fallback/" + [version_name, "default.png"].compact.join('_'))
  #
  #   "/images/fallback/" + [version_name, "default.png"].compact.join('_')
  # end

  # Process files as they are uploaded:
  # process :scale => [200, 300]
  #
  # def scale(width, height)
  #   # do something
  # end

  # Create different versions of your uploaded files:
  # version :thumb do
  #   process :resize_to_fit => [50, 50]
  # end

  # Add a white list of extensions which are allowed to be uploaded.
  # For images you might use something like this:
  # def extension_white_list
  #   %w(jpg jpeg gif png)
  # end

  # Override the filename of the uploaded files:
  # Avoid using model.id or version_name here, see uploader/store.rb for details.
  # def filename
  #   "something.jpg" if original_filename
  # end

end
File này sẽ dùng để setting validation trong việc upload video như dung lượng tối đa, định dạng video ...
Trong app/models/post.rb chúng ta cần mount_uploader đến trường video trong bảng post.
class Post < ApplicationRecord
  mount_uploader :video, VideoUploader
end
4. Chỉnh sửa form và views
Trong file views/posts/_form.html.erb
<%= f.file_field :video %>
Trong file view/posts/index.html.erb
<p id="notice"><%= notice %></p>

<h1>Posts</h1>

<table>
  <thead>
    <tr>
      <th>Name</th>
      <th>Video</th>
      <th colspan="3"></th>
    </tr>
  </thead>

  <tbody>
    <% @posts.each do |post| %>
      <tr>
        <td><%= post.name %></td>
        <td><%= video_tag post.video_url.to_s, controls: true %></td>
        <td><%= link_to 'Show', post %></td>
        <td><%= link_to 'Edit', edit_post_path(post) %></td>
        <td><%= link_to 'Destroy', post, method: :delete, data: { confirm: 'Are you sure?' } %></td>
      </tr>
    <% end %>
  </tbody>
</table>

<br>

<%= link_to 'New Post', new_post_path %>
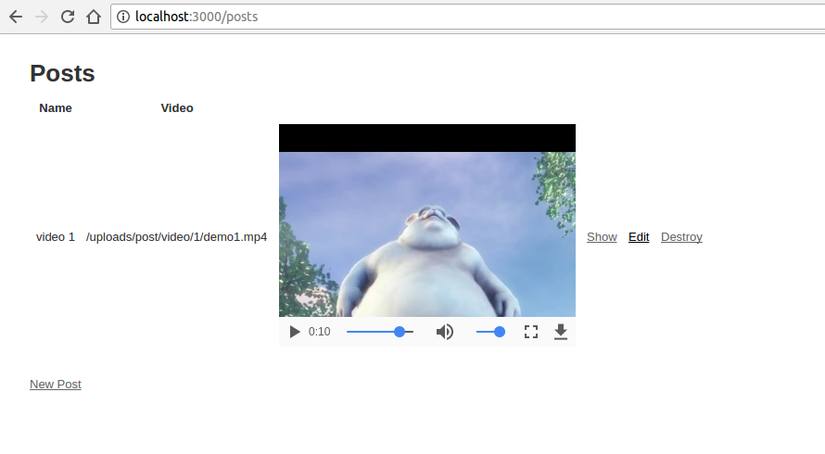
Tại video_tag chúng ta để options là controls: true. Trên video sẽ hiển thị lên giao diện control của video như tăng giảm âm thanh, phóng to thu nhỏ màn hình, thanh trượt thời gian và button pause/unpause.
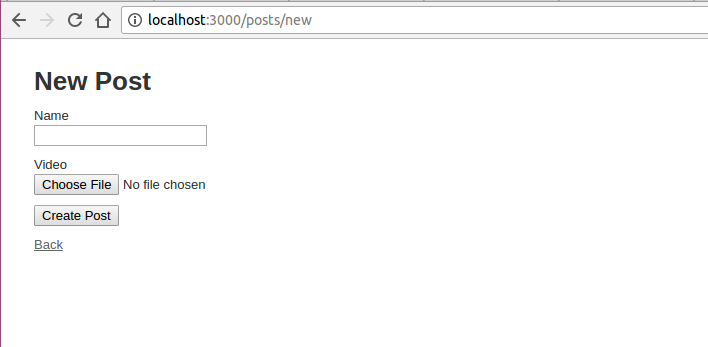
Như vậy là tôi đã giới thiệu xong với các bạn xong về upload video dùng gem carrierwave. Các bạn có thể khởi động app và vào đường dẫn http://localhost:3000/posts/new để xem kết quả trang mình vừa tạo được.
Sau khi upload thành công quay trở về trang index http://localhost:3000/posts chúng ta đã có video hiển thị như dưới đây.
Toàn bộ source code các bạn có thể clone về tại đây.
>>> Source code
Tài liệu tham khảo
https://github.com/carrierwaveuploader/carrierwave http://railscasts.com/episodes/253-carrierwave-file-uploads
All rights reserved
