Ứng dụng web kết hợp API Laravel và next.js từ a-Z (Phần 1- hiển thị dữ liệu)
Bài đăng này đã không được cập nhật trong 5 năm
1. Lời nói đầu:
Chào mọi người, chắc hẳn với lập trình viên chúng ta, API là một cụm từ rất quen thuộc với chúng ta. Thông thường, với những ứng dụng web lớn, chúng ta thường chia thành 2 thành phần là API và Web. Để giảm thiểu xử lý cho phía server, mọi xử lý logic phía giao diện tiếp cận với người dùng chúng ta sẽ để nó ở phần Web sử dụng Javascript và chạy trên máy Client. Với bài viết ngày hôm nay mình xin mạn phép chia sẻ một ứng dụng cơ bản bao gồm cả 2 thành phần là API và web với API sử dụng Laravel Framework và sử dụng NextJS và axios để fetch dữ liệu từ API và hiển thị qua trình duyệt. Bài viết ngày hôm nay sẽ giới hạn ở việc fetch dữ liệu và hiển thị ra trình duyệt, mình sẽ có những bài viết tiếp theo để hướng dẫn thêm những thao tác khác nhé. Chúng ta cùng bắt đầu nào!
2. Taọ API:
Cấu trúc thư mục của ứng dụng web sẽ như thế này :
Đầu tiên mình sẽ tạo ra một api đơn giản với laravel:
Hiện tại Laravel phiên bản mới nhất là 8.0. Phiên bản này có rất nhiều điểm mới, update các package depedencies hay refactor lại factories, seeders ... Điểm mình thích nhất đấy chính là việc chúng ta sẽ có một thư mục Models để việc tất cả Model được tạo đều được đặt trong thư mục này. Điều mà các phiên bản trước chúng ta đều phải làm bằng tay.  )
Tuy nhiên hôm nay mình xin phép dùng phiên bản laravel 7.2 để thực hiện tạo API.
)
Tuy nhiên hôm nay mình xin phép dùng phiên bản laravel 7.2 để thực hiện tạo API.
Đầu tiên chúng ta sẽ init project laravel :
Lưu ý ở đây sử dụng phiên bản laravel 7.x vì vậy chúng ta sẽ sử dụng command:
composer create-project --prefer-dist laravel/laravel:^7.0 api
Tiếp theo chúng ta sẽ thiết lập môi trường và sửa lại file .env cho chuẩn môi trường sử dụng nhé.
Tạo database
Tiếp theo là migrate : Chúng ta sẽ tạo một bảng posts:
Sử dụng :
php artisan make:migrate create_posts_table
Tiếp theo vào file database/migrations để sửa :
<?php

use Illuminate\Database\Migrations\Migration;
use Illuminate\Database\Schema\Blueprint;
use Illuminate\Support\Facades\Schema;

class CreatePostTable extends Migration
{
    /**
     * Run the migrations.
     *
     * @return void
     */
    public function up()
    {
        Schema::create('posts', function (Blueprint $table) {
            $table->increments('id');
            $table->string('title');
            $table->mediumText('description');
            $table->tinyInteger('status');
            $table->integer('user_id');
            $table->timestamps();
        });
    }

    /**
     * Reverse the migrations.
     *
     * @return void
     */
    public function down()
    {
        Schema::dropIfExists('posts');
    }
}
Tạo Model:
php artisan make:model Models/Posts
Tạo route
Bình thường khi chúng ta viết web thì sẽ viết các route bên trong file route/web.php. Nhưng khi chúng ta tạo một api thì mặc định laravel sẽ viết route của api bên trong file route/api.php: Đơn giản chỉ cần một dòng :
<?php

use Illuminate\Http\Request;
use Illuminate\Support\Facades\Route;

Route::apiResource('test', 'TaskController');
Bình thường chúng ta biết đển Route::resource và khi viết api cũng vậy chúng ta sẽ có Route::apiResouce. Route resource giúp chuẩn REST và việc giao tiếp giữa các ứng dụng trở nên dễ dàng hơn.
Tạo Controller
Tiếp theo, tạo controller chuẩn REST:
php artisan make:controller PostController --resource
  <?php

namespace App\Http\Controllers;

use Illuminate\Http\Request;
use App\Models\Post;
use App\Http\Resources\Post as PostResource;

class PostController extends Controller
{
    /**
     * Display a listing of the resource.
     *
     * @return \Illuminate\Http\Response
     */
    public function index()
    {
        $tasks = Posts::all();

        return PostResource::collection($tasks);
    }

   /// còn các methods khác nhưng hôm nay chúng ta chỉ sử dụng method index
}
Bình thường khi viết web, chúng ta sẽ return view hoặc redirect qua url nhưng khi viết API chúng ta sẽ sử dụng resource.
php artisan make:resource Post
 <?php

namespace App\Http\Resources;

use Illuminate\Http\Resources\Json\JsonResource;

class Post extends JsonResource
{
    /**
     * Transform the resource into an array.
     *
     * @param  \Illuminate\Http\Request  $request
     * @return array
     */
    public function toArray($request)
    {
        return parent::toArray($request);
    }
}
Tiếp theo chúng ta sẽ sử dụng Factory để fake dữ liệu và chạy ứng dụng lên với domain/api/test
ta được :
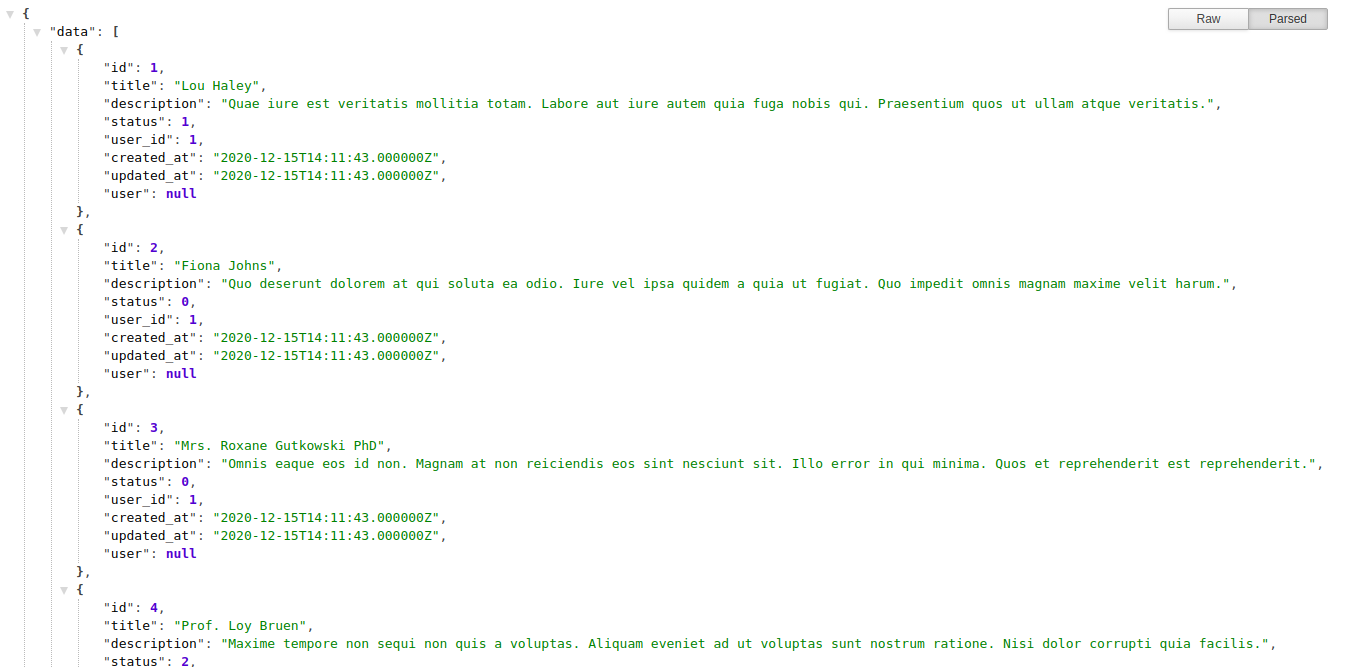
Ô kê vậy chúng ta đã tạo xong một api chuẩn REST và chúng ta sẽ qua phần web !
3. Web:
Yêu cầu : Đã biết về React.js (ai chưa biết thì đọc series React.js của mình nhé =))))
Ở phần này mình sẽ sử dụng Next.JS + axios và sử dụng Ant-Design cho thêm ít chuyên nghiệp nhé  .
.
Next.js
Nếu các bạn đã và đang sử dụng ReactJS thì Next.js là một framework không thể bỏ qua. Bình thường chúng ta thấy ReacJS sẽ hoạt động với cách CSR (Client-side rendering) nhưng việc này sẽ làm chúng ta không thể sử dụng SEO được trang web của mình . Với Next.js đã giải quyết được vấn đề đó. Mà phần giới thiệu để qua một bài khác, hôm nay mình sẽ bắt đầu luôn vào việc tạo web với Next.js.
Chúng ta sử dụng
npx create-next-app
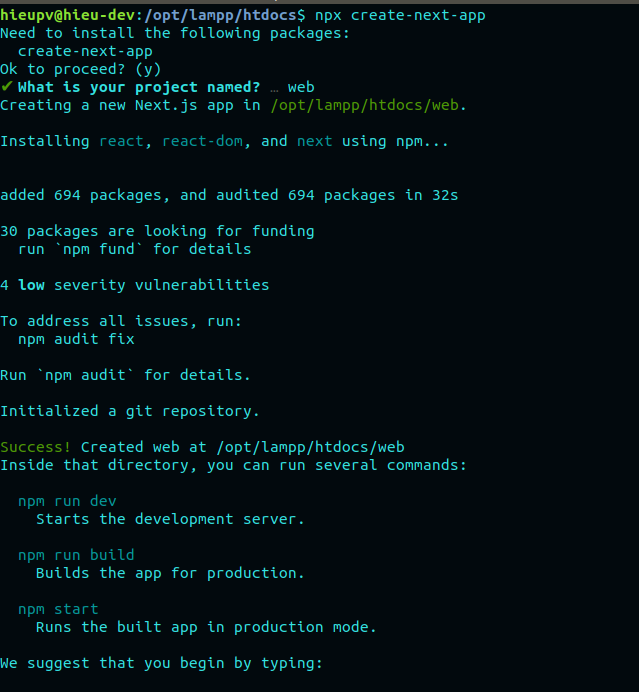
Tạo thành công chúng ta chạy npm run dev để test thử nhé :
 Như này là đã thành công rồi.
Tiếp theo chúng ta cùng cài đặt axios để thao tác dễ dàng hơn với api:
- Axios là một thư viện giúp chúng ta xử lý các XHR XMLHttpRequests. Là một thư viện HTTP Client dựa trên Promise và hỗ trợ cho việc xây dựng các dứng dụng API
- Với axioss hỗ trợ đầy đủ các method request Http.
- Để cài đặt trong project:
npm install axios
Thêm màu săc hơn với Ant-Design (một thư viện UI) :
npm install antd
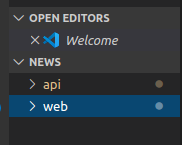
Cấu trúc thư mục :
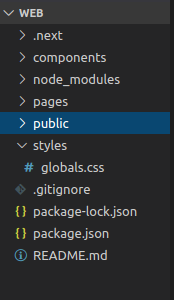
Ở đây chúng ta để ý tới phần pages. Next.js sẽ tự động render ra các route tương ứng với page trong folder pages. Ví dụ file index.js nằm trong thư mục pages này mặc định sẽ có url là url gốc.
Hoặc một file khác có tên là posts.js thì url của nó sẽ là your-domain/posts
Trong folders components tất nhiên mình sẽ để các component react rồi
import axios from 'axios'
import { useEffect, useState } from 'react'
import Sidebar from '../components/shared/Sidebar'
import Table from '../components/post/Table'
import { Layout, Breadcrumb } from 'antd';
import { Skeleton } from 'antd';


export default function Home() {

  const [posts, setPosts] = useState([]);

  const [query, setQuery] = useState();
  const [loading, setLoading] = useState(true);

  useEffect(() => {
    const data = axios.get('http://127.0.0.1:8000/api/posts').then(res => {
      setPosts(res.data.data);
      setLoading(false);
    });
  }, []);

  return (
    <>
     <Layout>
     <Sidebar></Sidebar>
      <Layout style={{ padding: '0 24px 24px' }}>
        <Breadcrumb style={{ margin: '16px 0' }}>
          <Breadcrumb.Item>Home</Breadcrumb.Item>
          <Breadcrumb.Item>App</Breadcrumb.Item>
        </Breadcrumb>
        {
            loading ? <Skeleton/>
            :
            <Table dataSource={posts} pagination={ {disabled:true} }></Table>
          }      </Layout>
     </Layout>
    </>
  )
}
Component shared/Sidebar.js
import { Layout, Menu, Breadcrumb } from 'antd';
const { SubMenu } = Menu;
import { useState } from 'react'
import Link from 'next/link'

import { HomeOutlined } from '@ant-design/icons';

const { Sider } = Layout;

const Sidebar = ({options}) => {
    const [collapsed, setCollapsed] = useState(false);
    const onCollapse = collapsed => {
        console.log(collapsed);
        setCollapsed(collapsed);
      };

    return (
        <Sider
            collapsible
            collapsed={collapsed}
            onCollapse={onCollapse}
            width={options !== undefined ? options.witdh : 200}
            className="site-layout-background"
        >
            <Menu
                mode="inline"
                theme="dark"
                defaultSelectedKeys={['1']}
                defaultOpenKeys={['sub1']}
                style={{ height: '100%', borderRight: 0 }}
            >
            <SubMenu
                key="sub1"
                icon={<HomeOutlined />}
                title="Menu"
            >
                <Menu.Item key="1">
                    <Link  href="/posts">
                        Posts
                    </Link>
                </Menu.Item>
                <Menu.Item key="2">
                    <Link  href="/user">
                        User
                    </Link>
                </Menu.Item>
            </SubMenu>
            </Menu>
        </Sider>
    );
}

export default Sidebar;
Component post/Table.js
import { Table } from "antd";

const TaskTable = ({ dataSource }) => {
    const columns = [{
            title: 'Title',
            dataIndex: 'title',
            key: 'title',
        },
        {
            title: 'Description',
            dataIndex: 'description',
            key: 'description',
        },
    ];

    return <Table dataSource = { dataSource }
    columns = { columns }
    />;
}

export default TaskTable;
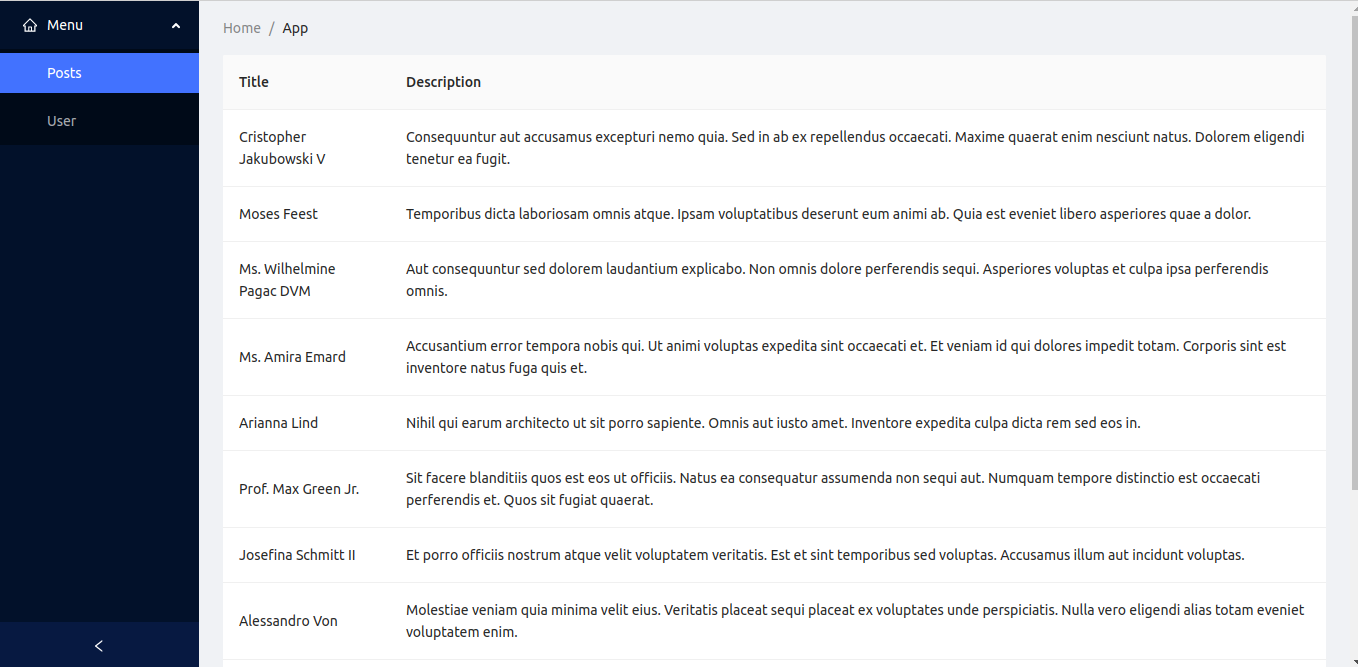
Cùng chạy lại npm run dev và xem thành quả :
4. Kết luận :
Như vậy trong phần này , mình đã hướng dẫn các bạn thực hiện tạo một cấu trúc trang web bao gồm hai phần API và web client. Kết hợp giữa Laravel và React.js (Framework Next.js), chúng ta có thể tạo nên một trang web SPA (Single Page Application) hoàn chỉnh. Thêm vào đó mình có chia sẻ bộ giao diện Element UI để giúp giao diện trang web chúng ta trở nên chuyên nghiệp hơn. Với chút kiến thức của mình hi vọng có thể giúp ích cho moị người phần nào đó trong việc học tập hay công việc của mình. Cảm ơn mọi người đã theo dõi, hẹn gặp lại mọi người vào những phần tiếp theo.
Source code mình có để sẵn trên github nhé: https://github.com/hieupv-2320/react
All rights reserved
