uitableview row & Edit text Trong swift với IOS
Bài đăng này đã không được cập nhật trong 4 năm
Trong phần này sẽ giới thiệu qua về cách xây dựng 1 tableView với Swift và sửa/cập nhật nội dung khi chạm tay vào 1 Row bất kỳ nào bên trong TableView, lợi ích khi áp dụng giúp chúng ta cập nhật nội dung nhanh chóng và cập nhật các giá trị liên tiếp nhằm tiết kiệm thời gian.
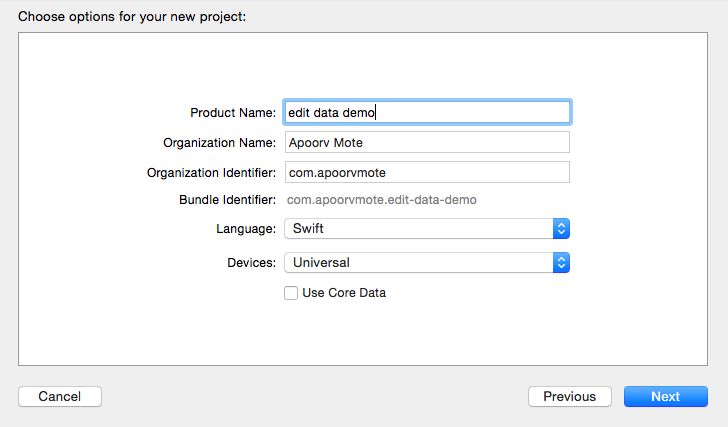
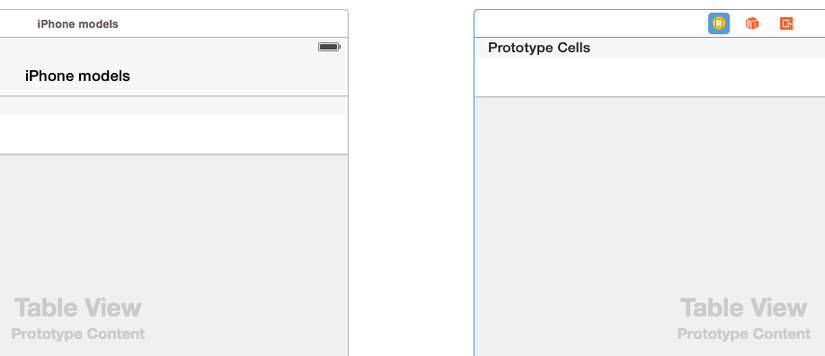
Tới storyboard chính & chọn điều khiển xem & xóa nó. Thêm vào tableview điều khiển trong main storyboard..
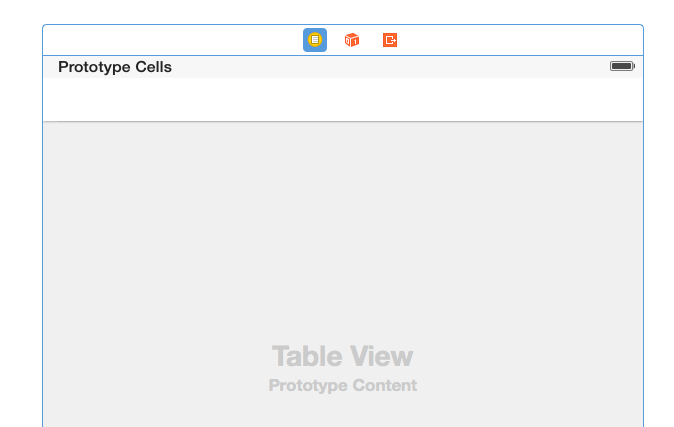
Chọn tableviewController & initial view controller

Chọn prototype cell & thiết lập nhận dạng của nó để TableCell

Chọn tableviewController & go to Editor -> Embed In -> Navigation Controller
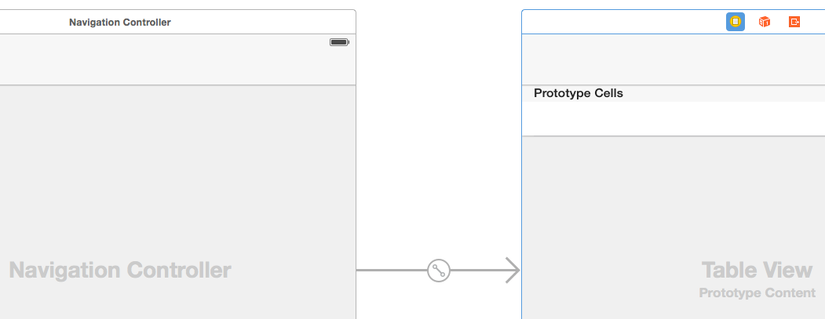
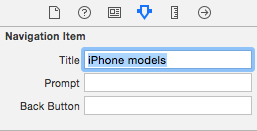
Chọn nav bar & set title cho iPhone models
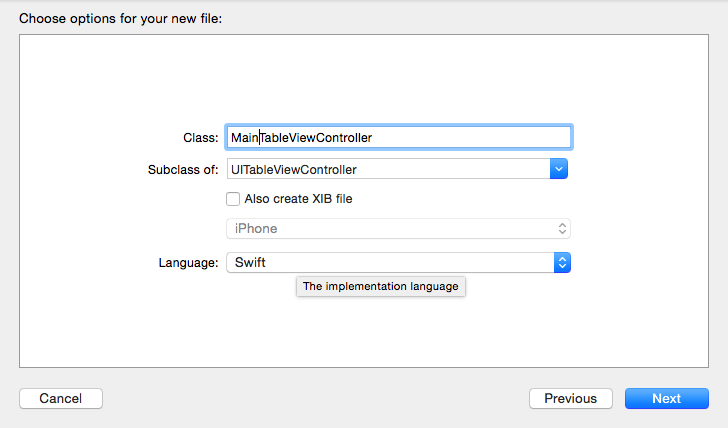
Xoá viewController và thêm file cho subclass UITableViewController
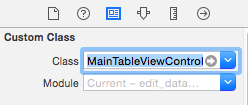
Trong storyboard chính, chọn tableViewController & thiết lập custom class cho MainTableViewController
Thêm mảng để lưu tất cả các Models như sau
class MainTableViewController: UITableViewController {
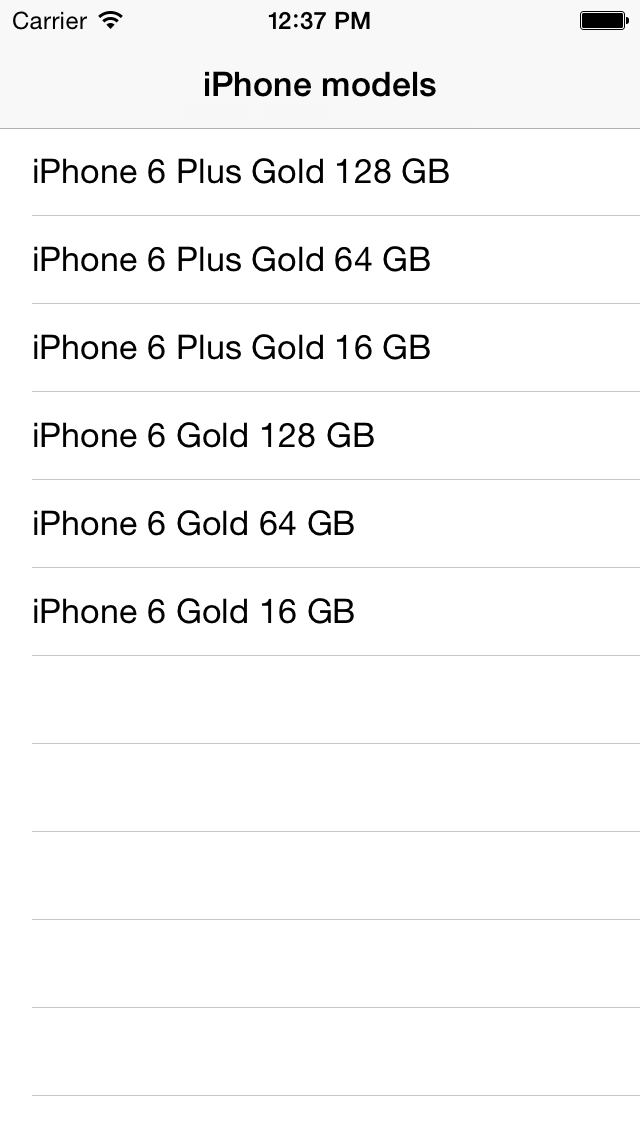
var models = ["iPhone 6 Plus Gold 128 GB", "iPhone 6 Plus Gold 64 GB", "iPhone 6 Plus Gold 16 GB", "iPhone 6 Gold 128 GB", "iPhone 6 Gold 64 GB", "iPhone 6 Gold 16 GB"]
Thiết lập "number of sections to 1 & number"
// MARK: - Table view data source

override func numberOfSectionsInTableView(tableView: UITableView) -> Int {
// #warning Potentially incomplete method implementation.
// Return the number of sections.
return 1
}

override func tableView(tableView: UITableView, numberOfRowsInSection section: Int) -> Int {
// #warning Incomplete method implementation.
// Return the number of rows in the section.
return models.count
}

override func tableView(tableView: UITableView, cellForRowAtIndexPath indexPath: NSIndexPath) -> UITableViewCell {
let cell = tableView.dequeueReusableCellWithIdentifier("tableCell", forIndexPath: indexPath) as! UITableViewCell

// Configure the cell...
cell.textLabel?.text = models[indexPath.row]

return cell
}
Bây giờ Buil và chạy ứng dụng sẽ hiển thị như sau
Tiếp theo mở storyboard chính & tạo thêm 1 tableviewcontroller
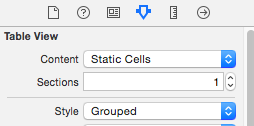
Chọn table view & set content là "Static cell", sections là "1" & style là "Grouped"
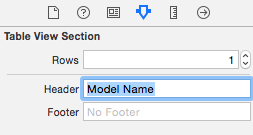
tiếp theo phần header chọn "Model Name"
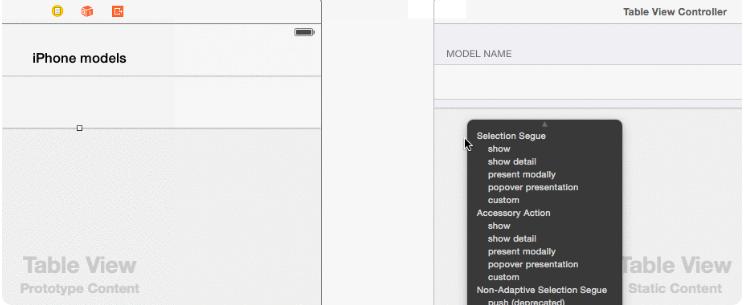
tạo segue giữa table row & static table như hình dưới
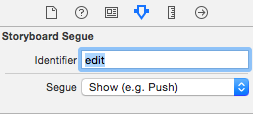
Chọn segue & thiết lập nhận dạng để edit
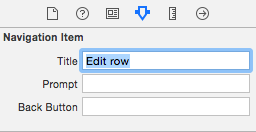
Thêm navigation item tới navigation bar của table & set title để edit row
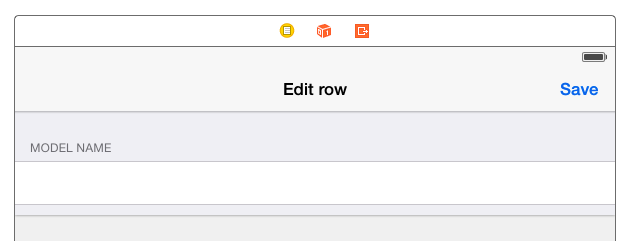
Thêm bar button item tới navigation bar của static table & thiết lậpđể Save
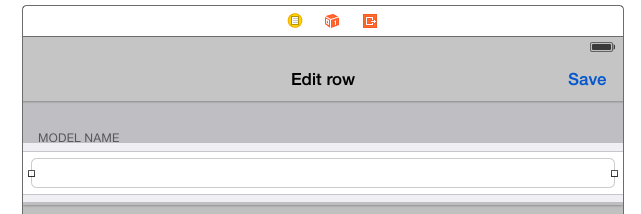
thêm textfield
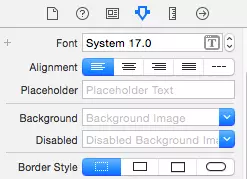
Thiết lập border style như sau
tiếp đó chúng tạo một method chứa các phần tử như sau
var models = [“iPhone 6 Plus Gold 128 GB”, “iPhone 6 Plus Gold 64 GB”, “iPhone 6 Plus Gold 16 GB”, “iPhone 6 Gold 128 GB”, “iPhone 6 Gold 64 GB”, “iPhone 6 Gold 16 GB”]
@IBAction func saveToMainViewController (segue:UIStoryboardSegue) {
}
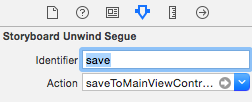
tạo "save button" saveToMainViewController Method

thiết lập để save
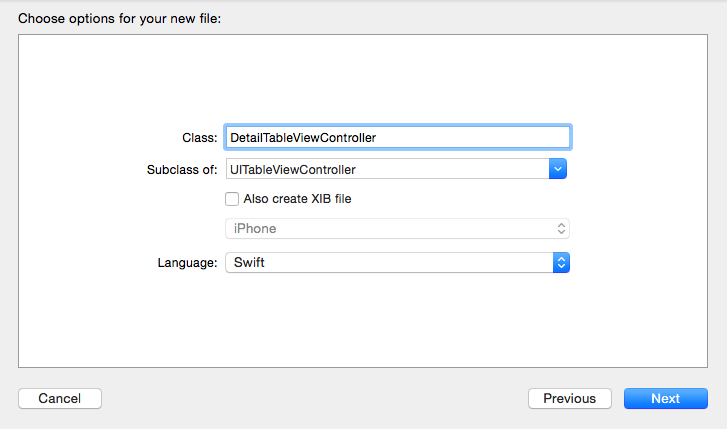
Tiếp theo một class mới của subclass UITableViewController như sau.
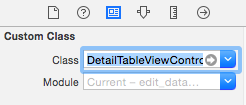
Trong MainStoryboard & chọn static cell & thiết lập custom class cho DetailTableViewController
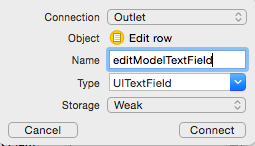
Strong MainStoryboard & thiết lập "outlet" đến "detailTableViewController"
Trong detail tableViewController thêm "didSelectRowAtIndexPath" như dưới. Để có thể edit các textfied khi tap vào row.
override func tableView(tableView: UITableView, didSelectRowAtIndexPath indexPath: NSIndexPath) {
if indexPath.section == 0 && indexPath.row == 0 {
    editModelTextField.becomeFirstResponder()
}
tableView.deselectRowAtIndexPath(indexPath, animated: true)
}
Tiếp theo Thêm hai biến như sau để lưu trữ dữ liệu từ edit segue
@IBOutlet weak var editModelTextField: UITextField!

var index:Int?

var modelArray:[String]!
Tiếp theo trong viewController thêm đoạn code sau đây
// MARK: - Navigation

// In a storyboard-based application, you will often want to do a little preparation before navigation
override func prepareForSegue(segue: UIStoryboardSegue, sender: AnyObject?) {
if segue.identifier == "edit" {

    var path = tableView.indexPathForSelectedRow()

    var detailViewController = segue.destinationViewController as! DetailTableViewController

    detailViewController.index = path?.row
    detailViewController.modelArray = models

}
// Get the new view controller using [segue destinationViewController].
// Pass the selected object to the new view controller.
}
Tiếp theo trong detailTableViewController trong viewDidDoad thêm đoạn code như sau.
super.viewDidLoad()

editModelTextField.text = modelArray[index!]
tạo biến string mới
var modelArray:[String]!

var editedModel:String?
Tiép theo trong detailTableViewController thêm đoạn code sau đây
/ MARK: - Navigation

// In a storyboard-based application, you will often want to do a little preparation before navigation
override func prepareForSegue(segue: UIStoryboardSegue, sender: AnyObject?) {
if segue.identifier == "save" {
    editedModel = editModelTextField.text
}
// Get the new view controller using [segue destinationViewController].
// Pass the selected object to the new view controller.
}
Trong tableViewController thêm updateTableView với nội dung đã được cập nhật
@IBAction func saveToMainViewController (segue:UIStoryboardSegue) {

let detailViewController = segue.sourceViewController as! DetailTableViewController

let index = detailViewController.index

let modelString = detailViewController.editedModel

models[index!] = modelString!

tableView.reloadData()

}
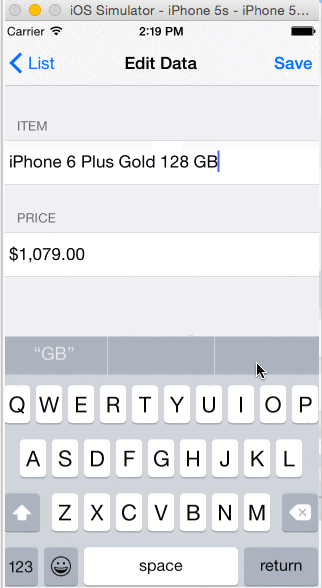
Bây giờ Build và chạy.
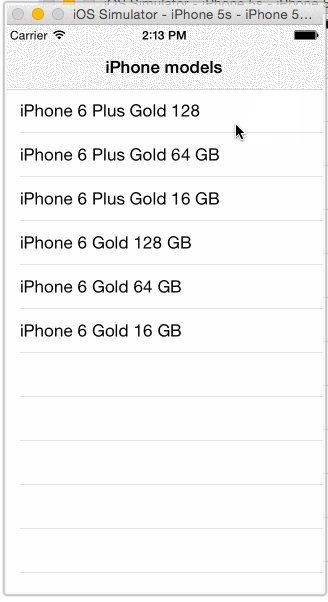
Chỉnh sửa nhiều dữ liệu trong cùng một Row của TableView
nguồn tham khảo: apoorvmote
All rights reserved