Tutorial: Adding Facebook/Google Authentication to a Django Application
Bài đăng này đã không được cập nhật trong 4 năm
Khi tạo một ứng dụng web tôi cần người dùng có thể login bằng các mạng xã hội như Facebook, Google, hay Twiter. Tôi lên mạng tìm hiểu về Python Social Auth. Sau khi thực hiện bài demo, tôi quyết định viết bài giới thiệu với các bạn các bước nhanh nhất để sử dụng Python Social Auth.
Nếu bạn từng làm với Django, có thể bỏ qua bước 1.
Step 1. Bắt đầu với django project.
$ django-admin.py startproject thirdauth
./manage.py syncdb
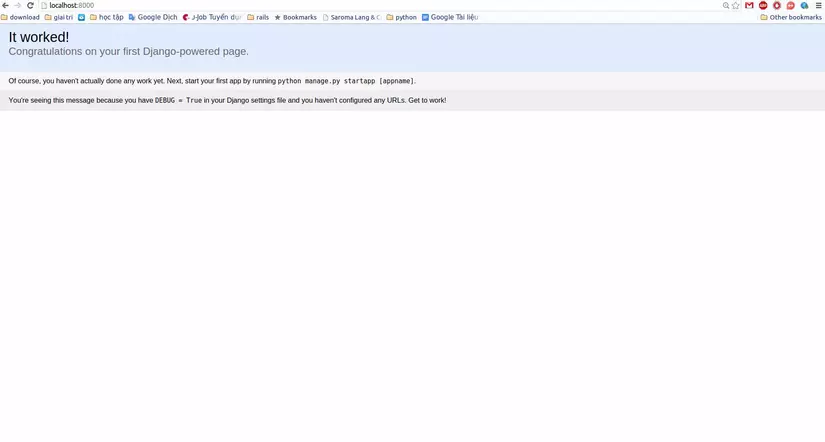
./manage.py runserver
Lúc này bạn mở localhost:8000
 Step2: Add user's authentication
Bạn cần tạo ra 1 trang đơn giản từ bootstrap và tạo view cho home page. chúng ta sẽ làm các bước:
- Thêm 'thirdauth' vao INSTALLED_APPS
- Tạo template cho home page
- Tạo View cho home page
- Add URL
Trong file setting.py
INSTALLED_APPS = (
  'django.contrib.admin',
  'django.contrib.auth',
  ...
  'thirdauth',
)
Tạo template: thirdauth/home.html
{% extends 'thirdauth/base.html' %}

{% block main %}
 <div>
 <h1>Third-party authentication demo</h1>

 <p>
   {% if user and not user.is_anonymous %}
     Hello {{ user.get_full_name|default:user.username }}!
   {% endif %}
 </p>
 </div>
{% endblock %}
File views.py:
from django.shortcuts import render_to_response
from django.template.context import RequestContext

def home(request):
   context = RequestContext(request,
                           {'user': request.user})
   return render_to_response('thirdauth/home.html',
                             context_instance=context)
File urls.py:
from django.conf.urls import patterns, include, url

from django.contrib import admin
admin.autodiscover()

urlpatterns = patterns('',
   url(r'^$', 'thirdauth.views.home', name='home'),
   url(r'^admin/', include(admin.site.urls)),
)
Step3. Install Python Social Auth
Đầu tiên, chúng ta cài vào môi trường pyenv:(bạn có thể tham khảo bài https://viblo.asia/nguyenhai/posts/l5y8RrQbvob3 về vitualenv và cài pyenv)
pip install python-social-auth
Tiếp theo trong file Settings.py ta include pythonn-social-auth:
INSTALLED_APPS = (
   ...
   'social.apps.django_app.default',
   ...
)

TEMPLATE_CONTEXT_PROCESSORS = (
   'django.contrib.auth.context_processors.auth',
   'django.core.context_processors.debug',
   'django.core.context_processors.i18n',
   'django.core.context_processors.media',
   'django.core.context_processors.static',
   'django.core.context_processors.tz',
   'django.contrib.messages.context_processors.messages',
   'social.apps.django_app.context_processors.backends',
   'social.apps.django_app.context_processors.login_redirect',
)

AUTHENTICATION_BACKENDS = (
   'social.backends.facebook.FacebookOAuth2',
   'social.backends.google.GoogleOAuth2',
   'social.backends.twitter.TwitterOAuth',
   'django.contrib.auth.backends.ModelBackend',
)
Sau đó hãy update url:
urlpatterns = patterns('',
              ...
              url('', include('social.apps.django_app.urls', namespace='social')),
              )
Cuối cùng hãy update lại database:
./manage.py syncdb
Step4. Tạo đường link login và logout
Trong URLS
urlpatterns = patterns('',
   ...
   url('', include('django.contrib.auth.urls', namespace='auth')),
   ...
)
Và Tạo giao diện file Home
{% extends 'thirdauth/base.html' %}

{% block main %}
 <div>
 <h1>Third-party authentication demo</h1>

 <p>
   <ul>
   {% if user and not user.is_anonymous %}
     <li>
       <a>Hello {{ user.get_full_name|default:user.username }}!</a>
     </li>
     <li>
       <a href="{% url 'auth:logout' %}?next={{ request.path }}">Logout</a>
     </li>
   {% else %}
     <li>
       <a href="{% url 'social:begin' 'facebook' %}?next={{ request.path }}">Login with Facebook</a>
     </li>
     <li>
       <a href="{% url 'social:begin' 'google-oauth2' %}?next={{ request.path }}">Login with Google</a>
     </li>
     <li>
       <a href="{% url 'social:begin' 'twitter' %}?next={{ request.path }}">Login with Twitter</a>
     </li>
   {% endif %}
   </ul>
 </p>
 </div>
{% endblock %}
Cũng như trong Views.py
from django.shortcuts import render_to_response
from django.template.context import RequestContext

def home(request):
   context = RequestContext(request,
                           {'request': request,
                            'user': request.user})
   return render_to_response('thirdauth/home.html',
                             context_instance=context)
Step5. Tạo client ID facebook hay google
Facebook
Bạn vào https://developers.facebook.com/apps/?action=create và “Create New App”.
Trong mục setting, click “Add Platform”. điền url website của bạn (http://test1.com:8000).
Bạn copy the App ID và App Secret vào settings.py file:
SOCIAL_AUTH_FACEBOOK_KEY = …
SOCIAL_AUTH_FACEBOOK_SECRET = …
Google
Bạn vào https://console.developers.google.com/ và tạo ứng dụng mới.
Trong mục setting, điền url website của bạn (http://test1.com:8000).
Bạn copy the App ID và App Secret vào settings.py file:
SOCIAL_AUTH_GOOGLE_OAUTH2_KEY = …
SOCIAL_AUTH_GOOGLE_OAUTH2_SECRET = …
All rights reserved
