Tự học nodejs từ đầu
Bài đăng này đã không được cập nhật trong 7 năm
1.Cài đặt
- Kiểm tra xem đã cài đặt node và npm hay chưa bằng câu lệnh sau:
giang@ubuntu ~/projects npm -v 5.6.0 giang@ubuntu ~/projects node -v v9.11.2 giang@ubuntu ~/projects - Nếu bạn chưa cài hoặc phiên bản đã cũ thì ta sẽ lên trang chủ https://nodejs.org/en/ để check phiên bản mới nhất và cài đặt.
- Cài đặt nodejs:
curl -sL https://deb.nodesource.com/setup_10.x | sudo -E bash - sudo apt-get install -y nodejs - File setup_10.x tương đương với phiên bản 10.15.0 hiện tại đang được Recommended for most users hiện tại
- Và tương tự cài đặt npm:
sudo apt install npm
2.Tạo server nodejs
- Để tạo server nodejs ta có thể sử dụng module
http - Trước tiên ta cần tạo file javascript với tên app.js và nội dung như sau:
const http = require('http'); const hostname = '127.0.0.1'; const port = 3000; const server = http.createServer((req, res) => { res.statusCode = 200; res.setHeader('Content-Type', 'text/plain'); res.end('Hello World\n'); }); server.listen(port, hostname, () => { console.log(`Server running at http://${hostname}:${port}/`); }); - Và chạy câu lệnh sau để khởi tạo server:
giang@ubuntu ~/projects node app.js Server running at http://127.0.0.1:3000/ - Kiểm tra kết quả trên trình duyệt với dường dẫn http://localhost:3000/ ta sẽ thu được kết quả
Hello World
3.Cài đặt Express
- Express là một web application frameword Nodejs nhỏ và linh hoạt, nó cung cấp một loạt các tính năng cho web và ứng dụng di động.
- Ngoài ra Express còn có vô số phương thức tiện ích HTTP và middleware bạn muốn, giúp thao tác với API nhanh và dễ dàng hơn.
- Trước khi cài Express ta cần tạo file
package.jsontrong project bằng câu lệnh khởi tạonpm initgiang@ubuntu ~/projects mkdir learn_nodejs giang@ubuntu ~/projects cd learn_nodejs giang@ubuntu ~/projects/learn_nodejs npm init This utility will walk you through creating a package.json file. It only covers the most common items, and tries to guess sensible defaults. See `npm help json` for definitive documentation on these fields and exactly what they do. Use `npm install <pkg>` afterwards to install a package and save it as a dependency in the package.json file. Press ^C at any time to quit. package name: (learn_nodejs) learn_nodejs version: (1.0.0) description: entry point: (index.js) test command: git repository: keywords: author: license: (ISC) About to write to /home/giang/projects/lean_nodejs/learn_nodejs/package.json: { "name": "learn_nodejs", "version": "1.0.0", "description": "", "main": "index.js", "scripts": { "test": "echo \"Error: no test specified\" && exit 1" }, "author": "", "license": "ISC" } Is this ok? (yes) giang@ubuntu ~/projects/lean_nodejs/learn_nodejs ls package.json - Trong lúc khởi tạo, nó sẽ hỏi bạn 1 vài thông tin
package name,version,.. nếu không thay đổi gì thì bạn chỉ việc enter - Tiếp đến là cài đặt express:
npm install express --save - Sau khi cài đặt xong kết quả thu được như sau:
giang@ubuntu ~/projects/learn_nodejs ls app.js node_modules package.json package-lock.json
4.Basic Express Routing
- Express giúp tạo route trong nodejs một cách dễ dàng. Ví dụ ta sẽ tạo 2 route
homevàabout - Route
homehiển thị text: "Welcome to Express" - Route
abouthiển thị text: "This is about page" - Ta mở file
app.jsvà update lại như sau:const express = require('express'); const app = express() const hostname = '127.0.0.1'; const port = 3000; app.get('/home', function (req, res) { res.send('Welcome to Express'); }); app.get('/about', function (req, res) { res.send('This is about page') }); app.listen(port, hostname, () => { console.log(`Server running at http://${hostname}:${port}/`); }); - Khởi tạo lại server với câu lệnh
node app.jsta sẽ thu được kết quả ở 2 url http://localhost:3000/home và http://localhost:3000/about
5.File tĩnh
- Express cho phép ta load file tĩnh bằng cách sử dụng
express.static(), chẳng hạn ở đây ta có thể load file image, css, javascript,.. - Ta sẽ làm ví dụ load file bootstrap ở đây, nếu chưa có file bootstrap thì ta có thể lên trang https://getbootstrap.com/ tải về.
- Tạo thư mục public với 2 thư mục con css và js như sau:
giang@ubuntu ~/projects/learn_nodejs tree public public ├── css │ └── bootstrap.css └── js └── bootstrap.js 2 directories, 2 files - Tiếp đến ta sẽ cài đặt template engine, express hỗ trợ rất nhiều template engine nhưng ở đây ta sẽ sử dụng template engine handlebars.js (hbs)
- Cài đặt
hbs:npm install hbs --save - Sau đó ta sẽ tạo file index.hbs bên trong thư mục views mới với nội dung:
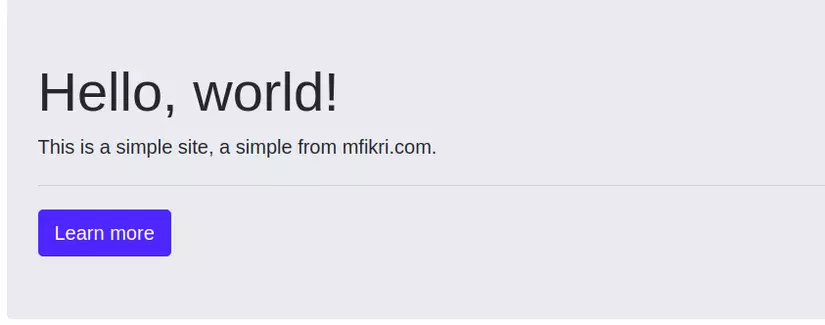
<!DOCTYPE html> <html lang="en"> <head> <meta charset="utf-8"> <title>Hello World</title> <!--Load bootstrap.css file--> <link rel="stylesheet" href="css/bootstrap.css"/> </head> <body> <div class="container"> <div class="row"> <div class="col-md-12"> <div class="jumbotron"> <h1 class="display-4">Hello, world!</h1> <p class="lead">This is a simple site, a simple from mfikri.com.</p> <hr class="my-4"> <a class="btn btn-primary btn-lg" href="#" role="button">Learn more</a> </div> </div> </div> </div> <!--Load bootstrap.js file--> <script src="js/bootstrap.js"></script> </body> </html> - Và update file app.js
//use path module const path = require('path'); //use express module const express = require('express'); //use hbs view engine const hbs = require('hbs'); const app = express(); const hostname = '127.0.0.1'; const port = 3000; //set dynamic views file app.set('views',path.join(__dirname,'views')); //set view engine app.set('view engine', 'hbs'); //set public folder as static folder for static file app.use(express.static('public')); //route for home page app.get('/',(req, res) => { //render index.hbs file res.render('index'); }); app.get('/home', function (req, res) { res.send('Welcome to Express'); }); app.get('/about', function (req, res) { res.send('This is about page'); }); app.listen(port, hostname, () => { console.log(`Server running at http://${hostname}:${port}/`); }); - Chạy thử ta sẽ thu được kết quả như sau:
6.Truyền data từ server nodejs đến view
- Update file
app.jsnhư sau://use path module const path = require('path'); //use express module const express = require('express'); //use hbs view engine const hbs = require('hbs'); const app = express(); const hostname = '127.0.0.1'; const port = 3000; //set dynamic views file app.set('views',path.join(__dirname,'views')); //set view engine app.set('view engine', 'hbs'); //set public folder as static folder for static file app.use(express.static('public')); //route for home page app.get('/',(req, res) => { //render index.hbs file res.render('index',{ name : "M Fikri" }); }); //route for home with params name app.get('/:name',(req, res) => { //render index.hbs file res.render('index',{ name : req.params.name }); }); app.get('/home', function (req, res) { res.send('Welcome to Express'); }); app.get('/about', function (req, res) { res.send('This is about page'); }); app.listen(port, hostname, () => { console.log(`Server running at http://${hostname}:${port}/`); }); - Và file index.hbs như sau:
<!DOCTYPE html> <html lang="en"> <head> <meta charset="utf-8"> <title>Hello World</title> <!--Load bootstrap.css file--> <link rel="stylesheet" href="css/bootstrap.css"/> </head> <body> <div class="container"> <div class="row"> <div class="col-md-12"> <div class="jumbotron"> <h1 class="display-4">Hello, {{ name }}</h1> <p class="lead">This is a simple site, a simple from mfikri.com.</p> <hr class="my-4"> <a class="btn btn-primary btn-lg" href="#" role="button">Learn more</a> </div> </div> </div> </div> <!--Load bootstrap.js file--> <script src="js/bootstrap.js"></script> </body> </html> - Kết quả ta thu được với url http://localhost:3000/Giang
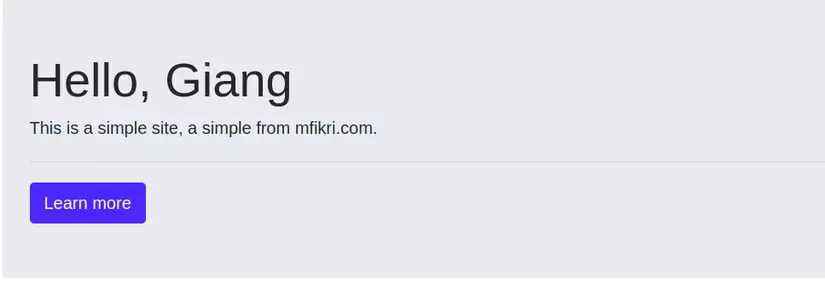
- Còn mặc định nếu ta test với url http://localhost:3000 thì kết quả sẽ là "Hello, M Fikri"
7.Tạo form post data đến view
- Để post được data input đến view ta cần cài đặt thêm
body-parserbằng câu lệnh sau:npm install body-parser --save - Tạo form.hbs trong thư mục views:
giang@ubuntu ~/projects/learn_nodejs tree views views ├── form.hbs └── index.hbs 0 directories, 2 files - File form.hbs có nội dung như sau:
<!DOCTYPE html> <html lang="en"> <head> <meta charset="utf-8"> <title>Add New</title> <!--Load bootstrap.css file--> <link rel="stylesheet" href="css/bootstrap.css"/> </head> <body> <div class="container"> <div class="row"> <div class="col-md-12"> <h2>Add New User</h2> <form action="/post" method="post"> <div class="form-row"> <div class="col"> <input type="text" name="textname" class="form-control" placeholder="Name"> </div> <div class="col"> <button type="submit" class="btn btn-success">Submit</button> </div> </div> </form> </div> </div> </div> <!--Load bootstrap.js file--> <script src="js/bootstrap.js"></script> </body> </html> - File app.js sẽ được update 2 route thêm như sau:
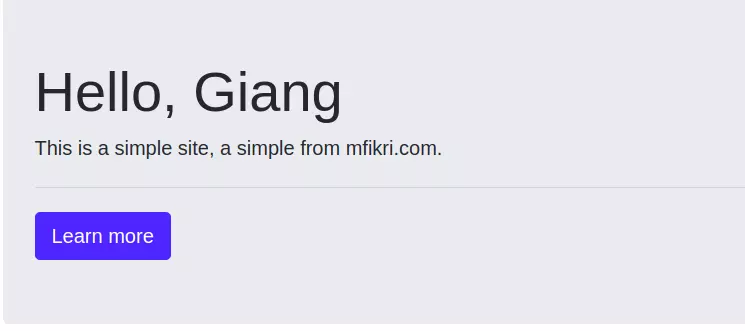
... ... //use bodyParser middleware const bodyParser = require('body-parser'); ... ... app.use(bodyParser.urlencoded({ extended: false })); //route for home page app.get('/',(req, res) => { //render index.hbs file res.render('index',{ name : "M Fikri" }); }); //route for showing form app.get('/post',(req, res) => { //render form.hbs file res.render('form'); }); //route for submit form by using post method app.post('/post',(req, res) => { //render file form.hbs res.render('index',{ //get value from textname name : req.body.textname }); }); //route for home with params name app.get('/:name',(req, res) => { //render index.hbs file res.render('index',{ name : req.params.name }); }); ... ... - Kiểm tra kết quả ta sẽ thu được như sau:

- Và subit sẽ thu được
Tài liệu tham khảo
All rights reserved
