Tự handle một Lazy load Image trong React Native như nào?
Bài đăng này đã không được cập nhật trong 6 năm
Lazy load image, một thuật ngữ mà rất thân thuộc và nhiều lợi ích nhưng mình chắc chắn có rất nhiều project chưa áp dụng nó. Bởi vì sao:
- Project không quá lớn, thuộc dạng ít image
- Dev kinh nghiệm ít chưa suy nghĩ tới vấn đề performancem app
Vậy lazy load image có lợi ích gì cho app của bạn?
- performance app, website mượt mà hơn
- cải thiện gian tải nhận thức và thời gian thực cho trang của bạn
- giúp user có cái nhìn tổng quan về app trong lúc dữ liệu đang được tải hoặc bị lỗi
- cpu xử lý nhẹ hơn, ...
Start!!
đây là một số thông số, libs mình dùng trong project demo.
React native: 0.62.2
node: 12.16.3
Typescript
hooks
Đơn giản đầu tiên chúng ta cần có một hình ảnh, ở đây mình đặt tên file ảnh là image-cat-large mục đích là để giả dụ kích thước file ảnh của bạn lớn:
Init Image
import React from 'react';
import {View, Image} from 'react-native';
import {styles} from './styles';

export const App = () => {
  return (
    <View style={styles.container}>
      <Image
        source={require('./assets/image-cat-large.jpg')}
        style={styles.image}
        resizeMode="cover"
      />
    </View>
  );
};
import {StyleSheet, Dimensions} from 'react-native';

const {width} = Dimensions.get('window');

export const styles = StyleSheet.create({
  container: {
    flex: 1,
    alignItems: 'center',
    justifyContent: 'center',
  },
  image: {
    width: width,
    height: width,
  },
});
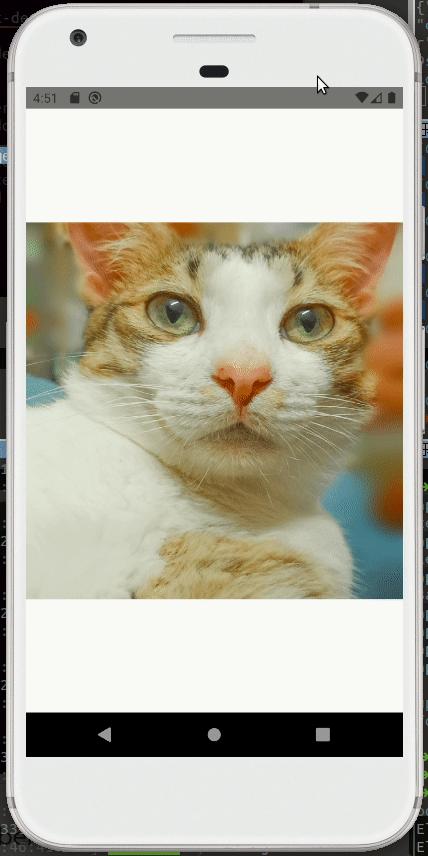
Và đây là kết quả:

Một điều chắc chắn ở đây là mấy ông đọc bài viết này của mình đều sẽ là dev và internet chắc chắn sẽ luôn luôn tốt. Hãy thử làm poor kid 30' hãy chuyển qua sử dụng 3g, mấy ông sẽ thấy tốc độ load ảnh một cách rõ rệt hơn.
Progressive component
Ở component này đáng lẽ mình sẽ sử dụng 1 spread syntax props để tránh phải viết nhiều và xác định những props được gửi qua, nhưng project hiện tại đang có typescript nên mình sẽ làm theo đúng chuẩn vậy 
import React from 'react';
import {Image, StyleSheet, View} from 'react-native';

interface ProgressiveImageProps {
  source: any;
  style: any;
  resizeMode: any;
}

const styles = StyleSheet.create({
  imageOverlay: {
    position: 'absolute',
    left: 0,
    right: 0,
    bottom: 0,
    top: 0,
  },
  container: {
    backgroundColor: '#e1e4e8',
  },
});

export const ProgressiveImage: React.FC<ProgressiveImageProps> = ({
  source,
  style,
  resizeMode,
}) => {
  return (
    <View style={styles.container}>
      <Image source={source} style={style} resizeMode={resizeMode} />
    </View>
  );
};
Đổi lại dùng ProgressiveComponent thay vì sử dụng Image default một chút trong file App.tsx
import React from 'react';
import {View} from 'react-native';
import {styles} from './styles';
import {ProgressiveImage} from './component/ProgressiveImage';

export const App = () => {
  return (
    <View style={styles.container}>
      <ProgressiveImage
        source={require('./assets/image-cat-large.jpg')}
        style={styles.image}
        resizeMode="cover"
      />
    </View>
  );
};
Thumbnail Image
Tiếp theo chúng ta sẽ đi tạo một thumnail với kích cỡ bằng 10% hình ảnh hiện tại
...
 <ProgressiveImage
     thumbnailSource={require('./assets/image-cat-small.jpg')}
     source={require('./assets/image-cat-large.jpg')}
     style={styles.image}
     resizeMode="cover"
 />
 ...
Giờ ta hãy qua ProgressiveImage và thêm thumbnail vừa tạo
...
export const ProgressiveImage: React.FC<ProgressiveImageProps> = ({
  source,
  style,
  resizeMode,
  thumbnailSource,
}) => {
  return (
    <View style={styles.container}>
      <Image source={thumbnailSource} style={style} resizeMode={resizeMode} />
      <Image
        source={source}
        style={[styles.imageOverlay, style]}
        resizeMode={resizeMode}
      />
    </View>
  );
};
Vẫn chưa thấy gì đặc biệt đúng không =)), chúng ta qua phần xử lý Animation quan trọng nhất nhé.
Animated
//khởi tao Animated cho thumnail và image large
thumbnailAnimated = new Animated.Value(0);
imageAnimated = new Animated.Value(0);

//Khi tải hình nhỏ, ta sẽ đặt hình nhỏ thành 1
//Khi tải hình ảnh đầy đủ, sẽ đặt imageAnimated thành 1
//2 function phía dưới sẽ được gọi trong onLoad()
const handleThumbnailLoad = () => {
    Animated.timing(thumbnailAnimated, {
      toValue: 1,
      useNativeDriver: true,
    }).start();
};
const onImageLoad = () => {
    Animated.timing(imageAnimated, {
      toValue: 1,
      useNativeDriver: true,
    }).start();
};

return (
    <View style={styles.container}>
      <Animated.Image
        source={thumbnailSource}
        style={[style, {opacity: thumbnailAnimated}]}
        resizeMode={resizeMode}
        onLoad={handleThumbnailLoad}
        blurRadius={1}
      />
      <Animated.Image
        source={source}
        style={[styles.imageOverlay, {opacity: imageAnimated}, style]}
        resizeMode={resizeMode}
        onLoad={onImageLoad}
      />
    </View>
);
Và chúng ta đã có kết quả như trên!
Thanks
Thank you!
All rights reserved
