Tìm hiểu về single sign-on/SSO (đăng nhập một lần) thông qua Spring boot và chuẩn SAML
Bài đăng này đã không được cập nhật trong 8 năm
SSO/single sign-on(đăng nhập một lần) nói đơn giản là ta không cần bắt người dùng phải tự đăng ký một user trên trang web của mình mà sẽ thông qua một provider(nhà cung cấp) uy tín, mình sẽ tự get thông tin nó cung cấp về và lưu vào db luôn. Giống như một số trang web có chức năng cho người dùng đăng nhập thông qua Gmail và tài khoản Facebook chẳng hạn. Ở đây Google và Facebook đó chính là provider như mình đã nhắc ở trên.
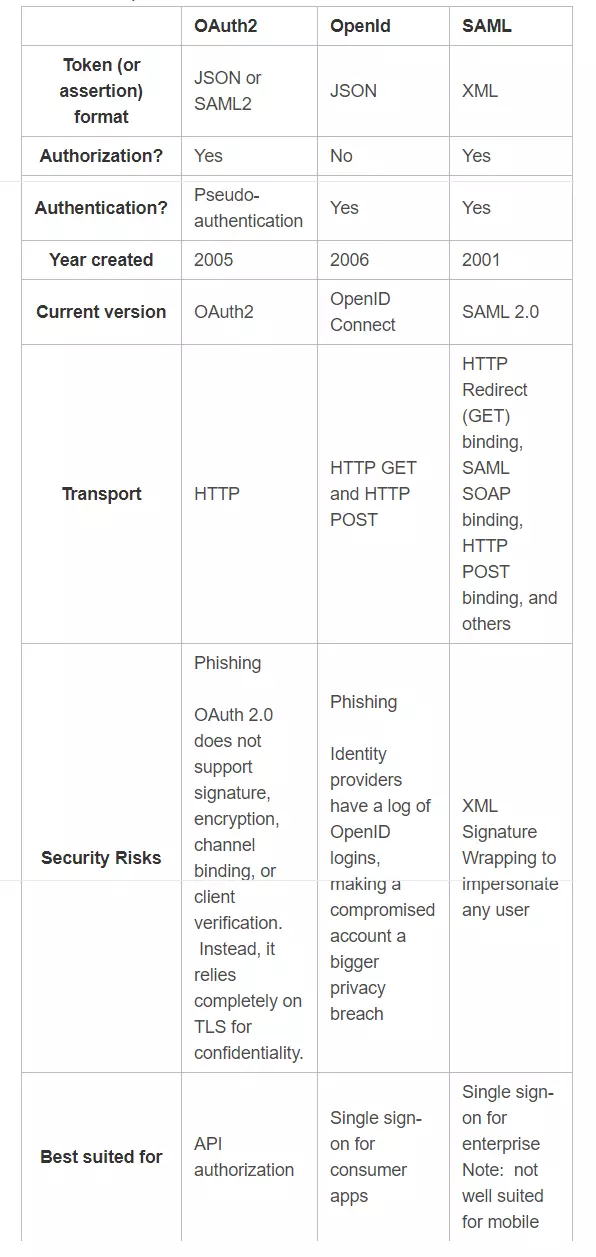
Hiện tại SSO có 3 dạng chuẩn là OpenID, OAuth và SAML, điểm khác nhau giữa mỗi thằng là như sau :
Về cơ bản, thông qua ví dụ bên dưới, mặc dù còn rất sơ sài, chưa thể hiện rõ chi tiết làm thế nào để get user info để trỏ về UserDetails để tương tác với hệ thống của chúng ta, nhưng ta sẽ lướt qua flow/điểm chính của SSO như sau :
Ta đăng ký một application với 1 provider(Ở đây là Okta) bao gồm thông tin về đường dẫn để mỗi khi người dùng gửi request đến trên page của mình(chẳng hạn /login-with-okta), nó sẽ redirect sang provider đấy(Ở đây là Okta) để get thông tin, sau đó sẽ trả thông tin về một đường dẫn khác bên page mình(ví dụ như /return-from-okta) để thông báo việc đăng nhập thành công/thất bại cho người dùng biết.
Vì hiện tại đang cần tìm hiểu SSO với chuẩn SAML nên mình tham khảo từ Document của Okta là 1 provider có hỗ trợ SAML nên có một bài hướng dẫn dưới.
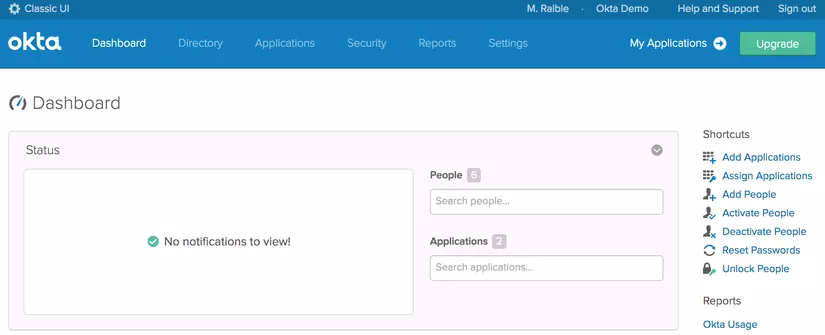
Sau khi đăng ký 1 account ở link https://developer.okta.com/signup/, đăng nhập với thông tin và URL được báo qua mail, ta sẽ vào được 1 giao diện giống như sau :
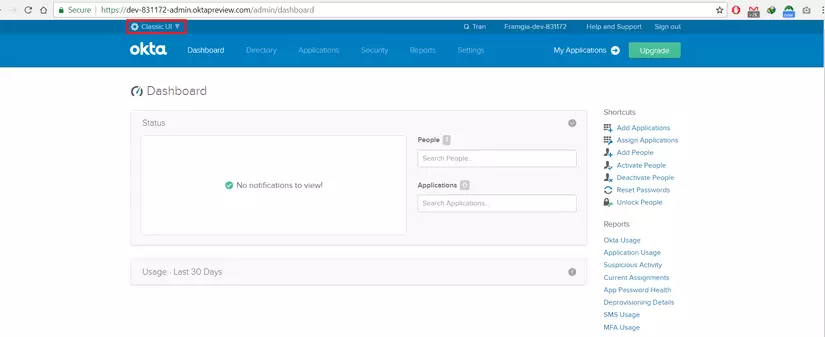
Note : Nếu giao diện khác với trong ảnh(Document chính thức của Okta vẫn chưa cập nhật lại theo UI mới thế nên việc làm theo step của nó có phần khiến người đọc bối rối), bạn có thể chỉnh lại UI classic về như trong ảnh thông qua phần được bôi đỏ trong ảnh
Nhấn Add Applications => Create New App
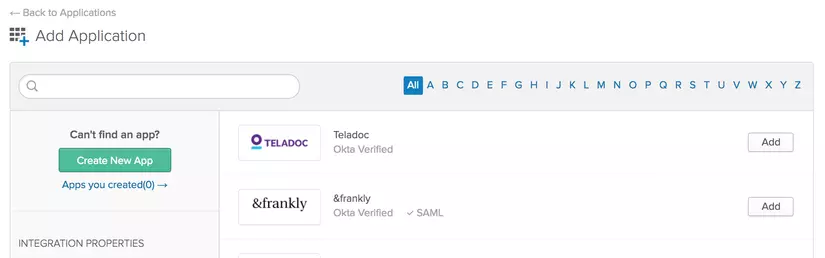
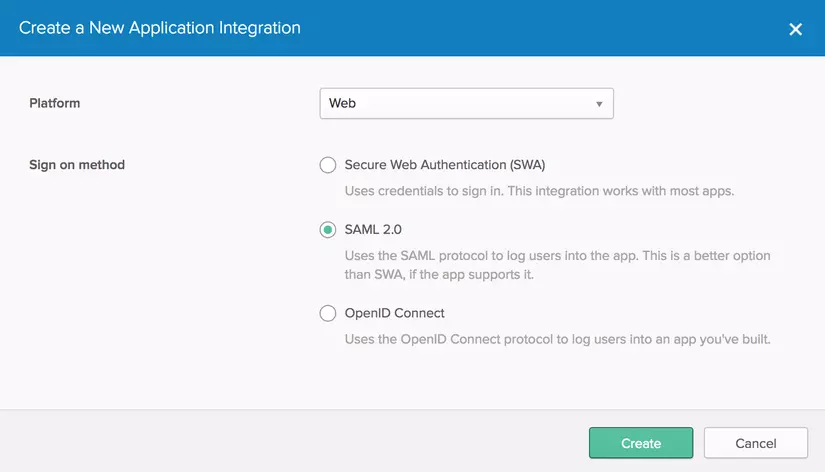
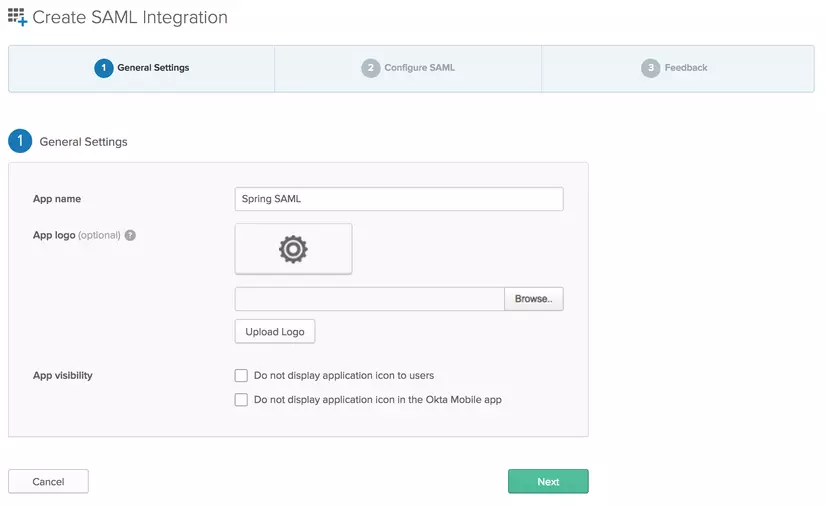
Đặt name tùy ý
Điền input với thông tin sau :
- Single sign on URL: https://localhost:8443/saml/SSO
- Audience URI: https://localhost:8443/saml/metadata

Next
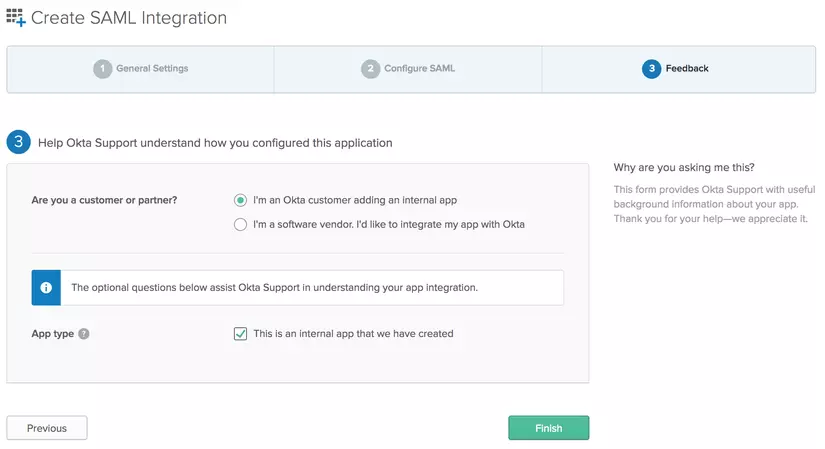
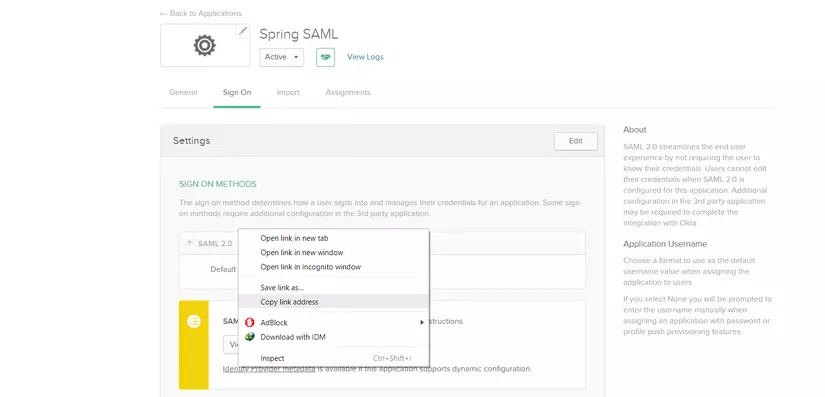
Nhấn Finish. Sau đó ta có thể lấy được Identity Provider metadata link như ảnh dưới để sau này có thể sử dụng :
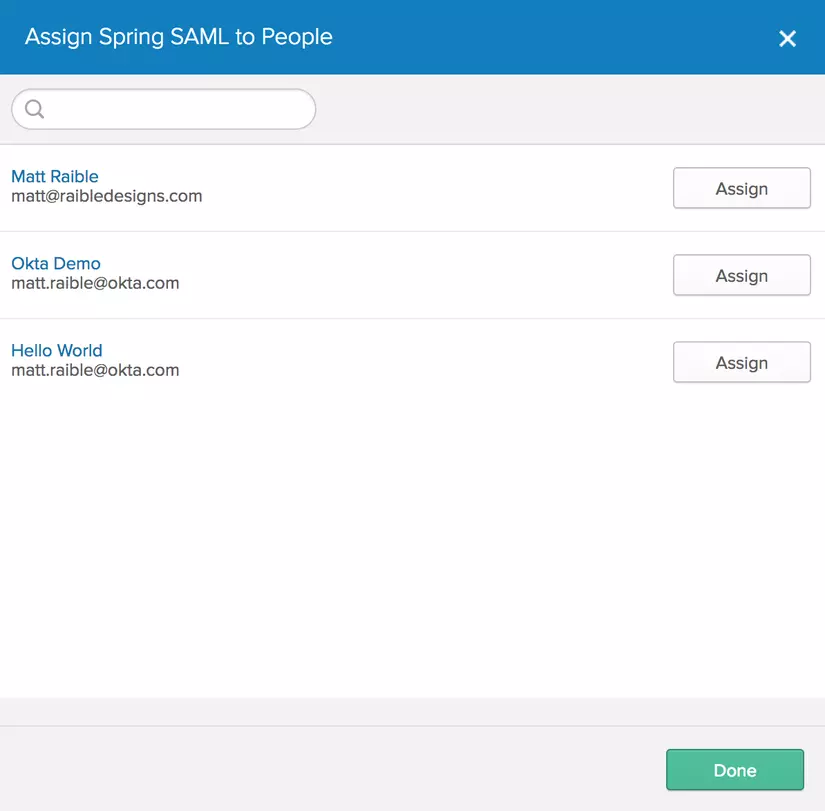
Tiếp theo ở tab Assignments => Assign => Assign to People
Tiếp theo ta tạo một init Spring boot web project với chức năng nhượng việc xác thực lại cho provider là Okta thông qua các dependency:
Security, Web, Thymeleaf, và DevTools
Tiếp tục add thêm dependency cần thiết cho việc xử lý SAML :
<dependency>
    <groupId>org.springframework.security.extensions</groupId>
    <artifactId>spring-security-saml-dsl</artifactId>
    <version>1.0.0.M3</version>
</dependency>
và :
<repositories>
    <repository>
        <id>spring-milestones</id>
        <name>Spring Milestones</name>
        <url>https://repo.spring.io/libs-milestone</url>
    </repository>
</repositories>
Trong src/main/resources/application.properties
server.port = 8443
server.ssl.enabled = true
server.ssl.key-alias = spring
server.ssl.key-store = classpath:saml/keystore.jks
server.ssl.key-store-password = secret

#Thông tin Identity Provider metadata mình đã đề cập ở trên
security.saml2.metadata-url = <your metadata url>
Trong thư mục src/main/resources, ta tạo thư mục mới saml, thông qua command line để tạo store password :
keytool -genkey -v -keystore keystore.jks -alias spring -keyalg RSA -keysize 2048 -validity 10000
Vì chúng ta chỉ cần register 1 application tạm thời để demo, thông qua đó phần nào hiểu được flow của một ứng dụng SSO, nên một số thông tin sau bạn có thể không điền hoặc điền tùy ý đều được :
Is CN=Unknown, OU=Unknown, O=Unknown, L=Unknown, ST=Unknown, C=Unknown correct?
  [no]:
trả lời yes với xác thực cuối cùng
Note : Đoạn command line này lúc thực thi lần đầu trên Windows, thì mình xuất hiện lỗi không thực hiện được lệnh với keyword keytool, các bạn có thể fix bằng cách chạy command line trỏ đến thư mục bin của jdk trong máy:
set PATH=%PATH%;C:\Program Files\Java\jdk1.7.0_80\bin
Tiếp theo, ta tạo một configuration class để config việc xác thực của web project
import static org.springframework.security.extensions.saml2.config.SAMLConfigurer.saml;

import org.springframework.beans.factory.annotation.Value;
import org.springframework.context.annotation.Configuration;
import org.springframework.security.config.annotation.method.configuration.EnableGlobalMethodSecurity;
import org.springframework.security.config.annotation.web.builders.HttpSecurity;
import org.springframework.security.config.annotation.web.configuration.EnableWebSecurity;
import org.springframework.security.config.annotation.web.configuration.WebSecurityConfigurerAdapter;

@EnableWebSecurity
@Configuration
@EnableGlobalMethodSecurity(securedEnabled = true)
public class SecurityConfiguration extends WebSecurityConfigurerAdapter {
    @Value("${security.saml2.metadata-url}")
    String metadataUrl;

    @Value("${server.ssl.key-alias}")
    String keyAlias;

    @Value("${server.ssl.key-store-password}")
    String password;

    @Value("${server.port}")
    String port;

    @Value("${server.ssl.key-store}")
    String keyStoreFilePath;

    @Override
    protected void configure(final HttpSecurity http) throws Exception {
        http
            .authorizeRequests()
                .antMatchers("/saml*").permitAll()
                .anyRequest().authenticated()
                .and()
            .apply(saml())
                .serviceProvider()
                    .keyStore()
                        .storeFilePath(this.keyStoreFilePath)
                        .password(this.password)
                        .keyname(this.keyAlias)
                        .keyPassword(this.password)
                        .and()
                    .protocol("https")
                    .hostname(String.format("%s:%s", "localhost", this.port))
                    .basePath("/")
                    .and()
                .identityProvider()
                .metadataFilePath(this.metadataUrl);
    }
}
Controller :
import org.springframework.stereotype.Controller;
import org.springframework.web.bind.annotation.RequestMapping;

@Controller
public class IndexController {

    @RequestMapping("/")
    public String index() {
        return "index";
    }
}
Tạo file index.html trong thư mục src/main/resources/templates/ :
<!DOCTYPE html>
<html>
<head>
    <title>Spring Security SAML Example</title>
</head>
<body>
Hello SAML!
</body>
</html>
Cuối cùng, ta run project, chạy với URL https://localhost:8443 để xem kết quả :
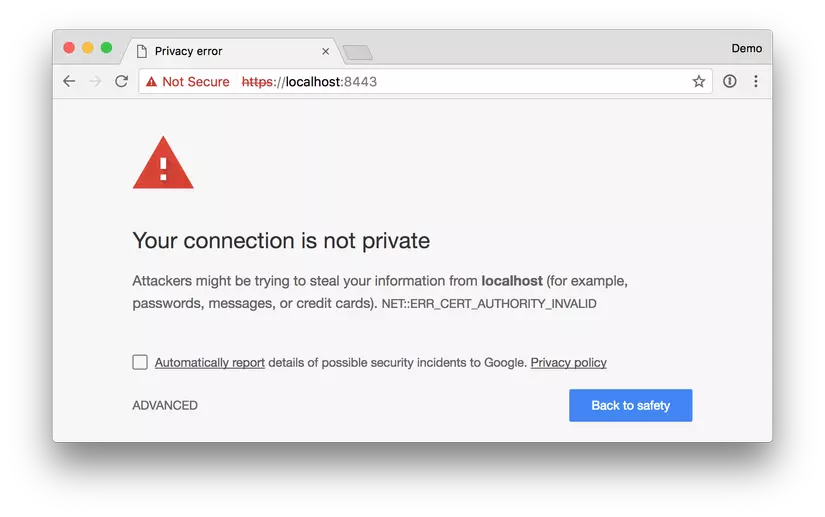
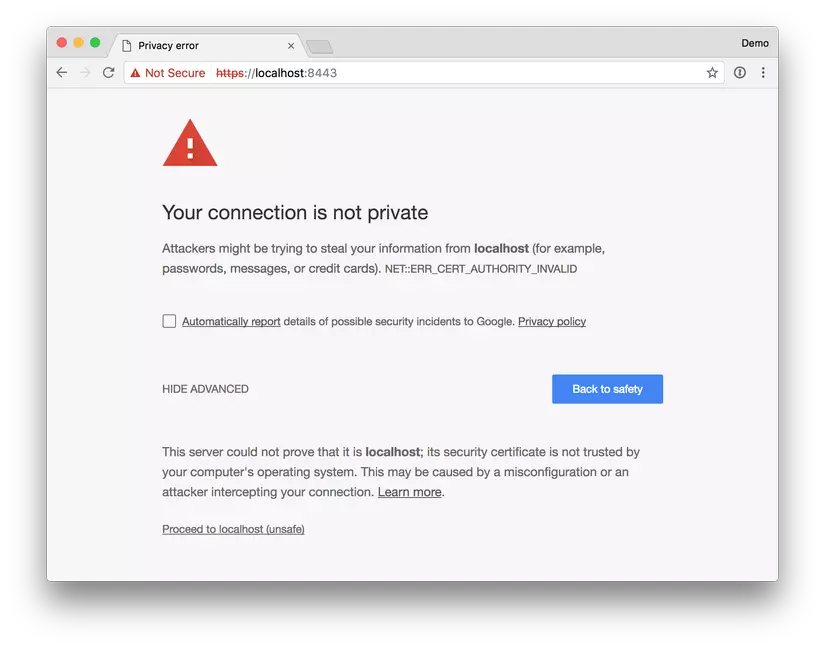
Nhấn ADVANCED => proceed to localhost (unsafe) :
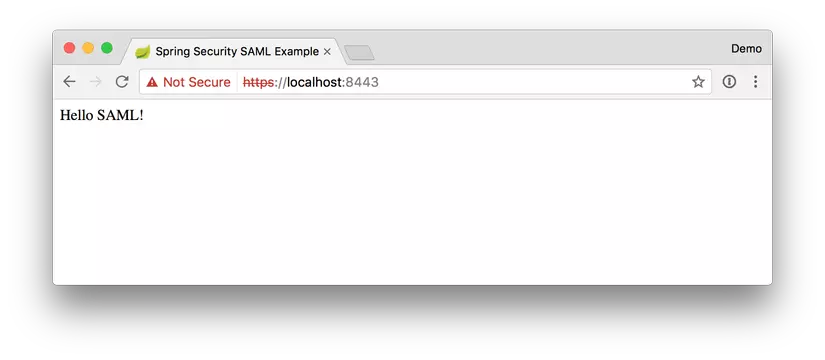
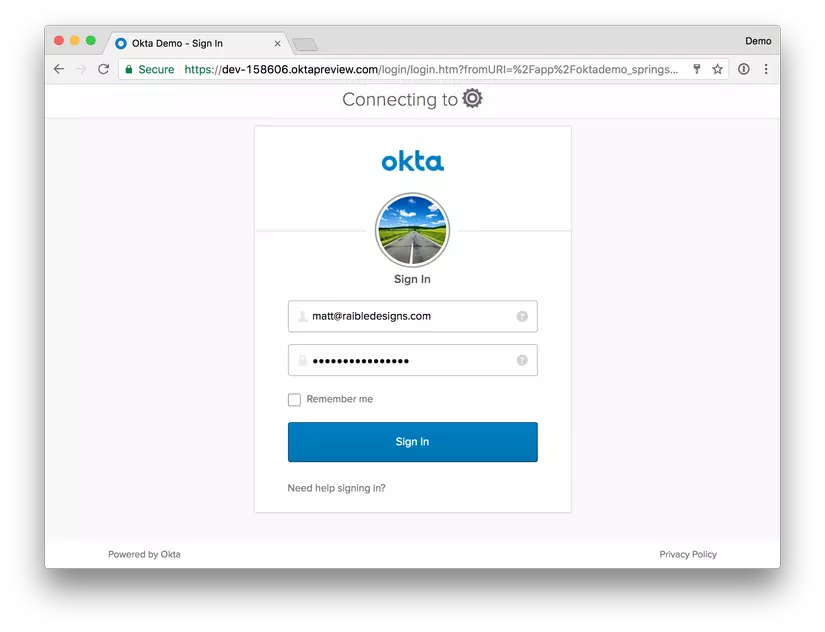
Nếu ta đã đăng nhập account Okta(để tạo một application liên kết lúc đầu) rồi, ta sẽ nhận được kết quả như sau :
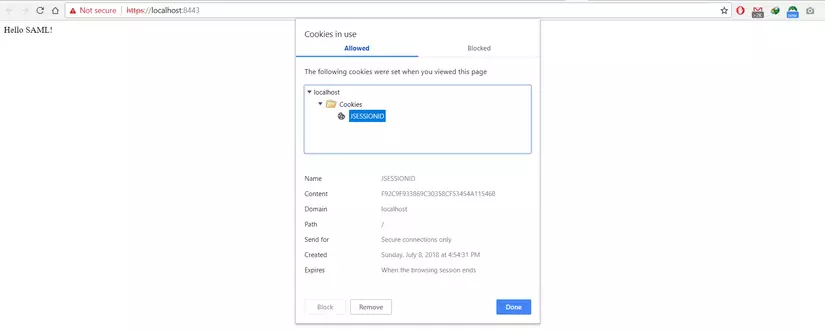
Để kiểm tra lại chức năng login, các bạn có thể logout và xóa cookie đăng nhập từ Okta để kiểm chứng :

Xóa JSESSIONID trong thư mục localhost
Ta thử vào link https://localhost:8443 một lần nữa để xem kết quả :
Các bạn có thể get source code về để test thông qua link github trên chính document chính thức của Okta :
https://github.com/oktadeveloper/okta-spring-boot-saml-example
Vì mục đích của mình là tìm hiểu SSO với chuẩn SAML nên sẽ chỉ làm demo với document có tương tác với SAML  , để hiểu rõ hơn với một project demo chi tiết hơn, sau khi tìm hiểu thấy có link :
https://stackjava.com/spring/code-vi-du-spring-mvc-security-dang-nhap-bang-linkedin.html
thể hiện chi tiết từ local => provider => local(UserDetails) rõ ràng như thế nào. Các bạn có thể tham khảo thêm.
Nguồn tham khảo :
All rights reserved
