Tìm hiểu Email Verification trong Laravel
Bài đăng này đã không được cập nhật trong 7 năm
Hiện nay nhiều Web app yêu cầu người dùng xác thực email trước khi sử dụng ứng dụng. Thay vì bạn phải tự xây dựng chức năng này thì từ version 5.7 trở đi, Laravel đã thêm vào một tính năng mới là Email Verification. Như tên gọi khi sử dụng nó website của bạn sẽ buộc người dùng phải verify email mới có thể truy cập vào nội dung trang web. Cùng tìm hiểu xem cách sử dụng và cách Email Verification hoạt động như thế nào nhé.
Migrate database
Thực hiện chạy composer để cài đặt laravel mới nhất ở thời điểm hiện tại version 5.7, sau đó vào folder migration mở file create_users_table.php, chúng ta sẽ thấy tại function up() có thêm 1 trường email_verified_at. Đây là trường sẽ xác định người dùng đã verify email hay chưa bằng việc cập nhật timestamp sau này.
Schema::create('users', function (Blueprint $table) {
    $table->increments('id');
    $table->string('name');
    $table->string('email')->unique();
    $table->timestamp('email_verified_at')->nullable();
    $table->string('password');
    $table->rememberToken();
    $table->timestamps();
});
Thực thi migrate với php artisan
php artisan migrate
Model setup
Vào model User, ta sẽ thấy model này sử dụng thêm 1 namespace mới: MustVerifyEmail, nó là một contract. Và để sử dụng được Email Verification, model User sẽ phải implements contract này.
class User extends Authenticatable implements MustVerifyEmail
Routing
Tạo Auth bằng câu lệnh
php artisan make:auth
Từ version 5.7, tại Controller ta sẽ thấy thêm Auth\VerificationController, đây là controller sẽ xử lý việc verify email người dùng gồm việc gửi link xác minh, xác thực việc người dùng đã xác minh email hay chưa và gửi lại email theo yêu cầu. Để sử dụng controller này, tại file web.php ta sẽ thêm option verify vào Auth::routes();
Auth::routes(['verify' => true]);
Tiếp theo, bạn nhớ config .env email nhé.
Ok, phần setup đã xong. Giờ mình thử register một user.
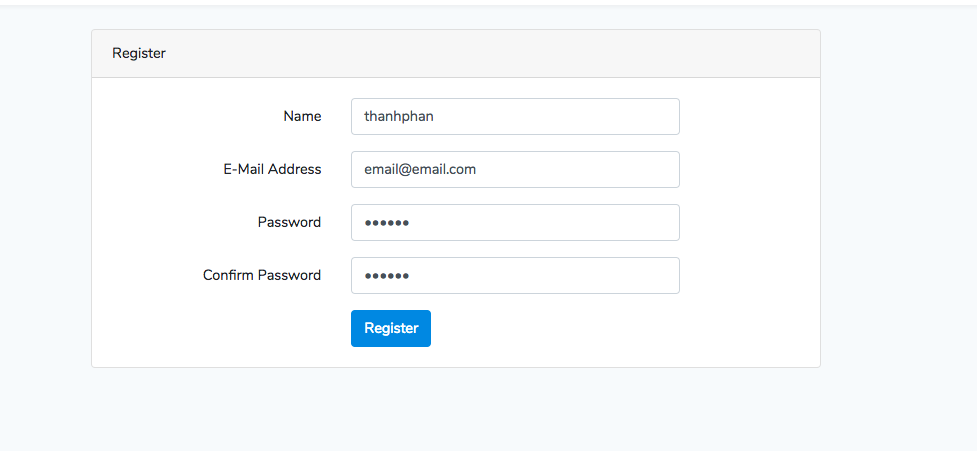
Sau khi đăng kí xong, một email với link verify sẽ được gửi đến email của bạn. Mình cut ra cho nó ngắn gọn như sau:
Verify Email Address: http://127.0.0.1:8000/email/verify/3?expires=1537031070&signature=02d96fcbe57c7b4eb46f31dfc36d16fff73b91f5e7c8477db1668dadf1834b4c
If you did not create an account, no further action is required.
Regards,Laravel
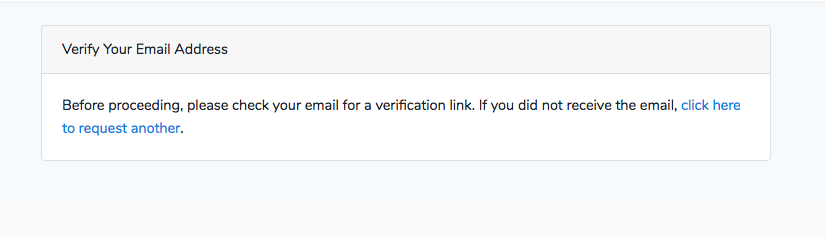
Việc còn lại là user sẽ truy cập vào link đấy, và việc verify email sẽ thành công. Tuy nhiên, nếu user chưa verify ta sẽ thông báo user phải verify trước khi truy cập vào các nội dung khác của web, bằng việc sử dụng middleware verified mà Laravel đã cung cấp tại các route mà bạn muốn. Ví dụ:
Route::get('/', function () {
    return view('welcome');
})->middleware('verified');
Khi user truy cập vào route này, sẽ hiện thông báo
Còn khi user đã verify email, thì việc truy cập sẽ hoàn toàn bình thường và tại field email_verified_at trong bảng users sẽ hiện thị thời gian user verify email.

Cách hoạt động
Việc sử dụng Email Verification rất đơn giản gồm việc cấu hình model User và route như đã hướng dẫn ở trên. Tuy nhiên, mình sẽ nói thêm cách nó hoạt động như thế nào.
Đầu tiên, ta implements MustVerifyEmail, nó là một contract (hiểu đơn giản contract là interface, contract là thuật ngữ mà ông Taylor ông gọi mà thôi  )). Contract này khai báo 3 method cho việc verify email.
/**
     * Determine if the user has verified their email address.
     * Xác định xem người dùng đã xác minh địa chỉ email của họ chưa
     * @return bool
     */
    public function hasVerifiedEmail();

    /**
     * Mark the given user's email as verified.
     * Đánh dấu email của người dùng đã được xác minh (đánh dấu bằng field email_verified_at)
     * @return bool
     */
    public function markEmailAsVerified();

    /**
     * Send the email verification notification.
     * Gửi thông báo xác minh email.
     * @return void
     */
    public function sendEmailVerificationNotification();
Ý nghĩa các method mình đã comment rõ ràng ở trên. Nó là interface nên chỉ khai báo các phương thức chứ không định nghĩa thực hiện chúng. Việc thực hiện các method trên sẽ do trait MustVerifyEmail thực hiện (chi tiết mình sẽ nói ở phía dưới).
Tiếp tục vào EventServiceProvider, bạn sẽ thấy khai báo 1 event Registered và 1 listener SendEmailVerificationNotification lắng nghe event này. Event Registered được fire khi một user thực hiện việc đăng ký.
protected $listen = [
    Registered::class => [
        SendEmailVerificationNotification::class,
    ],
];
Tiếp tục vào listener SendEmailVerificationNotification, tại method handle():
public function handle(Registered $event)
{
    if ($event->user instanceof MustVerifyEmail && ! $event->user->hasVerifiedEmail()) {
        $event->user->sendEmailVerificationNotification();
    }
}
Method này sẽ kiểm tra xem user lúc register có phải là một instance của contract MustVerifyEmail (hiểu đơn giản là model User có implements MustVerifyEmail) hay không và user đã verify email hay chưa ? Nếu là instance và chưa verify email thì thực hiện method sendEmailVerificationNotification.
Note: Dù model User không implements MustVerifyEmail thì khi một user register event Registered vẫn được fire, nhưng khi vào method handle của listener SendEmailVerificationNotification do ở đây đã check xem instanceof MustVerifyEmail, vì không implements MustVerifyEmail nên sẽ không thực hiện các logic phía dưới.
Hai method hasVerifiedEmail và sendEmailVerificationNotification, bạn thấy ở trên sẽ do trait MustVerifyEmail định nghĩa thực hiện chúng.
<?php

namespace Illuminate\Auth;

trait MustVerifyEmail
{
    /**
     * Determine if the user has verified their email address.
     *
     * Xác định xem người dùng đã xác minh địa chỉ email của họ chưa
     * bằng việc kiểm tra trường email_verified_at có null hay không
     *
     * @return bool
     */
    public function hasVerifiedEmail()
    {
        return ! is_null($this->email_verified_at);
    }

    /**
     * Mark the given user's email as verified.
     *
     * Đánh dấu email của người dùng đã được xác minh
     * bằng việc cập nhật timestamp ở trường email_verified_at
     *
     * @return bool
     */
    public function markEmailAsVerified()
    {
        return $this->forceFill([
            'email_verified_at' => $this->freshTimestamp(),
        ])->save();
    }

    /**
     * Send the email verification notification.
     *
     * Gửi thông báo xác minh email
     * bằng việc sử dụng Notifications
     *
     * @return void
     */
    public function sendEmailVerificationNotification()
    {
        $this->notify(new Notifications\VerifyEmail);
    }
}
Ở listener SendEmailVerificationNotification gọi hàm sendEmailVerificationNotification(), trong trait đã định nghĩa hàm này new một VerifyEmail notification, notification sẽ gửi nội dung verify đến email người dùng, cụ thể logic của VerifyEmail notification này bạn xem tại đây.
Custom email
Mình xin giới thiệu 2 cách custom email của Email Verification như sau:
1. Custom language
Ví dụ mình custom vi, tạo 1 file app/resources/lang/vi.json, với nội dung:
{
  "Hello!": "Xin chào",
  "Verify Email Address": "Xác thực email",
  "Please click the button below to verify your email address.": "Kích vào button...",
  "If you did not create an account, no further action is required.": "Nếu bạn không...",
  "Regards": "Trân trọng",
  "If you’re having trouble clicking the \":actionText\" button, copy and paste the URL below\ninto your web browser: [:actionURL](:actionURL)": "\":actionText\". Nếu bạn gặp sự cố khi nhấp vào nút Xác minh, hãy sao chép và dán URL bên dưới vào trình duyệt web của bạn: [:actionURL](:actionURL)"
}
Sau đó vào config/app.php, set locale = 'vi'. Thử register và xem kết quả.
2. Custom email (subject, line, action)
Vào app/Providers/AppServiceProvider.php, và custom lại như sau:
<?php

namespace App\Providers;

use Illuminate\Auth\Notifications\VerifyEmail;
use Illuminate\Notifications\Messages\MailMessage;
use Illuminate\Support\Facades\URL;
use Illuminate\Support\ServiceProvider;
use Illuminate\Support\Facades\Schema;

class AppServiceProvider extends ServiceProvider
{
    /**
     * Bootstrap any application services.
     *
     * @return void
     */
    public function boot()
    {
        Schema::defaultStringLength(191);

        VerifyEmail::toMailUsing(function ($notifiable) {
            $verifyUrl = URL::temporarySignedRoute(
                'verification.verify',
                now()->addMinutes(60),
                ['id' => $notifiable->getKey()]
            );

            return (new MailMessage())
                ->subject('Your subject')
                ->line('Whatever you like')
                ->action('Verify it', $verifyUrl);
        });
    }

    /**
     * Register any application services.
     *
     * @return void
     */
    public function register()
    {
        //
    }
}
Kết quả: 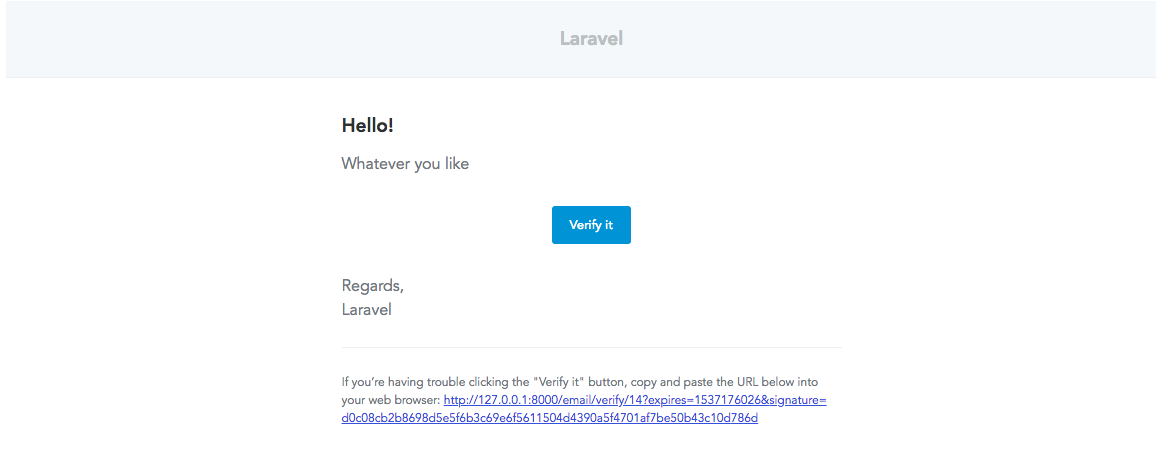
Lời kết
Trong bài viết này, mình đã hướng dẫn bạn sử dụng Email Verification, một tính năng mới được Laravel thêm vào từ version 5.7 và nêu cách nó hoạt động trong Laravel như thế nào. Nếu có thắc mắc và góp ý bạn comment phía dưới nhé. Cảm ơn bạn.
Tham khảo: https://laravel.com/docs/5.7/verification
All rights reserved
