Tích hợp Redux Toolkit trong React Native như thế nào
Bài đăng này đã không được cập nhật trong 4 năm
Redux Toolkit là một package chính thức của nhóm Redux, được dùng để config và quản lý Redux store một cách dễ dàng hơn. Nó bao gồm các functions/helper sẵn giúp chúng ta quản lý các state rất là thuận tiện. Tuy nhiên, nếu vào document của Redux toolkit thì chỉ dành cho Reactjs. Vậy nếu muốn sử dụng trong React Native thì làm như thế nào.
Khi dùng Redux toolkit với Reactjs, lúc tạo project mới nó sẽ setup sẵn các package và config sẵn để có thể dùng và chạy redux được. Nhưng với React Native, mình phải tự setup và config cho nó.
Trong bài này chúng ta sẽ đi từng bước về cách cài đặt và config, chứ không phải đi chi tiết về cách sử dụng Redux toolkit.
Tạo project React Native
npx react-native init ReduxToolkitReactNative
Cài đặt package Redux và Redux toolkit
yarn add redux

yarn add @reduxjs/toolkit
Directory structure
Khi tạo project Redux toolkit trong Reactjs, nó generate directory structure như sau:
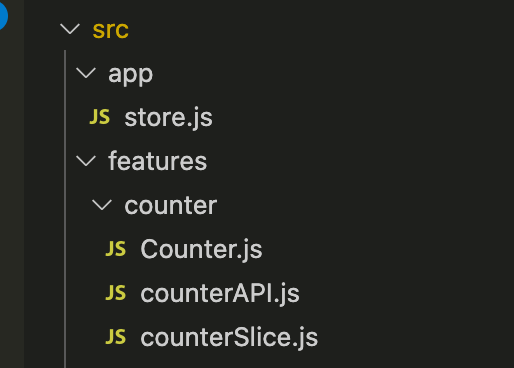
Vậy trong React Native mình có thể dùng cấu trúc như thế này cho tiện.
Tạo Redux Store
import { configureStore } from '@reduxjs/toolkit';
import counterReducer from '../features/counter/counterSlice';

export const store = configureStore({
  reducer: {
    counter: counterReducer,
  },
});
configureStore là function của redux-toolkit, dùng để chứa các reducer của project.
Provide Redux Store
Wrap file App.js vào trong redux Provider
import { Provider } from 'react-redux';
import { store } from '~/app/store';

export const App = () => {
  return (
    <Provider store={store}>
      ....
    </Provider>
  );
};
Đây chính là file start đầu tiên của react-native. Chúng ta sẽ wrap nó ở trong Provider với props là store như trên.
Tạo Redux State Slice (reducer)
Ở đây chúng ta có thể copy counterSlice.js từ bên Reactjs sang để mình có thể dùng thử việc tích hợp của mình có chạy không.
import { createAsyncThunk, createSlice } from '@reduxjs/toolkit';
import { fetchCount } from './counterAPI';

const initialState = {
  value: 0,
  status: 'idle',
};

export const incrementAsync = createAsyncThunk(
  'counter/fetchCount',
  async amount => {
    const response = await fetchCount(amount);
    return response.data;
  },
);

export const counterSlice = createSlice({
  name: 'counter',
  initialState,
  reducers: {
    increment: state => {
      state.value += 1;
    },
    decrement: state => {
      state.value -= 1;
    },
    incrementByAmount: (state, action) => {
      state.value += action.payload;
    },
  },
  extraReducers: builder => {
    builder
      .addCase(incrementAsync.pending, state => {
        state.status = 'loading';
      })
      .addCase(incrementAsync.fulfilled, (state, action) => {
        state.status = 'idle';
        state.value += action.payload;
      });
  },
});

export const { increment, decrement, incrementByAmount } = counterSlice.actions;

export const selectCount = state => state.counter.value;

export const incrementIfOdd = amount => (dispatch, getState) => {
  const currentValue = selectCount(getState());
  if (currentValue % 2 === 1) {
    dispatch(incrementByAmount(amount));
  }
};

export default counterSlice.reducer;
Code trên có các action như : incrementAsync, increment, decrement, incrementByAmount. Vậy mình có thể gọi các action đó từ trong view.
Slice này sẽ export ra reducer mà chúng ta đã import trong store.js như ở trên.
Sử dụng Redux State và Actions trong Components
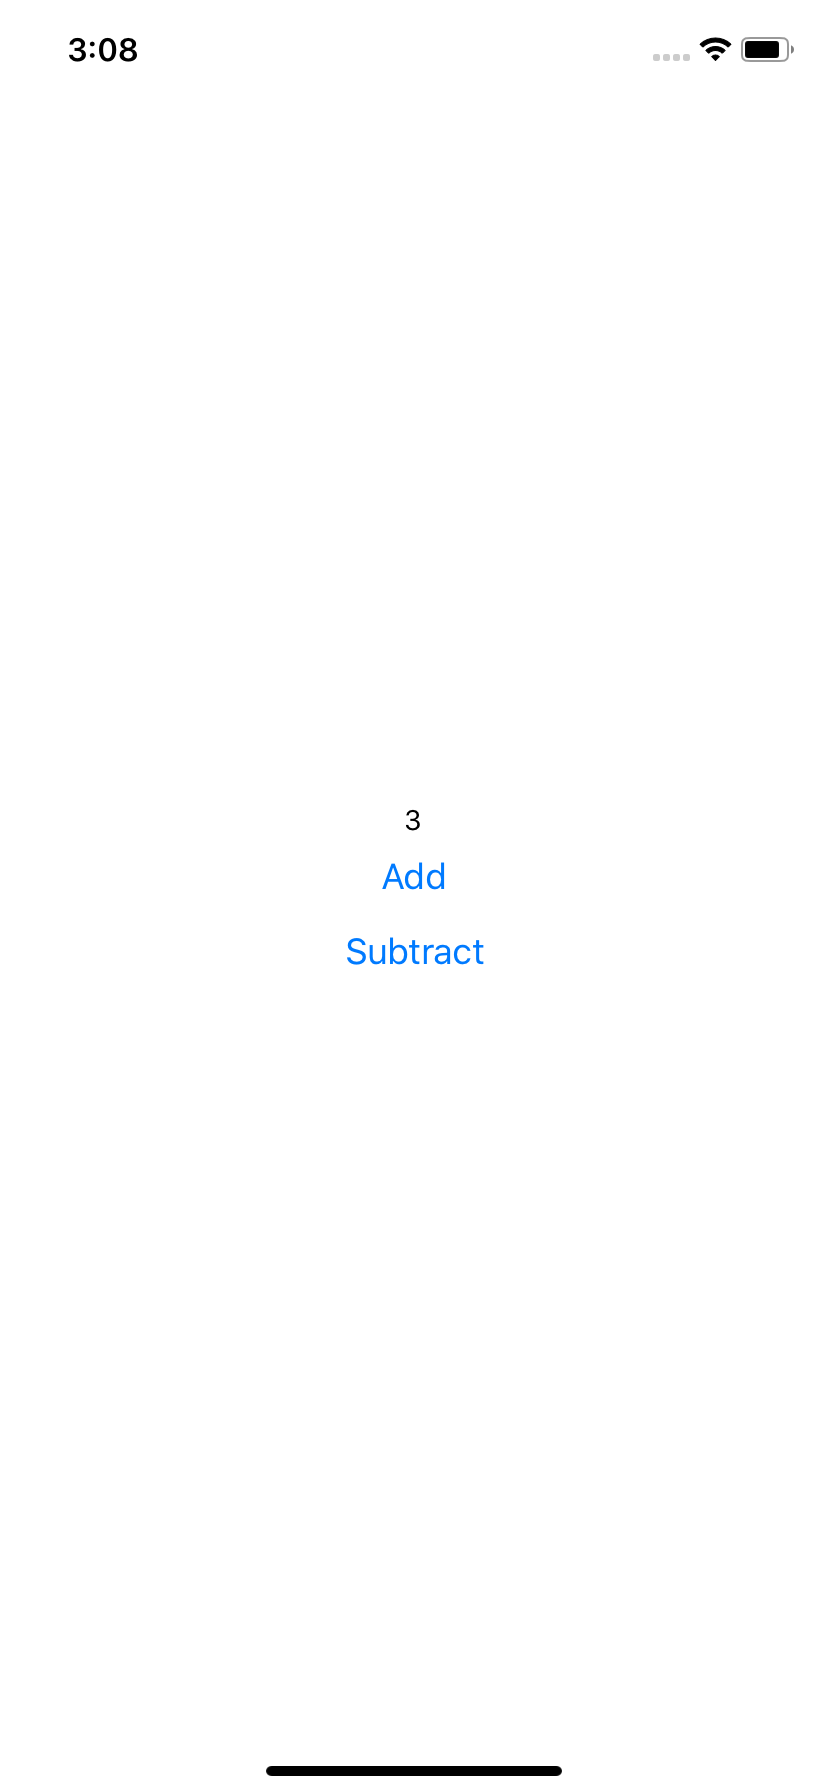
Tiếp theo chung ta sẽ tạo một component đơn giản để gọi các Action trên và show state trên màn hình.
src/features/counter/Counter.js
import React from 'react';
import { View, Text, Button } from 'react-native';
import { useSelector, useDispatch } from 'react-redux';
import { increment, decrement, selectCount } from './counterSlice';

const Counter = () => {
const count = useSelector(selectCount);
const dispatch = useDispatch();

const handleAdd = () => {
  dispatch(increment());
};

const handleSubtract = () => {
  dispatch(decrement());
};

return (
  <View style={{ flex: 1, justifyContent: 'center', alignItems: 'center' }}>
    <Text>{count}</Text>
    <Button title="Add" onPress={handleAdd} />
    <Button title="Subtract" onPress={handleSubtract} />
  </View>
);
};

export default Counter;
Khi click button Add hoặc Subtract, nó sẽ gọi hàm increment/decrement của counterSlice. Sau đó state sẽ được thay đổi và hiển thị trên màn hình.
Bây giờ chúng ta đã tích hợp xong Redux toolkit và trong React Native của mình rồi. Đối với bạn chưa hiểu về Redux toolkit, hãy vào xem document nhé.
Bạn có thể tham khảo thêm
https://hybridheroes.de/blog/2021-01-08-redux-toolkit-react-native/
All rights reserved
