Tích hợp Firebase Realtime Database vào Laravel
Bài đăng này đã không được cập nhật trong 6 năm
Giới thiệu
Firebase
Firebase là một nền tảng phát triển ứng dụng di động và web. Cung cấp rất nhiều công cụ và dịch vụ để phát triển ứng dụng chất lượng, rút ngắn thời gian phát triển và phát triển cơ sở người dùng mà không cần quan tâm đến hạ tầng phần cứng.
Firebase là sự kết hợp giữa nền tảng cloud với hệ thống máy chủ cực kì mạnh mẽ của Google. Firebase cung cấp cho chúng ta những API đơn giản, mạnh mẽ và đa nền tảng trong việc quản lý, sử dụng database.
Ví dụ: Với Firebase, chúng ta có thể tự xây dựng một ứng chat thời gian thực như Facebook mesage, Zalo… trong vài ngày, thậm chí vài giờ.
Đơn giản vì giờ chúng ta chỉ cần phải lo phát triển phía Client( Ứng dụng mobile), còn phần backend(server) đã có Firebase lo, chúng ta chỉ cần gọi API là đủ.
Lịch sử phát triển của Firebase
Firebase có tiền thân là Envolve. Đây là dịch vụ cung cấp những API để bạn dễ dàng tích hợp tính năng chat vào trang web.
Điều thú vị là người dùng Envolve sử dụng dịch vụ để truyền dữ liệu chứ không đơn thuần cho ứng dụng chat. Họ sử dụng Envolve để đồng bộ dữ liệu của những ứng dụng như game online, danh bạ, lịch…
Nhận biết được điều này, CEO của Envolve đã tách biệt hệ thống chat và đồng bộ dữ liệu thời gian thực thành 2 mảng riêng biệt.
Đến năm 2012, Firebase được thành lập như một công ty cung cấp dịch vụ Backend-as-a-Service theo thời gian thực.
Ngửi thấy mùi tiềm năng, năm 2014, Google lập tức mua lại Firebase với giá không được tiết lộ. Và giờ Google phát triển Firebase thành một dịch vụ đồ sộ như bạn đang thấy
Những dịch vụ nổi bật của Firebase
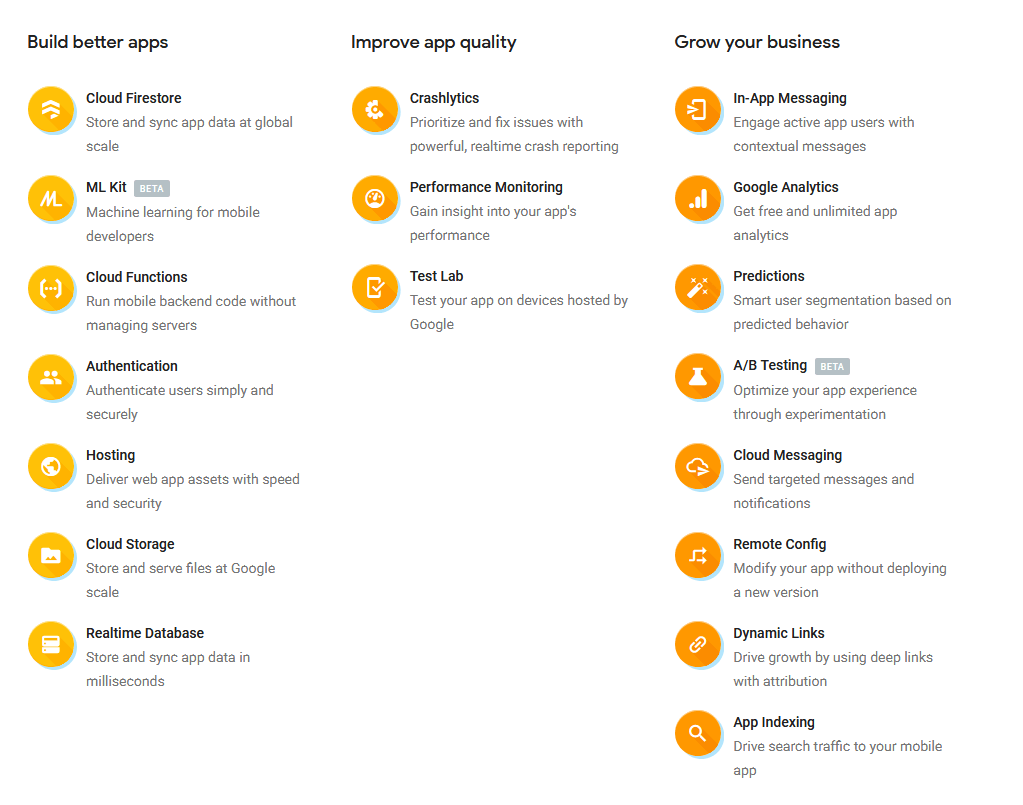
Firebase Realtime Database(FRB) - cơ sở dữ liệu thời gian thực Firebase
- Là một cơ sở dữ liệu được lưu trữ trên đám mây. Dữ liệu được lưu trữ dưới dạng JSON và được đồng bộ hóa trong thời gian thực cho mọi client được kết nối. Khi bạn xây dựng các ứng dụng đa nền tảng với SDK iOS, Android và JavaScript , tất cả các client của bạn sẽ chia sẻ một phiên bản Cơ sở dữ liệu thời gian thực và tự động nhận các bản cập nhật với dữ liệu mới nhất
Thực chất dữ liệu của chúng ta được lưu dưới dạng JSON object và developer có thể quản lý theo thời gian thực. Chỉ cần 1 API duy nhất chúng ta sẽ có được dữ liệu mới nhất
- Tự động tính toán quy mô ứng dụng
- Các tình năng bảo mật lớp đầu
- Làm việc offline
Tích hợp Firebase vào dự án Laravel
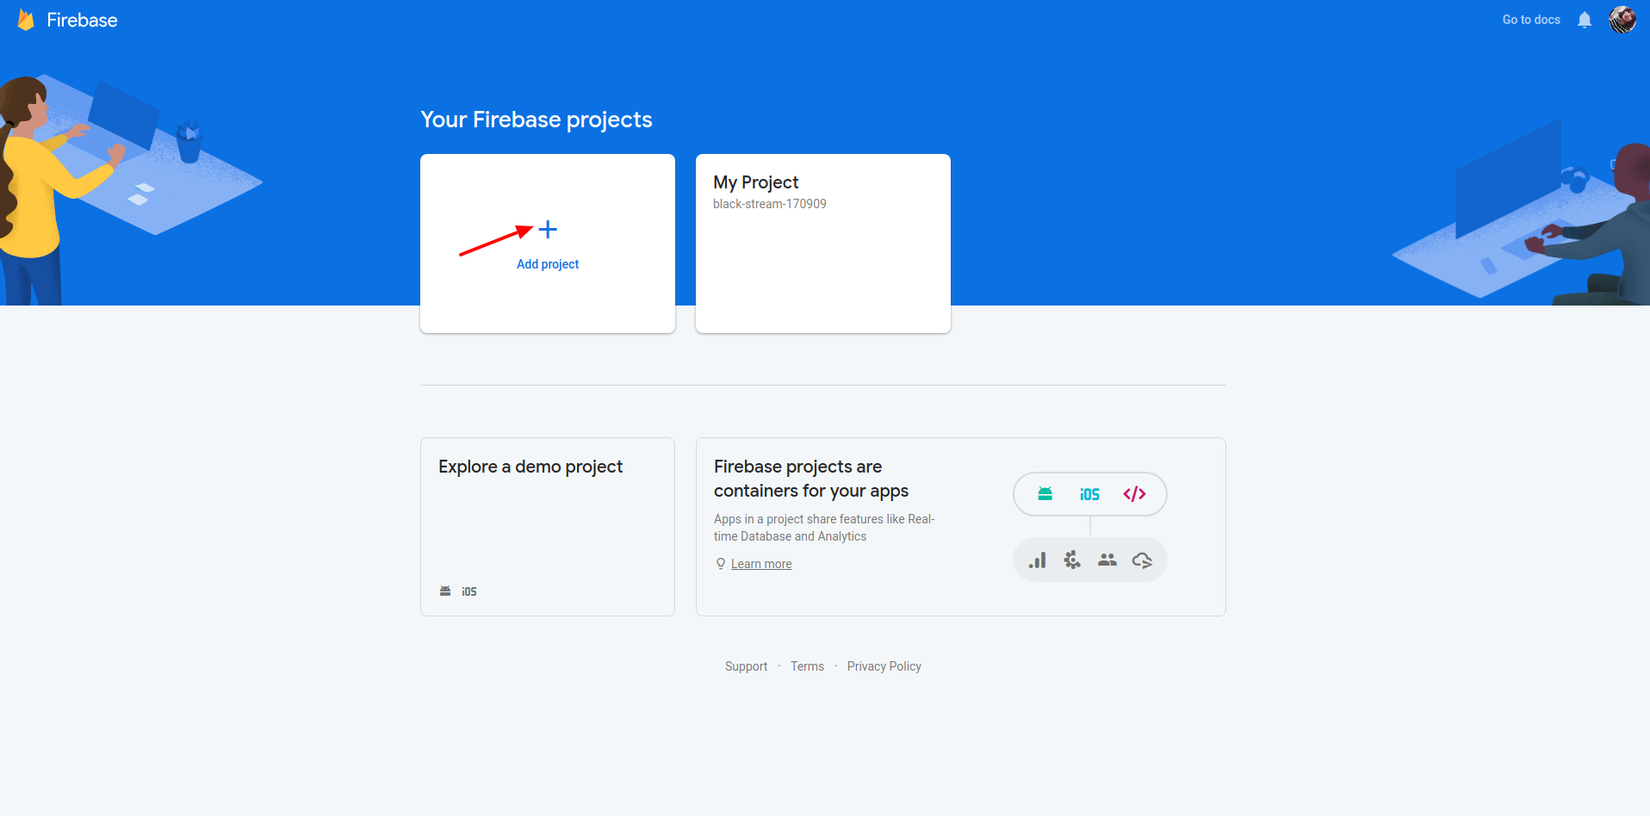
1. Tạo dự án trên firebase
-
Truy cập Firebase .
-
Nhấp vào "Add Project".
![]()
-
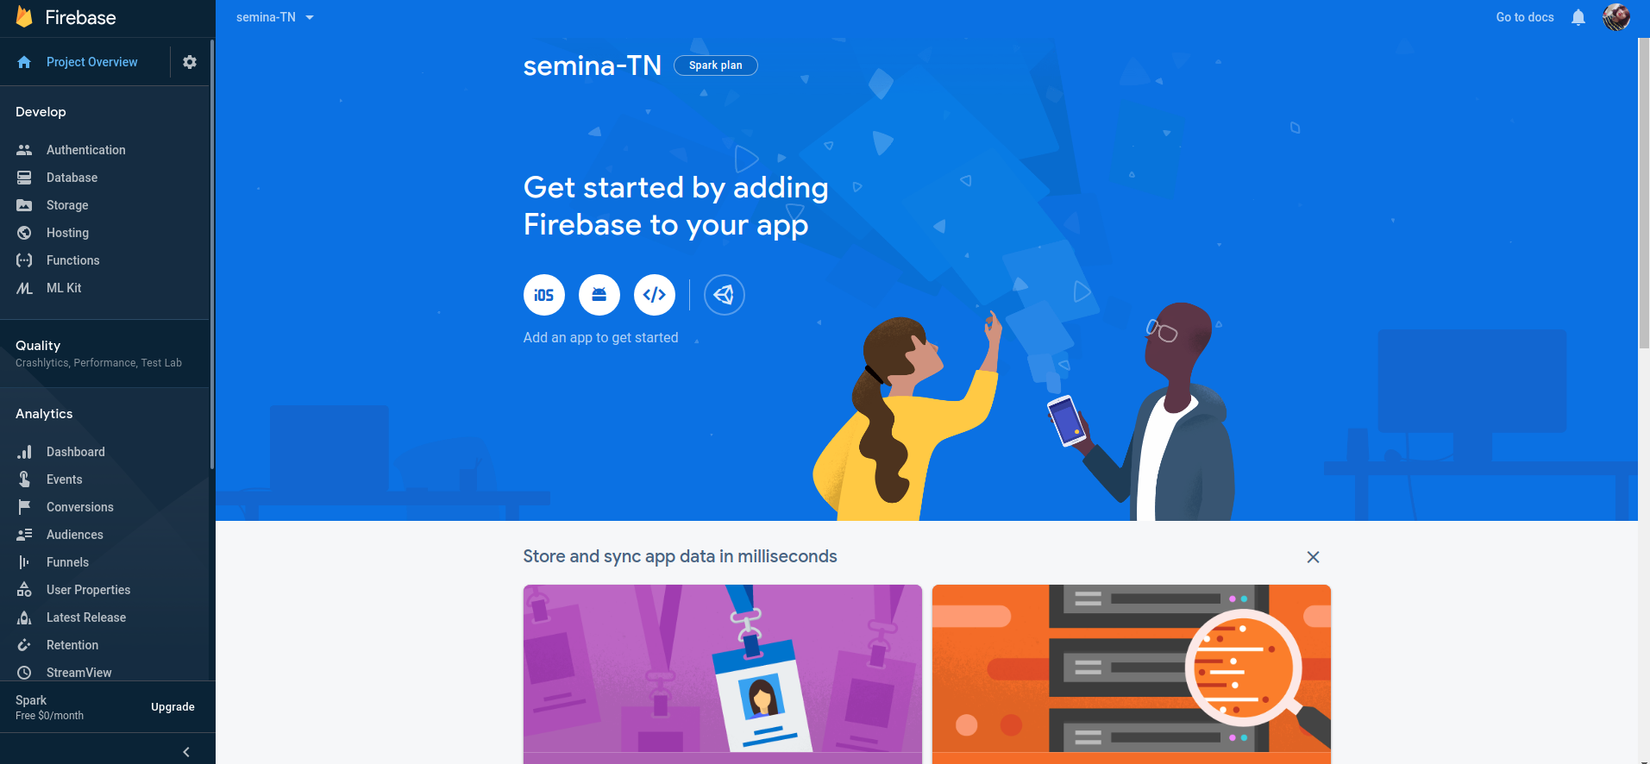
Nhập tên project và create project
![]() https://images.viblo.asia/fbf7e089-ace8-4f09-8612-2b400553700b.png
sau khi tạo project thành công chúng ta sẽ vào trang quản lý như phía trên.
https://images.viblo.asia/fbf7e089-ace8-4f09-8612-2b400553700b.png
sau khi tạo project thành công chúng ta sẽ vào trang quản lý như phía trên. -
Sau đó, bạn nên truy cập vào https://console.cloud.google.com/iam-admin/serviceaccounts để xem service account. Ở đó mình sẽ thấy service account dự án của mình. Tiếp theo nhấp vào menu ba chấm để tạo key . Chọn type là JSON bạn sẽ nhận được 1 fire JSON chứa các thông tin về dự án của bạn cần cho bước tiếp theo. 2. Add Firebase Service
-
Cài đặt project laravel
composer create-project --prefer-dist laravel/laravel firebase
- Cài đặt Firebase PHP SDK kreait/firebase-php
composer require kreait/firebase-php
Để có thể làm việc với Firebase, mình sẽ tạo 1 file FirebaseService.php trong app/Services sẽ xử lý tất cả các yêu cầu được thực hiện thông qua SDK PHP của Firebase.
<?php

namespace App\Services;

use Kreait\Firebase;
use Kreait\Firebase\Factory;
use Kreait\Firebase\Database;
use Kreait\Firebase\ServiceAccount;

class FirebaseService
{
    public function __construct()
    {

    }
}
Cần một số thông tin để xác thực dịch vụ mình sẽ thêm sẽ thêm một khóa mới trong config / services.php với thông tin sau:
'firebase' => [
    'database_url' => env('FIREBASE_DATABASE_URL', ''),
    'project_id' => env('FIREBASE_PROJECT_ID', ''),
    'private_key_id' => env('FIREBASE_PRIVATE_KEY_ID', 'your-key'),
    'private_key' => str_replace("\\n", "\n", env('FIREBASE_PRIVATE_KEY', '')),
    'client_email' => env('FIREBASE_CLIENT_EMAIL', 'e@email.com'),
    'client_id' => env('FIREBASE_CLIENT_ID', ''),
    'client_x509_cert_url' => env('FIREBASE_CLIENT_x509_CERT_URL', ''),
]
các thông số FIREBASE_DATABASE_URL, FIREBASE_PROJECT_ID... mình sẽ lấy từ file JSOn mà mình đã down lúc trước
Sau đó chúng ta tiếp tục cấu hình dịch vụ trên FirebaseService.php
<?php

namespace App\Services;

use Exception;
use Kreait\Firebase;
use Kreait\Firebase\Factory;
use Kreait\Firebase\Database;
use Kreait\Firebase\ServiceAccount;
use Kreait\Firebase\Exception\Auth\EmailExists as FirebaseEmailExists;

class FirebaseService
{
    /**
     * @var Firebase
     */
    protected $firebase;

    public function __construct()
    {
        $serviceAccount = ServiceAccount::fromArray([
            "type" => "service_account",
            "project_id" => config('services.firebase.project_id'),
            "private_key_id" => config('services.firebase.private_key_id'),
            "private_key" => config('services.firebase.private_key'),
            "client_email" => config('services.firebase.client_email'),
            "client_id" => config('services.firebase.client_id'),
            "auth_uri" => "https://accounts.google.com/o/oauth2/auth",
            "token_uri" => "https://oauth2.googleapis.com/token",
            "auth_provider_x509_cert_url" => "https://www.googleapis.com/oauth2/v1/certs",
            "client_x509_cert_url" => config('services.firebase.client_x509_cert_url')
        ]);

        $this->firebase = (new Factory)
            ->withServiceAccount($serviceAccount)
            ->withDatabaseUri(config('services.firebase.database_url'))
            ->create();
    }
}
Nếu muốn xác thực email và mật khẩu với firebase, chúng ta có thể làm như thế này
<?php

namespace App\Services;

use Exception;
use Kreait\Firebase;
use Kreait\Firebase\Factory;
use Kreait\Firebase\Database;
use Kreait\Firebase\ServiceAccount;
use Kreait\Firebase\Exception\Auth\EmailExists as FirebaseEmailExists;

class FirebaseService
{

    /**
     * @var Firebase
     */
    protected $firebase;

    public function __construct()
    {
        $serviceAccount = ServiceAccount::fromArray([
            "type" => "service_account",
            "project_id" => config('services.firebase.project_id'),
            "private_key_id" => config('services.firebase.private_key_id'),
            "private_key" => config('services.firebase.private_key'),
            "client_email" => config('services.firebase.client_email'),
            "client_id" => config('services.firebase.client_id'),
            "auth_uri" => "https://accounts.google.com/o/oauth2/auth",
            "token_uri" => "https://oauth2.googleapis.com/token",
            "auth_provider_x509_cert_url" => "https://www.googleapis.com/oauth2/v1/certs",
            "client_x509_cert_url" => config('services.firebase.client_x509_cert_url')
        ]);

        $this->firebase = (new Factory)
            ->withServiceAccount($serviceAccount)
            ->withDatabaseUri(config('services.firebase.database_url'))
            ->create();
    }

    /**
     * Verify password agains firebase
     * @param $email
     * @param $password
     * @return bool|string
     */
    public function verifyPassword($email, $password)
    {
        try {
            $response = $this->firebase->getAuth()->verifyPassword($email, $password);
            return $response->uid;

        } catch(FirebaseEmailExists $e) {
            logger()->info('Error login to firebase: Tried to create an already existent user');
        } catch(Exception $e) {
            logger()->error('Error login to firebase: ' . $e->getMessage());
        }
        return false;
    }
}
Tiếp theo mình tạo file BaseController.php để các controller khác của mình có thể kế thừa và sử dụng
<?php
 namespace App\Http\Controllers;
 use Kreait\Firebase\Factory;
use App\Services\FirebaseService;
use Illuminate\Foundation\Bus\DispatchesJobs;
use Illuminate\Routing\Controller;
use Illuminate\Foundation\Validation\ValidatesRequests;
use Illuminate\Foundation\Auth\Access\AuthorizesRequests;
 class BaseController extends Controller
{
    use AuthorizesRequests, DispatchesJobs, ValidatesRequests;
    protected $firebase;
    protected $database;
    public function __construct(FirebaseService $firebaseService)
    {
        $this->firebase = $firebaseService->firebase;
        $this->database = $this->firebase->getDatabase();
    }
}
Tiếp theo tạo file UserController.php
<?php
 namespace App\Http\Controllers;
 use Log;
use Exception;
class UserController extends BaseController
{
    /**
     * Display a listing of the resource.
     *
     * @return \Illuminate\Http\Response
     */
    public function index()
    {
        $userRef = null;
        $ = [
            'name' => 'le.thi.thu',
            'email' => 'le.thi.thu@sun-asterisk.com',
        ];
         try {
            $this->database->getReference('users')->push($testData);
             $userRef = $this->database->getReference('users')
                ->orderByKey()
                ->getSnapshot();
        } catch (Exception $exception) {
            Log::error($exception->getMessage());
        }
         dd($userRef->getValue());
    }
}
trong file web.php mình thêm Route
Route::get('user', 'UserController@index');
sau đó mình chạy trên trình duyệt /user khi đó trên firebase của mình sẽ lập tức cập nhật dữ liệu
 Trong phần tiếp theo mình sẽ hướng dẫn thao tác cơ bản CRUD trực tiếp với firebase
Nguồn tham khảo https://firebase.google.com/ https://medium.com/@javinunez/how-to-integrate-laravel-with-google-firebase-512188adae13
All rights reserved
