Tạo thử một tabbar với Swift UI
Bài đăng này đã không được cập nhật trong 5 năm
Đầu tiên bạn khởi động Xcode --> Tạo một project mới --> Single View App --> Đặt tên cho app và chọn user interface là SwiftUI Mở file ContentView.swift
Xoá hết đoạn code cũ đi , và thêm đoạn code sau :
struct ContentView: View {

    @State var index = 0

    var body: some View {

        VStack(spacing: 0){

            ZStack{

                if self.index == 0{

                   Color.green
                }
                else if self.index == 1{

                    Color.yellow
                }
                else if self.index == 2{

                    Color.blue
                }
                else{

                    Color.orange
                }
            }

            CircleTab(index: self.$index)

        }
        .edgesIgnoringSafeArea(.top)
    }
}

struct ContentView_Previews: PreviewProvider {
    static var previews: some View {
        ContentView()
    }
}
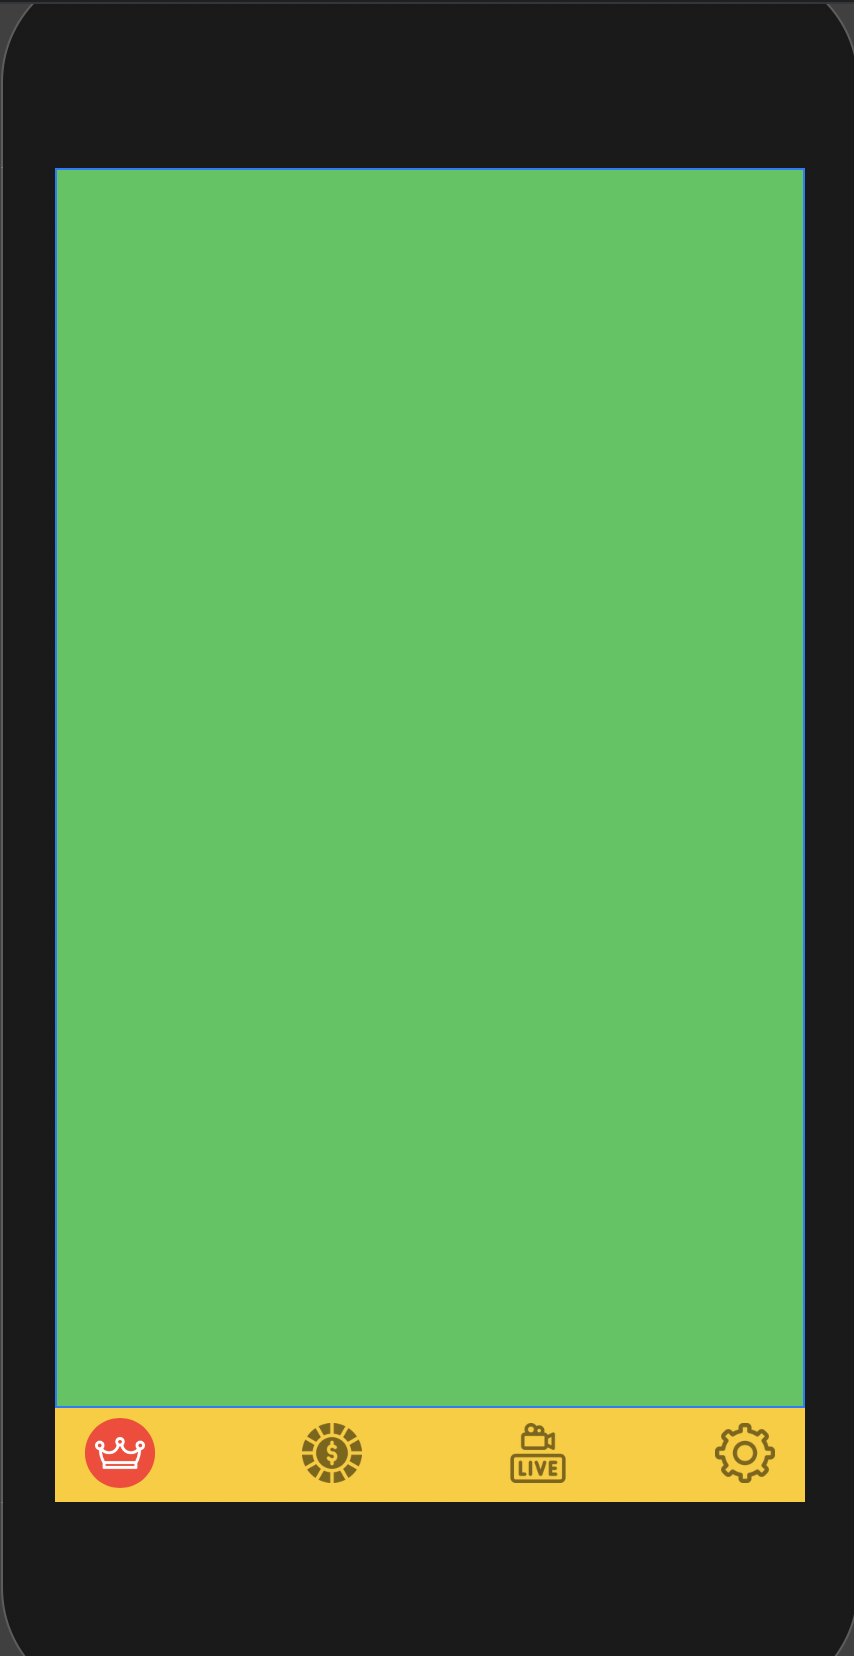
Ở đoạn code trên chúng ta đang tạo ra các tab bar page, hiện tại đang chỉ là các màn hình với màu sắc, Tab bar page này sẽ được quyết định hiển thị dựa theo biến State index. Đoạn code CirleTab chính là phần chúng ta sẽ render tab bar.
Tiếp tục thêm đoạn code sau:
struct CircleTab : View {

    @Binding var index : Int

    var body : some View{


        HStack{

            Button(action: {

                self.index = 0

            }) {

                VStack{

                    if self.index != 0{

                        Image("ranking").resizable().foregroundColor(Color.black.opacity(0.5))
                            .frame(width: 30, height: 30)
                    }
                    else{

                        Image("ranking")
                            .resizable()
                            .frame(width: 25, height: 25)
                            .foregroundColor(.white)
                            .padding(5)
                            .background(Color.red)
                            .clipShape(Circle())
                            //.offset(y: -20)
                    }
                  //  Text("BXH").foregroundColor(Color.black.opacity(0.7)).offset( y: 0)
                }


            }

            Spacer()

            Button(action: {

                self.index = 1

            }) {

                VStack{

                    if self.index != 1{

                        Image("playing").resizable().foregroundColor(Color.black.opacity(0.5))
                            .frame(width: 30, height: 30)

                    }
                    else{

                        Image("playing")
                            .resizable()
                            .frame(width: 25, height: 25)
                            .foregroundColor(.white)
                            .padding(5)
                            .background(Color.red)
                            .clipShape(Circle())
                            //.offset(y: -20)

                    }
                   // Text("Chơi").foregroundColor(Color.black.opacity(0.7)).offset( y: 0)
                }
            }

            Spacer()

            Button(action: {

                self.index = 2

            }) {

                VStack{

                    if self.index != 2{

                        Image("news").resizable().foregroundColor(Color.black.opacity(0.5))
                            .frame(width: 30, height: 30)

                    }
                    else{

                        Image("news")
                            .resizable()
                            .frame(width: 25, height: 25)
                            .foregroundColor(.white)
                           .padding(5)
                            .background(Color.red)
                            .clipShape(Circle())
                          //  .offset(y: -20)

                    }
                   // Text("Tin tức").foregroundColor(Color.black.opacity(0.7)).offset( y: 0)
                }
            }

            Spacer()

            Button(action: {

                self.index = 3

            }) {

               VStack{
                   if self.index != 3{
                       Image("setting").resizable().foregroundColor(Color.black.opacity(0.5))
                           .frame(width: 30, height: 30)

                   }
                   else{
                       Image("setting")
                           .resizable()
                           .frame(width: 25, height: 25)
                           .foregroundColor(.white)
                           .padding(5)
                           .background(Color.red)
                           .clipShape(Circle())
                          // .offset(y: -20)
                   }
                //Text("Cài đặt").foregroundColor(Color.black.opacity(0.7))

                }
            }

        }
        .cornerRadius(5)
        .animation(.spring())
        .padding(5)
        .padding(.leading, 10)
        .padding(.trailing, 10)
        .padding(.bottom, 2)
        .background(Color.yellow)
    }
}
Ở đoạn code trên chúng ta sẽ thấy có 4 tab bar button được thêm vào . Và có một cấu trúc code được lặp đi lặp lại, bằng việc kiểm tra biến index. Nếu index bằng với tab bar button index thì sẽ set UI cho button active, và ngược lại là inactive. Bạn cũng cần phải thêm vào Asset các image tương ứng cho các tabbar button.
Sau khi hoàn thành code, chạy nó và bạn sẽ được kết quả như sau

All rights reserved