Tạo dark mode đơn giản với TailwindCSS và snowpack
Bài đăng này đã không được cập nhật trong 5 năm
Hiện nay, việc thay đổi theme cho website sang chế độ dark mode hay ngược lại đang là một xu hướng của phát triển web. Với tailwindCSS thì việc này càng đơn giản với tính nẵng sẵn có của tailwindCSS. Trong bài viết này mình sẽ giới thiệu với các bạn cách đơn giản tạo darkmode với tailwindCSS và snowpack. Bắt đầu nào  !
!

Cài đặt snowpack
Các bạn có thể tìm hiểu về snowpack ở các bài viết trước của mình:
Các bạn tạo một folder rồi sử dụng lệnh sau để init project với npm:
npm init
Sau đó cd vào thư mục dự án để install snowpack:
# npm:
npm install --save-dev snowpack
# yarn:
yarn add --dev snowpack
# pnpm:
pnpm add --save-dev snowpack
Sau đó bạn vào root của dự án tạo một file index.html với nội dung đơn giản như sau:
<!DOCTYPE html>
<html lang="en">
    <head>
        <meta charset="utf-8" />
        <meta name="viewport" content="width=device-width, initial-scale=1" />
        <meta name="description" content="Demo Snowpack App" />
        <title>Demo Snowpack App</title>
    </head>
    <body>
        <h1>Demo Snowpack App</h1>
    </body>
</html>
sau đó bạn vào file package.json thêm dòng sau:
"scripts": {
    "dev": "snowpack dev",
    ...
  },
Hoặc cách nhanh chóng để cài đặt hơn chúng ta sử dụng lệnh sau:
npx create-snowpack-app project_name --template @snowpack/app-template-blank
Bây giờ chúng ta start và xem kết quả 😄 npm run dev!
Cài đặt tailwindCSS
Sau khi mình đã setup project bằng lệnh npx, từ thư mục root của dự án chúng ta cài đặt tailwindcss, PostCSS, và plugin Snowpack PostCSS.
npm install --save-dev tailwindcss @snowpack/plugin-postcss postcss postcss-cli
Vào thư mục dự án chúng ta tạo 2 file postcss.config.js và tailwind.config.js;
module.exports = {
  plugins: {
    tailwindcss: {},
  },
};
module.exports = {
    mode: 'jit',
    darkMode: 'class',
    purge: ['./public/**/*.html', './src/**/*.{js,jsx,ts,tsx,vue}'],
};
Chúng ta sẽ cần thêm plugin Snowpack PostCSS vào cấu hình Snowpack của mình và đặt tùy chọn cấu hình Tailwind:
 /** @type {import("snowpack").SnowpackUserConfig } */
module.exports = {
  mount: {
    public: { url: '/', static: true },
    src: { url: '/dist' },
  },
  plugins: [
    ['@snowpack/plugin-postcss',
    {
      "cmd": "postcss",
      "input": [
        ".css"
      ],
      "output": [
        ".css"
      ]
    }]
  ],
  routes: [
    /* Enable an SPA Fallback in development: */
    // {"match": "routes", "src": ".*", "dest": "/index.html"},
  ],
  optimize: {
    /* Example: Bundle your final build: */
    // "bundle": true,
  },
  packageOptions: {
    /* ... */
  },
  devOptions: {
    tailwindConfig: './tailwind.config.js',
  },
  buildOptions: {
    /* ... */
  },
};
Trong thư mục src mình tạo file style.css với nội dung như sau:
@tailwind base;
@tailwind components;
@tailwind utilities;
Sau đó import vào src/index.js:
...
import "./style.css";
...
Sau đó chúng ta kiểm tra và file đã nhận css của tailwind
Tạo giao diện dark mode
Chỉnh sửa nội dung html
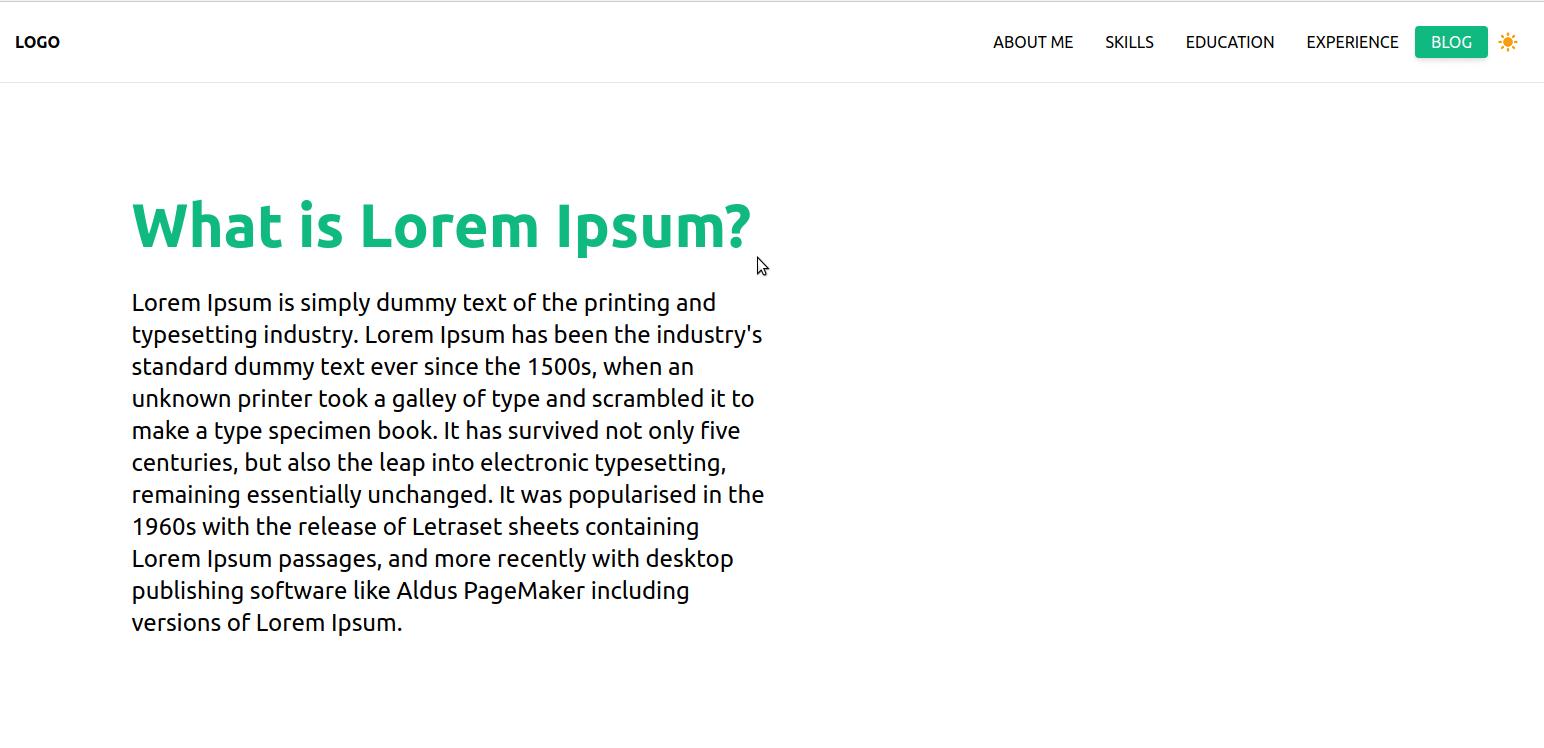
Chúng ta sửa lại một chút giao diện cho trang web:
<header class="border-b dark:border-gray-500 bg-white dark:bg-gray-900">
      <div class="mx-auto flex items-center h-20 w-full justify-between px-4">
          <div class="font-bold dark:text-white">LOGO</div>

          <div class="flex items-center">
              <p class="hidden lg:block px-4 dark:text-white">ABOUT ME</p>
              <p class="hidden lg:block px-4 dark:text-white">SKILLS</p>
              <p class="hidden lg:block px-4 dark:text-white">EDUCATION</p>
              <p class="px-4 dark:text-white">EXPERIENCE</p>
              <p class="bg-green-500 text-white rounded shadow-md px-4 py-1">BLOG</p>
              <button id="changeTheme" class="h-10 w-10 flex justify-center items-center focus:outline-none text-yellow-500">
                  <svg class="w-6 h-6" fill="currentColor" viewBox="0 0 20 20" xmlns="http://www.w3.org/2000/svg"><path fill-rule="evenodd" d="M10 2a1 1 0 011 1v1a1 1 0 11-2 0V3a1 1 0 011-1zm4 8a4 4 0 11-8 0 4 4 0 018 0zm-.464 4.95l.707.707a1 1 0 001.414-1.414l-.707-.707a1 1 0 00-1.414 1.414zm2.12-10.607a1 1 0 010 1.414l-.706.707a1 1 0 11-1.414-1.414l.707-.707a1 1 0 011.414 0zM17 11a1 1 0 100-2h-1a1 1 0 100 2h1zm-7 4a1 1 0 011 1v1a1 1 0 11-2 0v-1a1 1 0 011-1zM5.05 6.464A1 1 0 106.465 5.05l-.708-.707a1 1 0 00-1.414 1.414l.707.707zm1.414 8.486l-.707.707a1 1 0 01-1.414-1.414l.707-.707a1 1 0 011.414 1.414zM4 11a1 1 0 100-2H3a1 1 0 000 2h1z" clip-rule="evenodd"></path></svg>
              </button>
          </div>
      </div>
    </header>
    <main class="bg-white-800 dark:bg-gray-900">
      <div class="max-w-7xl mx-auto py-24 grid grid-cols-2">
          <div>
              <h1 class="py-4 text-green-500 dark:text-yellow-500 font-bold text-6xl">
                What is Lorem Ipsum?
              </h1>
              <p class="text-2xl text-dark py-4 dark:text-white">
                Lorem Ipsum is simply dummy text of the printing and typesetting industry. Lorem Ipsum has been the industry's standard dummy text ever since the 1500s, when an unknown printer took a galley of type and scrambled it to make a type specimen book. It has survived not only five centuries, but also the leap into electronic typesetting, remaining essentially unchanged. It was popularised in the 1960s with the release of Letraset sheets containing Lorem Ipsum passages, and more recently with desktop publishing software like Aldus PageMaker including versions of Lorem Ipsum.
              </p>
          </div>
      </div>
    </main>
...
Ở đây mình có thêm một button với id là changeTheme để mình xử lý thay đổi theme cho trang web
Ở trong đoạn html ở trên thì các bạn có thể thấy ở một số chỗ mình sử dụng class dark:ở đây nghĩa là khi chúng ta thay đổi theme chế độ dark mode hoạt động thì class ở sau dark: sẽ hoạt động và ghi đè lên các class ở chế độ sáng bình thường
Xử lý thay đổi theme
Để có thể thay đổi sang dark mode chúng ta sẽ sử dụng javascript bắt sự kiện và sử dụng localstorage để lưu lại mode của chúng ta có phải dark mode hay không:
...
<head>
...
  <script>
      if (localStorage.theme === 'dark' || (!'theme' in localStorage && window.matchMedia('(prefers-color-scheme: dark)').matches)) {
          document.querySelector('html').classList.add('dark')
      } else if (localStorage.theme === 'dark') {
          document.querySelector('html').classList.add('dark')
      }
  </script>
</head>
<body>
...
   <script>
      document.getElementById('changeTheme').addEventListener('click', function() {
          let htmlClasses = document.querySelector('html').classList;
          if(localStorage.theme == 'dark') {
              htmlClasses.remove('dark');
              localStorage.removeItem('theme')
          } else {
              htmlClasses.add('dark');
              localStorage.theme = 'dark';
          }
      });
    </script>
</body>
Kết quả sẽ như sau:
Kết luận
Trong bài viết này mình đã giới thiệu với các bạn tạo một trang web dark mode đơn giản với tailwindCSS và snowpack. Cảm ơn các bạn đã theo dõi bài viết 
All rights reserved
