Tạo contact form đơn giản bằng VueJS và Firebase
Bài đăng này đã không được cập nhật trong 3 năm
1. Setting up Firebase
Truy cập vào firebase cloud console và tiến hành thiết lập project và đây sẽ là nơi lưu trữ database project của bạn.
Tiếp theo, cài đặt firebase tools vào local bằng lệnh: npm i -g firebase-tools. Bây giờ, trong thư mục chính của dự án, tiến hành cài đặt và khởi tạo firebase:
npm install firebase --save
firebase login
firebase init
Khi cài đặt firebase thành công, mở file src/main.js và import các thư viện cần dùng trong dự án, ở đây mình sẽ import firebase và firestore
import { firebase } from '@firebase/app'
require('firebase/firestore')
require('firebase/app')
Tiếp đó, bạn truy cập vào project setting của firestore, copy firebase config và paste vào src/main.js:
import { firebase } from '@firebase/app'
require('firebase/firestore')
require('firebase/app')

firebase.initializeApp({
  apiKey: 'XXXXXXXXXXXXXXXXXXXXXXXXXXXXXXXXXXXXXXXXXX',
  databaseURL: 'https://xxxxxxxxx.firebaseio.com',
  projectId: 'xxxxxxxxx',
  appId: '1:xxxxxxxxx:web:xxxxxxxxxxxxxxxxxx'
})
Cung cấp đối tượng firestore cho toàn project
Vue.prototype.$fb = firebase.default.firestore()
2. Build Contact Form
Đầu tiên, thêm thư viện vuetify vào project: npm add vuetify
Tiếp theo, tạo file src/components/Contact.vue và thêm vào đoạn code sau:
<template>
  <v-container>
    <v-card class="form-contact" outlined>
      <v-form>
        <v-container>
          <v-row>
            <v-col cols="12" sm="6">
              <v-text-field label="Full Name" outlined></v-text-field>
            </v-col>
            <v-col cols="12" sm="6">
              <v-text-field label="Email" outlined></v-text-field>
            </v-col>
          </v-row>
          <v-row>
            <v-col>
              <v-textarea
                autocomplete="message"
                label="Your Message"
                outlined
                counter
              ></v-textarea>
            </v-col>
          </v-row>
          <v-btn dark color="blue darken-2" class="mr-4">
            Send message
          </v-btn>
        </v-container>
      </v-form>
    </v-card>
  </v-container>
</template>

<script>
export default {};
</script>

<style lang="scss" scoped>
.form-contact {
  background: #eee;
  padding: 30px;
  .text-in-form {
    margin-bottom: 15px;
  }
}
</style>
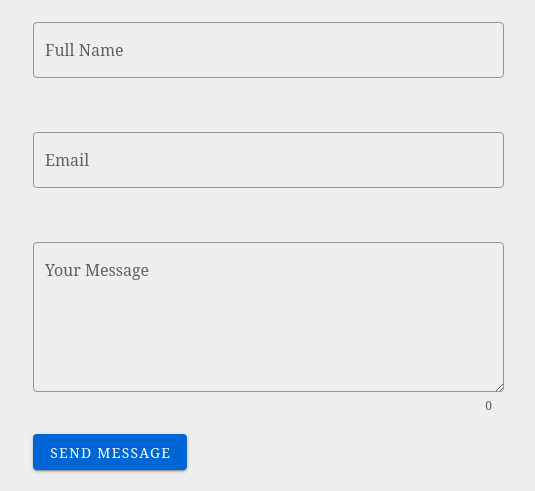
Chạy npm run serve và sẽ được kết quả như này:
3. Saving to the Firestore Database
Để thực hiện việc này, thì chỉ cần thêm @submit vào button submit và đặt giá trị của nó thành tên của hàm mà bạn đặt.
<v-form
    ref="form"
    v-model="valid"
    method="POST"
    lazy-validation
    @submit="saveContactMessage">
    ...
</v-form>
Bây giờ, thêm saveContactMessage function vào methods:
<script>
export default {
  methods: {
    saveContactMessage: function(e) {
      e.preventDefault()
      const messagesRef = this.$fb.collection('message')
      messagesRef.add(
        {
          name: this.name,
          email: this.email,
          message: this.message,
          time: new Date(),
        },
      )
      this.name= ''
      this.email = ''
      this.message = ''
    },
  }
};
</script>
Đoạn code này const messagesRef = this.$fb.collection('message') sẽ tham chiếu đến database collection với name là message.
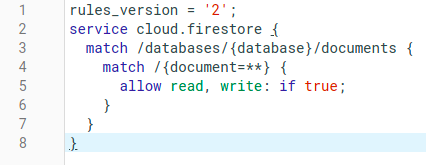
Bạn tiến hành submit form và truy cập vào Data tab trong Filestore Database nhưng không thấy data nào được lưu. Đúng vậy, mặc định trong firebase cloud console, database sẽ không cho phép lưu data vào, để khắc phục điều đó, bạn truy cập vào Rules trong Filestore Database và chỉnh false thành true như sau:
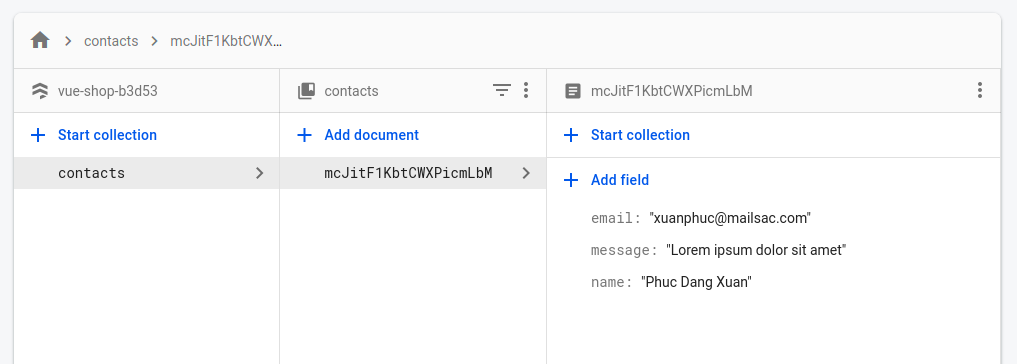
Vậy là đã thành công, bạn submit lại form và tận hưởng thành quả.
Cảm ơn các bạn đã theo dõi.
All rights reserved
