[Swift] Sử dụng CoreImage để detect khuôn mặt, text hay bar code.
Bài đăng này đã không được cập nhật trong 7 năm
1. Giới thiệu
Có bao giờ các bạn tự hỏi các ứng dụng về ảnh làm mịn da mặt, hay các ứng dụng về ORC (scan ảnh ra text), các ứng dụng quét mã QR code, bar code là làm thế nào để các ứng dụng đó có thể detect chính xác được mặt, hay text trong ảnh hay không? Hôm nay tôi sẽ giới thiệu đến các bạn một cách mà có thể detect khuôn mặt, text hay bar code bằng Framework CoreImage.
2. Sử dụng CoreImage để detect khuôn mặt, text hay bar code.
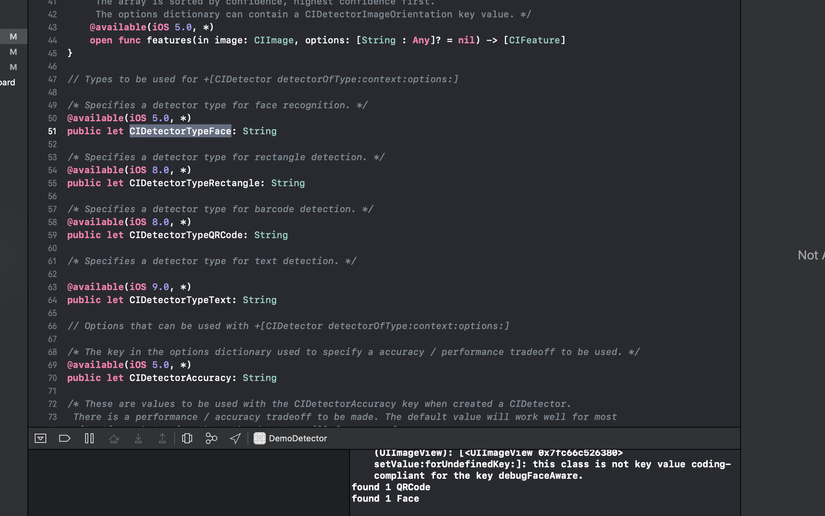
Trong project demo tôi sẽ sử dụng CIDetector trong framework CoreImage để thực hiện việc detect khuôn mặt và mã bar code trong một bức ảnh. Ngoài ra, CIDetector cũng cung cấp rất nhiều các kiểu mà bạn có thể thực hiện việc detect.

func setImageAndFocusOn(image: UIImage?, type: String, detectorType: String, imageView: UIImageView) {
        DispatchQueue.global(qos: .default).async {
            guard let image = image else {
                return
            }
            let cImage = image.ciImage ?? CIImage(cgImage: image.cgImage!)

            let detector = CIDetector(ofType: detectorType, context: nil, options: [CIDetectorAccuracy: CIDetectorAccuracyLow])
            let features = detector!.features(in: cImage)

            if features.count > 0 {
                print("found \(features.count) \(type)")
                let imgSize = CGSize(width: Double(image.cgImage!.width), height: (Double(image.cgImage!.height)))
                imageView.applyFaceDetection(for: features, size: imgSize, image: image)

            } else {
                print("No \(type) found")
            }
        }
    }
Chúng ta có thể thực hiện việc detect Image theo hàm bên trên, input vào là một UIImage + detectorType, nếu việc detect thành công nó sẽ trả về cho bạn một mảng các [CIFeature].
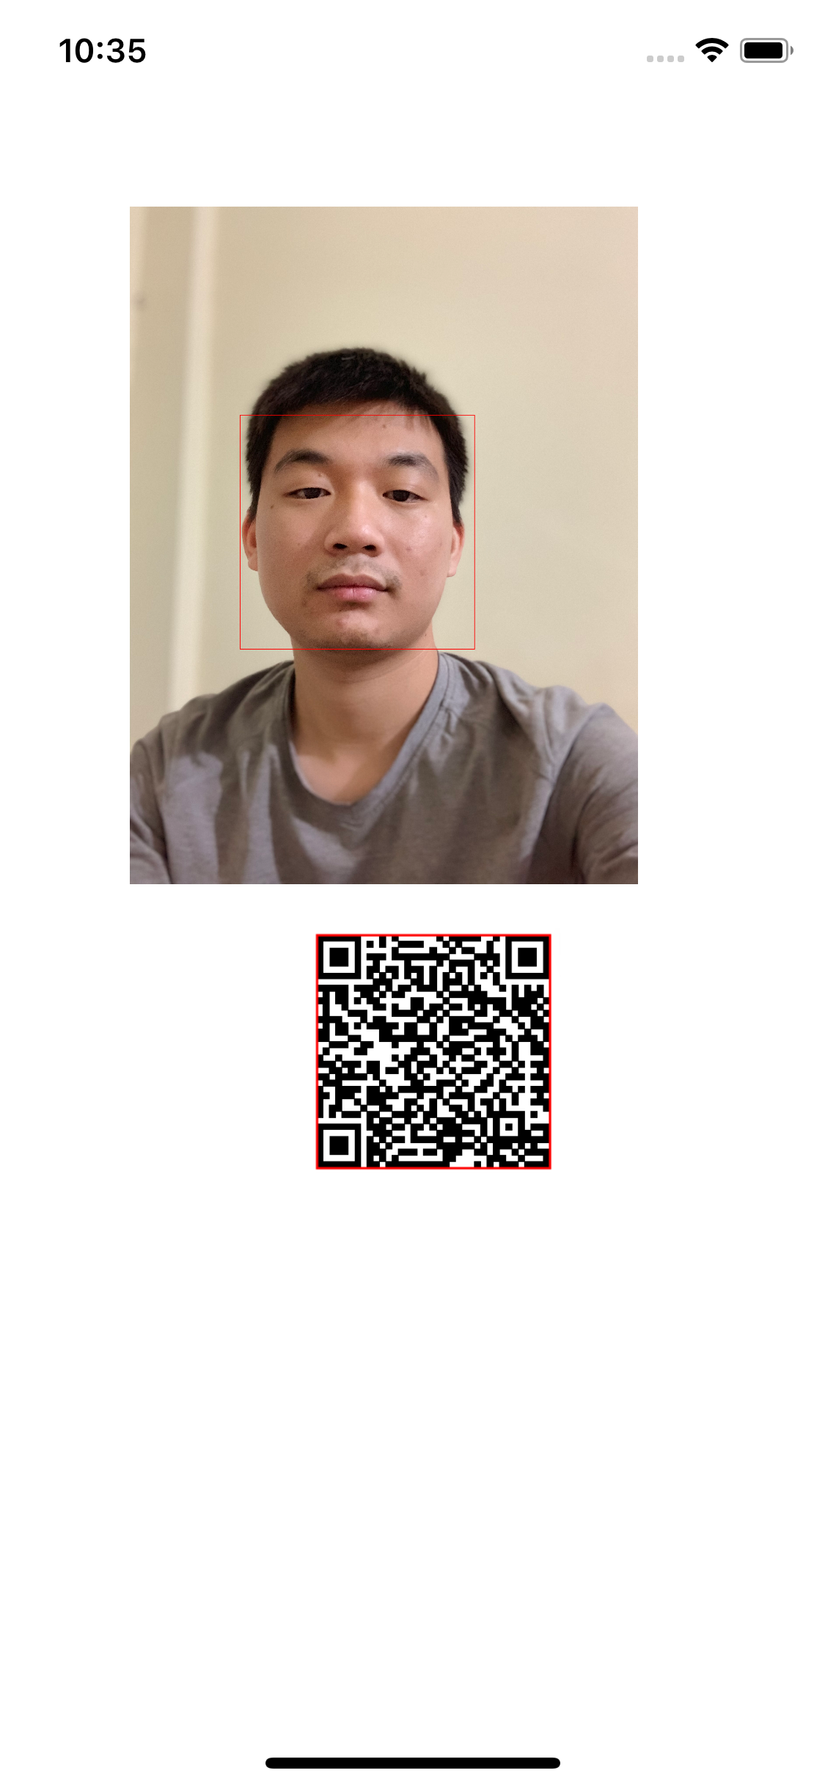
Khi chúng ta detect được theo kiểu detectorType, chúng ta sẽ thực hiện việc xử lý tiếp theo cho bức ảnh mà ta đã detect, ở demo này tôi sẽ thực hiện việc vẽ một ô vuông hình vuông lên khuôn mặt và barcode mà tôi đã detect được.
extension UIImageView {
    func applyFaceDetection(for features: [AnyObject], size: CGSize, image: UIImage) {
        var rect = features[0].bounds!
        rect.origin.y = size.height - rect.origin.y - rect.size.height
        var rightBorder = Double(rect.origin.x + rect.size.width)
        var bottomBorder = Double(rect.origin.y + rect.size.height)

        for feature in features[1..<features.count] {
            var oneRect = feature.bounds!
            oneRect.origin.y = size.height - oneRect.origin.y - oneRect.size.height
            rect.origin.x = min(oneRect.origin.x, rect.origin.x)
            rect.origin.y = min(oneRect.origin.y, rect.origin.y)

            rightBorder = max(Double(oneRect.origin.x + oneRect.size.width), Double(rightBorder))
            bottomBorder = max(Double(oneRect.origin.y + oneRect.size.height), Double(bottomBorder))
        }

        rect.size.width = CGFloat(rightBorder) - rect.origin.x
        rect.size.height = CGFloat(bottomBorder) - rect.origin.y

        var center = CGPoint(x: rect.origin.x + rect.size.width / 2.0, y: rect.origin.y + rect.size.height / 2.0)
        var offset = CGPoint.zero
        var finalSize = size

        DispatchQueue.main.async {
            if size.width / size.height > self.bounds.size.width / self.bounds.size.height {
                finalSize.height = self.bounds.size.height
                finalSize.width = size.width/size.height * finalSize.height
                center.x = finalSize.width / size.width * center.x
                center.y = finalSize.width / size.width * center.y

                offset.x = center.x - self.bounds.size.width * 0.5
                if offset.x < 0 {
                    offset.x = 0
                } else if offset.x + self.bounds.size.width > finalSize.width {
                    offset.x = finalSize.width - self.bounds.size.width
                }
                offset.x = -offset.x
            } else {
                finalSize.width = self.bounds.size.width
                finalSize.height = size.height / size.width * finalSize.width
                center.x = finalSize.width / size.width * center.x
                center.y = finalSize.width / size.width * center.y

                offset.y = center.y - self.bounds.size.height * CGFloat(1-0.618)
                if offset.y < 0 {
                    offset.y = 0
                } else if offset.y + self.bounds.size.height > finalSize.height {
                    finalSize.height = self.bounds.size.height
                    offset.y = finalSize.height
                }
                offset.y = -offset.y
            }
        }

        var newImage: UIImage
        // Draw rectangles around detected faces
        let rawImage = UIImage(cgImage: image.cgImage!)
        UIGraphicsBeginImageContext(size)
        rawImage.draw(at: CGPoint.zero)

        let context = UIGraphicsGetCurrentContext()
        context!.setStrokeColor(UIColor.red.cgColor)
        context!.setLineWidth(3)

        for feature in features[0..<features.count] {
            var faceViewBounds = feature.bounds!
            faceViewBounds.origin.y = size.height - faceViewBounds.origin.y - faceViewBounds.size.height

            context!.addRect(faceViewBounds)
            context!.drawPath(using: .stroke)
        }

        newImage = UIGraphicsGetImageFromCurrentImageContext()!
        UIGraphicsEndImageContext()

        DispatchQueue.main.sync {
            self.image = newImage
        }
    }
}
Trong viewdidLoad tôi sẽ gọi hàm thực hiện việc detect khuôn mặt và barcode:
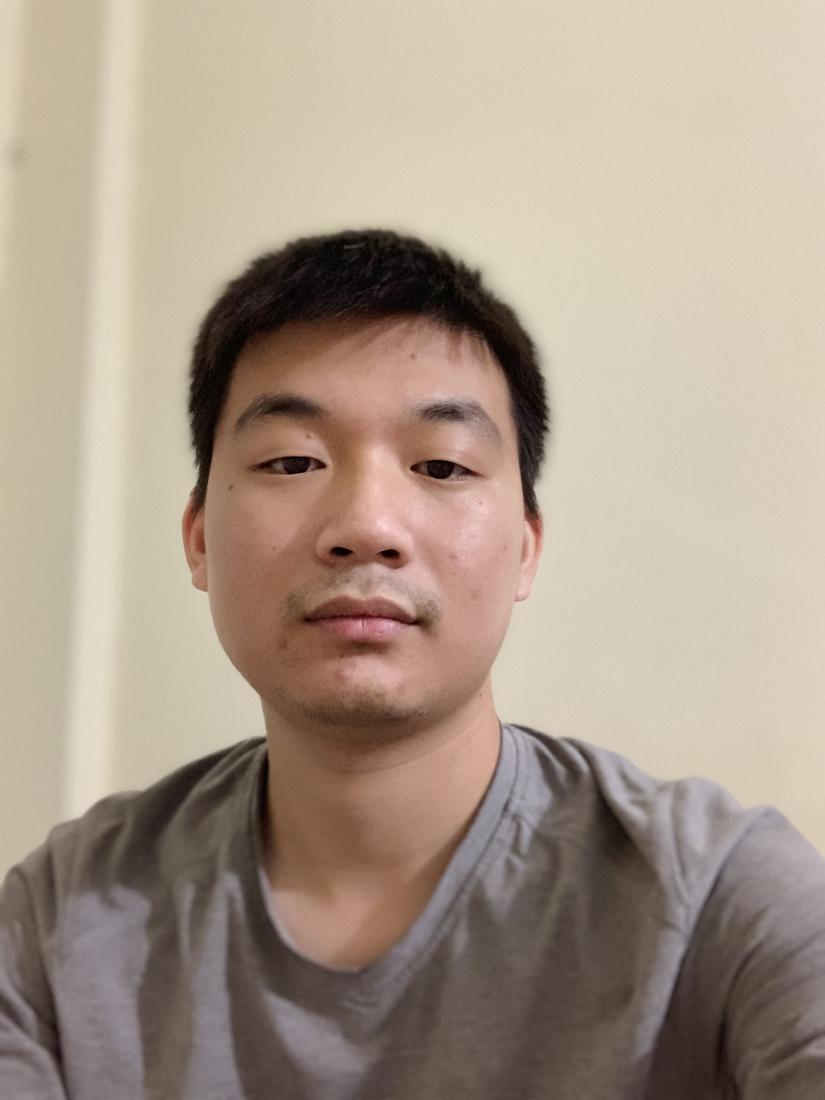
        self.setImageAndFocusOn(image: faceImageView.image, type: "Face", detectorType: CIDetectorTypeFace, imageView: faceImageView)

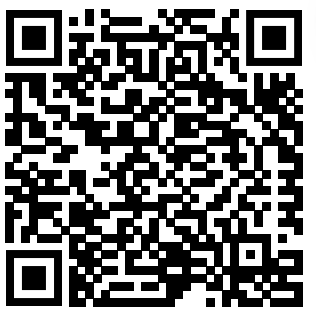
        self.setImageAndFocusOn(image: qrCodeImageView.image, type: "QRCode", detectorType: CIDetectorTypeQRCode, imageView: qrCodeImageView)
Và kết quả cho việc detect 2 bức ảnh này:


3. Tổng kết
Trên đây tôi đã giới thiệu đến các bạn một cách detect khuôn mặt và barcode rất đơn giản qua frame CoreImage mà Apple đã cung cấp sẵn cho chúng ta. Kết quả detect theo tôi đánh giá là độ chính xác khá cao, hi vọng bài viết có ích đối với các bạn. Nguồn Demo
All rights reserved