Sử dụng React Hook build một reusable Animation Component
Bài đăng này đã không được cập nhật trong 7 năm
Hiện tai có rất nhiều bài giới thiệu về React Hook và coi nó chính là tương lai của mỗi React developers. Nhưng đối với Mình thì thực sự Mình vẫn chưa tìm thấy lí do thực sự cần thiết để dùng nó thay thế cho PureComponent trong sản phẩm của Mình.
Nhưng thật may mắn Mình đã tìm thấy 1 ví dụ phù hợp cho React Hook thay vì chỉ coi nó 1 cách mới trong React code của chúng ta. Bạn chắc cũng đã đoán được qua tiêu đề bài viết, nó chính là Animation.
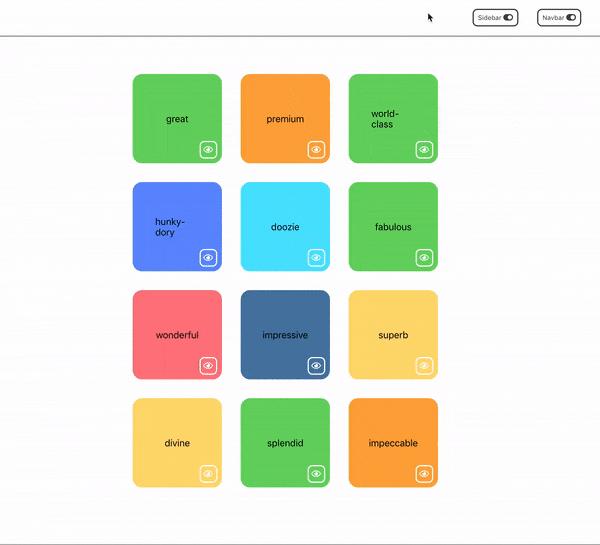
Mình đang muốn thêm animation cho card khi xóa nó. Như hình ở dưới:
Có nhiều cách để làm nó mình đã chọn React Hooks.
Danh sách việc cần làm
- Bắt đầu với việc tạo một React application cơ bản
- Sau khi tạo được Animation đúng theo mong muốn, chúng ta sẽ refactor nó thành một Animation Component có thể tái sử dụng.
- Sau đó chúng ta sẽ sử dụng Component này cho hiệu ứng ẩn hiện của sidebar và navbar.
Tạo React Application
Chúng ta sẽ một simple Application sử dụng create-react-app. Nó sẽ một grid của các cards và bạn có thể ẩn từng card riêng rẽ được.
Nếu không dùng Animation card sẽ biến mất rất nhanh
Đây là code cho action này.
function Box({ word }) {
  const color = colors[Math.floor(Math.random() * 9)];
  const [visible, setVisible] = useState(true);
  function hideMe() {
    setVisible(false);
  }
  let style = { borderColor: color, backgroundColor: color };
  if (!visible) style.display = "none";
  return (
    <div className="box" style={style}>
      {" "}
      <div className="center">{word}</div>{" "}
      <button className="button bottom-corner" onClick={hideMe}>
        {" "}
        <i className="center far fa-eye fa-lg" />{" "}
      </button>{" "}
    </div>
  );
}
Thêm Animation
Mình sẽ sử dụng react-animated-css cho việc này vì nó khá đẹp và đỡ tốn thời gian tự viết  .
.
npm install --save react-animated-css
và add animate.css vào index.html
<link rel="stylesheet" href="https://cdnjs.cloudflare.com/ajax/libs/animate.css/3.7.2/animate.css" />
Chúng ta sẽ thay thế phần return trong Box component ở trên thành:
return (
  <Animated animationIn="zoomIn" animationOut="zoomOut" isVisible={visible}>
    <div className="box" style={style}>
      <div className="center">{word}</div>
      <button className="button bottom-corner" onClick={hideMe}>
        <i className="center far fa-eye fa-lg" />
      </button>
    </div>
  </Animated>
);
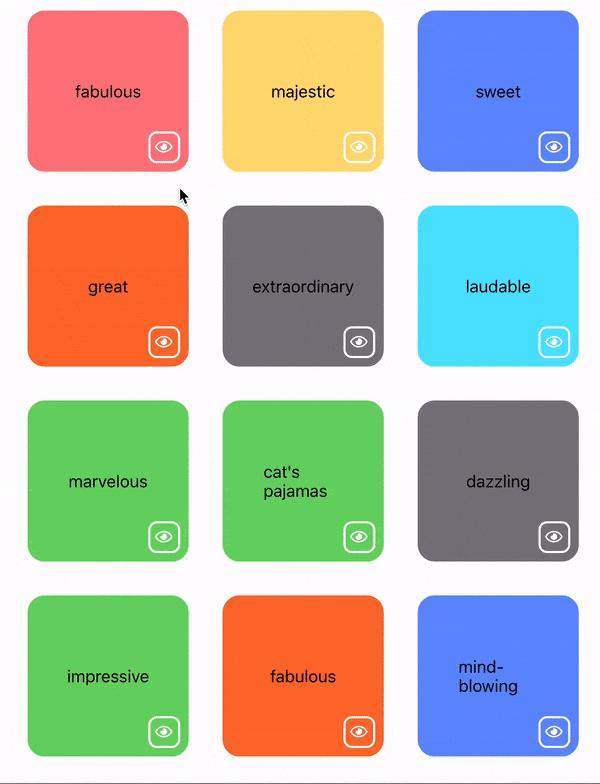
Chúng ta đã tạo đc animation nhưng ...
animate.css dùng opacity và các CSS properties khác. Bạn không thể dùng CSS transition trên display nên việc này sẽ tạo ra một space trong document flow.

để giải quyết vấn đề này Bạn cũng có thể sử dụng setTimeOut vào display: none tại kết thúc của animation.
Và nó sẽ như thế này:
function Box({ word }) {
  const color = colors[Math.floor(Math.random() * 9)];
  const [visible, setVisible] = useState(true);
  const [fading, setFading] = useState(false);

  function hideMe() {
    setFading(true);
    setTimeout(() => setVisible(false), 650);
  }

  let style = { borderColor: color, backgroundColor: color };

  return (
    <Animated
      animationIn="zoomIn"
      animationOut="zoomOut"
      isVisible={!fading}
      style={visible ? null : { display: "none" }}
    >
      <div className="box" style={style}>
        <div className="center">{word}</div>
        <button className="button bottom-corner" onClick={hideMe}>
          <i className="center far fa-eye fa-lg" />
        </button>
      </div>
    </Animated>
  );
}
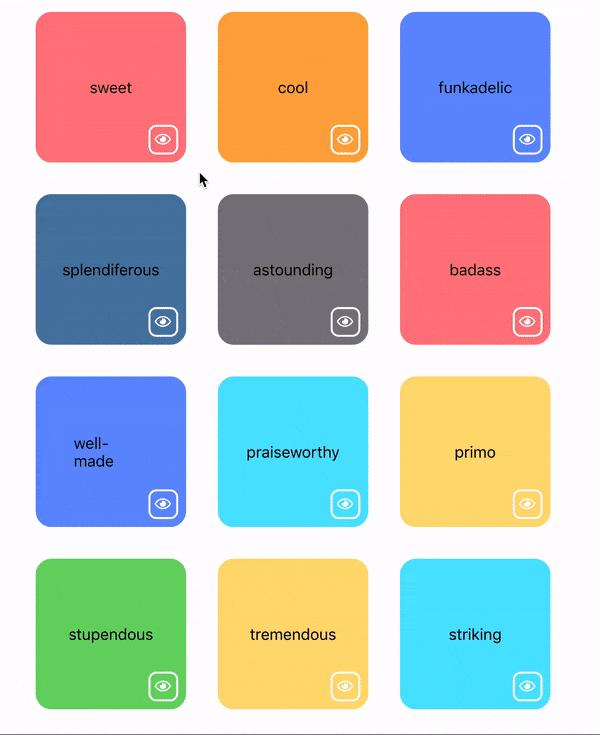
Và chúng ta đã đạt được cái chúng ta cần
Tạo Component để tái sử dụng
Tới đây thì chúng ta đã có thể dừng vì đã đạt mục đích ban đầu rồi nhưng ...
- Mình không muốn mỗi lần cần hiệu ứng này lại phải copy/paste Animated, styles và function của nó.
- Component Box đang chứa nhiều logic khác nhau gồm cả Animated. (nó chỉ nên là một component render ra card và nội dụng của nó đúng với tên gọi).
Class Component
Chúng ta sẽ tạo một React Class Component ( không dùng hook) để quản lí state của Animation: toggle ẩn hiện và set timeout cho display:
class AnimatedVisibility extends Component {
  constructor(props) {
    super(props);
    this.state = { noDisplay: false, visible: this.props.visible };
  }

  componentWillReceiveProps(nextProps, nextContext) {
    if (!nextProps.visible) {
      this.setState({ visible: false });
      setTimeout(() => this.setState({ noDisplay: true }), 650);
    }
  }

  render() {
    return (
      <Animated
        animationIn="zoomIn"
        animationOut="zoomOut"
        isVisible={this.state.visible}
        style={this.state.noDisplay ? { display: "none" } : null}
      >
        {this.props.children}
      </Animated>
    );
  }
}
Và sử dụng nó:
function Box({ word }) {
  const color = colors[Math.floor(Math.random() * 9)];
  const [visible, setVisible] = useState(true);

  function hideMe() {
    setVisible(false);
  }

  let style = { borderColor: color, backgroundColor: color };

  return (
    <AnimatedVisibility visible={visible}>
      <div className="box" style={style}>
        <div className="center">{word}</div>
        <button className="button bottom-corner" onClick={hideMe}>
          <i className="center far fa-eye fa-lg" />
        </button>
      </div>
    </AnimatedVisibility>
  );
}
Tới đây là chúng ta đã có một thể tái sử dụng Animation. Nhưng chúng ta sẽ tiếp tục để làm nó tốt hơn nữa nhé
React Hook và useEffect
React Hooks là tính năng mới của React 16.8. Nó đưa ra một cách tiếp cận đơn giản hơn với lifecycle và quản lí state trong React Component.
useEffect hook cung cấp giải pháp thay thế ComponentWillreceiveProps. Code sẽ đơn giản hơn và chúng ta có thể sử dụng lại functional Component.
function AnimatedVisibility({ visible, children }) {
  const [noDisplay, setNoDisplay] = useState(!visible);
  useEffect(() => {
    if (!visible) setTimeout(() => setNoDisplay(true), 650);
    else setNoDisplay(false);
  }, [visible]);

  const style = noDisplay ? { display: "none" } : null;
  return (
    <Animated
      animationIn="zoomIn"
      animationOut="zoomOut"
      isVisible={visible}
      style={style}
    >
      {children}
    </Animated>
  );
}
useEffect hook chủ yếu được dùng cho side effects: change state, calling asynchronous function,.. trong trường hợp của chúng ta nó sẽ set state noDisplay dựa trên previous value của visible.
Vì chúng ta add visible tới array của useEffect nên useEffect sẽ chỉ gọi khi visible thay đổi.
Mình nghĩ rằng với useEffect nhìn code sẽ đỡ lộn xộn hơn hơn class Component .
Tái sử dụng Component cho Sidebars và NavBars
đây là code cho cả 2 sidebars và navbars:
function ToggleButton({ label, isOpen, onClick }) {
const icon = isOpen ? (
<i className="fas fa-toggle-off fa-lg" />
) : (
<i className="fas fa-toggle-on fa-lg" />
);
return (
<button className="toggle" onClick={onClick}>
{label} {icon}
</button>
);
}
function Navbar({ open }) {
return (
<AnimatedVisibility
visible={open}
animationIn="slideInDown"
animationOut="slideOutUp"
animationInDuration={300}
animationOutDuration={600}
>
<nav className="bar nav">
<li>Item 1</li>
<li>Item 2</li>
<li>Item 3</li>
</nav>
</AnimatedVisibility>
);
}
function Sidebar({ open }) {
return (
<AnimatedVisibility
visible={open}
animationIn="slideInLeft"
animationOut="slideOutLeft"
animationInDuration={500}
animationOutDuration={600}
className="on-top"
>
<div className="sidebar">
<ul>
<li>Item 1</li>
<li>Item 2</li>
<li>Item 3</li>
</ul>
</div>
</AnimatedVisibility>
);
}
function App() {
const [navIsOpen, setNavOpen] = useState(false);
const [sidebarIsOpen, setSidebarOpen] = useState(false);
function toggleNav() {
setNavOpen(!navIsOpen);
}
function toggleSidebar() {
setSidebarOpen(!sidebarIsOpen);
}
return (
<Fragment>
<main className="main">
<header className="bar header">
<ToggleButton
label="Sidebar"
isOpen={sidebarIsOpen}
onClick={toggleSidebar}
/>
<ToggleButton label="Navbar" isOpen={navIsOpen} onClick={toggleNav} />
</header>
<Navbar open={navIsOpen} />
<Boxes />
</main>
<Sidebar open={sidebarIsOpen} />
</Fragment>
);
}

Chúng ta có thể dừng ở đây rồi nhưng ... 
Như lí do ở trên chúng ta đã trộn AnimatedVisibility component trong render method của Box Sidebar và Navbar (cũng có một chút trùng lặp).
Chúng ta có thể dùng HOC nhưng HOC thường được sử dụng với class component vì nó có state :v .
Nhưng với React Hook chúng ta có thể dùng cho HOC ( với functional programming).
function AnimatedVisibility({
  visible,
  children,
  animationOutDuration,
  disappearOffset,
  ...rest
})
// ... same as before
}


function makeAnimated(
  Component,
  animationIn,
  animationOut,
  animationInDuration,
  animationOutDuration,
  disappearOffset
) {
  return function({ open, className, ...props }) {
    return (
      <AnimatedVisibility
        visible={open}
        animationIn={animationIn}
        animationOut={animationOut}
        animationInDuration={animationInDuration}
        animationOutDuration={animationOutDuration}
        disappearOffset={disappearOffset}
        className={className}
      >
        <Component {...props} />
      </AnimatedVisibility>
    );
  };
}

export function makeAnimationSlideLeft(Component) {
  return makeAnimated(Component, "slideInLeft", "slideOutLeft", 400, 500, 200);
}

export function makeAnimationSlideUpDown(Component) {
  return makeAnimated(Component, "slideInDown", "slideOutUp", 400, 500, 200);
}

export default AnimatedVisibility
và sau đó sử dụng các function-based HOCS vào trong App.js thôi.
function Navbar() {
  return (
    <nav className="bar nav">
      <li>Item 1</li>
      <li>Item 2</li>
      <li>Item 3</li>
    </nav>
  );
}

function Sidebar() {
  return (
    <div className="sidebar">
      <ul>
        <li>Item 1</li>
        <li>Item 2</li>
        <li>Item 3</li>
      </ul>
    </div>
  );
}

const AnimatedSidebar = makeAnimationSlideLeft(Sidebar);
const AnimatedNavbar = makeAnimationSlideUpDown(Navbar);

function App() {
  const [navIsOpen, setNavOpen] = useState(false);
  const [sidebarIsOpen, setSidebarOpen] = useState(false);

  function toggleNav() {
    setNavOpen(!navIsOpen);
  }

  function toggleSidebar() {
    setSidebarOpen(!sidebarIsOpen);
  }

  return (
    <Fragment>
      <main className="main">
        <header className="bar header">
          <ToggleButton
            label="Sidebar"
            isOpen={sidebarIsOpen}
            onClick={toggleSidebar}
          />
          <ToggleButton label="Navbar" isOpen={navIsOpen} onClick={toggleNav} />
        </header>
          <AnimatedNavbar open={navIsOpen} />
        <Boxes />
      </main>
      <AnimatedSidebar open={sidebarIsOpen} className="on-top"/>
    </Fragment>
  );
}
Đây là thành quả cuối cùng của chúng ta.
Tổng kết
Với animation phức tạp hơn bạn có thể tìm hiểu react-motion.
React Hook giúp chúng ta tạo mã đơn giản và dễ đọc hơn nhưng useEffect không phải sự thay thế cho tất cả các lifecycle. Bạn sẽ cần tìm hiểu và trải nghiệm nhiều hơi để tìm ra phương thức phù hợp bản thân.
Bạn có thể tìm hiểu thêm tại web useHooks.com và thư viện như react-use cho các trường hợp dùng hook.
All rights reserved
