Sử dụng Pipeline trong Laravel để làm chức năng query filter
I. Mở đầu :
Về cơ bản thì Pipeline trong Laravel sẽ lấy Request và pass nó qua các global middewares trước tiên (ví dụ như CheckForMaintenanceMode, TrimStrings, ValidatePostSize...) sau đó là các route middlewares và controller middlewares. Cuối cùng request sẽ được dispatch đến router để nhận về một \Illuminate\Http\Response.
 Khi tìm hiểu về Request Lifecycle vào Kernel mình sẽ gặp đoạn code này ( Tham khảo ở đây ) có sử dụng Pipeline với mục đích như trên :
 protected function sendRequestThroughRouter($request)
    {
        $this->app->instance('request', $request);

        Facade::clearResolvedInstance('request');

        $this->bootstrap();

        return (new Pipeline($this->app))
                    ->send($request)
                    ->through($this->app->shouldSkipMiddleware() ? [] : $this->middleware)
                    ->then($this->dispatchToRouter());
    }
Sử dụng Pipeline trong Laravel bạn có thể truyền một đối tượng qua nhiều lớp một cách linh hoạt theo thứ tự, để thực hiện một loạt tác vụ nào đó ( như đi qua các đường ống ) và cuối cùng trả về một kết quả khi tất cả tác vụ đã được thực thi. Hôm nay chúng ta sẽ implement Pipeline trong laravel để thực hiện chức năng filter.
II. Pipeline Design Pattern là gì ?
Mẫu Pipeline Design Pattern là nơi dữ liệu được pass qua một chuỗi các nhiệm vụ hoặc giai đoạn. Pipeline hoạt động giống như một dây chuyền lắp ráp, nơi dữ liệu được xử lý và sau đó được chuyển sang giai đoạn tiếp theo.

Các quy trình phức tạp chúng ta có thể phân rã ra thành các nhiệm vụ đơn lẻ. Mỗi nhiệm vụ đơn lẻ lại có tính tái sử dụng cao. Chia nhỏ một quy trình lớn thành các tác vụ nhỏ hơn để xử lý dữ liệu và sau đó chuyển dữ liệu đó đến bước tiếp theo cho đến khi nhận được kết quả mong muốn.
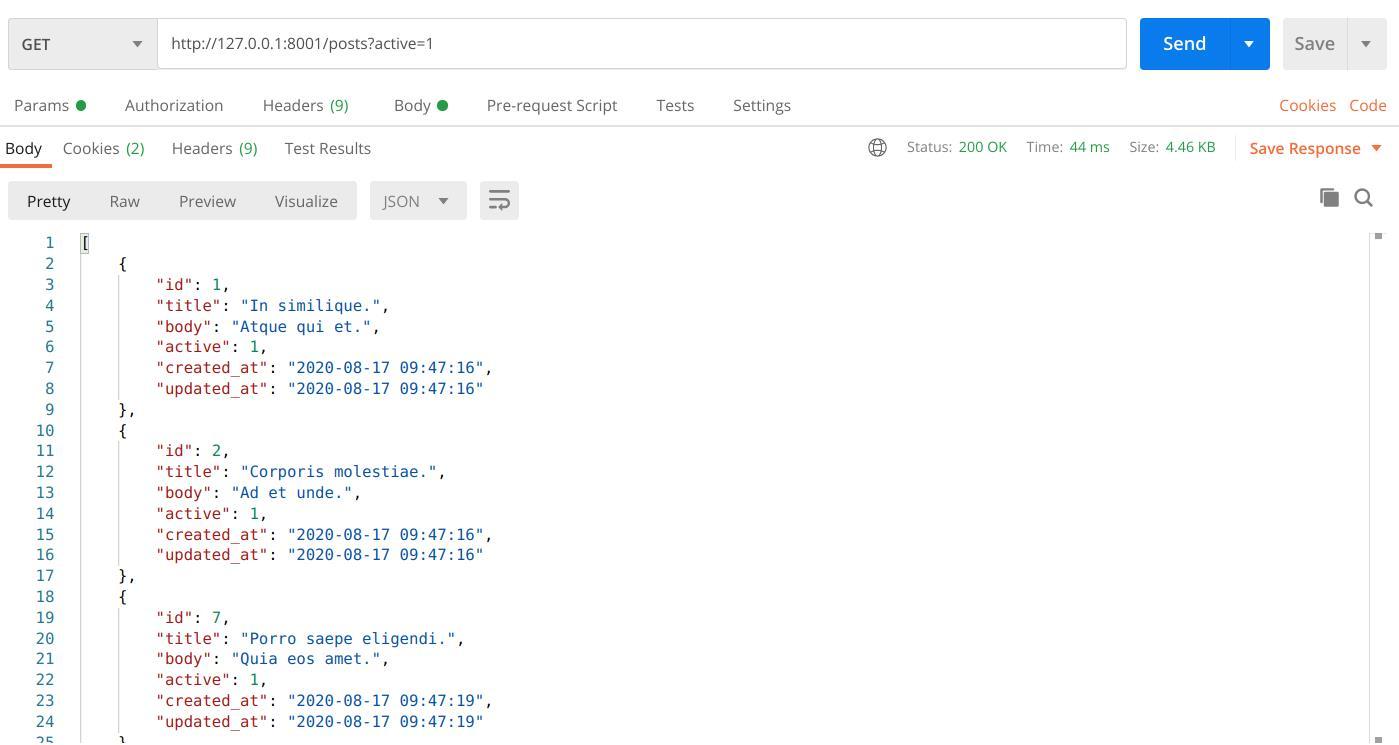
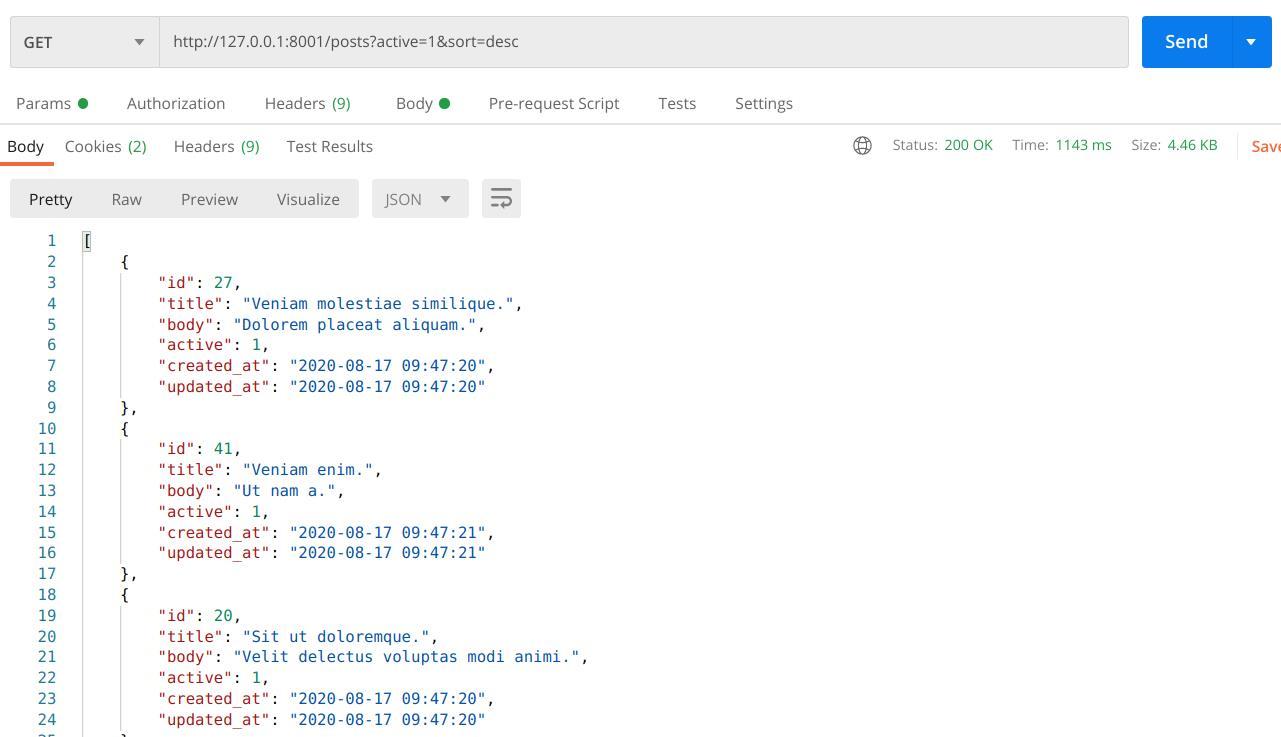
Hic, toàn lý thuyết, ta liên tưởng đến chức năng lọc sản phẩm nào đó với mục đích là sau khi lọc theo category ví dụ được 5 sản phẩm, chúng ta lại muốn tiếp tục lọc theo màu sắc dựa trên kết quả trước đó (5 sản phẩm đó) và cuối cùng là kết quả chúng ta mong muốn. ok ở đây chúng ta sẽ áp dụng Pipeline để implement chức năng lọc bài viết theo trường active và sắp xếp theo title.
Bước 1 : Tạo route return về data :
Route::get('posts','PostController@index');
Bước 2 : Tạo Model - Controller - table products :
php artisan make:model Post -mr
<?php

use Illuminate\Support\Facades\Schema;
use Illuminate\Database\Schema\Blueprint;
use Illuminate\Database\Migrations\Migration;

class CreatePostsTable extends Migration
{
    /**
     * Run the migrations.
     *
     * @return void
     */
    public function up()
    {
        Schema::create('posts', function (Blueprint $table) {
            $table->bigIncrements('id');
            $table->string('title');
            $table->string('body');
            $table->unsignedSmallInteger('active');
            $table->timestamps();
        });
    }

    /**
     * Reverse the migrations.
     *
     * @return void
     */
    public function down()
    {
        Schema::dropIfExists('posts');
    }
}
Bước 3 : Seed data :
- Factory :
<?php

/** @var \Illuminate\Database\Eloquent\Factory $factory */

use App\Post;
use Faker\Generator as Faker;

$factory->define(Post::class, function (Faker $faker) {
    return [
        'title' => $faker->sentence(2),
        'body' => $faker->sentence(3),
        'active' => random_int(0,1),
    ];
});
- Seed data by Tinker :
php artisan tinker
factory(\App\Post::class,50)->create()
exit
Bước 4 : Setup Model:
<?php

namespace App;

use Illuminate\Database\Eloquent\Model;
use Illuminate\Pipeline\Pipeline;

class Post extends Model
{
    public static function filterPost($request) {
        $posts = Post::query();

        $pipeline = app(Pipeline::class)
            ->send($posts)
            ->through([
                \App\QueryFilters\Active::class,
                \App\QueryFilters\Sort::class
            ])
            ->thenReturn();
        return $pipeline->get();
    }

}
Ở đây chúng ta sẽ thực hiện lọc theo bài viết active và sắp xếp bài viết theo title . Tạo ra 2 class thực hiện tác vụ trên : App\QueryFilters\Active::class, App\QueryFilters\Sort::class
Nếu bạn đã tham khảo lớp Pipeline Laravel bạn sẽ nhìn thấy 3 method sau :
$pipeline->send($request);
Bạn pass object mà bạn muốn gửi qua pipeline.
$pipeline->through($middleware);
Tiếp theo bạn pass một loạt các tác vụ mà sẽ xử lý request, nghĩa là request sẽ đi qua lần lượt các tác vụ này .
public function thenReturn()
 {
       //
 }
Cuối cùng bạn nhận được kết quả mong đợi.
Bước 4 : Setup Controller :
<?php

namespace App\Http\Controllers;

use App\Post;
use Illuminate\Http\Request;

class PostController extends Controller
{
    public function index(Request $request)
    {
       $posts = Post::filterPost($request);
       return response()->json($posts);
    }
}
Bước 4 : Custom Class Filter của chúng ta :
- Mỗi class trong method through() phải có một method “handle” để thực hiện nhiệm vụ nào đó. Chúng ta sẽ tạo ra một interface cho các class này.
<?php

namespace App\QueryFilters;

use Closure;

interface Pipe
{
    public function handle($request, Closure $next);
}
- Và các class mà chúng ta sử dụng để filter sẽ implement interface này :
\App\QueryFilters\Sort::class
<?php

namespace App\QueryFilters;

use Closure;
use Illuminate\Http\Request;
use Str;

class Sort implements Pipe
{
    public function handle($request, Closure $next)
    {
        $filterParam = Str::snake(class_basename($this));

        if ( ! request()->has($filterParam)){
            return $next($request);
        }
        $builder = $next($request);

        return $builder->orderBy('title', request($filterParam));
    }
}
\App\QueryFilters\Active::class
<?php

namespace App\QueryFilters;

use Closure;
use Illuminate\Http\Request;
use Str;

class Active implements Pipe
{
    public function handle($request, Closure $next)
    {
        $filterParam = Str::snake(class_basename($this));

        if ( ! request()->has($filterParam)){
            return $next($request);
        }
        $builder = $next($request);

        return $builder->where($filterParam, request($filterParam));
    }
}
III. Kết quả :
- Tham khảo : Pipelines : https://www.youtube.com/watch?v=7XqEJO-wt7s
All rights reserved
