Sử dụng multiple authentication login trong laravel
Bài đăng này đã không được cập nhật trong 4 năm
Hello mọi người, trong bài viết này mình sẽ chia sẻ cách sử dụng multiple auth login sử dụng middleware với một table là users.
Trường hợp bạn muốn tạo multiple auth sử dụng với guard thì bạn có thể theo dõi ở bài viết này Sử dụng multiple authentication với auth guard trong laravel
Ở ví dụ này mình sẽ demo ở trên laravel 8, các bạn hãy theo dõi các bước bên dưới để hiểu hơn nhé.
Step 1: Cập nhật file Migration và Model user
Trong bước này mình sẽ thêm row "is_admin" vào table users và model
database/migrations/000_create_users_table.php
<?php

use Illuminate\Database\Migrations\Migration;
use Illuminate\Database\Schema\Blueprint;
use Illuminate\Support\Facades\Schema;

class CreateUsersTable extends Migration
{
    /**
     * Run the migrations.
     *
     * @return void
     */
    public function up()
    {
        Schema::create('users', function (Blueprint $table) {
            $table->id();
            $table->string('name');
            $table->string('email');
            $table->timestamp('email_verified_at')->nullable();
            $table->boolean('is_admin')->nullable();
            $table->string('password');
            $table->rememberToken();
            $table->timestamps();
        });
    }

    /**
     * Reverse the migrations.
     *
     * @return void
     */
    public function down()
    {
        Schema::dropIfExists('users');
    }
}
app/Models/User.php
<?php

namespace App\Models;

use Illuminate\Contracts\Auth\MustVerifyEmail;
use Illuminate\Database\Eloquent\Factories\HasFactory;
use Illuminate\Foundation\Auth\User as Authenticatable;
use Illuminate\Notifications\Notifiable;

class User extends Authenticatable
{
    use HasFactory, Notifiable;

    /**
     * The attributes that are mass assignable.
     *
     * @var array
     */
    protected $fillable = [
        'name', 'email', 'password', 'is_admin'
    ];

    /**
     * The attributes that should be hidden for arrays.
     *
     * @var array
     */
    protected $hidden = [
        'password', 'remember_token',
    ];

    /**
     * The attributes that should be cast to native types.
     *
     * @var array
     */
    protected $casts = [
        'email_verified_at' => 'datetime',
    ];
}
Tiếp theo chạy migration bằng command bên dưới.
php artisan migrate
Step 2: Create Auth using scaffold
Bước này mình sẽ tạo sẵn một số files cho các màn hình login, register, dashboard bằng command bên dưới.
Laravel 8 UI Package
composer require laravel/ui
Generate auth
php artisan ui bootstrap --auth
npm install
npm run dev
Step 3: Create IsAdmin Middleware
Trong bước này, mình sẽ tạo middleware cho admin, middleware này chỉ cho phép admin user mới có quyền truy cập .
php artisan make:middleware IsAdmin
app/Http/middleware/IsAdmin.php
<?php

namespace App\Http\Middleware;

use Closure;

class IsAdmin
{
    /**
     * Handle an incoming request.
     *
     * @param  \Illuminate\Http\Request  $request
     * @param  \Closure  $next
     * @return mixed
     */
    public function handle($request, Closure $next)
    {
        if(auth()->user()->is_admin == 1){
            return $next($request);
        }

        return redirect(‘home’)->with(‘error’,"You don't have admin access.");
    }
}
Thêm đoạn 'is_admin' => \App\Http\Middleware\IsAdmin::class vào file bên dưới.
app/Http/Kernel.php
    protected $routeMiddleware = [
        'auth' => \App\Http\Middleware\Authenticate::class,
        'auth.basic' => \Illuminate\Auth\Middleware\AuthenticateWithBasicAuth::class,
        'cache.headers' => \Illuminate\Http\Middleware\SetCacheHeaders::class,
        'can' => \Illuminate\Auth\Middleware\Authorize::class,
        'guest' => \App\Http\Middleware\RedirectIfAuthenticated::class,
        'password.confirm' => \Illuminate\Auth\Middleware\RequirePassword::class,
        'signed' => \Illuminate\Routing\Middleware\ValidateSignature::class,
        'throttle' => \Illuminate\Routing\Middleware\ThrottleRequests::class,
        'verified' => \Illuminate\Auth\Middleware\EnsureEmailIsVerified::class,
        'is_admin' => \App\Http\Middleware\IsAdmin::class,
    ];
Step 4: Create Route
Ở bước này mình sẽ tạo một route cho màn hình trang chủ của admin user, normal user.
Hãy cập nhật code vào file route như bên dưới.
routes/web.php
<?php

use Illuminate\Support\Facades\Route;

use App\Http\Controllers\HomeController;

/*
|--------------------------------------------------------------------------
| Web Routes
|--------------------------------------------------------------------------
|
| Here is where you can register web routes for your application. These
| routes are loaded by the RouteServiceProvider within a group which
| contains the "web" middleware group. Now create something great!
|
*/
Auth::routes();
Route::get('admin/home', [HomeController::class, 'adminHome'])->name('admin.home')->middleware('is_admin');
Route::get('home', [HomeController::class, 'index'])->name('home');
Step 5: Add Method on Controller
Bước này mình sẽ thêm 2 methods là index(), adminHome() trong HomeController.
Khi admin user login thành công thì sẽ redirect vào method adminHome().
Khi normal user login thành công thì sẽ redirect vào method index().
Các bạn hãy cập nhật code như bên dưới nhé.
app/Http/Controllers/HomeController.php
<?php

namespace App\Http\Controllers;

use Illuminate\Http\Request;

class HomeController extends Controller
{
    /**
     * Create a new controller instance.
     *
     * @return void
     */
    public function __construct()
    {
        $this->middleware('auth');
    }

    /**
     * Show the application dashboard.
     *
     * @return \Illuminate\Contracts\Support\Renderable
     */
    public function index()
    {
        return view('home');
    }

    /**
     * Show the application dashboard.
     *
     * @return \Illuminate\Contracts\Support\Renderable
     */
    public function adminHome()
    {
        return view('adminHome');
    }

}
Step 6: Create Blade file
Màn hình này sẽ hiển thị khi normal user login thành công.
resources/views/home.blade.php
@extends('layouts.app')

@section('content')
<div class="container">
    <div class="row justify-content-center">
        <div class="col-md-8">
            <div class="card">
                <div class="card-header">Dashboard</div>
                <div class="card-body">
                    You are normal user.
                </div>
            </div>
        </div>
    </div>
</div>
@endsection
Màn hình này sẽ hiển thị khi admin user login thành công.
resources/views/adminHome.blade.php
@extends('layouts.app')

@section('content')
<div class="container">
    <div class="row justify-content-center">
        <div class="col-md-8">
            <div class="card">
                <div class="card-header">Dashboard</div>
                <div class="card-body">
                    You are Admin.
                </div>
            </div>
        </div>
    </div>
</div>
@endsection
Thêm code bên dưới vào file layout để style cho giao diện nhé(Trường hợp code không nhận style bootstrap nhé  ).
).
resources\views\layouts\app.blade.php
    <link href="https://cdn.jsdelivr.net/npm/bootstrap@5.1.3/dist/css/bootstrap.min.css" rel="stylesheet" integrity="sha384-1BmE4kWBq78iYhFldvKuhfTAU6auU8tT94WrHftjDbrCEXSU1oBoqyl2QvZ6jIW3" crossorigin="anonymous">
    <script src="https://cdn.jsdelivr.net/npm/bootstrap@5.1.3/dist/js/bootstrap.min.js" integrity="sha384-QJHtvGhmr9XOIpI6YVutG+2QOK9T+ZnN4kzFN1RtK3zEFEIsxhlmWl5/YESvpZ13" crossorigin="anonymous"></script>
Step 7: Update on LoginController
Trong method login này, nếu normal user login thành công thì sẽ redirect to home route và nếu admin user login thành công thì redirect về admin route.
Các bạn hãy cập nhật code như bên dưới .
app/Http/Controllers/Auth/LoginController.php
<?php

namespace App\Http\Controllers\Auth;

use App\Http\Controllers\Controller;
use Illuminate\Foundation\Auth\AuthenticatesUsers;
use Illuminate\Http\Request;

class LoginController extends Controller
{
    /*
    |--------------------------------------------------------------------------
    | Login Controller
    |--------------------------------------------------------------------------
    |
    | This controller handles authenticating users for the application and
    | redirecting them to your home screen. The controller uses a trait
    | to conveniently provide its functionality to your applications.
    |
    */

    use AuthenticatesUsers;

    /**
     * Where to redirect users after login.
     *
     * @var string
     */
    protected $redirectTo = '/home';

    /**
     * Create a new controller instance.
     *
     * @return void
     */
    public function __construct()
    {
        $this->middleware('guest')->except('logout');
    }

    public function login(Request $request)
    {
        $input = $request->all();

        $this->validate($request, [
            'email' => 'required|email',
            'password' => 'required',
        ]);

        if(auth()->attempt(array('email' => $input['email'], 'password' => $input['password'])))
        {
            if (auth()->user()->is_admin == 1) {
                return redirect()->route('admin.home');
            }else{
                return redirect()->route('home');
            }
        }else{
            return redirect()->route('login')
                ->with('error','Email-Address And Password Are Wrong.');
        }

    }
}
Step 8: Create Seeder
Mình sẽ sử dụng seeder để tạo mới account admin user và normal user như bên dưới.
php artisan make:seeder CreateUsersSeeder
database/seeds/CreateUsersSeeder.php
<?php

use Illuminate\Database\Seeder;
use App\Models\User;

class CreateUsersSeeder extends Seeder
{
    /**
     * Run the database seeds.
     *
     * @return void
     */
    public function run()
    {
        $user = [
            [
               'name'=>'Admin',
               'email'=>'admin@gaucon.com',
                'is_admin'=>'1',
               'password'=> bcrypt('123456'),
            ],
            [
               'name'=>'User',
               'email'=>'user@gaucon.com',
                'is_admin'=>'0',
               'password'=> bcrypt('123456'),
            ],
        ];

        foreach ($user as $key => $value) {
            User::create($value);
        }
    }
}
Bây giờ chúng ta hãy chạy seeder:
php artisan db:seed --class=CreateUsersSeeder
Cuối cùng mình sẽ chạy chương trình để kiểm tra code của mình đã chạy hay chưa nhé.
Screen Login:
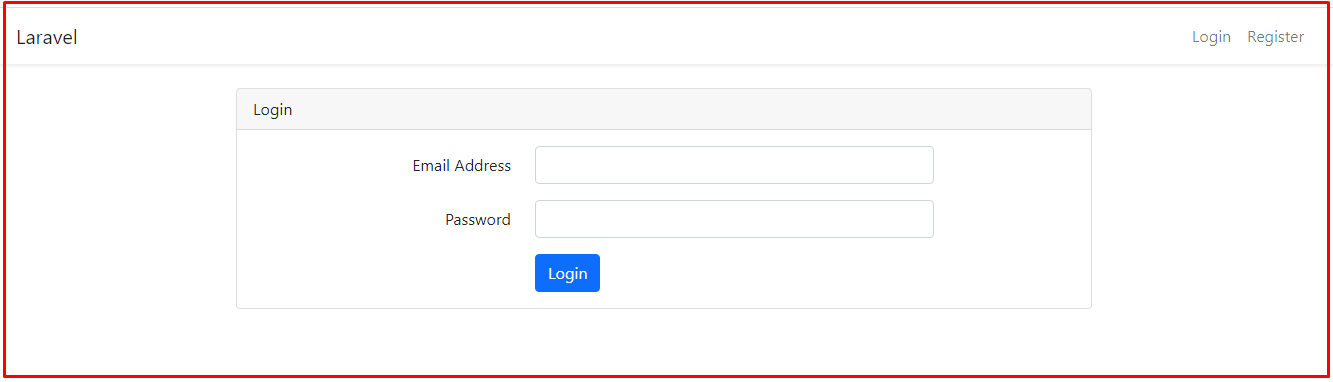
Admin User
Email: admin@gaucon.com
Password: 123456
Output:

Normal User
Email: user@gaucon.com
Password: 123456
Output:

Hy vọng bài viết này giúp ích cho các bạn!
All rights reserved
