Set Up Network and HTTP Load Balancers
Bài đăng này đã không được cập nhật trong 4 năm
1. Overview
There are two types of load balancers in Google Cloud Platform:
2. Create multiple web server instances
To simulate serving from a cluster of machines, we'll create a simple cluster of Nginx web servers that will serve static content using Instance Templates and Managed Instance Groups. Instance Templates lets you to define what every virtual machine in the cluster will look like (disk, CPUs, memory, etc), and a Managed Instance Group instantiates a number of virtual machine instances for you using the Instance Template.
To use Google Cloud Shell:
Go to the Google Cloud Platform Console.
Click the Activate Google Cloud Shell button at the top of the console window.
![]()
A Cloud Shell session opens inside a new frame at the bottom of the console and displays a command-line prompt.

First, create a startup script that will be used by every virtual machine instance to setup Nginx server upon startup:

Second, create an instance template that will use the startup script:

Third, let's create a target pool. A target pool allows us to have a single access point to all the instances in a group and is necessary for load balancing in the future steps.
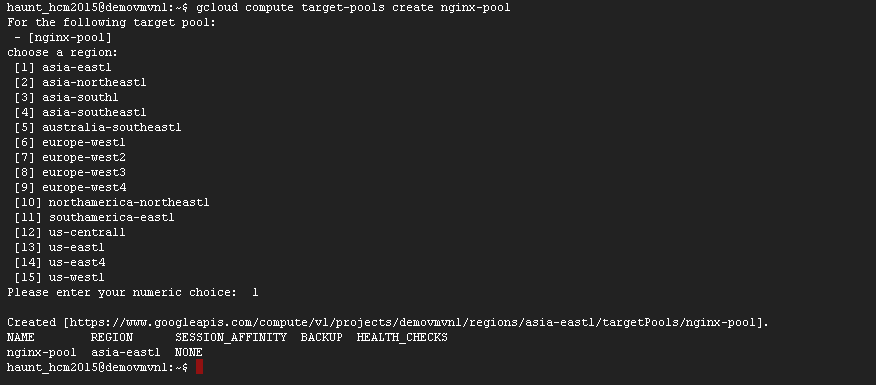
Finally, create a managed instance group using the instance template:

Output:
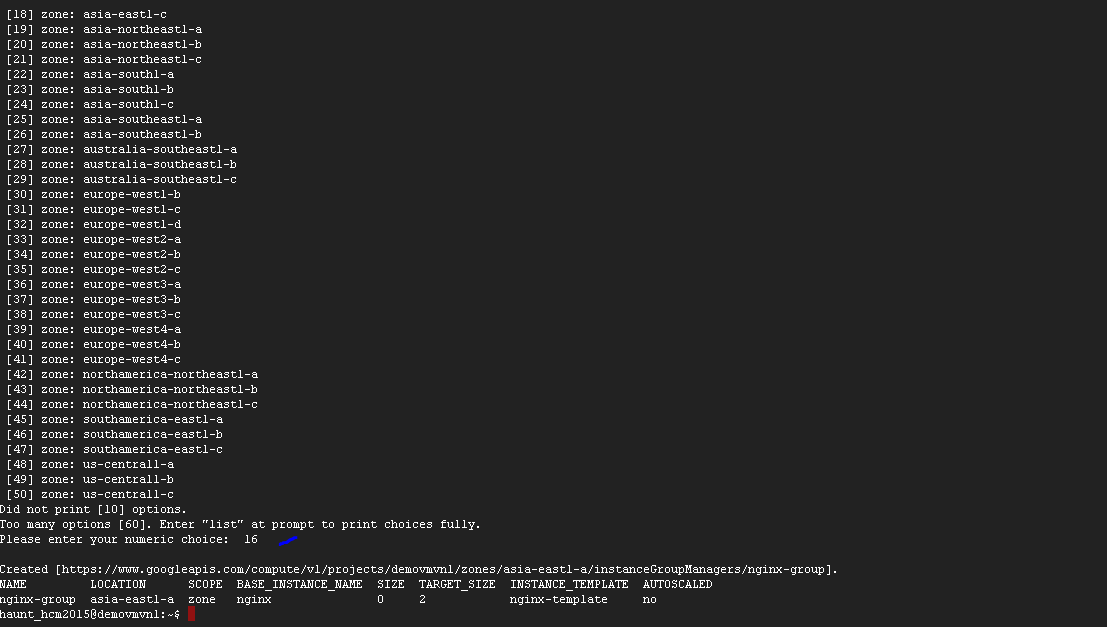
You can delete instance-groups if want change something by statement:
gcloud compute instance-groups managed delete NAMES [NAMES …] [--region=REGION| --zone=ZONE] [GCLOUD_WIDE_FLAG …]
NAME: The name of the managed instance group to operate on.
Example: Above, I have instances-group with name is nginx-group, region is asia-east1 then my syntax is used to delete instance groups :
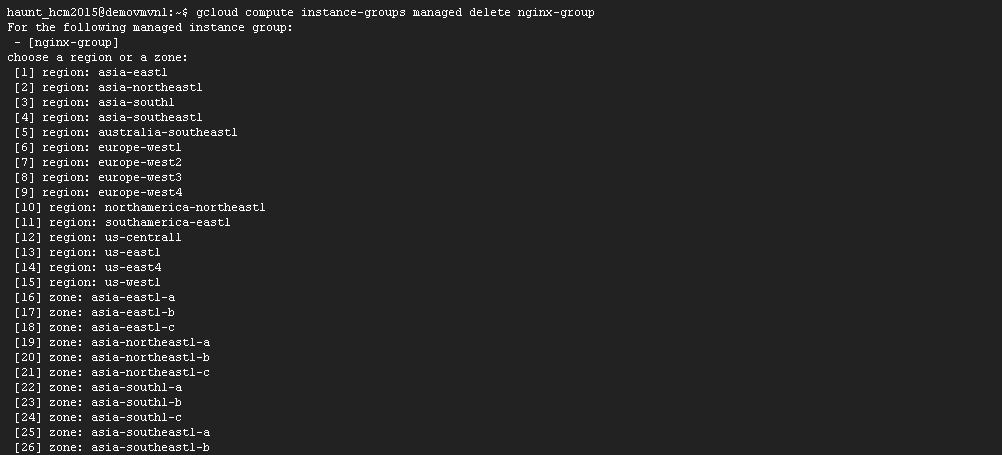
Output:

This will create 2 virtual machine instances with names that are prefixed with nginx-. This may take a couple of minutes. And to get list the compute engine instances and you should see all of the instances created:

The number VM created are 2 machine nginx server because parameter rule --size 2

If i create VM with --size 3, it will have result 3 VM Nginx server the following below:

List the compute engine instances and you should see all of the instances created!
gcloud compute instances list

Now configure a firewall so that you can connect to the machines on port 80 via the EXTERNAL_IP addresses:
gcloud compute firewall-rules create www-firewall --allow tcp:80

Output :

You should be able to connect to each of the instances via their external IP addresses via http://EXTERNAL_IP/ shown as the result of running the previous command.
if you want to delete Google Compute Engine firewall rules, you can use the following below:
gcloud compute firewall-rules delete NAME [NAME …] [GCLOUD_WIDE_FLAG …]

3. Create a Network Load Balancer
Network load balancing allows you to balance load of your systems based on incoming IP protocol data, such as address, port, and protocol type.
For example, you can load balance additional TCP/UDP-based protocols such as SMTP traffic. And if your application is interested in TCP-connection-related characteristics, network load balancing allows your app to inspect the packets, where HTTP(S) load balancing does not.
Let's create a layer 3 network load balancer targeting our instance group:

List all Google Compute Engine forwarding rule in your project:

You can then visit the load balancer from the browser http://IP_ADDRESS/ where IP_ADDRESS is the address shown as the result of running the previous command.
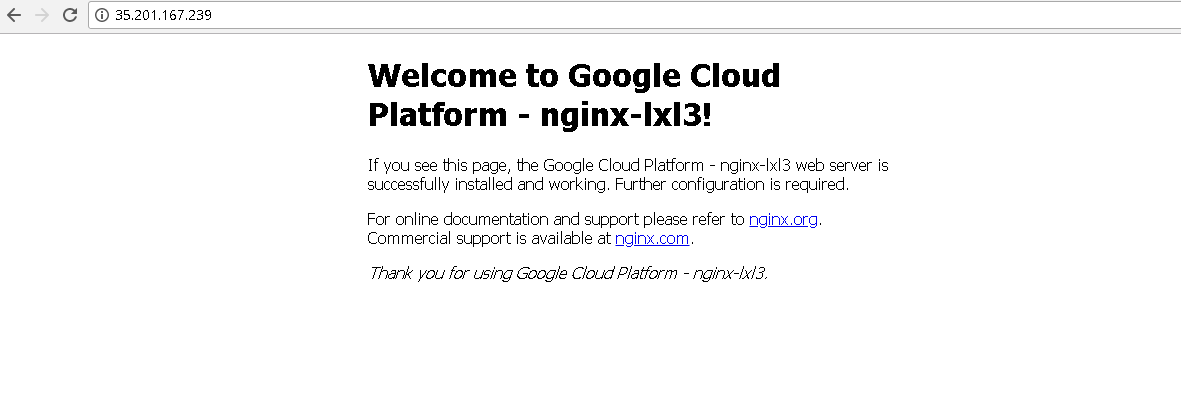
You can delete layer 3 network load balancer if you want to change something by statement:
gcloud compute forwarding-rules delete NAME [NAME ...] [--global | --region=REGION] [GCLOUD_WIDE_FLAG …]
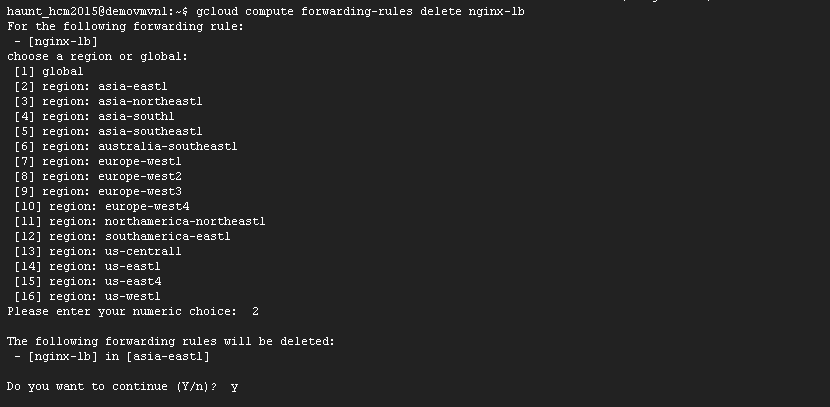
Output:

4. Create a HTTP(s) Load Balancer
HTTP(S) load balancing provides global load balancing for HTTP(S) requests destined for your instances. You can configure URL rules that route some URLs to one set of instances and route other URLs to other instances. Requests are always routed to the instance group that is closest to the user, provided that group has enough capacity and is appropriate for the request. If the closest group does not have enough capacity, the request is sent to the closest group that does have capacity.
First, create a health check. Health checks verify that the instance is responding to HTTP or HTTPS traffic:
gcloud compute http-health-checks create http-basic-check

Define an HTTP service and map a port name to the relevant port for the instance group. Now the load balancing service can forward traffic to the named port:
gcloud compute instance-groups managed \
         set-named-ports nginx-group \
         --named-ports http:80

Create a backend service:
gcloud compute backend-services create nginx-backend \
           --protocol HTTP --http-health-checks http-basic-check --global

Add the instance group into the backend service:
Make sure to replace zone (If you are using different zone)
gcloud compute backend-services add-backend nginx-backend \
    --instance-group nginx-group \
    --instance-group-zone us-central1-a \
    --global
Illustrator image:

The application in a group must same zone:

Unless application same zone, it won't add the instance group into the backend service:

We continue creating a default URL map that directs all incoming requests to all your instances:
gcloud compute url-maps create web-map \
       --default-service nginx-backend

To direct traffic to different instances based on the URL being requested, see content-based routing.
Create a target HTTP proxy to route requests to your URL map:
gcloud compute target-http-proxies create http-lb-proxy \
    --url-map web-map
Output:

Create a global forwarding rule to handle and route incoming requests. A forwarding rule sends traffic to a specific target HTTP or HTTPS proxy depending on the IP address, IP protocol, and port specified. The global forwarding rule does not support multiple ports.
gcloud compute forwarding-rules create http-content-rule \
                --global \
                --target-http-proxy http-lb-proxy \
                --ports 80
Output:

After creating the global forwarding rule, it can take several minutes for your configuration to propagate.
gcloud compute forwarding-rules list

Take note of the http-content-rule IP_ADDRESS for the forwarding rule.
From the browser, you should be able to connect to http://IP_ADDRESS/.
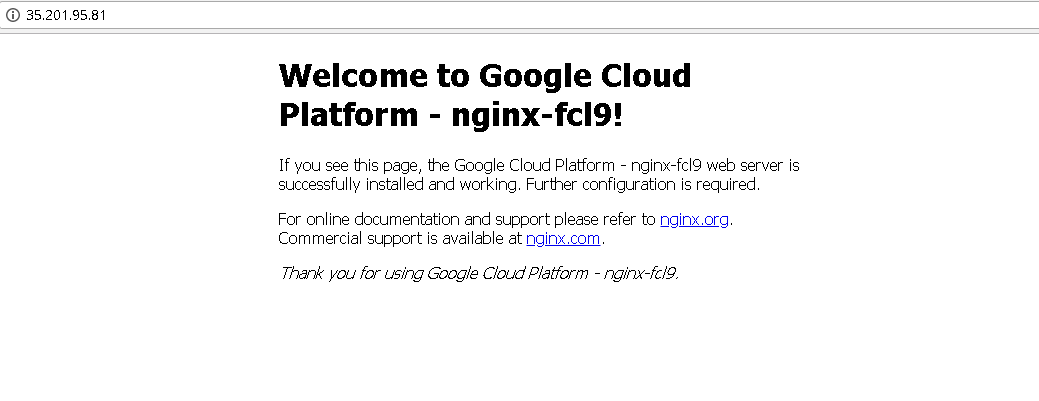
5. References document:
[1] Set Up Network and HTTP Load Balancers: https://qwiklabs.com
[2] Load Balancing: https://cloud.google.com/compute/docs/load-balancing/
All rights reserved