Series lập trình nhanh "micro" cho Developer. Phần 1 - Micro Frontend
Bài đăng này đã không được cập nhật trong 2 năm
Chào các bạn mình là Evan Lê.
Chuyện là đang hí hửng fix ngàn lẻ 1 bug của công ty. Đùng 1 cái họp gấp với sếp, với 1 ngàn lẻ 2 lý do của sếp rằng quá nhiều phần mềm riêng lẻ từ trước đến nay sếp không thể quản lý tất cả và mong muốn 1 giải pháp để gộp chung tất cả app thành 1. Và tèn tén ten mình đã tìm hiểu thử giải pháp mới nhưng cũng không còn xa lạ gì với dân lập trình là micro, tất nhiên là mình nếu có thời gian sẽ viết cả cho FE, BE, CICD nên mong các bạn sẽ ủng hộ và bổ sung thêm kiến thức mình còn thiếu.
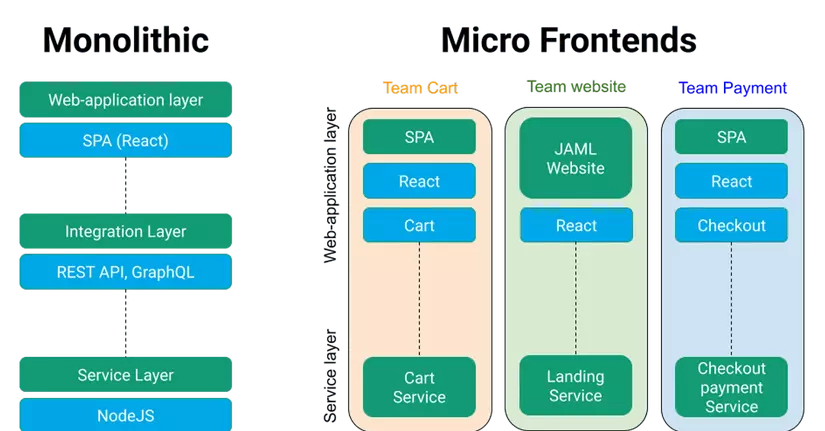
Phần 1: Micro frontend Ở đây mình sẽ sử dụng công nghệ là Angular@^15.2.0, webpack và kỹ thuật mình sử dụng là load nhiều routes từ các domain nhau vào 1 app duy nhất. Các bạn có thể load cả các components từ nhiều domain nhưng thực sự ai thích thì sài còn mình thì thích code ở đâu sài ở đó thôi. Và giờ thì gét gô.
**Tiền bắt đầu  : **
: **
Tìm hiểu sơ qua 1 tý về module-federation Mình search google thì kể từ webpack@5 trở đi thì webpack có bổ sung thêm 1 tính năng Module Federation giúp lấy các tính năng của website này đưa vào website khác, giảm nhẹ việc phải code nhiều module hay thành phần giống nhau ở nhiều trang website khác nhau.
Ưu điểm:
- Tận dụng nhiều thành phần của website cũ
- Code nhanh hơn
- Dễ quản lý theo từng micro
- Deloy app sẽ nhẹ hơn
Nhược điểm:
- Khi server của module liên quan down thì phần ảnh hưởng sẽ down theo.
- Nhiều team khác nhau code khác nhau và lấy code của nhau và và và đổi thừa nhau
Bước 1: Init app
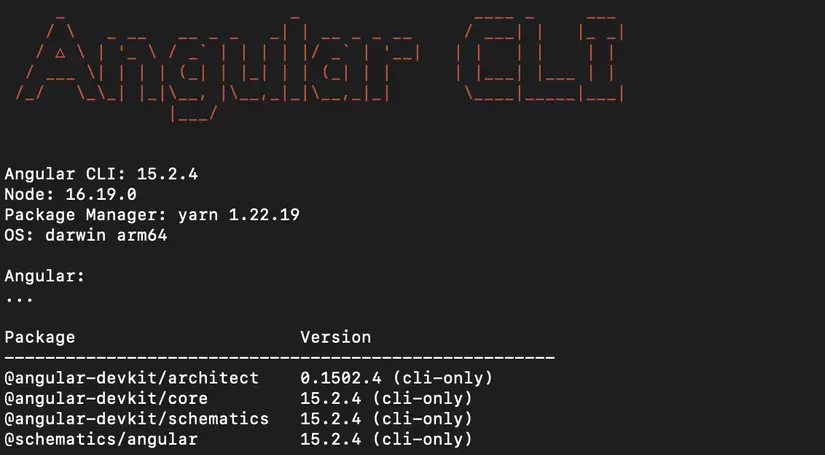
Mình đang sài angular@15
Đầu tiên sẽ tạo 1 project workspace angular bằng lệnh
npx @angular/cli@lastest new app2 --create-application=false
Rồi sau đó tạo ra 3 pet project trong project workspace app2
npx ng generate application shell
npx ng generate application client1
npx ng generate application client2
Giải thích 1 tý thì mình tạo shell để làm host để nhận các remote routes của client1, client2 bạn cũng có thể làm ngược lại Sau đó mình sử dụng 1 lib của angular hỗ trợ cho module federation là @angular-architects/module-federation này không cần install khi chạy script dưới sẽ được tự install vào luôn, nhớ bấm yes để đồng ý cài nhé
ng add @angular-architects/module-federation --project shell --port 4200 --type host
ng add @angular-architects/module-federation --project client1 --port 4201 --type remote
ng add @angular-architects/module-federation --project client2 --port 4202 --type remote
Nhưng lúc nãy mình có nói thì shell mình sẽ làm host nên mình sẽ chạy scrpit ở type host còn 2 client thì type remote. Well, setup xong gõ "code ." để mở source thôi.
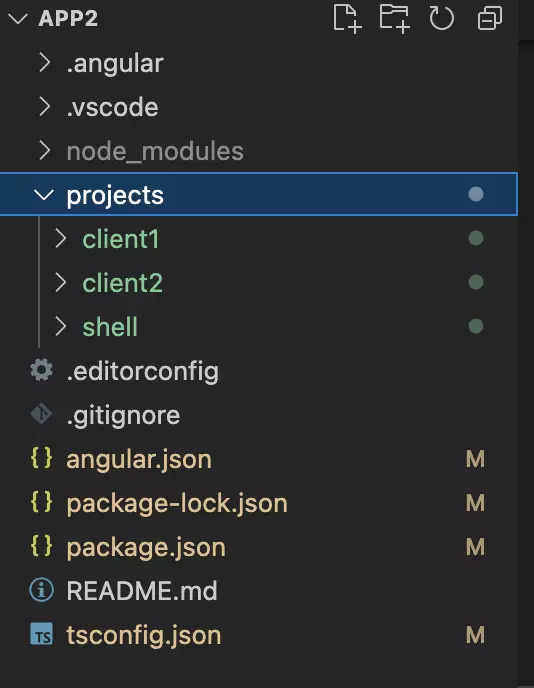 Đây là source tree của demo
Bước 2: Code phần client
Phần này, để ví dụ cho dễ hiểu mình sẽ code để phần user, với các thao tác tạo components trên angular thì sẽ tạo ra 1 source client như sau:

Ở đây mình sẽ tạo 1 router link tới UserComponent ở userModule sau đó thì chỉnh lại file app-routing.module.ts như sau
import { NgModule } from '@angular/core';
import { RouterModule, Routes } from '@angular/router';

const routes: Routes = [
  {
    path: '',
    loadChildren: () => import('../app/user/user.module').then(m => m.UserModule)
  }
];

@NgModule({
  imports: [RouterModule.forRoot(routes)],
  exports: [RouterModule]
})
export class AppRoutingModule { }
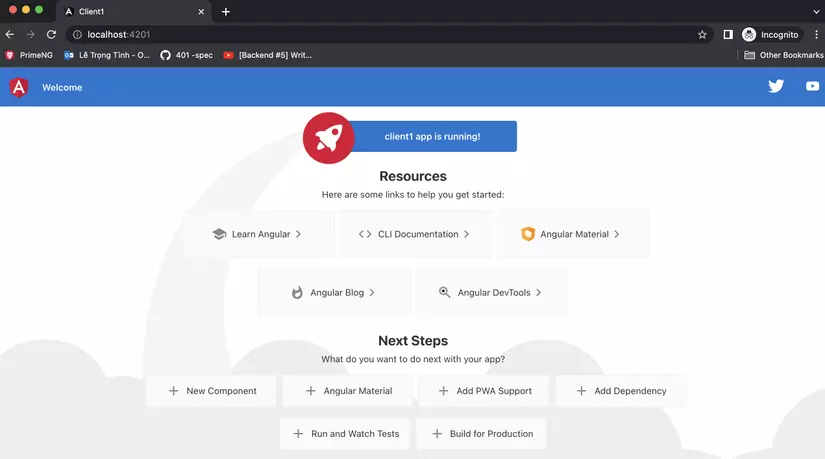
Tada, chạy lên xem kết quả ở client1
ng s client1 -o
Sau đó vào vào file webpack.config.js chỉnh lại
const { shareAll, withModuleFederationPlugin } = require('@angular-architects/module-federation/webpack');

module.exports = withModuleFederationPlugin({

  name: 'client1',

  exposes: {
    './UserModule': './projects/client1/src/app/user/user.module.ts',
  },

  shared: {
    ...shareAll({ singleton: true, strictVersion: true, requiredVersion: 'auto' }),
  },

});
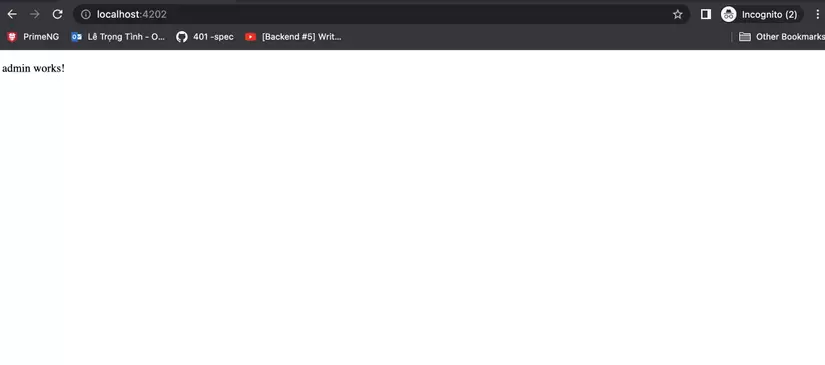
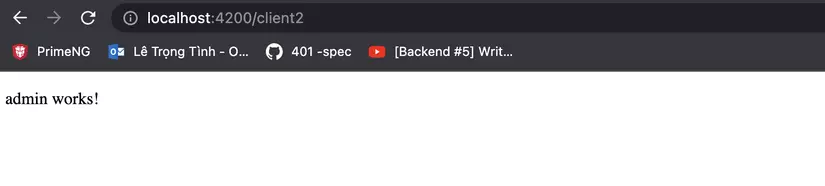
Làm như vậy cho client2 nhưng thay vì user thì đổi admin cho dễ nhìn
import { NgModule } from '@angular/core';
import { RouterModule, Routes } from '@angular/router';

const routes: Routes = [
  {
    path: '',
    loadChildren: () => import('../app/admin/admin.module').then(m => m.AdminModule)
  }
];

@NgModule({
  imports: [RouterModule.forRoot(routes)],
  exports: [RouterModule]
})
export class AppRoutingModule { }
Rồi sau đó vào file webpack.config.ts ở client2 config lại
const { shareAll, withModuleFederationPlugin } = require('@angular-architects/module-federation/webpack');

module.exports = withModuleFederationPlugin({

  name: 'client2',

  exposes: {
    './AdminModule': './projects/client2/src/app/admin/admin.module.ts',
  },

  shared: {
    ...shareAll({ singleton: true, strictVersion: true, requiredVersion: 'auto' }),
  },

});
Bước 4: Config shell
Sau đó ở app shell tạo 1 componet tên ErrorComponent để handle lỗi không module từ client1, client2 down
ng g c error
Ở folder asstets tạo 1 file mf.manifest.json để config
{
	"client1": "http://localhost:4201/remoteEntry.js",
	"client2": "http://localhost:4202/remoteEntry.js"
}
Sau đó vào file main.ts đổi lại
import { loadManifest } from '@angular-architects/module-federation';

loadManifest("/assets/mf.manifest.json")
  .catch(err => console.error(err))
  .then(_ => import('./bootstrap'))
  .catch(err => console.error(err));
Phần webpack.config.js cũng đổi lại
const { shareAll, withModuleFederationPlugin } = require('@angular-architects/module-federation/webpack');

module.exports = withModuleFederationPlugin({

  shared: {
    ...shareAll({ singleton: true, strictVersion: true, requiredVersion: 'auto' }),
  },

});
Vào phần app-routing.module.ts của shell đổi lại
import { NgModule } from '@angular/core';
import { RouterModule, Routes } from '@angular/router';
import { loadRemoteModule } from '@angular-architects/module-federation';
const routes: Routes = [
  {
    path: 'client1',
    loadChildren: () => loadRemoteModule({
      type: 'manifest',
      remoteName: 'client1',
      exposedModule: './UserModule'
    })
    .then(m => m.UserModule).catch((e) => import('./error/error.module').then(m1 => m1.ErrorModule))
  },
  {
    path: 'client2',
    loadChildren: () => loadRemoteModule({
      type: 'manifest',
      remoteName: 'client2',
      exposedModule: './AdminModule'
    })
    .then(m => m.AdminModule).catch((e) => import('./error/error.module').then(m1 => m1.ErrorModule))
  }

];

@NgModule({
  imports: [RouterModule.forRoot(routes)],
  exports: [RouterModule]
})
export class AppRoutingModule { }
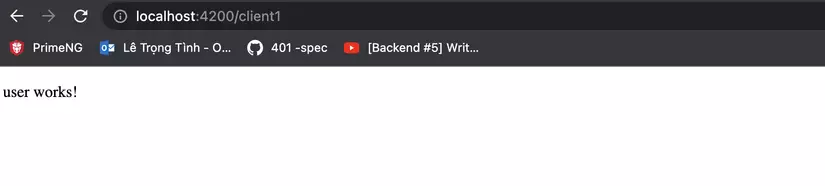
Giải thích 1 mình tạo 1 mainifest.json để khai báo 2 remoteEntry sau đó lazy lúc nào call đến router nào thì mới remote đến server đó và handle nếu lỗi sẽ chạy về component Error Oke giờ chỉ cần chạy 3 phần riêng biệt xem thành quả hoặc angular hỗ trợ run:all shell client1 client2 để chạy đồng loại 3 website
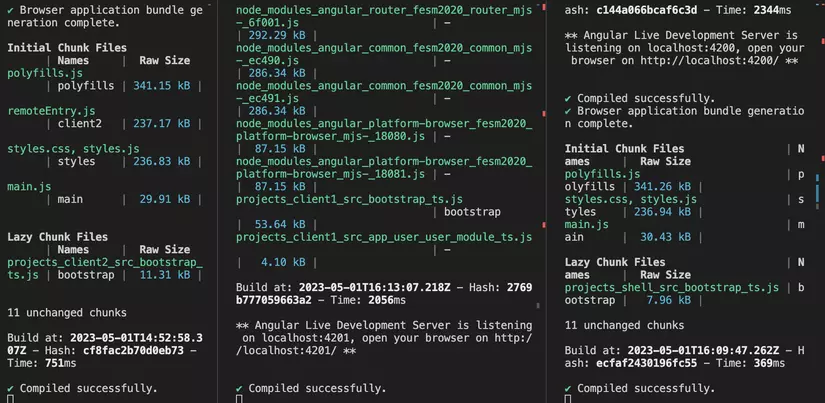
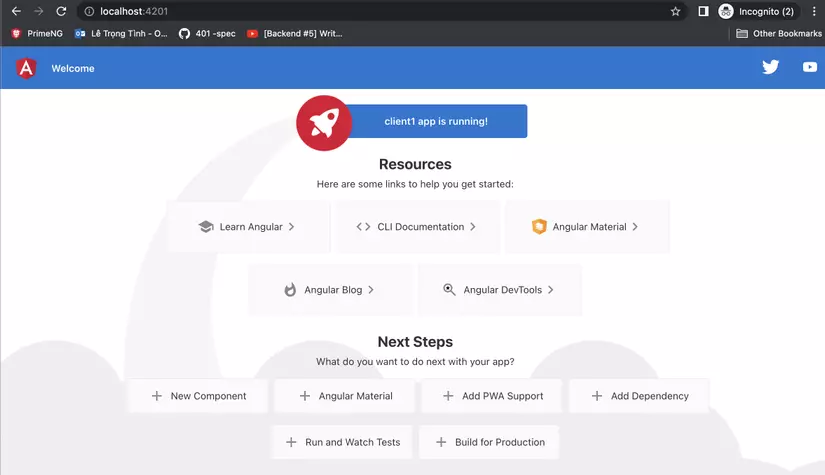
Compiled successfully cả 3 ngon check thành quả
Thử tắt server client1
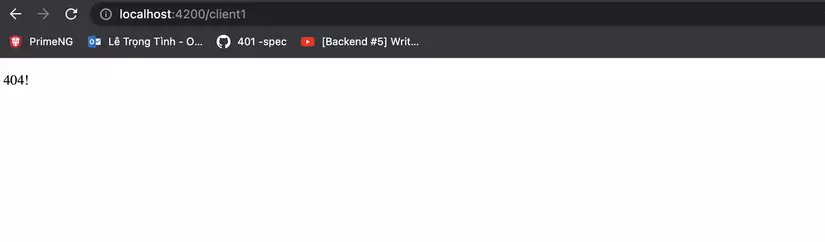
Oke lỗi thế là đã chạy thành công
Lời kết
Mình cũng chỉ mới tìm hiểu về micro để áp dụng vào dự án tất nhiên là còn nhiều thiếu sót, mong mọi người chỉ giáo mình sẽ chỉnh sửa. Cảm ơn mọi người đã xem qua Link source: mình sẽ bổ sung sau
All rights reserved
