Ruby on Rails API with Vue.js - Adding Sample Data - 04
Bài đăng này đã không được cập nhật trong 7 năm
Lại là mình đây!!! 〜( ̄▽ ̄〜)
Phần này chúng ta sẽ hoàn thiện nốt các controller trong Rails API, config một chút để front-end có thể truy cập và thao tác với dữ liệu, sau đó tạo dữ liệu để test xem API này đã hoạt động ổn chưa nhé!!
Update controllers to add access request
JWT cung cấp phương thức tương tự authorizeuser! của Devise:
# app/controllers/api/v1/artists_controller.rb

module Api
  module V1
    class ArtistsController < ApplicationController
        before_action :authorize_access_request!, except: [:show, :index]
      ...
      end
   end
  end
end
Records controller:
# app/controllers/api/v1/records_controller.rb

module Api
  module V1
    class RecordsController < ApplicationController
        before_action :authorize_access_request!, except: [:show, :index]
      ...
      end
   end
  end
end
Creating current_user
Tương tự Devise, chúng ta cần một helper cho người dùng đã đăng nhập. Chúng ta cần tự thiết lập nó trong application controller.
# app/controllers/application_controller.rb

class ApplicationController < ActionController::API
  include JWTSessions::RailsAuthorization
  rescue_from JWTSessions::Errors::Unauthorized, with: :not_authorized

  private

  def current_user
    @current_user ||= User.find(payload['user_id'])
  end

  def not_authorized
    render json: { error: 'Not authorized' }, status: :unauthorized
  end
end
Đảm bảo cấp quyền truy cập cho Cross-Origin requests
Tạo cors.rb trong thư mục config/initializers/. Trong file này, chúng ta có thể chỉ định "origins" cụ thể được phép gửi hoặc nhận các requests. Front-end của chúng ta sẽ chạy trong một local server khác và sẽ được khai báo trong "origins" của file này. Khi ứng dụng chạy ở production, bạn có thể chỉ định "origins" là domain/subdomain. Thêm gem rack-cors vào Gemfile và chạy bundle install. Khởi động lại server nếu nó đang chạy.
# config/initializers/cors.rb

Rails.application.config.middleware.insert_before 0, Rack::Cors do
  allow do
    origins 'http://localhost:8081'

    resource '*',
      headers: :any,
      credentials: true,
      methods: [:get, :post, :put, :patch, :delete, :options, :head]
  end
end
"origin" sẽ là địa chỉ cổng mà front-end của bạn đang chạy. Trong trường hợp này là cổng 8081, bạn cũng có thể chỉ định nhiều "origins" được phép truy cập an toàn.
Moar Routing!
Thêm các dòng sau vào routes.rb
Rails.application.routes.draw do
  namespace :api do
    namespace :v1 do
      resources :artists do
        resources :records
      end
    end
  end

  post 'refresh', controller: :refresh, action: :create
  post 'signin', controller: :signin, action: :create
  post 'signup', controller: :signup, action: :create
  delete 'signin', controller: :signin, action: :destroy
end
Data
Tiếp theo chúng ta sẽ tạo một chút data bằng rails c, một vài bản ghi artists để hiển thị khi test với front-end.
Artist.create!(name: "AC/DC")
Artist.create!(name: "Jimi Hendrix")
Artist.create!(name: "Alice in Chains")
....
# thêm bao nhiêu tùy ý
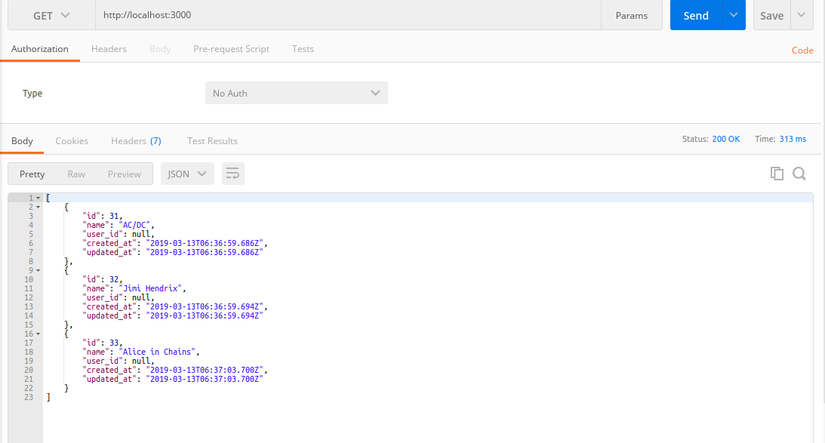
Check data với Postman
Dưới đây là dữ liệu trả về dạng json:
Vậy là chúng ta đã cơ bản tạo xong API và có dữ liệu trong database, phần sau là bắt đầu với front-end rồi đấy!!! Hẹn gặp lại mọi người ở phần tiếp theo ^ヮ^
Nguồn tham khảo: https://web-crunch.com/ruby-on-rails-api-vue-js/
All rights reserved
