Practice With Angular 2 Part III – Step Into Angular 2.
Bài đăng này đã không được cập nhật trong 8 năm
Practice With Angular 2 Part III – Step Into Angular 2.
If you are following my article of Angular 2. You will see and check it one by one of following code and introduce. So what’s about this article ? You will heard about the Angularjs:
- First step into Angular 2
- Handling event on Angular 2 Before you read this article, Please follow my previous article
First step into Angular
To understand this article, you need to clone source code from (this project)[https://github.com/samnangcattor/angular2-learning/tree/angular-part-2]
We can go look on our project after you finish the clone on index.html, it is the place we load all our dependencies, style css on our application, you can see
<my-app>
</my-app>
It is place of our code angular reload on inside <my-app></my-app> and my-app is going to revert to app.component.
Now we don’t need input index.html anymore we just put everything inside app.component
import { Component } from '@angular/core';
@Component({
selector: 'my-app',
template: `
<header>
<nav class="navbar navbar-inverse">
<div class="navbar-header">
<a href="/" class="navbar-brand">
My Angular 2 app!
</a>
</div>
</nav>
<div class="jumbotron">
<h1>
Welcome to Our App!</h1>
</div>
<footer class=”text-center”>
CopyRight © 2018
</footer>
`,
styles: [`
.jumbotron { box-shadow: 0 2px 0 rgba(0, 0, 0, 0.2); }
`]
})
export class AppComponent {}
The result we put header on app.component because app.component is angular, and Angular can help us to do thing as Application, as we can show the user login and log out and we already can do different task that coming on application.

In Angular 2, We can pass data from our class to our template very easily since they are bound to each other. By defining a property on our class. We are able to access it from our template:
. . .
<div class="jumbotron">
<h1>
Welcome to Our App!
</h1>
<p>{{message}}</p>
</div>
<footer class="text-center">
CopyRight © 2018
</footer>
`,
styles: [`
.jumbotron { box-shadow: 0 2px 0 rgba(0, 0, 0, 0.2); }
`]
})
export class AppComponent {
message = 'Hello angular 2!';
}
So when we reload our applicaton again you will see look like images:
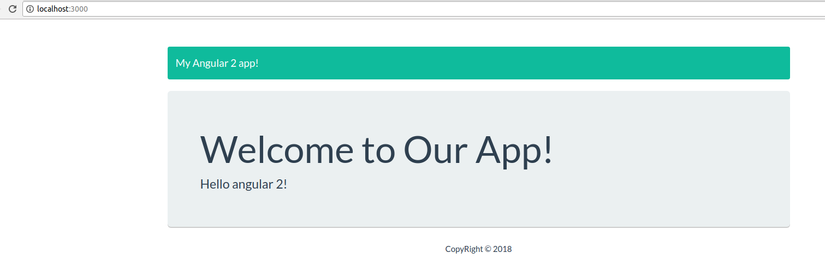 How it is usage, You don’t need to use call controller as Angular 1
Now we will other staff like users,
. . .
<main>
<div class="jumbotron">
<h1>
Welcome to Our App!
</h1>
<p>{{ message }}</p>
</div>
<h2>List users</h2>
<div *ngIf="users">
<div *ngFor="let user of users">
<p>The user is {{user.name}} ({{user.username}})</p>
</div>
</div>
</main>
<footer class="text-center">
CopyRight © 2018
</footer>
`,
styles: [`
.jumbotron { box-shadow: 0 2px 0 rgba(0, 0, 0, 0.2); }
`]
})
export class AppComponent {
message = 'Hello angular 2!';
users = [
{id: 1, name: 'A', username: 'a'},
{id: 2, name: 'B', username: 'b'},
{id: 3, name: 'C', username: 'c'}
];
}
On this code, you can take a look on array hash of users, we have 3 user on the list, with Angular 2 we use *ngFor for loop user from array hash of user.
However you can check it on this to understand some functions of Angular 2 on this website for more details displaying-data
Example:
*ngFor: to display an array of items*ngIf: to display an items with condition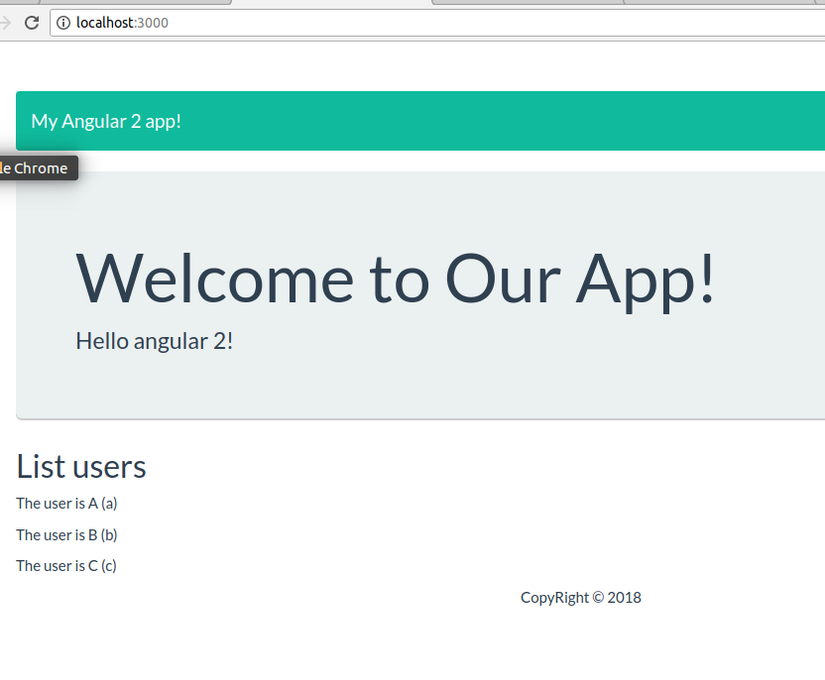
Clean up the typescript files
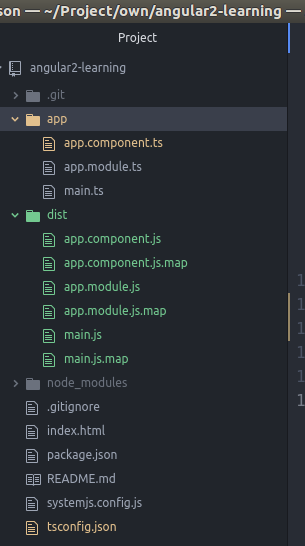
with our first we already pass data from class to the template, Now you can look to our source code folder app directory, You can look at it, we have a lot of app.component.js that we don’t need to work on it, We only work on typescript file, not javascript files. So our purpose we need to move that files into one folder or other directory when we reload our typescript.
Now we go file tsconfig.json and we going to move all our file javascript and generate from typescript
{
  "compilerOptions": {
    "target": "es5",
    "module": "commonjs",
    "moduleResolution": "node",
    "sourceMap": true,
    "emitDecoratorMetadata": true,
    "experimentalDecorators": true,
    "removeComments": false,
    "noImplicitAny": false,
    "lib": ["es2015", "dom"],
    "outDir": "dist"
  }
}
Now we restart the server npm and we can see in our folder project, it generates the new folder is called dist, inside that folder we can all the file javascript that generate from typescript it, has move into it.
However we need to change our load file map, that you can see on the file systemjs.config.js
  // map tells the System loader where to look for things
  var map = {
    'app':                        'app', // 'dist',
    '@angular':                   'node_modules/@angular',
    'angular2-in-memory-web-api': 'node_modules/angular2-in-memory-web-api',
    'rxjs':                       'node_modules/rxjs'
  };
we need to change directory to change load from app to dist, So the new systemjs.config.js become to
  // map tells the System loader where to look for things
  var map = {
    'app':                        'dist', // 'dist',
    '@angular':                   'node_modules/@angular',
    'angular2-in-memory-web-api': 'node_modules/angular2-in-memory-web-api',
    'rxjs':                       'node_modules/rxjs'
  };
Now we start move our clean up our code on app.component.ts
. . .
<main>
<div class="row">
<div class="col-sm-4">
<h2>List users</h2>
<div *ngIf="users">
<ul class="list-group users-list">
<li *ngFor="let user of users" class="list-group-item">The user is {{user.name}} ({{user.username}})</li>
</ul>
</div>
</div>
<div class="col-sm-8">
<div class="jumbotron">
<h1>
Welcome to Our App!
</h1>
<p>{{ message }}</p>
</div>
</div>
</div>
</main>
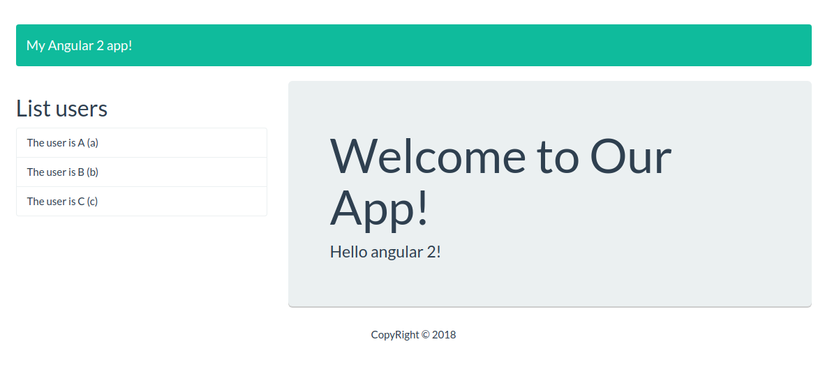
. . .
You can take a look our view application look like this image
Handling Event On Angular
To be continue with this, our purpose will going to click on each user name users that show on above, we want to show the profile or detail of user on the left content.
To handle DOM events, we just need to wrap that event that we want to watch for with (), on file app.component.ts, we need to add activeUser to remark what is the active user that we are click on it.
. . .
   <h2>List users</h2>
     <div *ngIf="users">
           <ul class="list-group users-list">
               <li class="list-group-item"
                  *ngFor="let user of users"
                  (click)="selectUser(user)">
                  The user is {{user.name}} ({{user.username}})
               </li>
          </ul>
     </div>
. . .
export class AppComponent {
  message = 'Hello angular 2!';
  users = [
    {id: 1, name: 'A', username: 'a'},
    {id: 2, name: 'B', username: 'b'},
    {id: 3, name: 'C', username: 'c'}
  ];
  activeUser;

  selectUser(user) {
    this.activeUser = user;
  }
}
With Angular 2, we don’t need to use ng-click look like Angular 1, Angular 2 is supported html event, You can take a look with html event as below and you user other html by inside ():
- click: The user cliecks an HTML element.
- change: An HTML element has been changed.
- mouseover: The user moves the mouse over an HTML element.
- mouseout: The user moves the mouse away from HTML element.
- keydown: The user pushes a keyboard key.
- load: The browser has finished loading the page. You can see more HTML DOM event from w3school
Now let’s go on to display active user on right content. On file app.component.ts
. . .
            <div class="jumbotron" *ngIf="activeUser">
              <h1>
                Welcome to Our App!
              </h1>
              <p>{{activeUser.name}}<small>{{activeUser.username}}</small></p>
            </div>
          </div>
. . .
Conclusion
For this article you can know about clearly clean up javascript, template load of component angular 2, event html that applies for your angular 2. However this is the basic for you guy that can use and apply it on your project.
Document:
All rights reserved
