Navigation Drawer for a Single Screen Demo in React-Native
Bài đăng này đã không được cập nhật trong 7 năm
Introduction
So i encountered a little problem recently, perhaps because i am a newb at react-native. It is easy to implement navigation drawer (that is supported in both Android and IOS) but when it comes to some customizations, it isnt easy to find the right documentation online. When you are trying to decide if you need createDrawerNavigator or createStackNavigator in react and dont know which suits you best? Well how about both! This demo project will show how to make use of multiple navigation (that is having a createStackNavigator and createDrawerNavigator nested) to allow flexibility and customization. Without further adue lets dive right in. NOTE: I assume you are already farmiliar with the concepts of react-native, react-native elements and all in general.
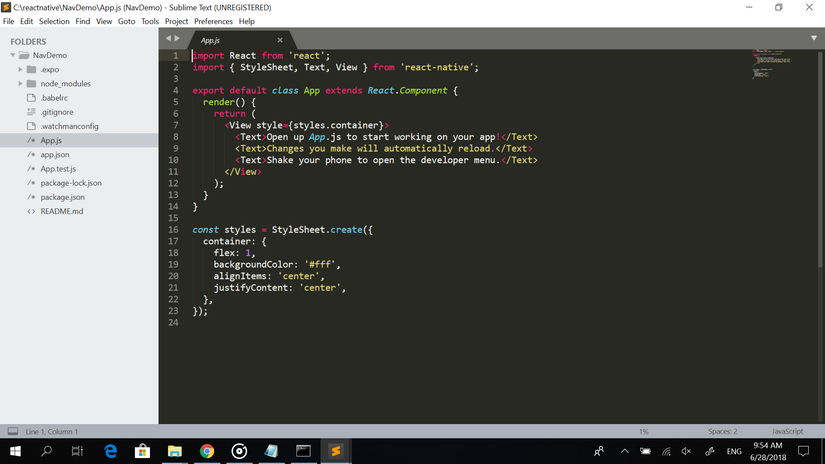
Lets start by creating a demo project. I will call it NavDemo. I navigate to my projects folder .....
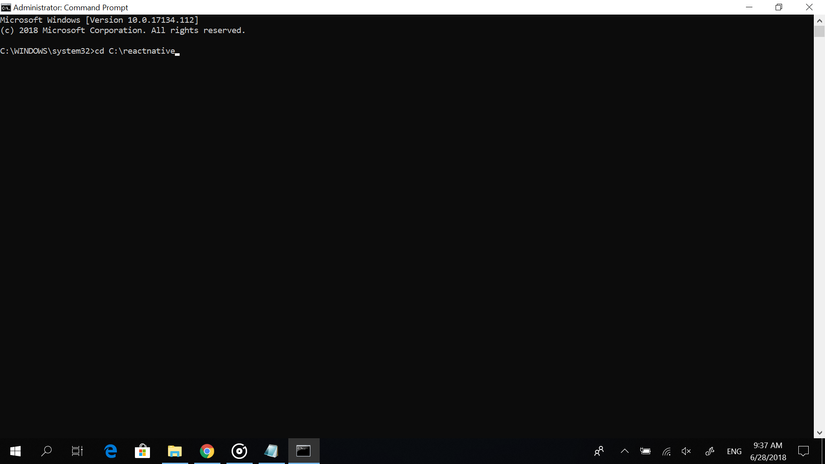
Next i create a new project by using the following line of code:
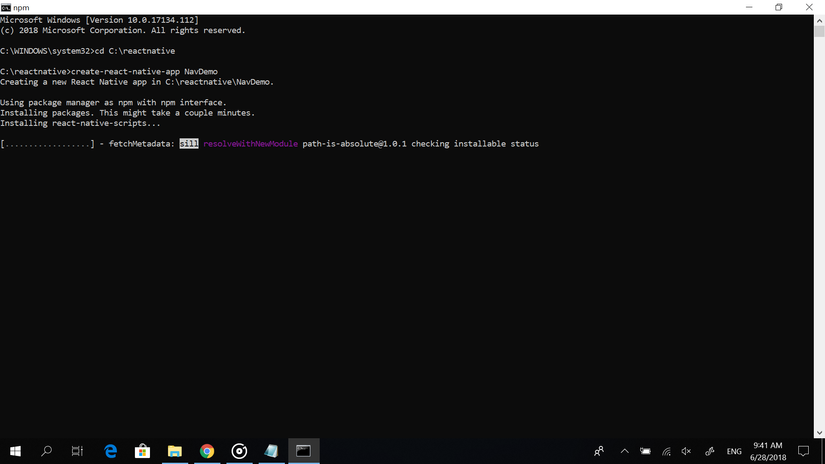
create-react-native-app NavDemo
Wait while the project builds
After complete lets navigate into our project folder
cd NavDemo
Next starts the npm
npm start
If all is well you should have a successful built project as shown below
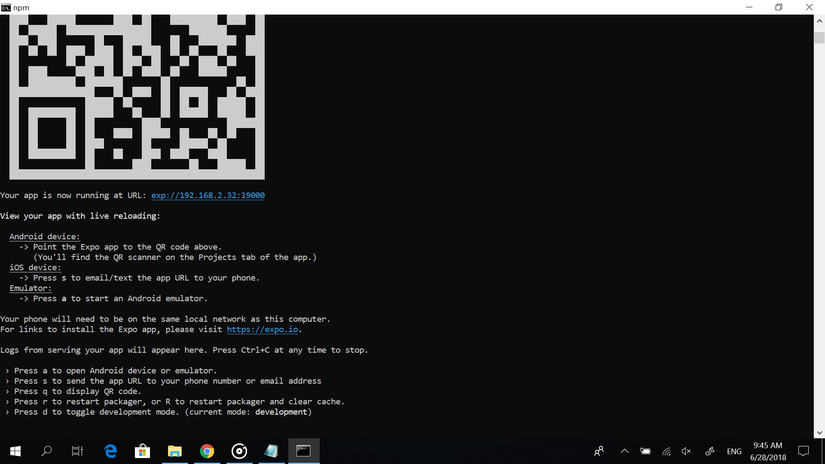
Note: You can use Expo to launch the app on both IOS and Android. Expo can be downloaded on the App store and Play Store. Also make sure you are on the same network as your computer.
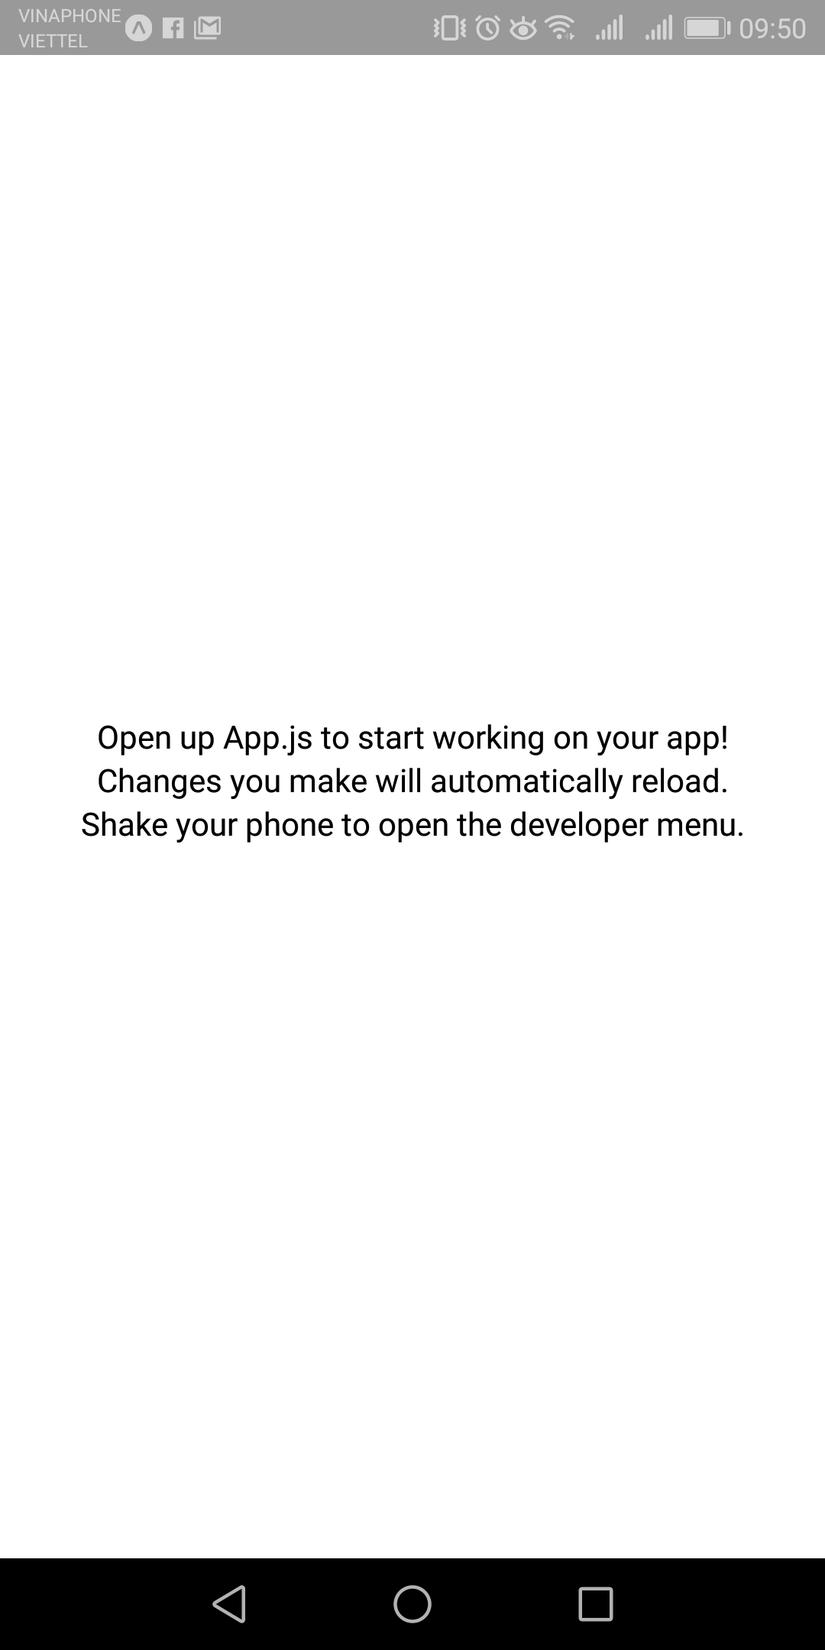
So now that our App is ready. Let the fun begin.
Open your project folder in a text editor. Can use Notepad++, Atom, Sublime or any of your choice. I am using Sublime Text 3.
Now before we go any further we should import necessary libraries. Open up your comand line and run the below npm commands.
npm install --save react-navigation
npm install --save react-native-elements
npm install native-base --save
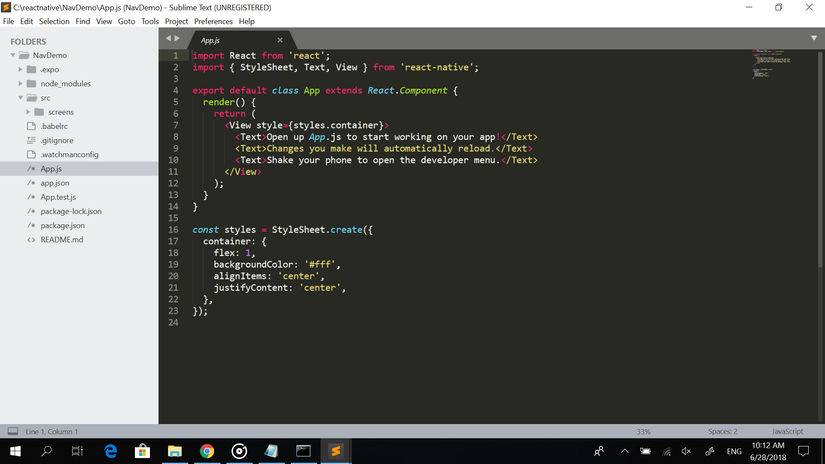
Lets create a main screen that will be our home and holds the navigation drawer. Create a new folder called 'src'. Next create another folder in the 'src' called screens. The screen folder will hold you guessed it, our screens. Now your project structure should look like image below.
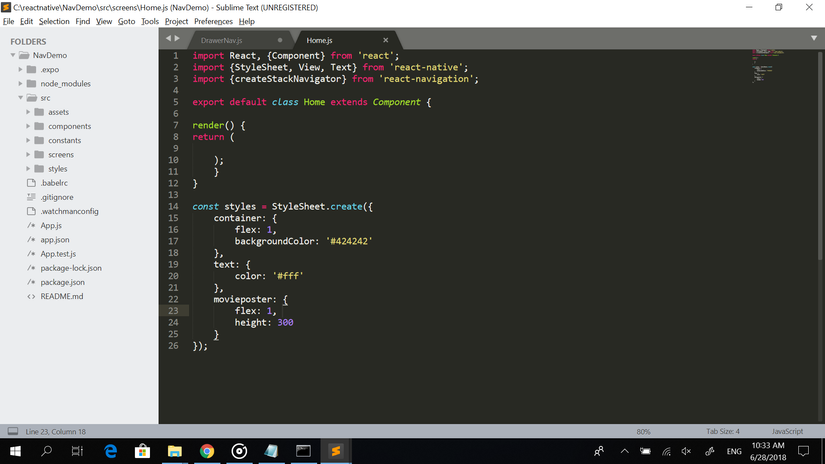
Now lets create a new js file in screens folder and name it Home.js.
Home.js
import React, {Component} from 'react';
import {StyleSheet, View, Text} from 'react-native';
import {createStackNavigator} from 'react-navigation';

export default class Home extends Component {

render() {
return (
<View style={styles.container}>
<Text style={styles.text}>Hello</Text>
</View>
	);
}
}

const styles = StyleSheet.create({
	container: {
		flex: 1,
		justifyContent: 'center',
		backgroundColor: '#424242'
	},
	text: {
		color: '#fff',
		fontSize: 24,
		margin: 50
	},
	movieposter: {
		flex: 1,
		height: 300
	}
});
Now we will create necessary folders and classes that we will use. The first is 'assets' folder, 'constants' folder, 'styles' folder and 'components' folder.
Now inside our styles folder we will create Drawer.style.js.
Drawer.style.js
export default {
	drawerImage: {
    height: 150,
    width: 150
  },
  	drawerLinkIcons: {
    height: 24,
    width: 24
  },
  drawerHeader: {
  	height: 170,
  	backgroundColor: 'white'
  },
  icon: {
  	tintColor : '#F50057'
  }
};
Next inside the constants folder create Constant.js.
Constant.js
export default {
  TITLE_NOW_PLAYING: "Now Playing",
  TITLE_POPULAR: 'Popular',
  TITLE_TOP_RATED: 'Top Rated',
  TITLE_UPCOMING: 'Upcoming'
};
Next in the assets folder put an image. This will be used later on for the image at the top of our drawer when the customization begins. I am using my favourite character MARIO!!!

Next in the components folder we will have two js files called 'StackNav' and 'DrawerNav'.
StackNav.js
import React from 'react';
import {createStackNavigator} from 'react-navigation';
import DrawerNav from './DrawerNav';

const StackNav = createStackNavigator({
  Home: {
  	screen: DrawerNav,
  	navigationOptions: ({ navigation }) => ({
  		header: null
  	})
  }
});

export default StackNav;
DrawerNav.js
import React from 'react';
import {createDrawerNavigator, DrawerItems} from 'react-navigation';
import Home from '../screens/Home';
import {Image} from "react-native";
import styles from '../styles/Drawer.style';
import Constants from '../constants/Constant';
import { Icon } from "react-native-elements";

const DrawerNav = createDrawerNavigator({
	"Now Playing": {
     navigationOptions: {
      drawerIcon: () => (
      	<Icon name='alarm'
      	color='#F50057'/>
      ),
      },
    screen: (props) => <Home {...props} propName={Constants.TITLE_NOW_PLAYING} />
  },
  "Popular": {
  	navigationOptions: {
      drawerIcon: () => (
      	<Icon name='shop'
      	color='#F50057'/>
      ),
      },
    screen: (props) => <Home {...props} propName={Constants.TITLE_POPULAR} />
  },
  "Top Rated": {
  	  navigationOptions: {
      drawerIcon: () => (
      	<Icon name='favorite'
      	color='#F50057'/>
      ),
      },
    screen: (props) => <Home {...props} propName={Constants.TITLE_TOP_RATED} />
  },
  "Upcoming": {
  	  navigationOptions: {
      drawerIcon: () => (
      	<Icon name='book'
      	color='#F50057'/>
      ),
      },
    screen: (props) => <Home {...props} propName={Constants.TITLE_UPCOMING} />
  }
}, {
  initialRouteName: 'Now Playing',
  drawerPosition: 'left',
  contentOptions: {
      activeTintColor: '#F50057',
      inactiveTintColor :'#1999CE',
      activeBackgroundColor :'#E8EAF6',
    },
  drawerOpenRoute: 'DrawerOpen',
  drawerCloseRoute: 'DrawerClose'
}
);

export default DrawerNav;
The StackNav is the regular createStackNaviagtor that allows user to navigate the app. If in future you decide to add any screen that exclude the drawer, you can out here and those you want to include with the drawer can be put in the DrawerNav.
As you can tell by the code in the DrawerNav.js, all our routes leads to Home. However we are passing different props. This will allow us to differentiate which of the route is selected. When user select Upcoming from the Nav drawer, Constants.TITLE_UPCOMING is passed as a prop to the Home. To handle this we only need get our prop and handle each accordinly. This will be further explained later on.
Now we only need to import to our App.js file. First delete the default code in the App.js and complete to look as below.
App.js
import React from 'react';
import StackNav from './src/components/StackNav';

export default class App extends React.Component {
  render() {
    return (
      <StackNav />
    );
  }
}
As you can see we are only importing the StackNav which also contains the DrawerNav.
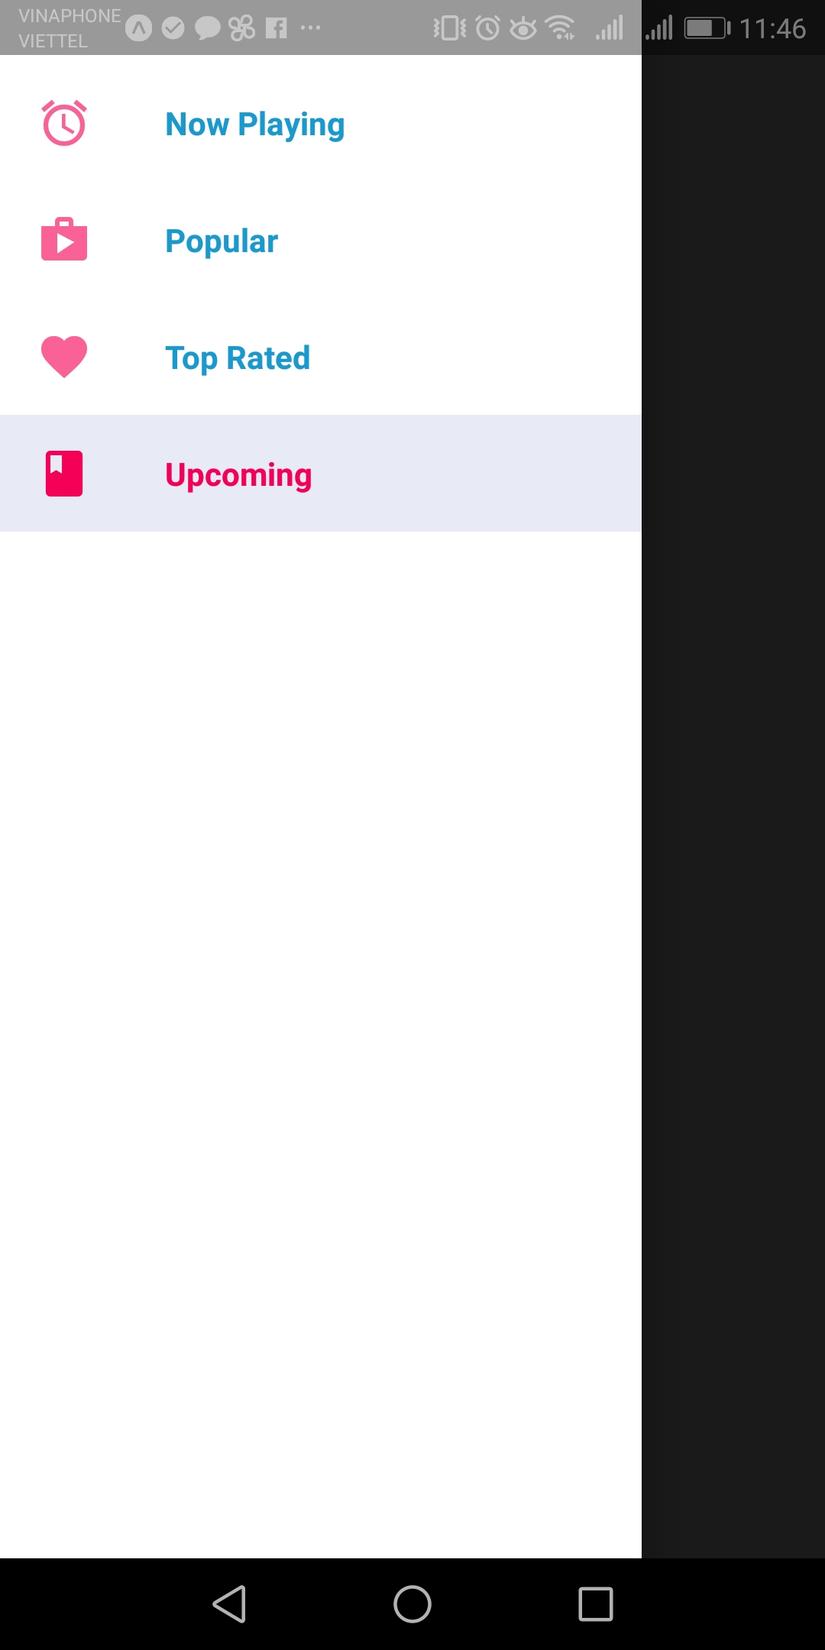
Now lets run the app. Wolla! We have our nav drawer and looking good. The icons are all nice and customized based on the colors we specified in the DrawerNav.js file.
Slide from Left:
But we are not done. We have to add an header with image so lets do just that now. To add a header we will need something called CustomDrawerContentComponent. Now lets dive right back into the DrawerNav.js and add our CustomDrawerContentComponent.
DrawerNav.js
import React from 'react';
import {createDrawerNavigator, DrawerItems} from 'react-navigation';
import Home from '../screens/Home';
import {Image} from "react-native";
import styles from '../styles/Drawer.style';
import Constants from '../constants/Constant';
import { Icon } from "react-native-elements";
import {Container, Content, Header, Body } from 'native-base';

const CustomDrawerContentComponent = (props) => (
  <Container>
  <Header style={styles.drawerHeader}>
  <Body>
  <Image
  style={styles.drawerImage}
  source={require('./assets/mario.jpg')}/>
  </Body>
  </Header>
  <Content>
  <DrawerItems {...props}/>
  </Content>
  </Container>
)

const DrawerNav = createDrawerNavigator({
	"Now Playing": {
     navigationOptions: {
      drawerIcon: () => (
      	<Icon name='alarm'
      	color='#F50057'/>
      ),
      },
    screen: (props) => <Home {...props} propName={Constants.TITLE_NOW_PLAYING} />
  },
  "Popular": {
  	navigationOptions: {
      drawerIcon: () => (
      	<Icon name='shop'
      	color='#F50057'/>
      ),
      },
    screen: (props) => <Home {...props} propName={Constants.TITLE_POPULAR} />
  },
  "Top Rated": {
  	  navigationOptions: {
      drawerIcon: () => (
      	<Icon name='favorite'
      	color='#F50057'/>
      ),
      },
    screen: (props) => <Home {...props} propName={Constants.TITLE_TOP_RATED} />
  },
  "Upcoming": {
  	  	  navigationOptions: {
      drawerIcon: () => (
      	<Icon name='book'
      	color='#F50057'/>
      ),
      },
    screen: (props) => <Home {...props} propName={Constants.TITLE_UPCOMING} />
  }
}, {
  initialRouteName: 'Now Playing',
  drawerPosition: 'left',
  contentComponent: CustomDrawerContentComponent,
  contentOptions: {
      activeTintColor: '#F50057',
      inactiveTintColor :'#1999CE',
      activeBackgroundColor :'#E8EAF6',
    },
  drawerOpenRoute: 'DrawerOpen',
  drawerCloseRoute: 'DrawerClose'
}
);

export default DrawerNav;
I have added this const CustomDrawerContentComponent = (props) => (...... and imported Container, Content, Header and Body from 'native-base' while aslo getting the mario image from assets in the body tag of the CustomDrawerContentComponent >>
<Body>
  <Image
  style={styles.drawerImage}
  source={require('./assets/mario.jpg')}/>
 </Body>
Now lets run the app again.
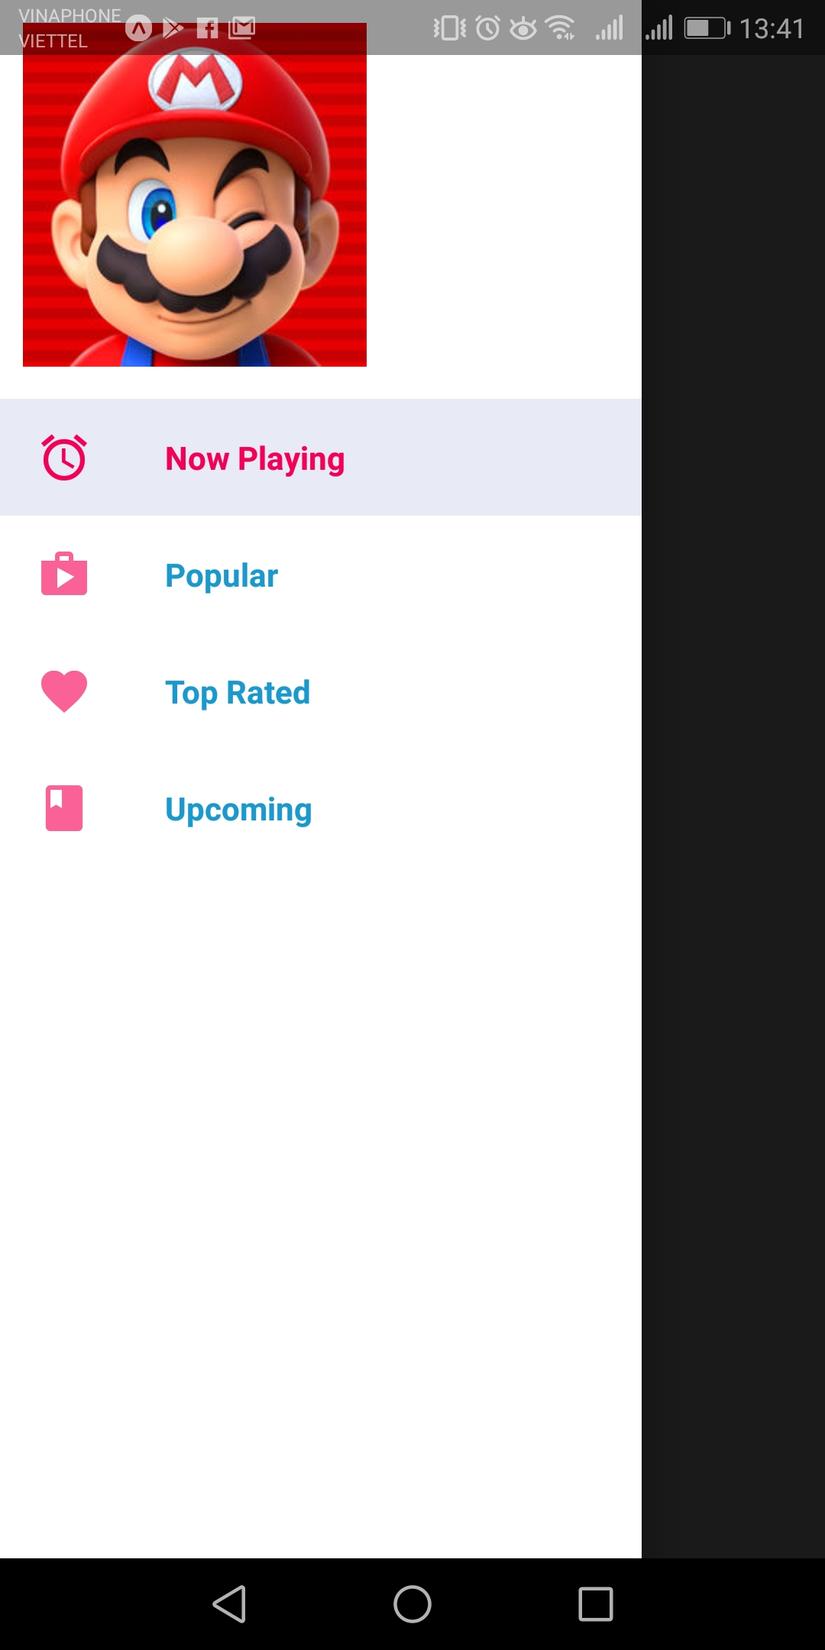
Yippee!!! Now we have the Drawer header and image.
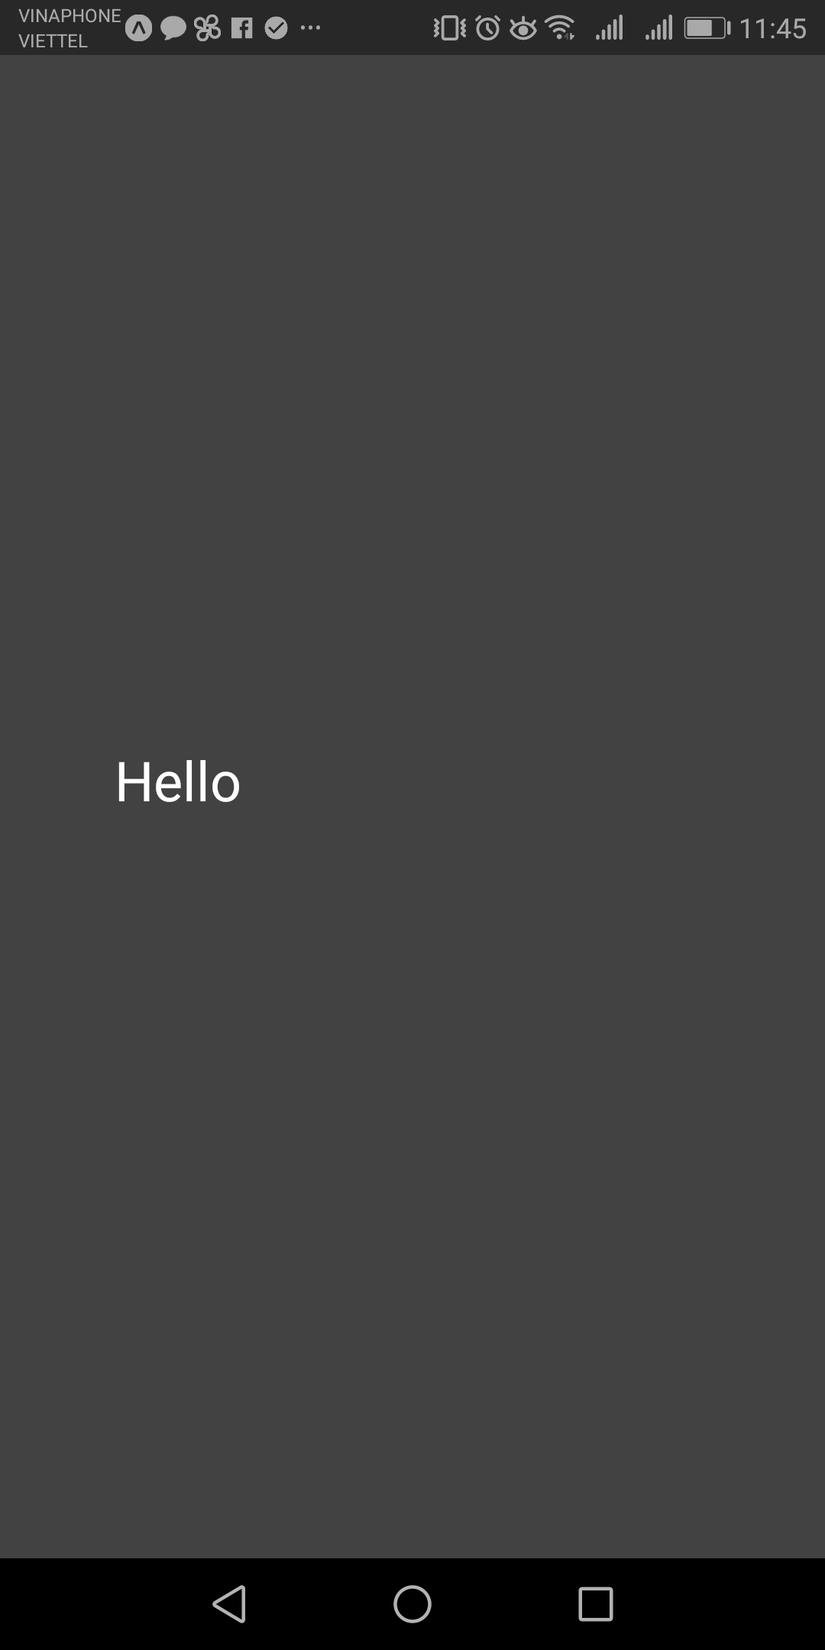
Before we finish. How do we tell we are on seperate type when we select any of the drawerItems. Well we will get the props and set the type to the text 'Hello'.
Open the Home screen and update the text by passing the props directly to the Text tag
Home.js
import React, {Component} from 'react';
import {StyleSheet, View, Text} from 'react-native';
import {createStackNavigator} from 'react-navigation';

export default class Home extends Component {

render() {
return (
<View style={styles.container}>
<Text style={styles.text}>{this.props.propName}</Text>
</View>
	);
}
}

const styles = StyleSheet.create({
	container: {
		flex: 1,
		justifyContent: 'center',
		backgroundColor: '#424242'
	},
	text: {
		color: '#fff',
		fontSize: 24,
		margin: 50
	},
	movieposter: {
		flex: 1,
		height: 300
	}
});
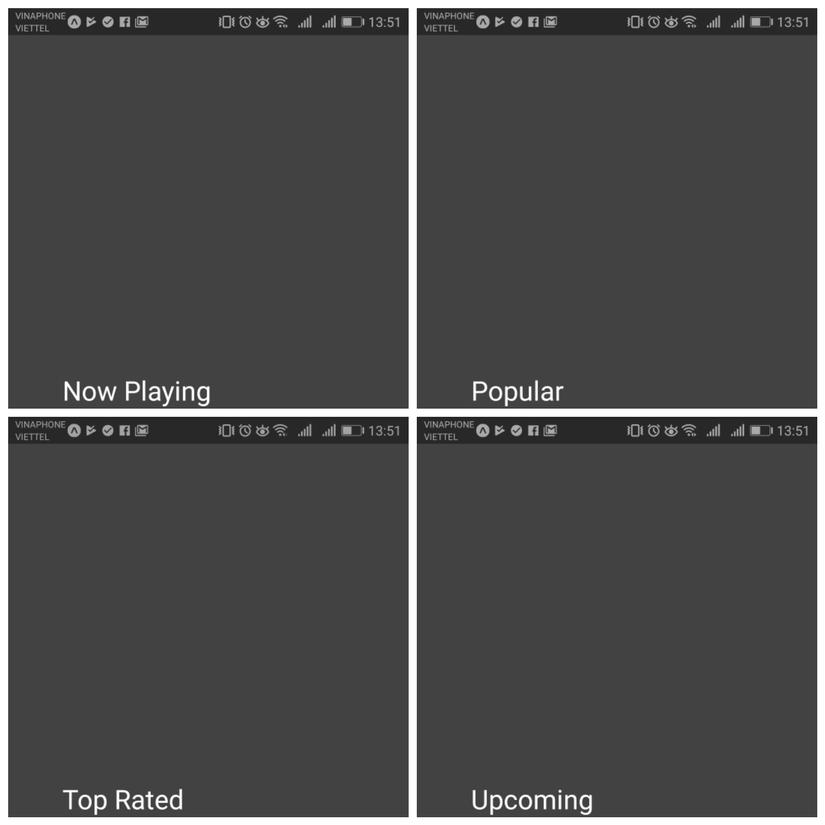
Now when we run and select any item it is updated in our Home screen. This will be used later in the Part2 to consume an Api from MoviesDb.
All rights reserved
