Một số vấn đề với khi upload file ảnh với rails + carrierwave.
Bài đăng này đã không được cập nhật trong 6 năm
Khi làm chức năng upload file ở với gem carrierwave của rails, mình gặp phải 3 vấn đề nhỏ:
- Làm sao để validate extension của file ở client side và server side?
- Làm sao để preview được ảnh ngay sau khi chọn? Mình sẽ chia sẻ cách giải quyết của mình trong 2 vấn đề đó.
Tạo form
Đầu tiên nhớ là bạn đã install carrierwave:
gem 'carrierwave', '1.1.0'
gem 'mini_magick', '4.7.0'
Giả sử mình có một model Article với 2 trường title, thumbnail như sau:
class Article < ApplicationRecord
  mount_uploader :thumbnail, ImageUploader
  validates :title, presence: true
end
class CreateArticles < ActiveRecord::Migration[6.0]
  def change
    create_table :articles do |t|
      t.string :title
      t.string :thumbnail
      t.timestamps
    end
  end
end
Tạo routes, controllers và views cho form
Rails.application.routes.draw do
  resource :articles
end
class ArticlesController < ApplicationController
  def new
    @article = Article.new
  end

  def create
    @article = Article.new article_params
    if @article.save
      redirect_to article_path(@article)
    else
      render :new
    end
  end

  def show
    @article = Article.find parmas[:id]
  end

  private

  def article_params
    params.require(:article).permit :thumbnail, :title
  end
end
#app/views/articles/new.html.erb
<div class="col-md-4" style="padding: 88px 0 0 85px;">
  <%= form_for @article  do |f|%>
    <div class="form-group">
      <%= f.label :title, "Title: " %>
      <%= f.text_field :title, class: "form-control" %>
    </div>
    <div class="form-group">
      <%= f.label :thumbnail, "Select a picture:" %>
      <%= f.file_field :thumbnail, class: "form-control" %>
    </div>
    <%= f.submit "Submit" %>
  <% end %>
</div>
Mình sẽ thêm 1 đoạn initializers để add errors_message vào dưới mỗi field trong form:
# Tạo file config/initializers/form_error.rb
ActionView::Base.field_error_proc = Proc.new do |html_tag, instance_tag|
  fragment = Nokogiri::HTML.fragment(html_tag)
  field = fragment.at('input,select,textarea')

  model = instance_tag.object
  error_message = model.errors.full_messages.join(', ')

  html = if field
   field['class'] = "#{field['class']} invalid"
   html = <<-HTML
   #{fragment.to_s}
   <p class="error">#{error_message}</p>
   HTML
   html
 else
   html_tag
 end

 html.html_safe
end
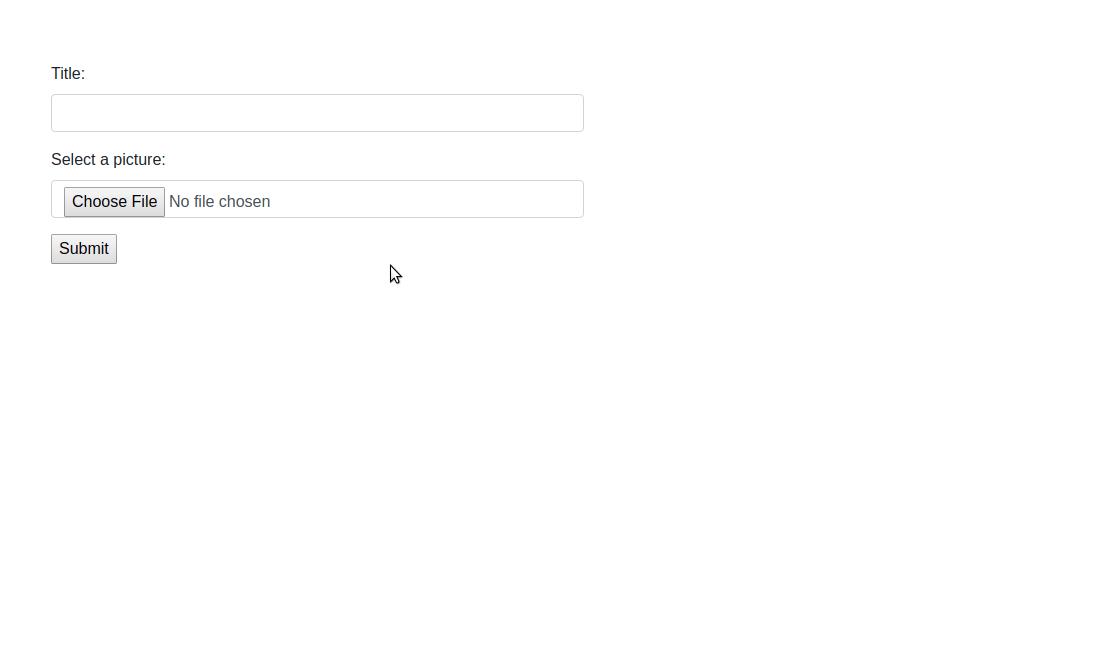
Và ta có được một form như sau:
Validate extension của file
Bây giờ, để thực hiện validate extension của file , mình sẽ chia sẻ 2 cách:
- Validate client side: Sử dụng javascript.
- Validate model level : Sử dụng validate ở class uploader của carrierwave
Để validate ở client side ta bắt sự kiện onchange ở file_field như sau:
<%= f.file_field :thumbnail, class: "form-control", onchange: "validateFiles(this);" %>
Và thêm 1 đoạn javascript:
function validateFiles(inputFile) {
  var extErrorMessage = "File bạn muốn tải lên không đúng định dạng!";
  var allowedExtension = ["jpg", "jpeg", "png", "gif"];

  var extName;
  var extError = false;

  $.each(inputFile.files, function() {
    extName = this.name.split('.').pop();
    if ($.inArray(extName, allowedExtension) == -1) {extError=true;};
  });
  if (extError) {
    window.alert(extErrorMessage);
    $(inputFile).val('');
  };
}
Và nó chạy như sau:

Nhưng với cách nói trên, khi browser tắt js, thì nó trở lên vô dụng. Vì vậy, mình thường thực hiện validate ở model level.
Carrierwave cung cấp cho bạn method extension_whitelist để validate extension trong class CarrierWave::Uploader::Base.
class ImageUploader < CarrierWave::Uploader::Base
  storage :file

  def store_dir
    "uploads/#{model.class.to_s.underscore}/#{mounted_as}/#{model.id}"
  end

  def extension_whitelist
    %w(jpg jpeg gif png)
  end
end
Thêm I18n cho message :
en:
  errors:
    messages:
      extension_whitelist_error: "Your file was wrong extensions."
Và phần validation sẽ chạy như thế này:

Preview file ảnh ngay sau khi chọn
Để preview được ảnh ngay sau khi chọn file (mà chưa upload lên server) , đầu tiên mình sẽ thay đổi nút select file 1 chút:
#new.html.erb
<div class="col-md-4" style="padding: 88px 0 0 85px;">
  <%= form_for @article  do |f|%>
    <div class="form-group">
      <%= f.label :title, "Title: " %>
      <%= f.text_field :title, class: "form-control" %>
    </div>
    <div class="form-group">
      <p>Select a picture:</p>
      <label id="image-label" class="image-hover" for="article_thumbnail">
        <%= image_tag "default.png", id: "thumbnail-img", size: "200x200" %>
      </label>
      <%= f.file_field :thumbnail, class: "form-control none" %>
    </div>
    <%= f.submit "Submit" %>
  <% end %>
</div>
Ảnh "default.png" các bạn tải tại đây và cho vào assets/images. Thêm 1 chút css:
.none {
  display: none;
}

.image-hover{
  &:hover {
    opacity: 0.5;
    transition: all 0.3s ease;
  }
  cursor: pointer;
}
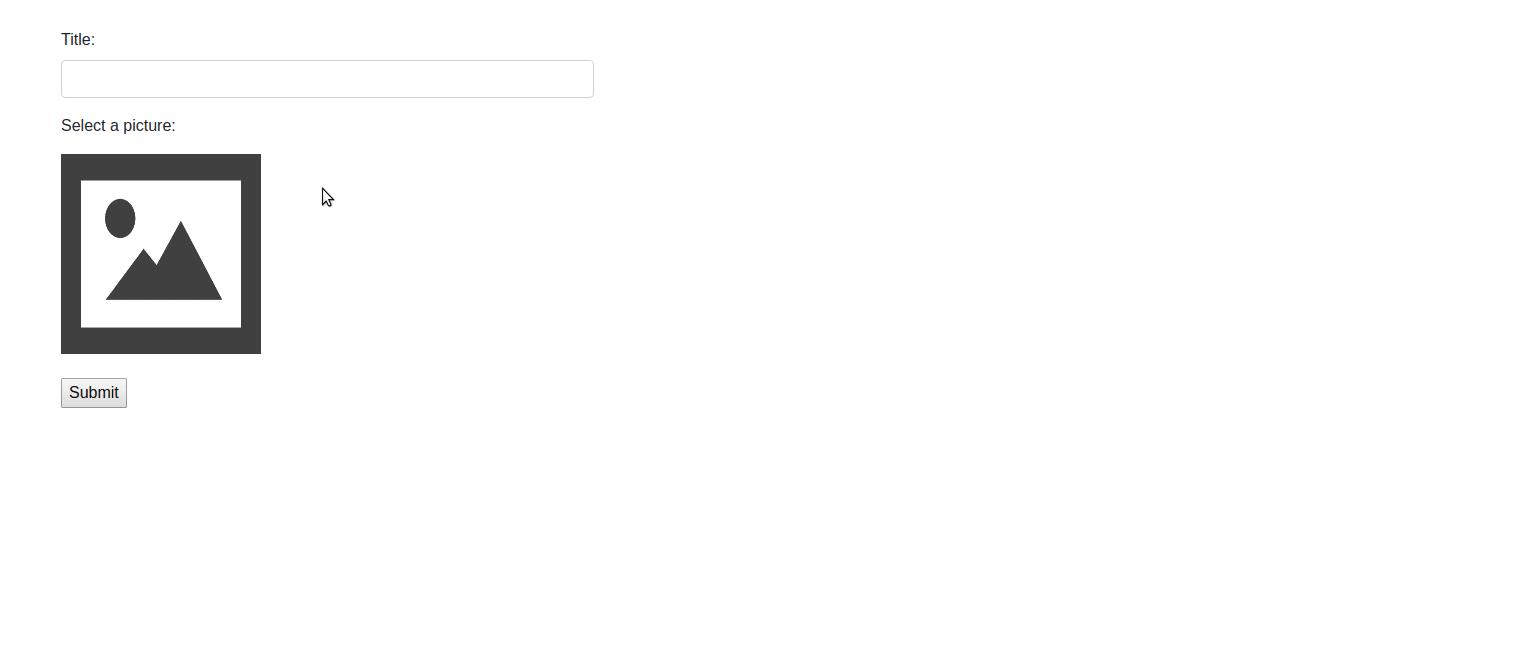
Và ta được 1 cái field chọn ảnh như sau:

Ta sử dụng class FileReader của js để thực hiện chức năng preview ảnh:
$(document).on('ready', function() {
  handle_preview($("#article_thumbnail"), $("#thumbnail-img"));
});

function readURL(input, image) {
  if (input.files && input.files[0]) {
    var reader = new FileReader();
    reader.onload = function(e) {
      image.attr('src', e.target.result);
    }
    reader.readAsDataURL(input.files[0]);
  }
}

function handle_preview(input_tag, image){
  input_tag.change(function(e){
    var file = e.target.files[0];
    readURL(e.target, image);
  });
}
Và việc chức năng preview ảnh đã hoàn thành:
Mình đã viết hàm handleprevew(input_tag, image) theo cách dễ sử dụng lại nhất. Bạn chỉ cần lấy được id của thẻ input[type="file"] và id của ảnh label của nó là được.
Bài viết của mình đến đây là kết thúc.
Refernces:
https://github.com/carrierwaveuploader/carrierwave/wiki/CarrierWave-and-multiple-databases https://github.com/carrierwaveuploader/carrierwave/wiki/CarrierWave-and-multiple-databases
All rights reserved
