Let's self build Redux - Part1: Create the scratch
Bài đăng này đã không được cập nhật trong 8 năm
Let's self build Redux
Thư viên Redux giúp quản lý các state của app một cách đơn giản, liên tục cập nhật các state tới tất cả các component sử dụng nó. Tuy nhiên, để tích hợp redux vào project, các bước thực hiện lần lượt phải đi qua từ tạo 1 file contants chứa type của actions. Rồi reducers, rồi combine reducer, Provider store, ... Có quá nhiều thao tác phải thực hiện. Nhưng đã bao giờ bạn tự hỏi, tại sao lại cần chúng, và chúng hoạt động như thế nào. Bài viết này có thể giúp bạn tìm thấy sự đồng điệu khi làm việc với Redux. Let's self build Redux!

1. Create the playground
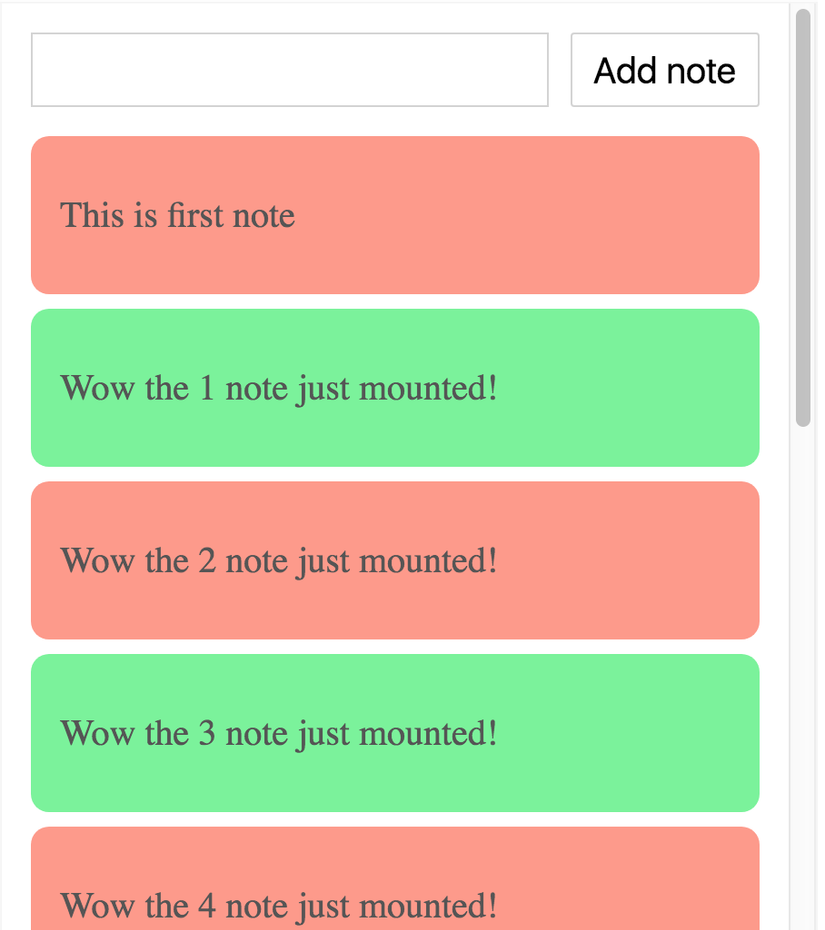
Như thông thường, ta sẽ build một TodoApp kết hợp với redux để quản lý state. Tuy nhiên, khác với lần trước, Redux sẽ được chính chúng ta xây dựng. Để giữ tính đơn giản cho ví dụ, project sẽ không cài thêm bất ký thư viện nào khác.
const initialState = {
  nextNoteId: 1,
  notes: [
    { id: 0, content: 'This is first note' },
  ],
}
window.state = initialState
Tạo một state và gán luôn chúng vào global. Đây chính là store đơn giản nhất. Công việc giờ là gắn chúng vào các Component
class App extends React.Component {
  addNote = () => {
    const { nextNoteId, notes } = window.state
    window.state = {
      nextNoteId: nextNoteId + 1,
      notes: [...notes, {
        id: nextNoteId, content: `Wow the ${nextNoteId} note just mounted!`,
      }],
    }
    renderApp()
  }

  render() {
    const { state: { notes } } = this.props
    return (
      <div className="list">
        <div className="control">
          <input className="input" /><button className="button" onClick={this.addNote}>Add note</button>
        </div>
        <ul>
          {notes.map(({ id, content }) => <Note key={id}>{content}</Note>)}
        </ul>
      </div>
    )
  }
}
2.Warm up
Hiện giờ. Store vẫn chưa hoạt động như đúng những gì ta mong muốn.
- Rendering có thể xảy ra ở bất cứ đâu, kể cả nhưng component mà hoàn toàn không nhận bất kỳ state nào. Điều này có thể dẫn đến việc UI giật lag, ...
- Khi thay đổi một state, nếu quên mất việc gọi lại hàm renderApp() không được gọi lại, chẳng có component nào biết đến sự thay đổi đó đẻ cập nhật
- Cách viết như hiện tại gần như không thể để có thể test. Nếu có bất cứ bug nào, dòng thay đổi state nào cũng tiềm năng là nguyên nhân gây ra.
- Optimize rendering cũng hết sức khó khăn nếu viết theo kiểu này
const onAddTag = (noteId, tagId) => {
  window.state.onLoading = true;
  // Whoops, forgetting to render here!
  // For quick local server, we might not notice.
  api.addTag(noteId, tagId)
    .then(() => {
      window.state.onLoading = false
      window.state.tagMapping[tagId] = noteId
      // Whoops, some naming bugs here. Probably from a
      // rogue search and replace. Won't be noticed till
      // we test that archive page that nobody really uses.
      window.state.archived = window.state.archive || {}
      window.state.archived[noteId] = window.state.notes[noteId]
      delete window.state.notes[noteId]
      renderApp()
    })
}
Bài tiếp theo tôi sẽ bắt đàu đi vào tạo các actions, reducer và store cho Redux của mình
References
All rights reserved
