Làm việc với static assets trong kiến trúc Microfrontend
Hello các bạn lại là mình đâyyyyyy 👋👋
Tiếp tục với series Chập chững làm quen với Microfrontend, ở bài hôm nay ta sẽ cùng nhau tìm hiểu cách xử lý static assets: images, files, SVG,...trong kiến trúc microfrontend nhé
Mặc áo phao rồi lên thuyền với mình thôiii ⛵️⛵️
Setup
Đầu tiên các bạn clone source code của mình ở đây: https://github.com/maitrungduc1410/viblo-mfe-assets-handling.git
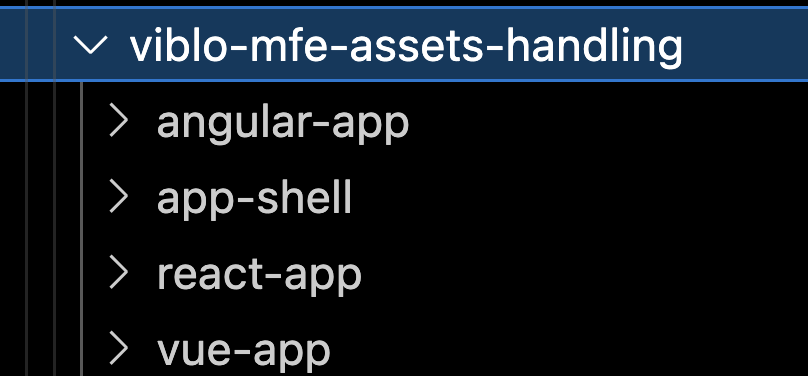
Ở đó ta có 4 folder (1 app shell, 3 MFE):
Các bạn chạy npm install ở từng folder để cài dependencies nhé
Vọc vạch
Đầu tiên ta start react-app lên coi thử nhé, các bạn chạy command sau ở folder react-app:
npm run dev
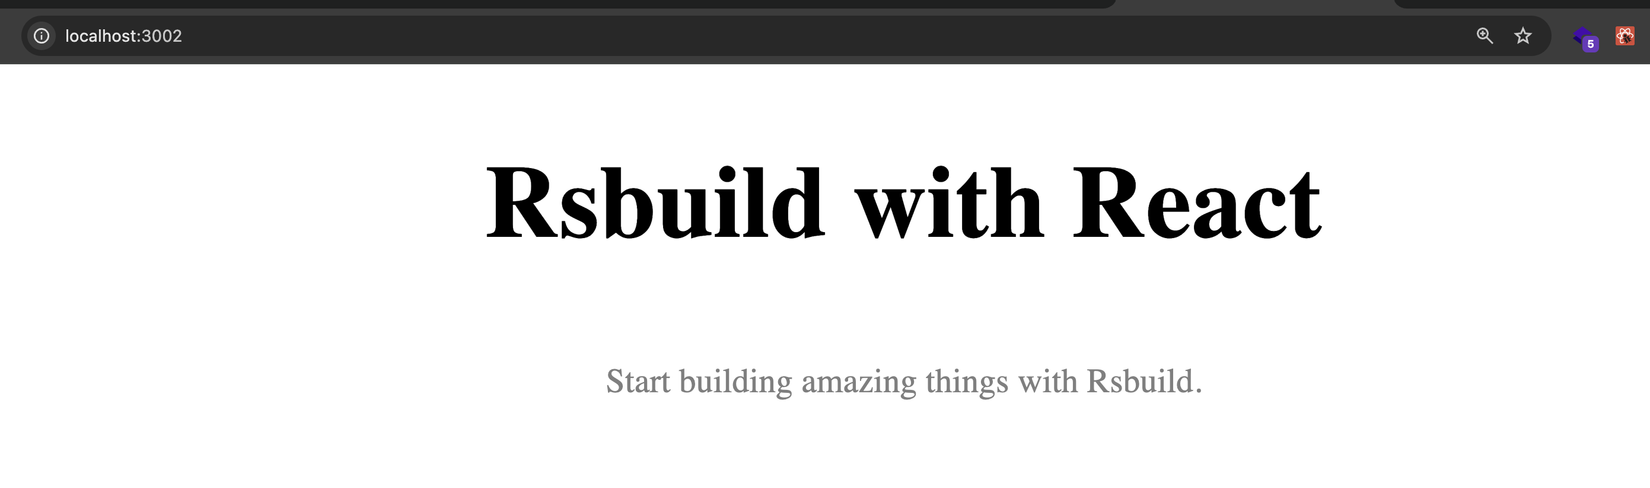
Sau đó ta có thể truy cập từ trình duyệt ở địa chỉ http://localhost:3002 sẽ thấy như sau:
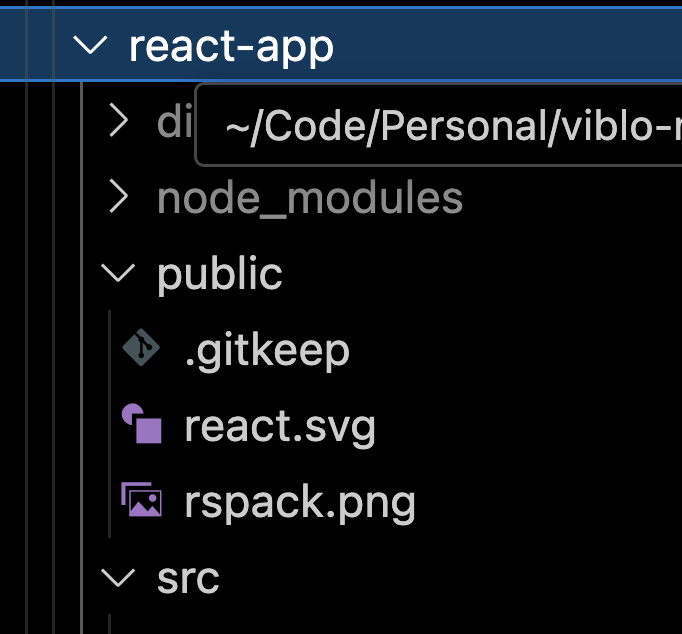
Giờ các bạn để ý ở folder public mình có để 2 file svg và png:
Giờ ta thử display 2 file ảnh theo như cách ta vẫn làm ở project bình thường nhé 😂, a sửa lại file src/App.tsx như sau:
import "./App.css";

const App = () => {
  return (
    <div className="content">
      <h1>Rsbuild with React</h1>
      <p>Start building amazing things with Rsbuild.</p>
      <div>
        <img src="/react.svg" alt="React Logo" width={50} />
      </div>
      <div>
        <img src="/rspack.png" alt="React Logo" height={100} />
      </div>
    </div>
  );
};

export default App;
Sau đó ta lưu lại, quay lại trình duyệt sẽ thấy nó tự refresh:
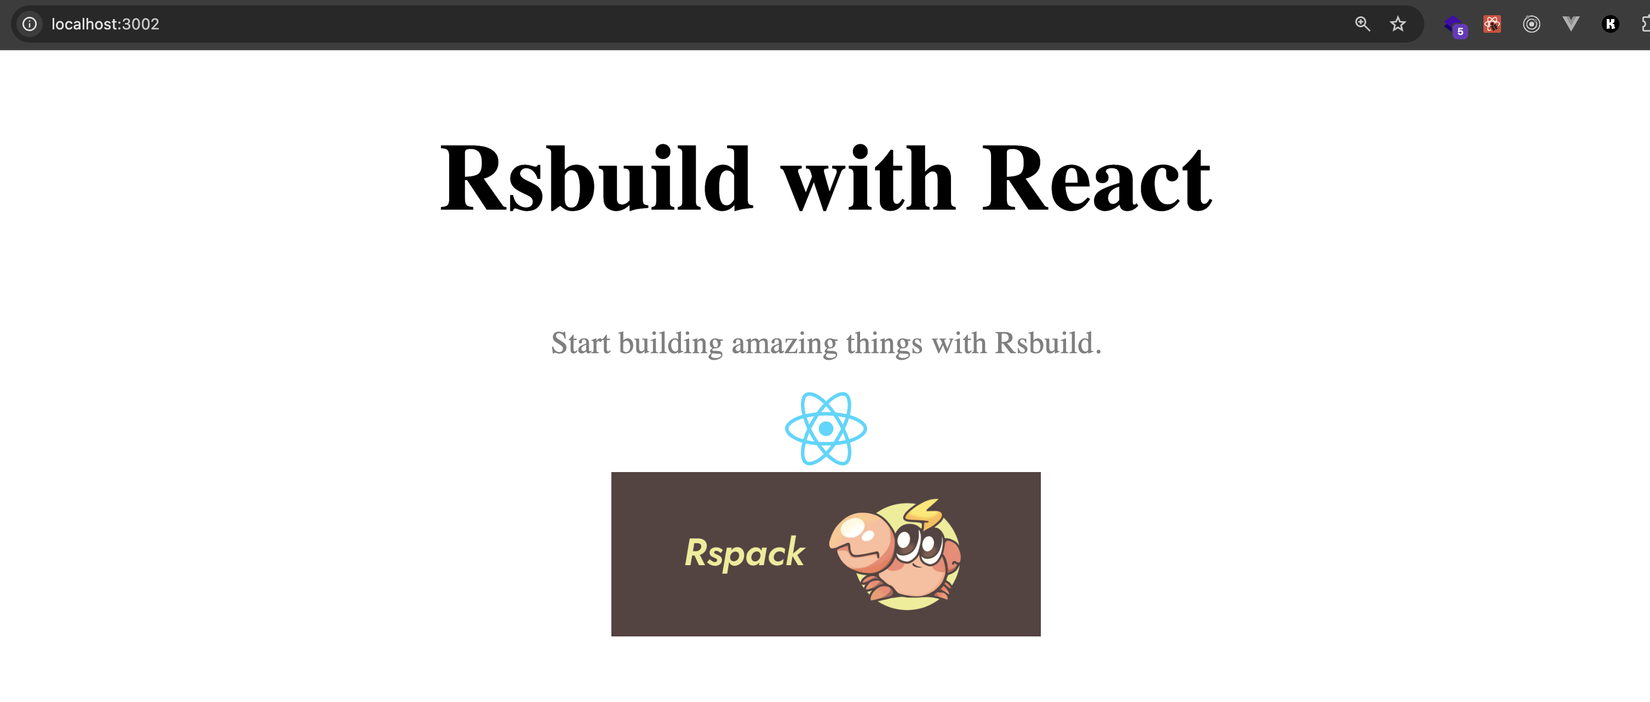
Rất oke không có vấn đề gì nhỉ 😁😁 Giờ ta lắp nó vào kiến trúc MFE xem nhé.
Ta start app-shell lên nha:
npm start
Sau đó truy cập ở địa chỉ http://localhost:4200, login với user/user:
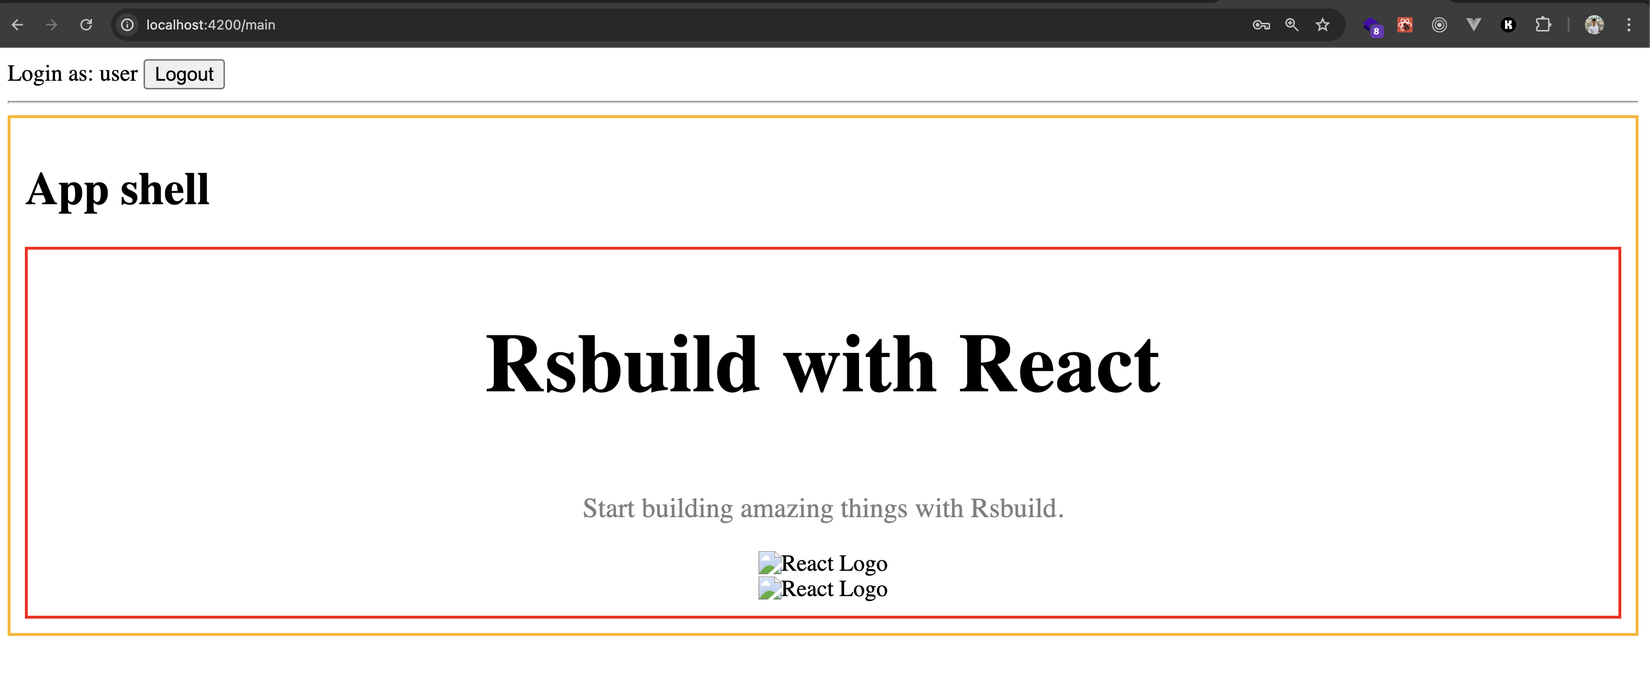
Ủa???? 2 ảnh của mình đâu rồi ta???? 🧐🧐
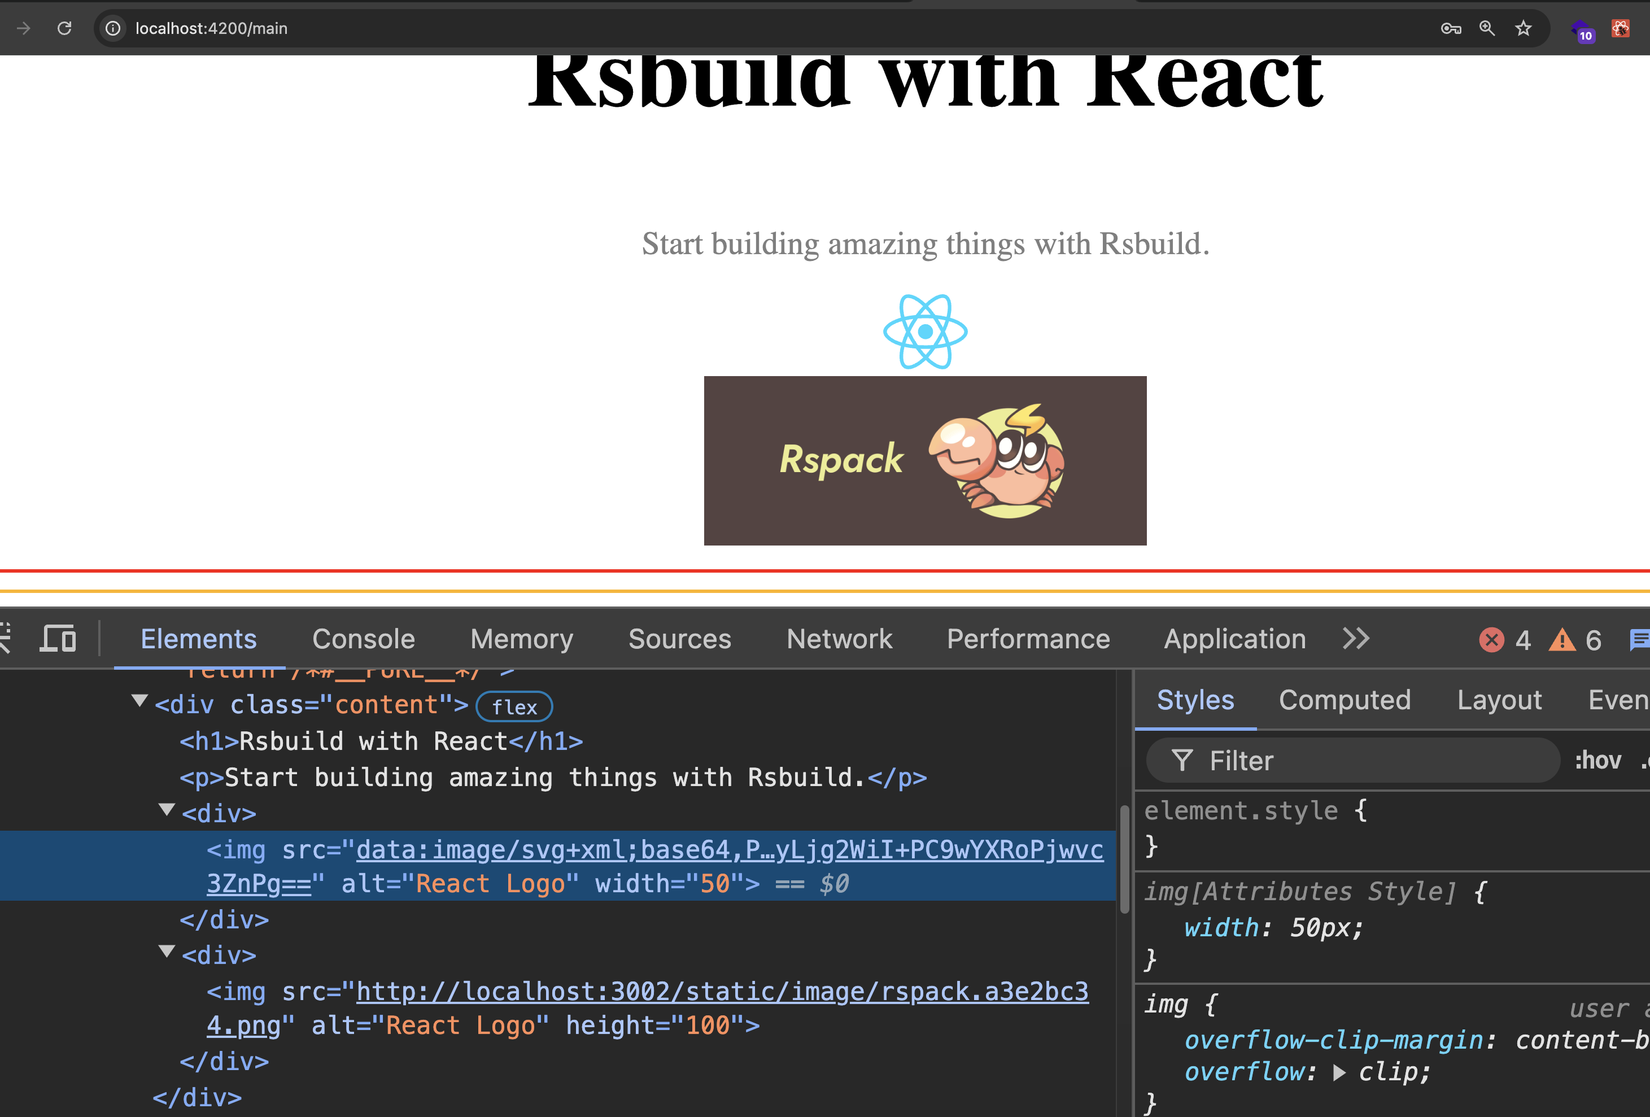
Ta Inspect check Elements xem nhé:
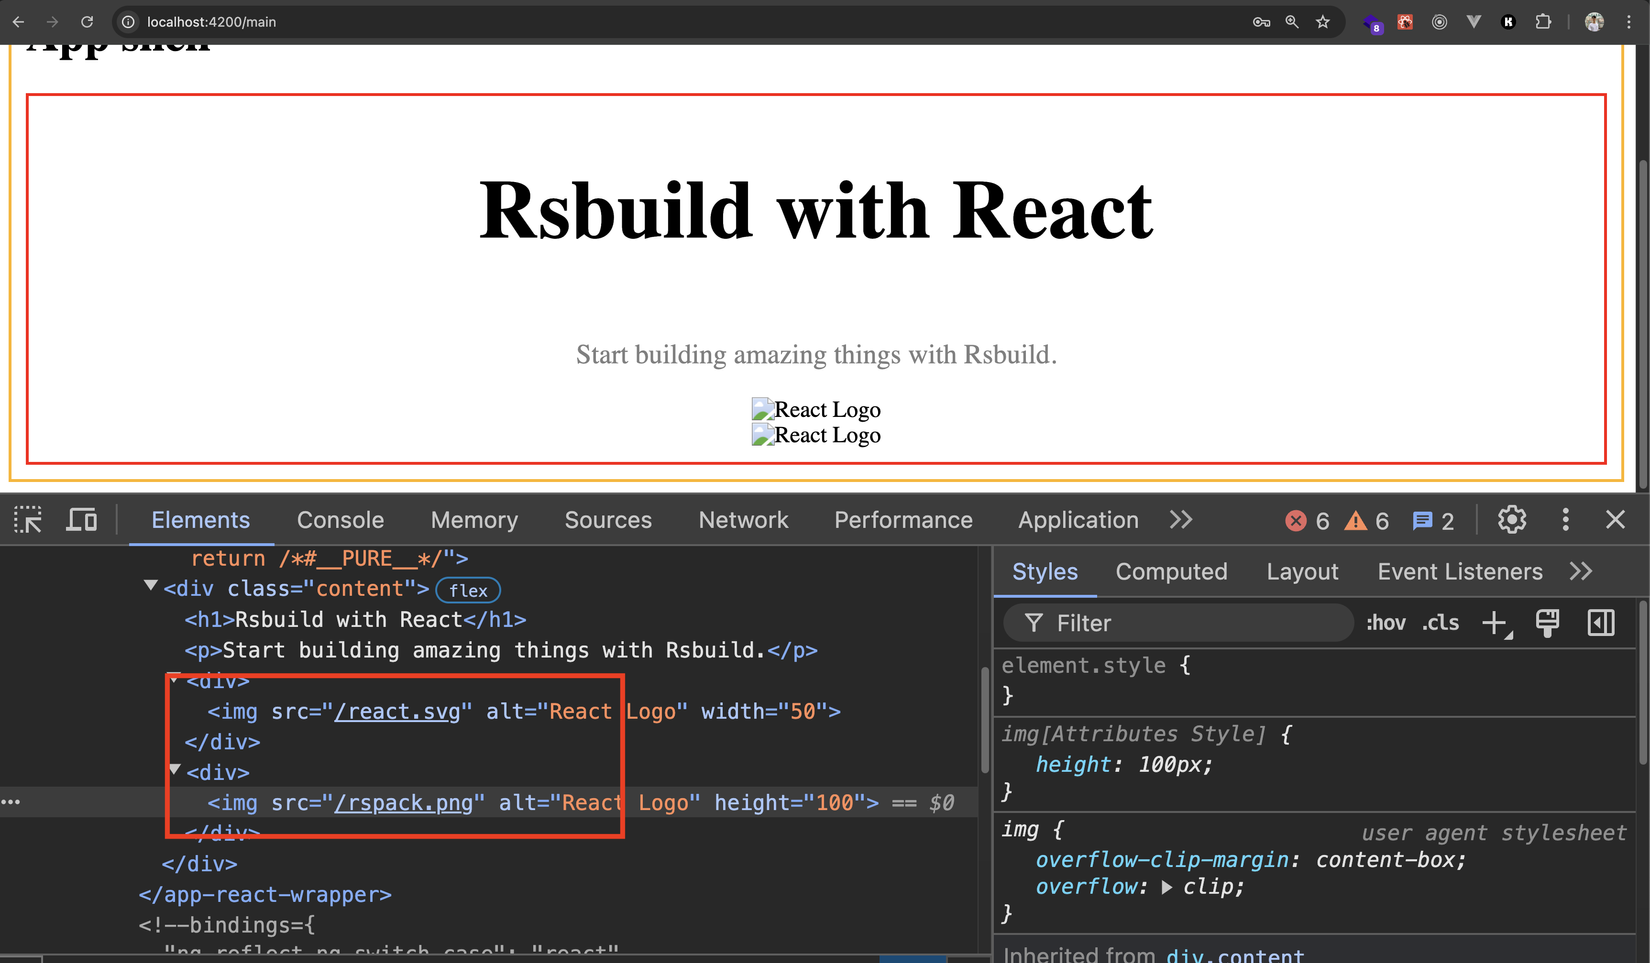
Ảnh ở đây rồi mà???
Thử nháy chuột phải copy link xem link ảnh thật sự nó là gì nhé:
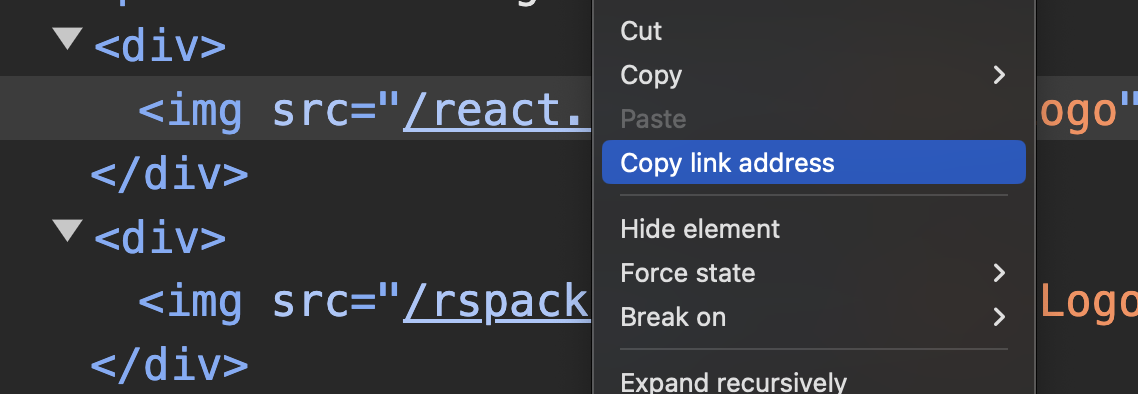
http://localhost:4200/react.svg
Ầuuuu, vậy là nó đang trỏ tới app-shell, mà hiển nhiên ta làm gì có lưu ảnh ở app-shell đâu, nó ở react-app cơ mà 🤔🤔
Âu cây, giờ ta sẽ tìm hiểu cách làm đúng nha, mình sẽ chia thành các ví dụ với các bundler khác nhau để tí nữa ta xem có gì khác nhau giữa chúng nhé
Rsbuild
Đầu tiên ta sẽ làm với react-app dùng rsbuild (là 1 tool dựa bên bundler rspack)
Thì như các bạn thấy nếu ta chỉ nói:
<img src="/react.svg" alt="React Logo" width={50} />
Thì khi load lên (runtime) cái đường dẫn kia nó sẽ ăn theo domain của app-shell, do vậy ta phải nói rõ cụ thể đường dẫn của nó ra, ví dụ:
http://localhost:3002/react.svg
Ủa vậy không lẽ deploy ra domain nào thì phải thay domain đó???
https://example.com/react.svg

https://test.com/react.svg
Xong cứ phải build đi build lại mỗi lần đổi domain ý hử??? 🧐
Thế thì ta nhớ tới một pattern mà anh em React hay dùng (nhất là bên React native khi cần import ảnh), đó là ta sẽ import vào file JS thì khi đó nó sẽ trả về cái public URL được resolve ở runtime
Cụ thể ta update lại code ở react-app/src/App.tsx như sau:
import "./App.css";
import reactLogo from "../public/react.svg";
import rsPackLogo from "../public/rspack.png";

const App = () => {
  return (
    <div className="content">
      <h1>Rsbuild with React</h1>
      <p>Start building amazing things with Rsbuild.</p>
      <div>
        <img src={reactLogo} alt="React Logo" width={50} />
      </div>
      <div>
        <img src={rsPackLogo} alt="React Logo" height={100} />
      </div>
    </div>
  );
};

export default App;
Sau đó ta lưu lại, quay trở lại app-shell F5 và login lại sẽ thấy:
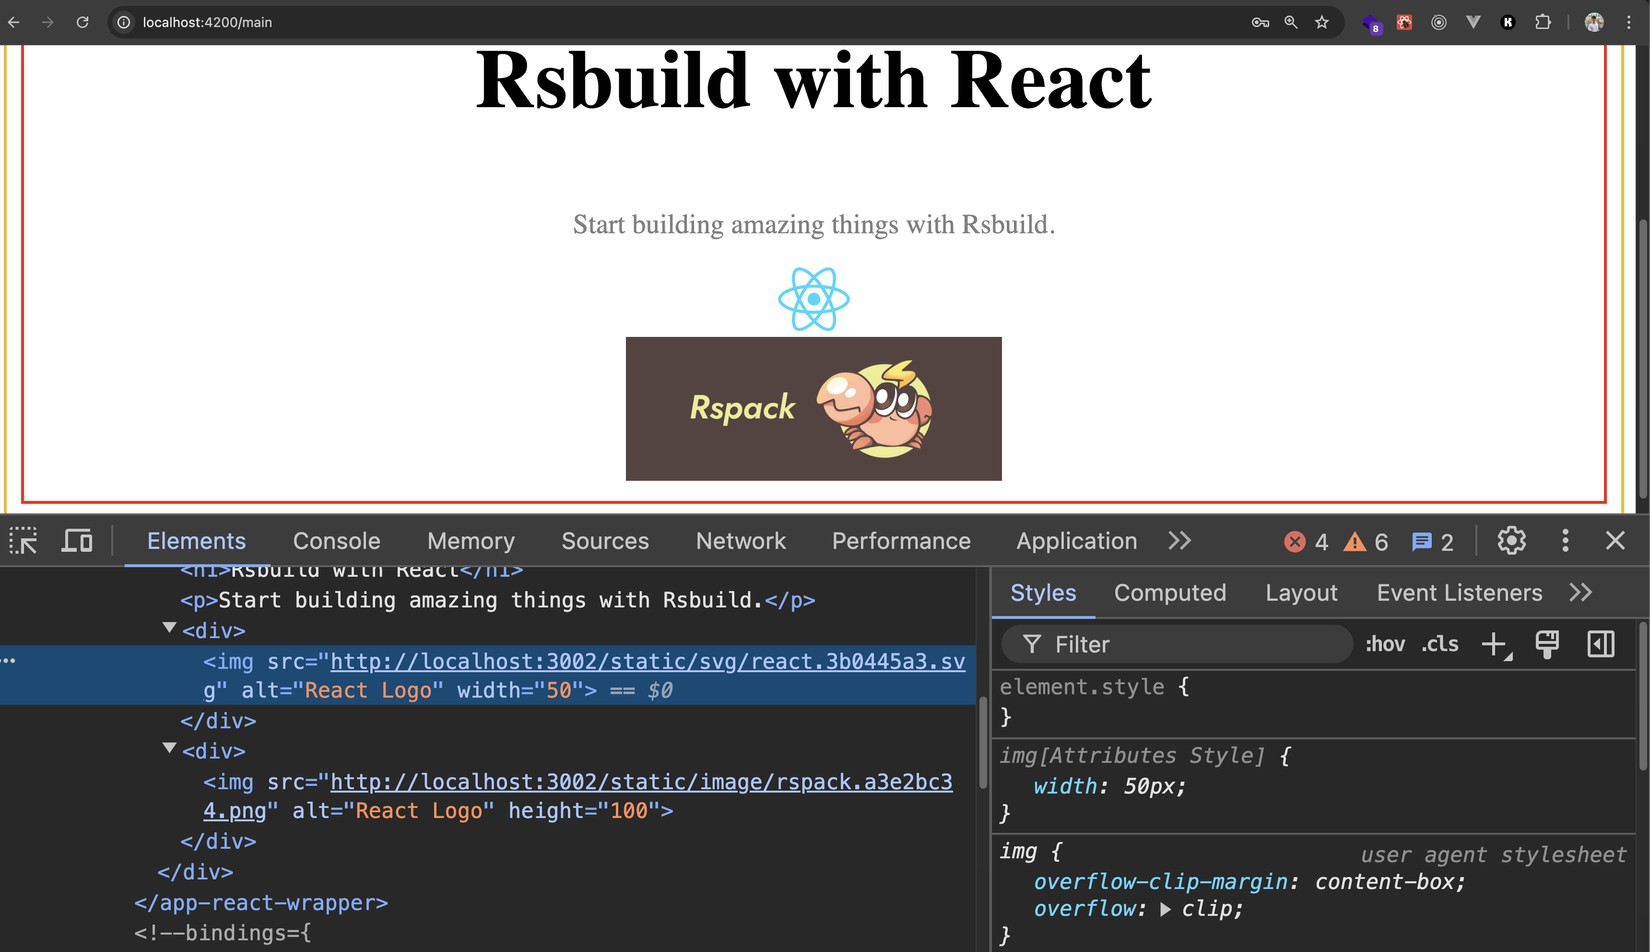
Ảnh lên ngon nghẻ roàiiii 🎉🎉🎉
Như các bạn thấy thì asset sau khi ta import vào file JS thì chúng thực tế được bundle và resolve thành những cái path khác nhau
Mặc định thì assets size < 4KB thì sẽ được inline thẳng thành base64 luôn, lớn hơn thì giữ URL. Xem ở đây: https://rsbuild.dev/guide/basic/static-assets#import-results
Ta có thể force inline bằng cách:
import reactLogo from "../public/react.svg?inline";
Thử update lại code như sau nhé:
import "./App.css";
import reactLogo from "../public/react.svg?inline";
import rsPackLogo from "../public/rspack.png";

const App = () => {
  return (
    <div className="content">
      <h1>Rsbuild with React</h1>
      <p>Start building amazing things with Rsbuild.</p>
      <div>
        <img src={reactLogo} alt="React Logo" width={50} />
      </div>
      <div>
        <img src={rsPackLogo} alt="React Logo" height={100} />
      </div>
    </div>
  );
};

export default App;
Sau đó lưu lại và ta sẽ thấy ảnh đã được inline luôn thành base64
Rsbuild xử lý rất nhiều loại định dạng cho assets, các bạn xem thêm ở đâu nhé: https://rsbuild.dev/guide/basic/static-assets#assets-format
Quá đơn giản ý nhờ, chỉ cần để ý chút thôi 😎, các loại khác ta cũng làm tương tự nhé: PNG, JPG, JSON, video,...
Nhớ là luôn dùng import cho assets trong kiến trúc Microfrontend nhé 😉
Vite
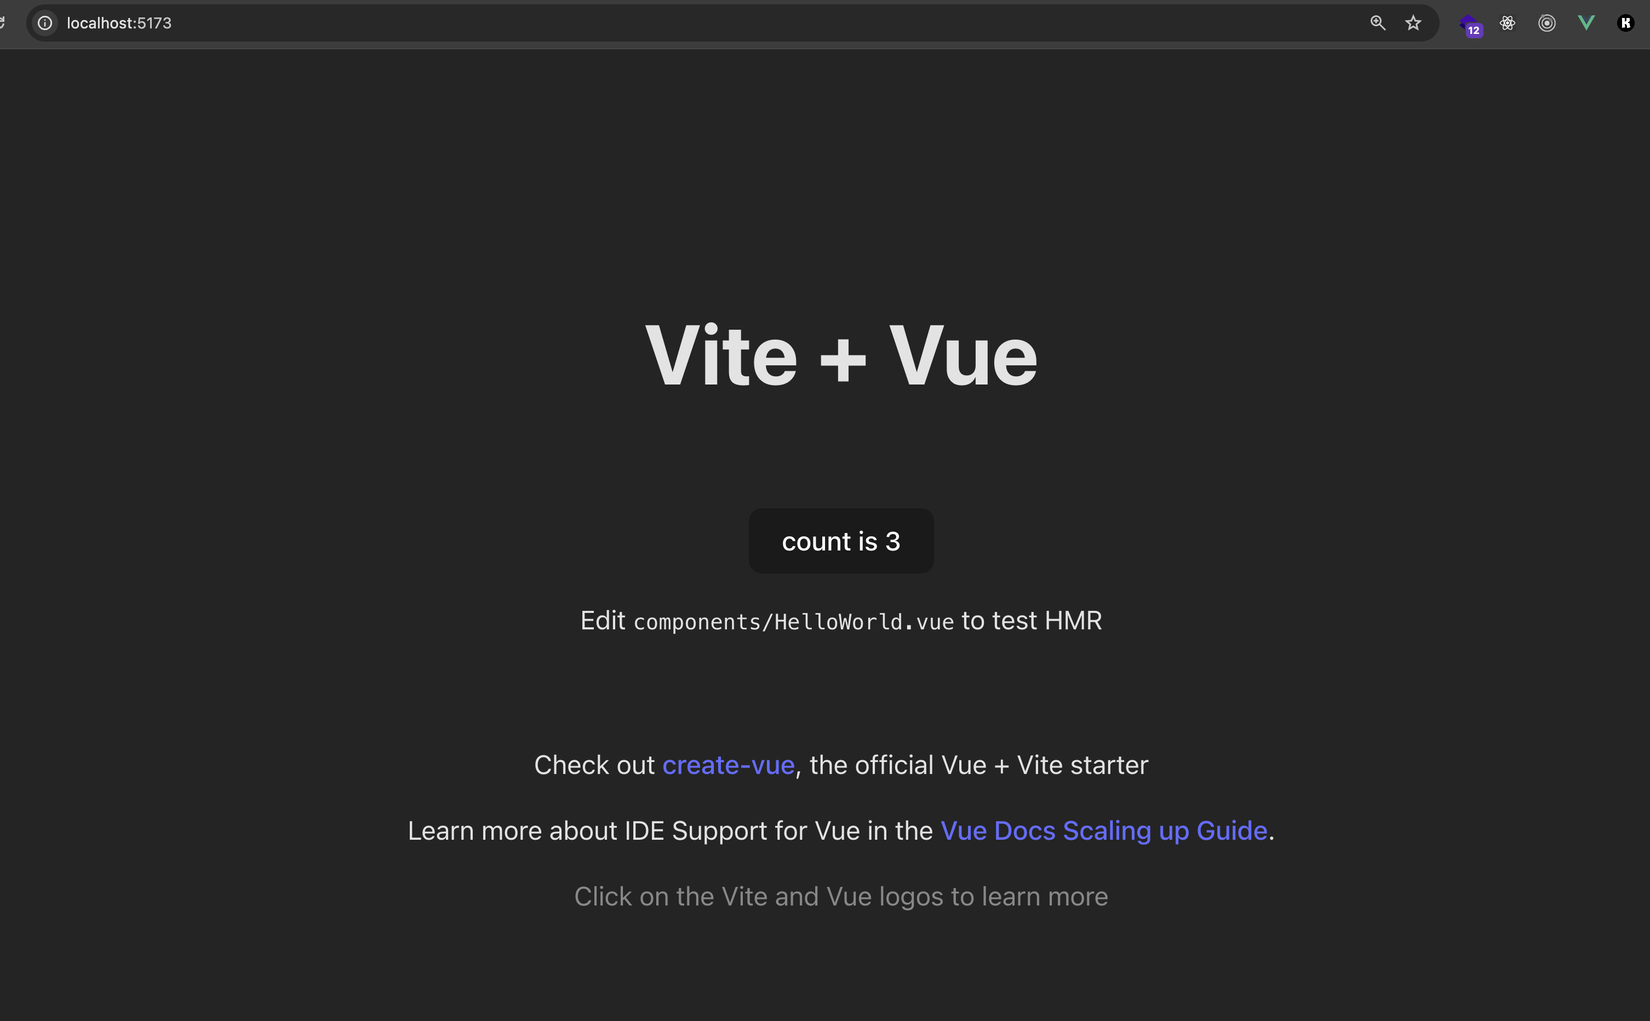
Với ý tưởng tương tự ta tiếp tục start vue-app lên và xem xử lý asset bên Vite có gì khác không nhé:
npm run dev
Sau đó ta mở trình duyệt ở địa chỉ http://localhost:5173thấy như sau:
Vẫn tương tự bên React, ta thêm ảnh vào nhé, các bạn sửa file vue-app/src/App.vue:
<script setup lang="ts">
import HelloWorld from './components/HelloWorld.vue'
import viteLogo from '../public/vite.svg'
import vueLogo from '../public/vue.png'
</script>

<template>
  <div>
    <a href="https://vitejs.dev" target="_blank">
      <!-- Logo here -->
       <img class="logo" :src="viteLogo" alt="Vite Logo" />
      </a>
      <a href="https://vuejs.org/" target="_blank">
        <!-- Logo here -->
        <img class="logo" :src="vueLogo" alt="Vite Logo" />
    </a>
  </div>
  <HelloWorld msg="Vite + Vue" />
</template>

<style scoped>
.logo {
  height: 6em;
  padding: 1.5em;
  will-change: filter;
  transition: filter 300ms;
}
.logo:hover {
  filter: drop-shadow(0 0 2em #646cffaa);
}
.logo.vue:hover {
  filter: drop-shadow(0 0 2em #42b883aa);
}
</style>
Sau đó lưu lại và quay ra trình duyệt F5:
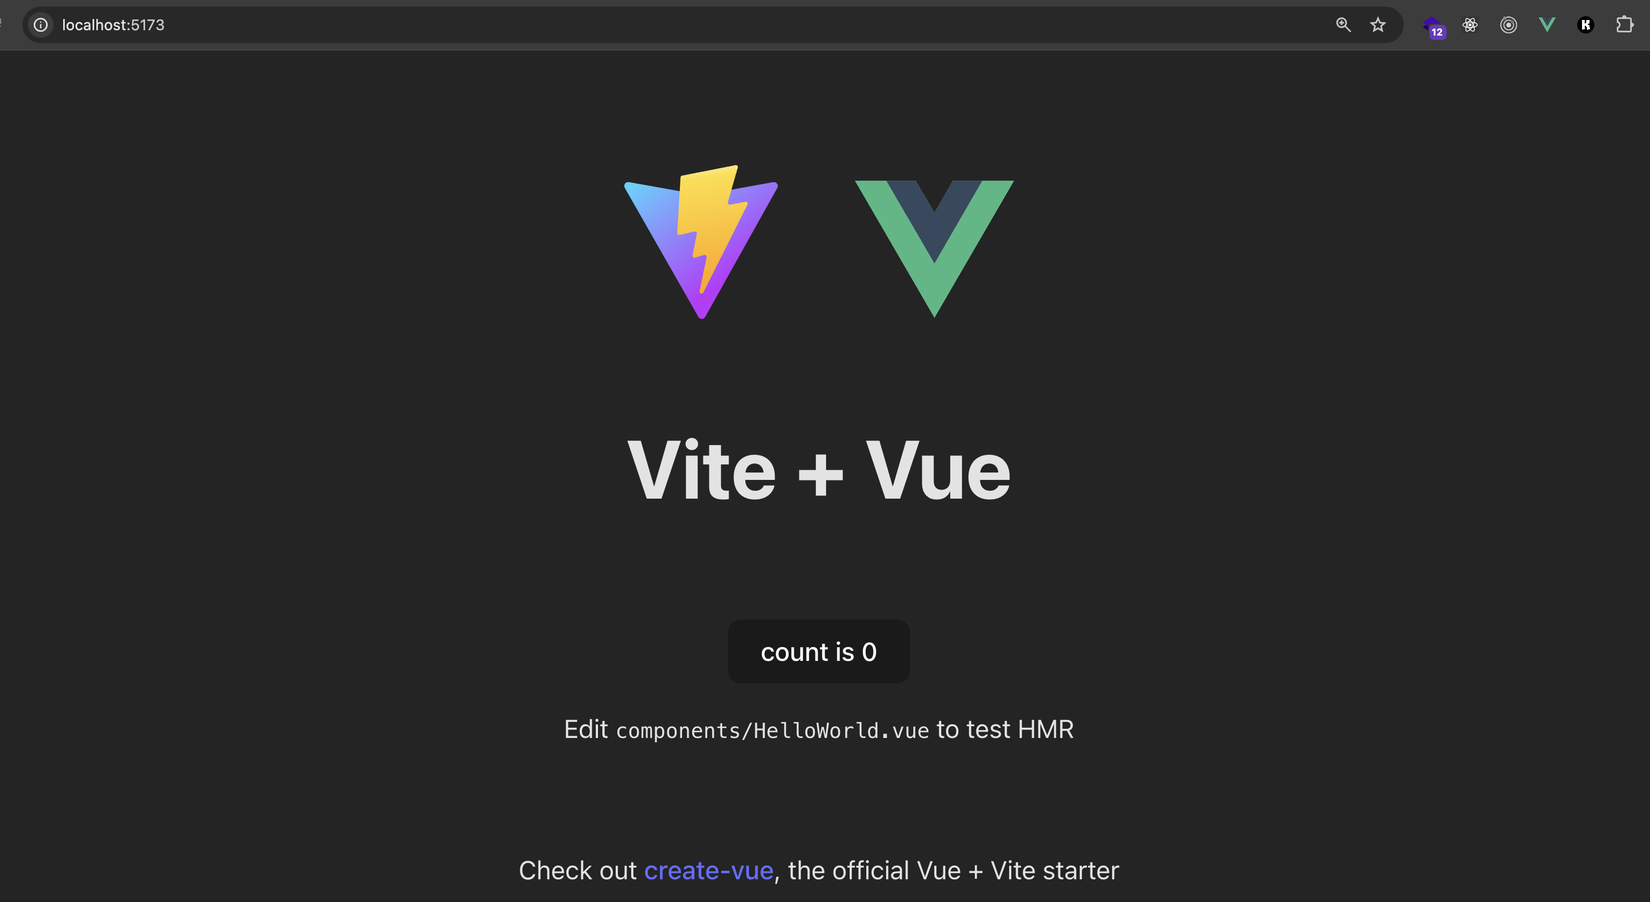
Thấy oke 👍️👍️, giờ ta quay sang app-shell xem lúc load nó lên như 1 MFE thì có oke không nhé.
Nhưng trước mắt ta cần build project vue-app và preview nó trước, vì Vite nó không gen ra file remoteEntry.js ở dev mode, các bạn chạy lần lượt 2 command sau:
npm run build

npm run preview
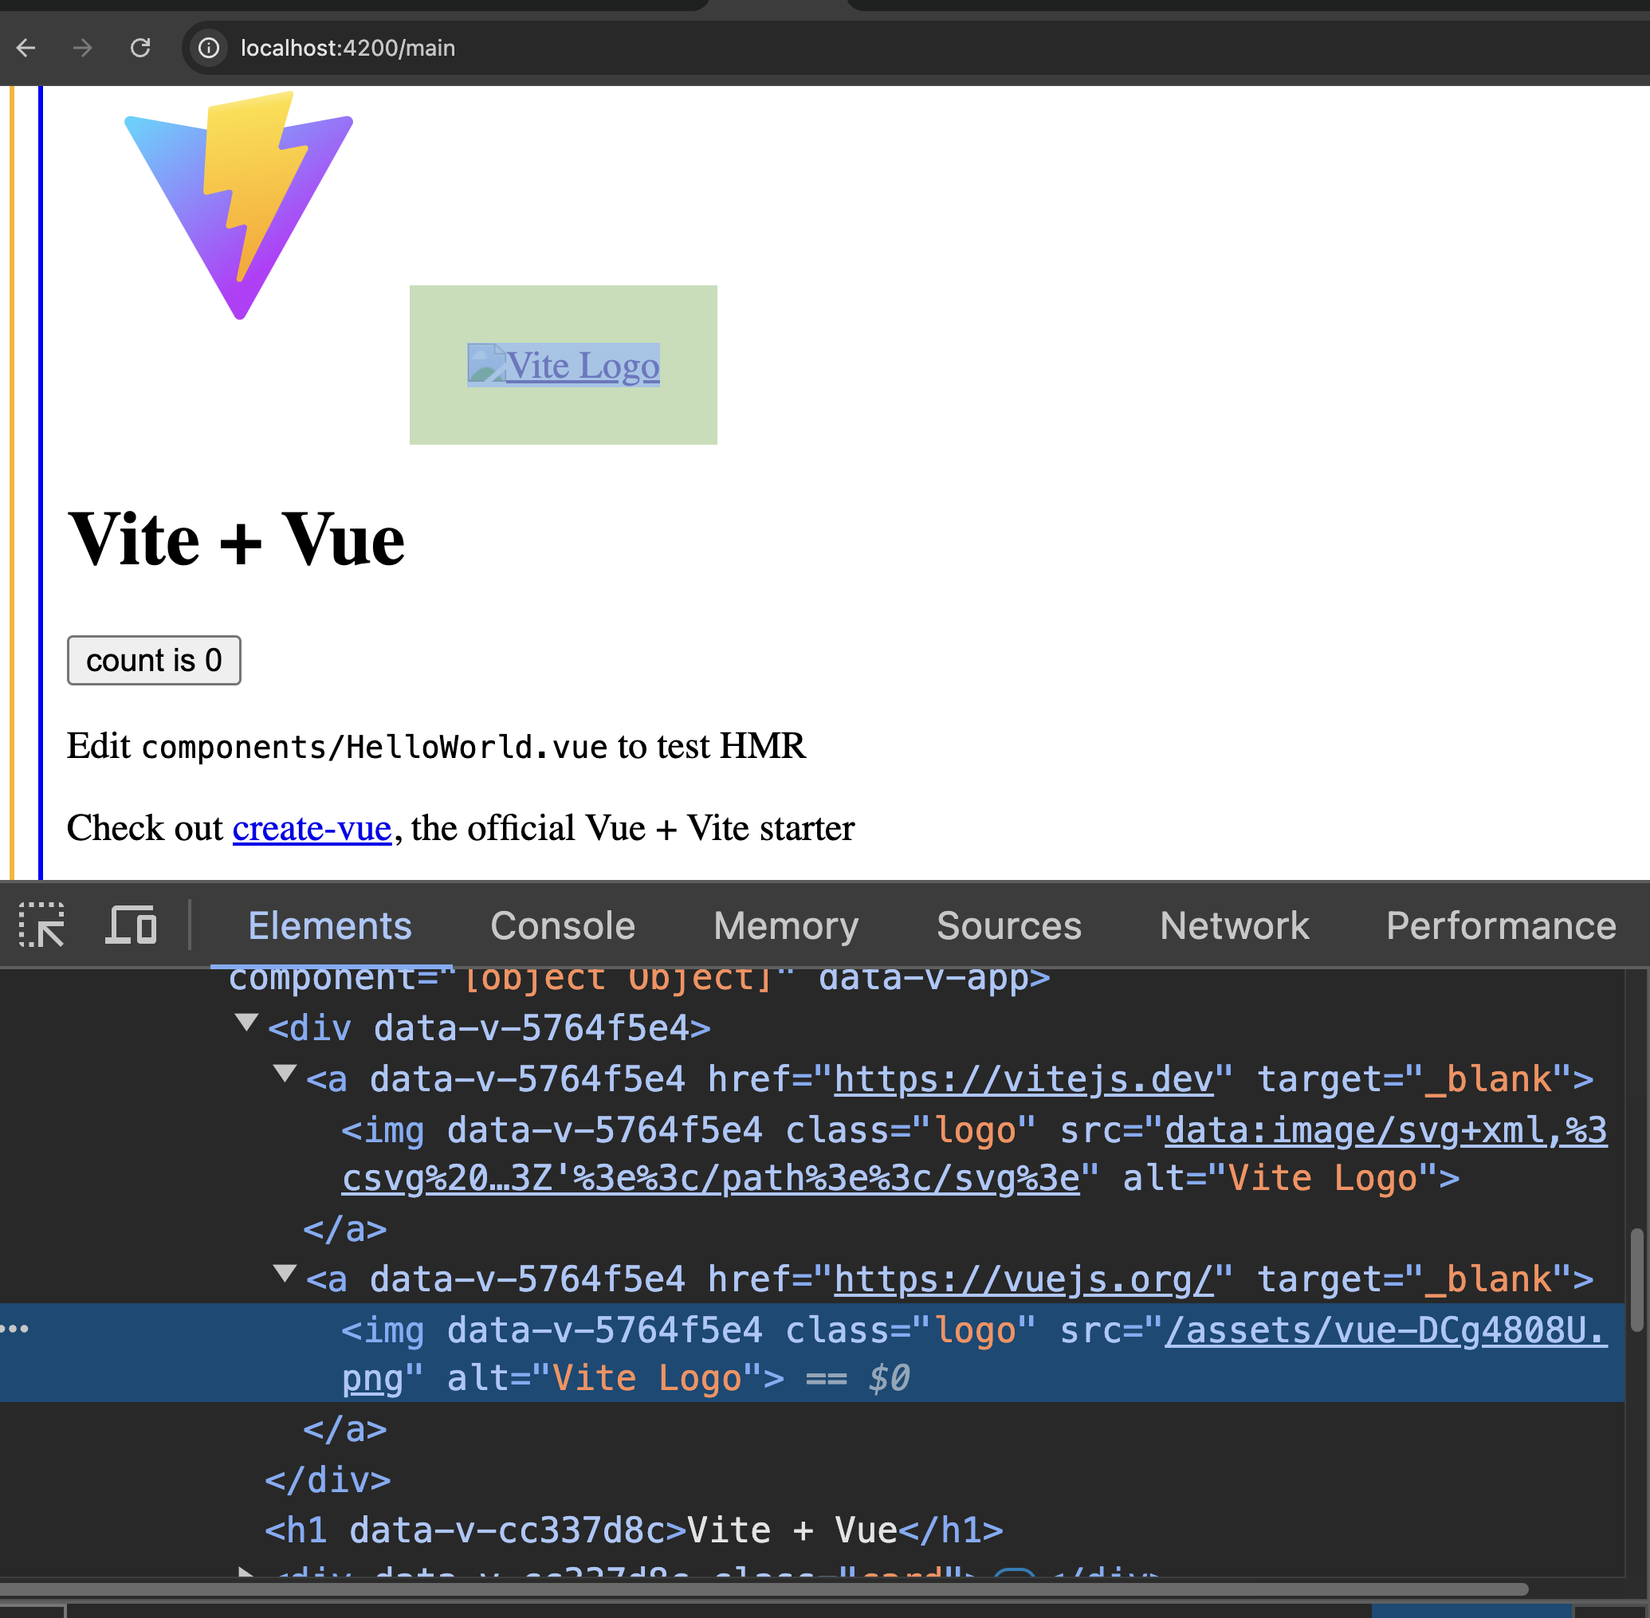
Oke thì ta sang app-shell, F5 và login lại nhé:
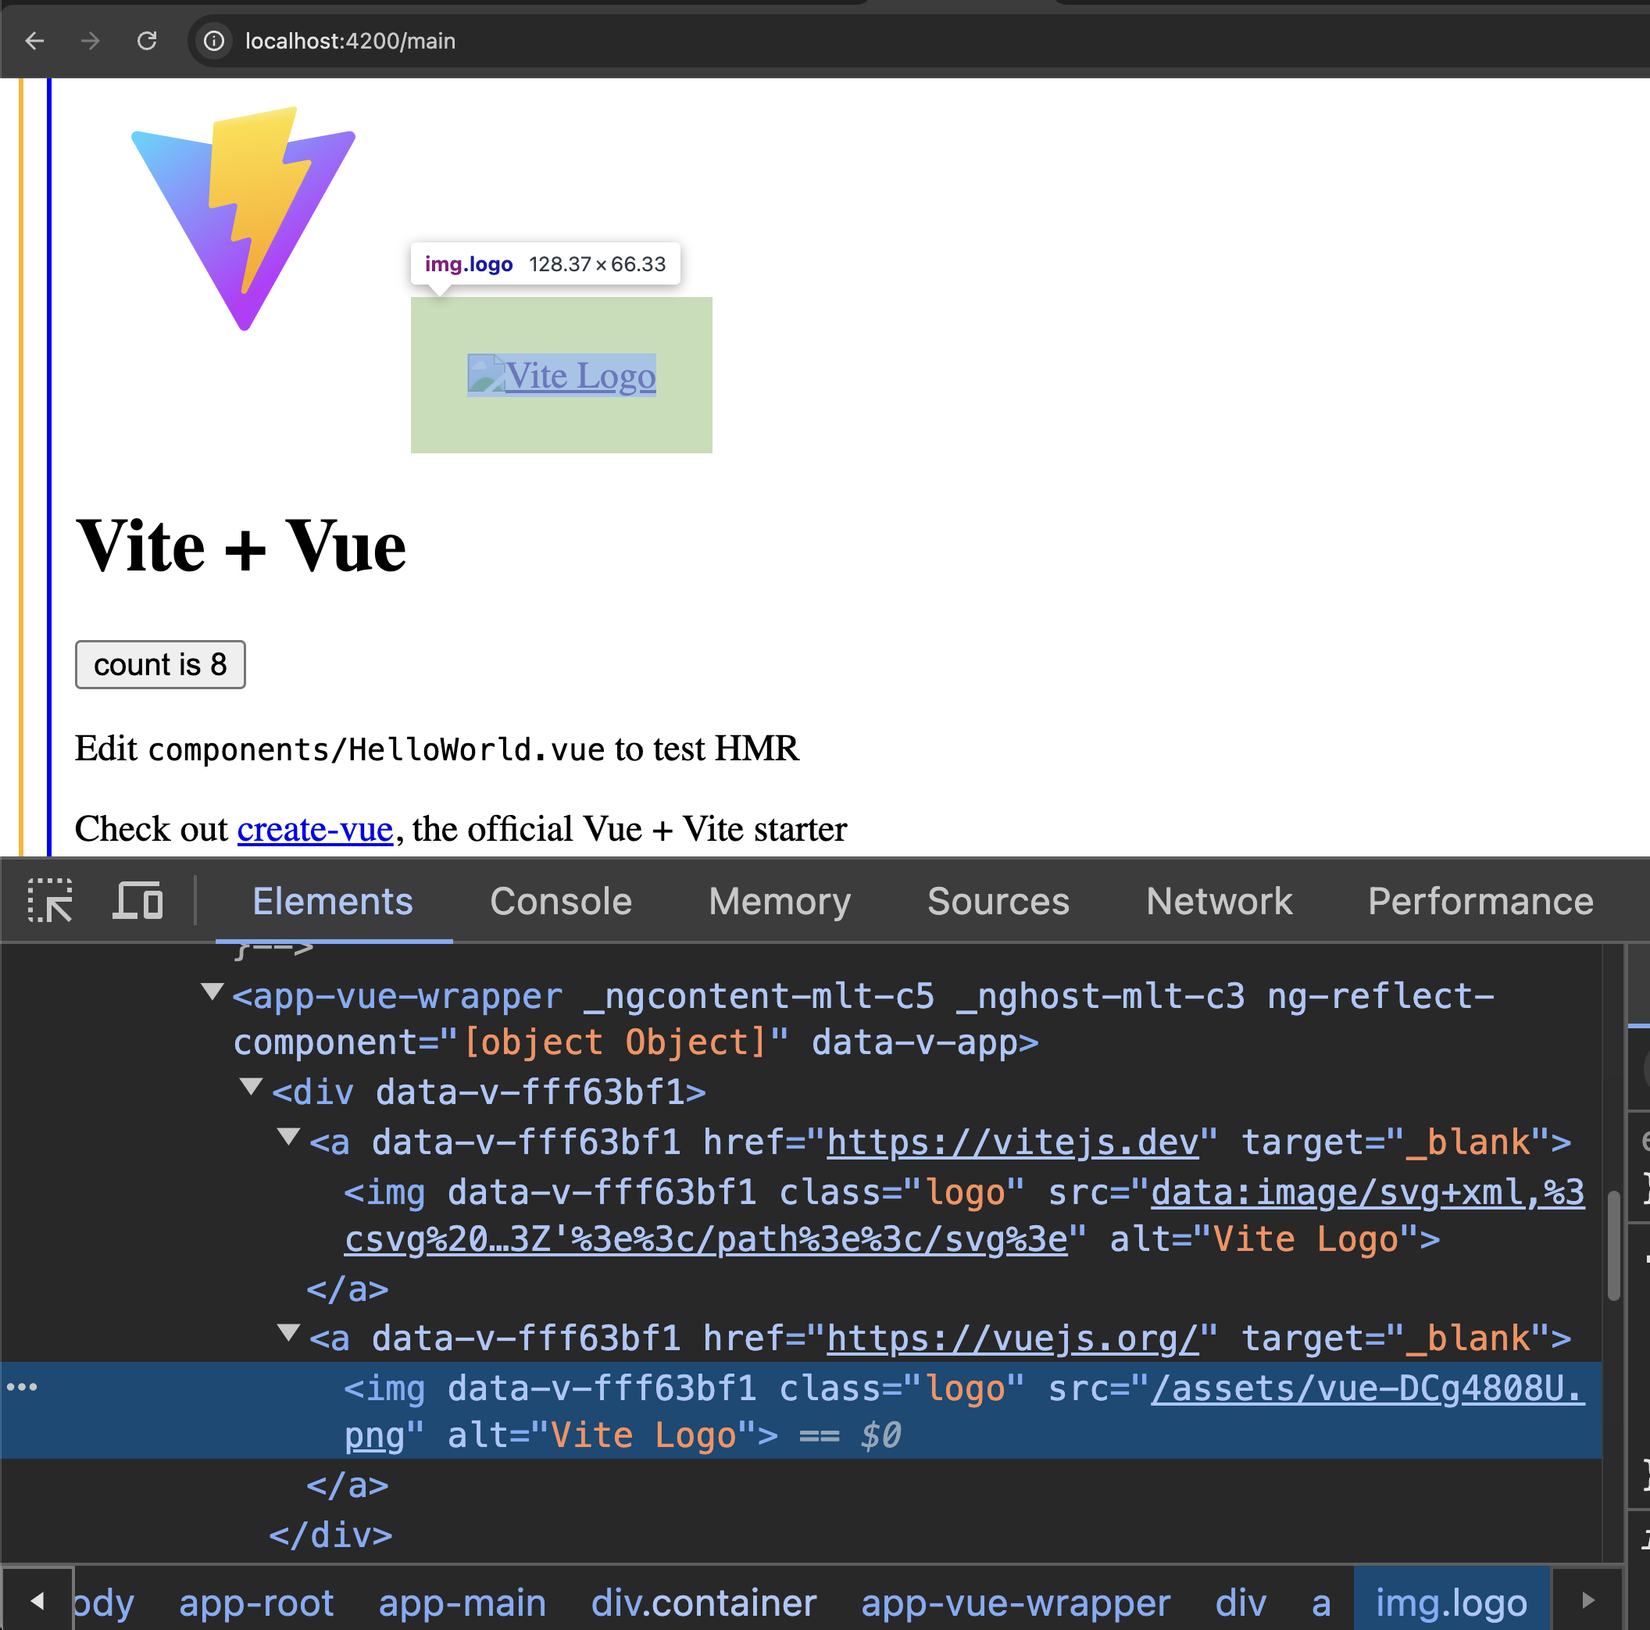
Ủa sao với Vue thì logo lên có 1 cái, cái còn lại mất tiêu zợ 🧐🧐
Thì ta để ý rằng, cái logo mà lên oke thì nó đang inline base64 (tức là nó được convert thành base64 lúc bundle và inline thẳng vào code), nên nó luôn có sẵn ở đó và display luôn
Tương tự rsbuild, image size nhỏ hơn 4KB sẽ được Vite inline luôn. Xem thêm: https://vitejs.dev/config/build-options.html#build-assetsinlinelimit
Còn cái logo Vue thì ta lại gặp vấn đề là nó đang không có địa chỉ rõ ràng (http...), do vậy nó mặc định trỏ về app shell
Cái này thì Vite hơi khác rsbuild đó nha 😁, với Vite thì folder public là 1 folder đặc biệt, và những thứ mà import được vào file JS thì chỉ nên ở bên trong src
Nếu ta để ý terminal nơi mà ta chạy npm run dev cho vue-app sẽ thấy có warning:
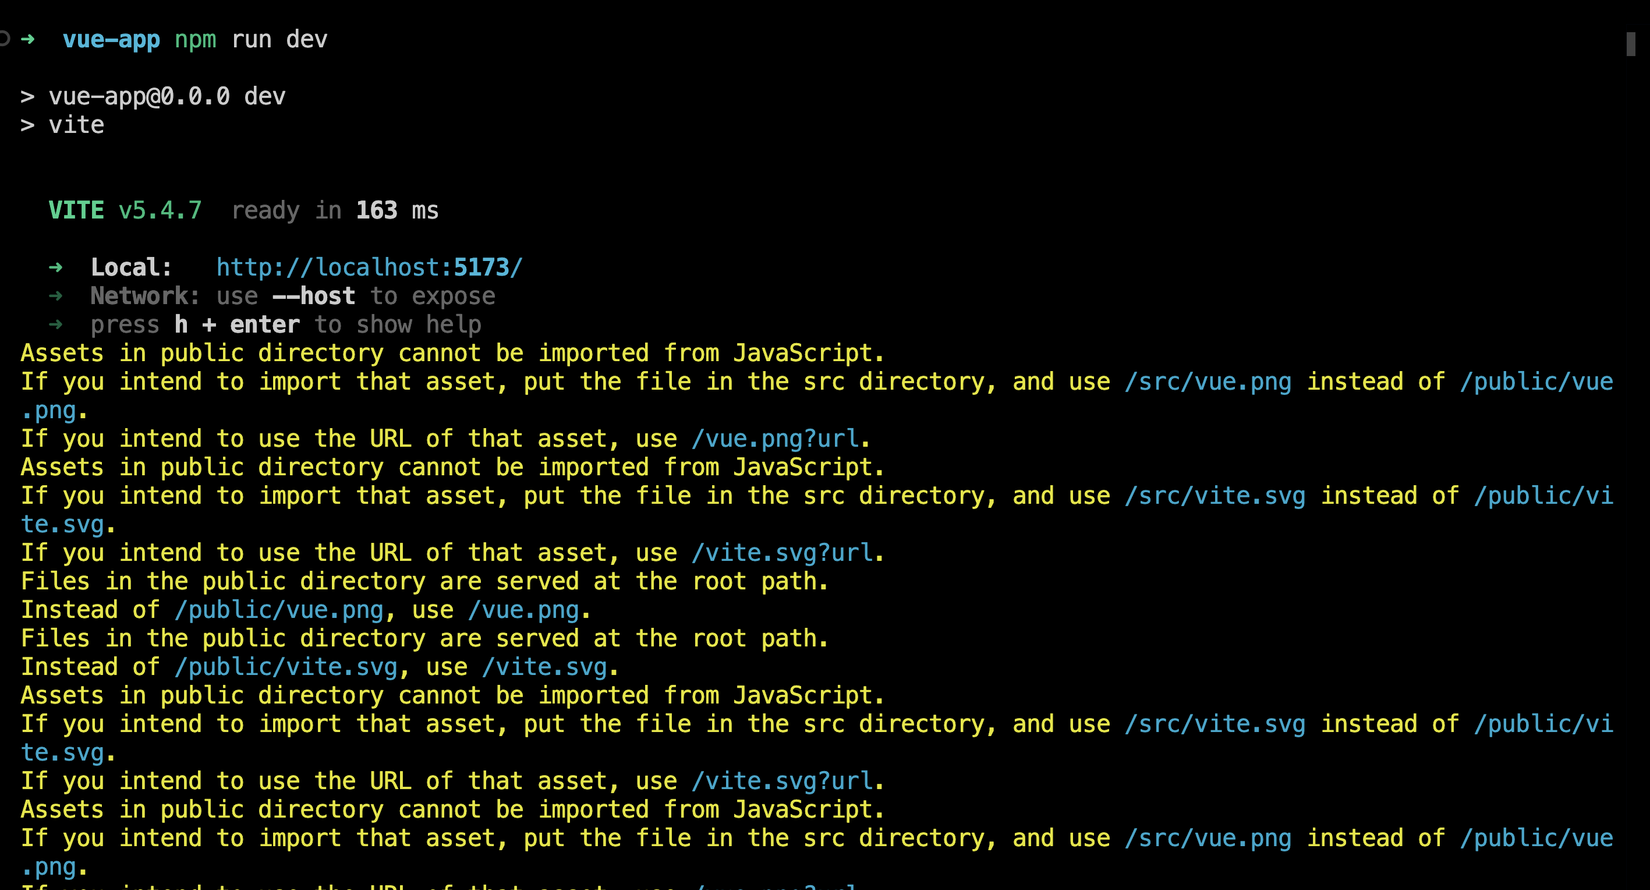
Cực kì cụ thể và rõ ràng 😍, Vite bảo ta rằng ta nên để nó vào src. Do vậy ta tạo 1 folder để lưu các assets nha, đặt tên là assets luôn cho cụ thể:
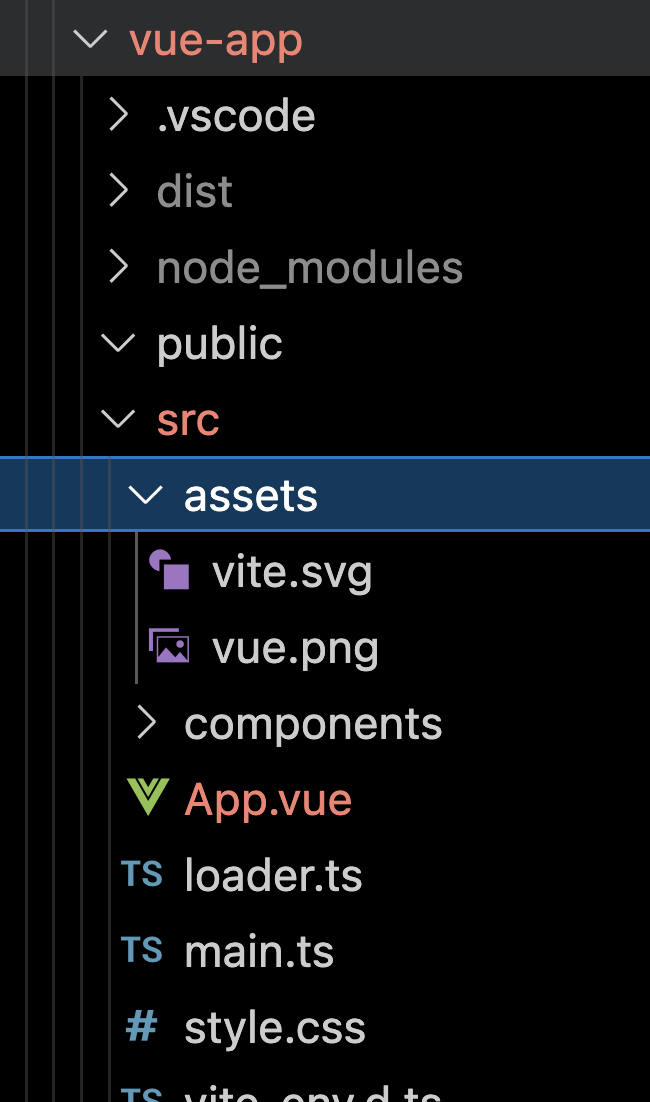
Sau đó ta move luôn 2 file logo vào trong đó nhé. Sau đó ta sửa lại code nha:
<script setup lang="ts">
import HelloWorld from './components/HelloWorld.vue'
import viteLogo from './assets/vite.svg'
import vueLogo from './assets/vue.png'
</script>

<template>
  <div>
    <a href="https://vitejs.dev" target="_blank">
      <!-- Logo here -->
       <img class="logo" :src="viteLogo" alt="Vite Logo" />
      </a>
      <a href="https://vuejs.org/" target="_blank">
        <!-- Logo here -->
        <img class="logo" :src="vueLogo" alt="Vite Logo" />
    </a>
  </div>
  <HelloWorld msg="Vite + Vue" />
</template>

<style scoped>
.logo {
  height: 6em;
  padding: 1.5em;
  will-change: filter;
  transition: filter 300ms;
}
.logo:hover {
  filter: drop-shadow(0 0 2em #646cffaa);
}
.logo.vue:hover {
  filter: drop-shadow(0 0 2em #42b883aa);
}
</style>
Lưu lại build và preview nhé:
npm run build

npm run preview
Sau đó ta quay lại app-shell, F5 và test lại nhé:
Ủa ủa???? Vẫn không lên????? oắt đờ héo? Còn chỗ nào chưa đúng nữa à??? 🧐🧐
Thì thực tế đây là behaviour của Vite, nó vẫn không bundle ra full URL cho chúng ta đâu, nhiều người kêu lắm: https://github.com/vitejs/vite/issues/3522 😂
Nhưng trên trang chủ của Vite cũng có hướng dẫn cách đơn giản để tạo full URL cho assets: https://vitejs.dev/guide/assets#new-url-url-import-meta-url
Ta sửa lại code như sau nhé:
<script setup lang="ts">
import HelloWorld from './components/HelloWorld.vue'

const viteLogo = new URL('./assets/vite.svg', import.meta.url).href
const vueLogo = new URL('./assets/vue.png', import.meta.url).href

</script>

//......
Ở đây ta dùng import.meta.urlnó sẽ luôn trỏ về domain hiện tại mà assets được host, nên ví dụ mà ta có deploy vue-app ở các domain khác nhau thì nó cũng tự update
Giờ ta quay lại app-shell, F5 và test lần nữa nhé:
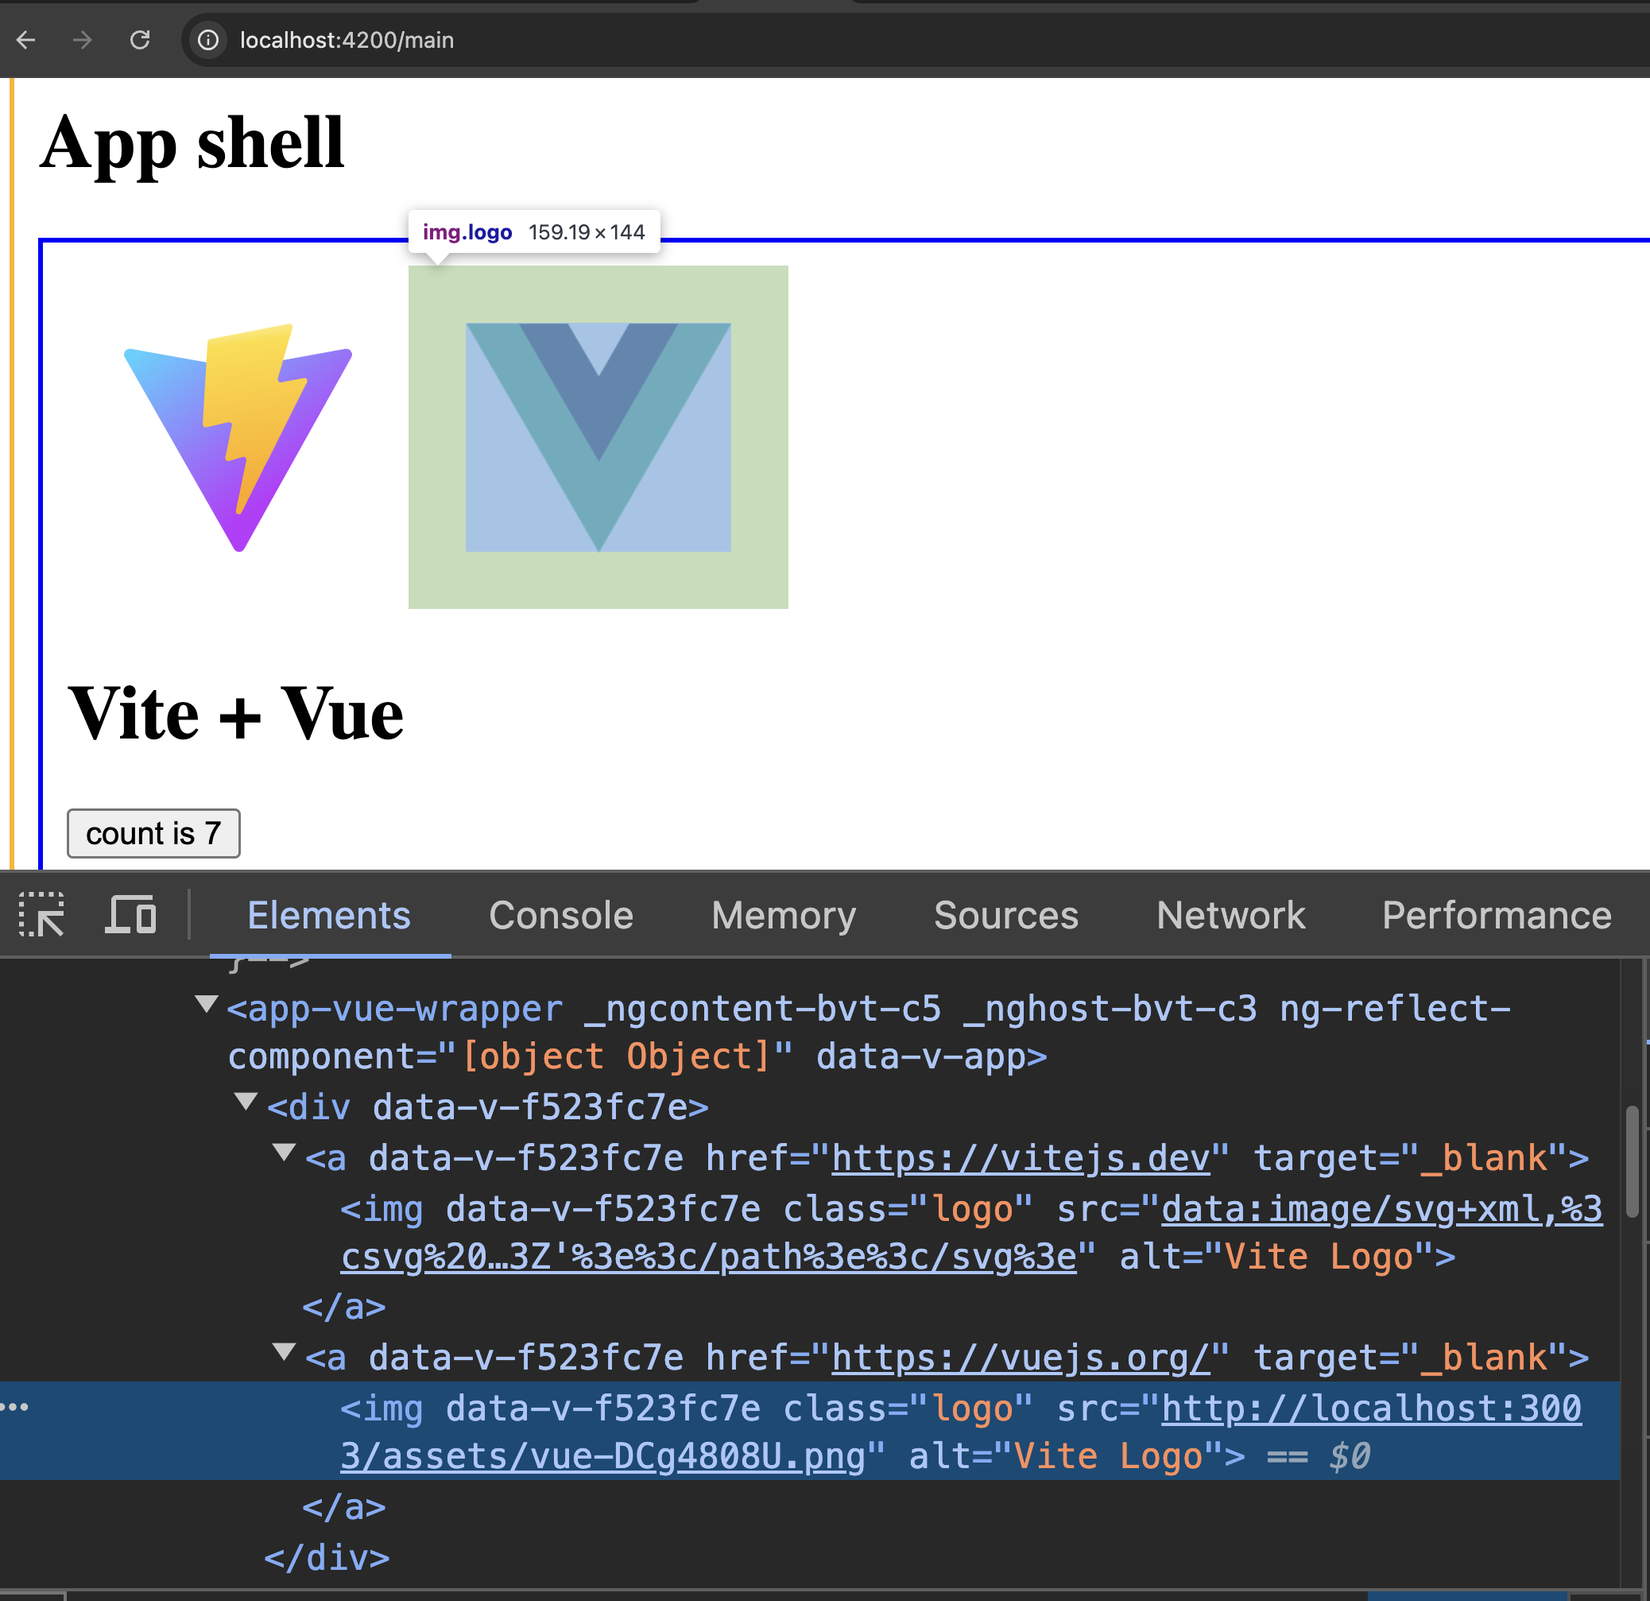
Pòm pòm chíu chíu 🎉🎉. Lên roàiii
Webpack
Thí sinh tiếp theo là angular-app với Webpack 🤣🤣
Ta start nó lên nhé:
npm start
Sau đó ta quay lại app-shell, F5 login và kiểm tra xem Angular lên oke chưa đã nha:
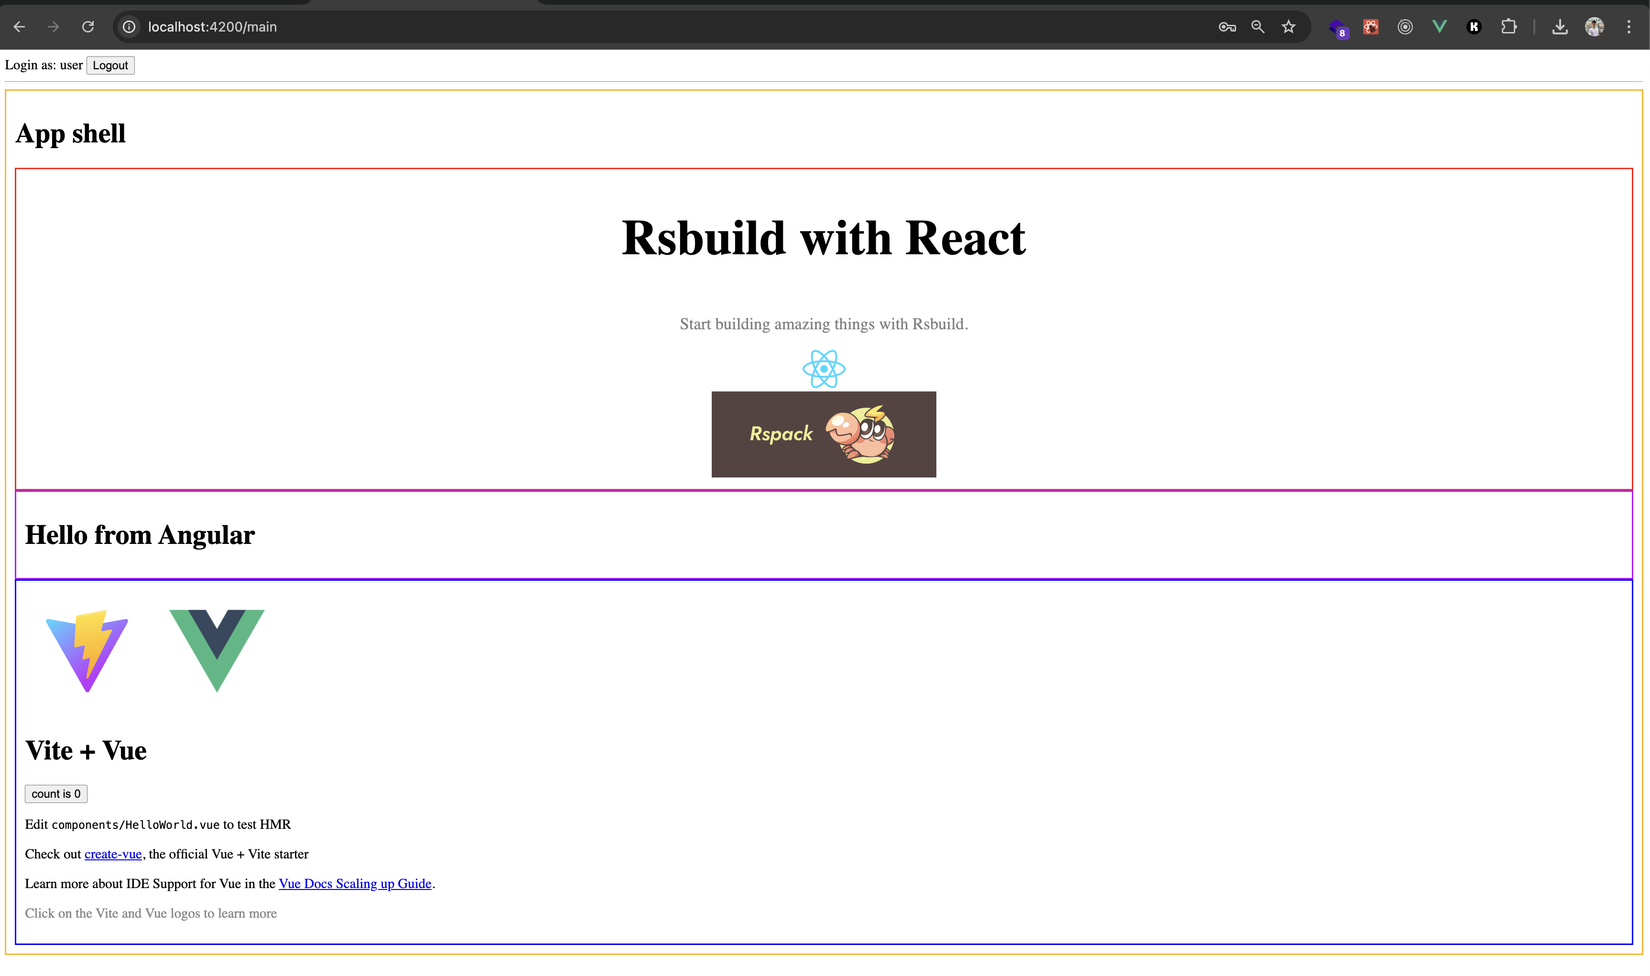
Ở trong angular-app mình có lưu 1 cái logo Angular ở assets. Bây giờ với kinh nghiệm ta học được từ đầu bài đến giờ, ta sẽ không mắc lại sai lầm import asset nữa 😎😎
Ta mở file angular-app/src/app/app.component.ts và thực hiện import file ảnh vào:
import { Component } from '@angular/core';
import angularLogo from '../assets/angular.png';
@Component({
  selector: 'app-root',
  templateUrl: './app.component.html',
  styleUrls: ['./app.component.scss']
})
export class AppComponent {
  angularLogo = angularLogo;
}
Sau đó ở file app.component.html ta display file ảnh này:
<h1>Hello from Angular</h1>
<img [src]="angularLogo" alt="Angular Logo" />
Ta lưu lại, và pòmmmmmmmmmmmmmmmmmmmmmm, lỗi compile 🤬🤬🤬:
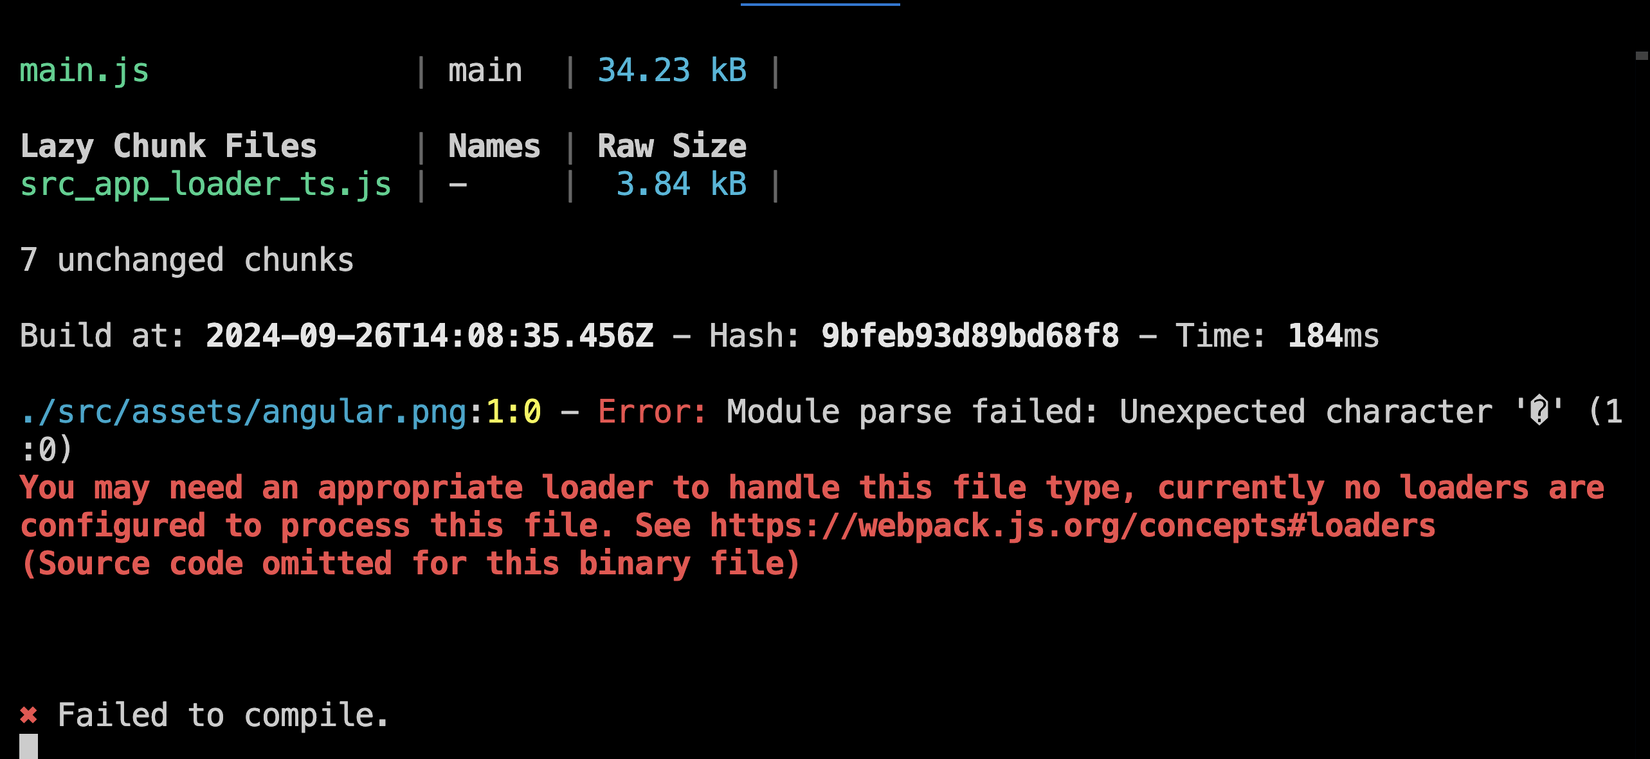
Lỗi gì vậy nhờ, để ý lắm rồi mờ 🧐🧐
Ở lỗi in ra có 1 cái link ta click vào thì thấy đoạn đầu người ta nói như sau: Out of the box, webpack only understands JavaScript and JSON files
Ý bảo mặc định thì Webpack nó chỉ hiểu code Javascript và JSON thôi, nếu ta cần load những file khác (ví dụ ảnh) thì ta cần phải có những cái loader tương ứng. Hơn nữa ta đang làm việc với static assets, thì Webpack nó có support cho cái này luôn, và nó gọi là Asset Modules
Giờ ta sửa lại file angular-app/webpack.config.js như sau nhé:
const { ModuleFederationPlugin } = require("webpack").container;

/** @type {import('webpack').Configuration} */
module.exports = {
  output: {
    publicPath: "auto",
    uniqueName: "angular_app",
    scriptType: "text/javascript",
    assetModuleFilename: 'images/[hash][ext][query]',
  },
  optimization: {
    runtimeChunk: false,
  },
  module: {
    rules: [
      {
        test: /\.(png|jpe?g|gif|svg)$/i,
        type: "asset",
      },
    ],
  },
  plugins: [
    new ModuleFederationPlugin({
      name: "angular_mfe_app",
      filename: "remoteEntry.js",
      exposes: {
        AngularAppLoader: "./src/app/loader.ts",
      },
      shared: {
        "@angular/core": { singleton: true },
        "@angular/common": { singleton: true },
        "@angular/router": { singleton: true },
        "@angular/common/http": { singleton: true },
      },
    }),
  ],
  devServer: {
    // this is to remove the error "ws://localhost:4200/ws failed" in the console when we disable live reload
    // also this solve websocket proxy issue in local
    webSocketServer: false,
  },
};
Ở trên mình thêm vào 2 thứ:
-
1 là
module.rulesở đó mình khai báo các file có đuôi như trên thì sẽ coi làasset -
2 là
assetModuleFilename: đây là đường dẫn mà webpack nó sẽ output ra file asset của chúng ta
Giờ ta lưu lại và và start lại angular-app nhé:
// kill terminal angular-app đi trước

npm start
Sau đó quay lại app-shell F5 login và ta sẽ thấy như sau:
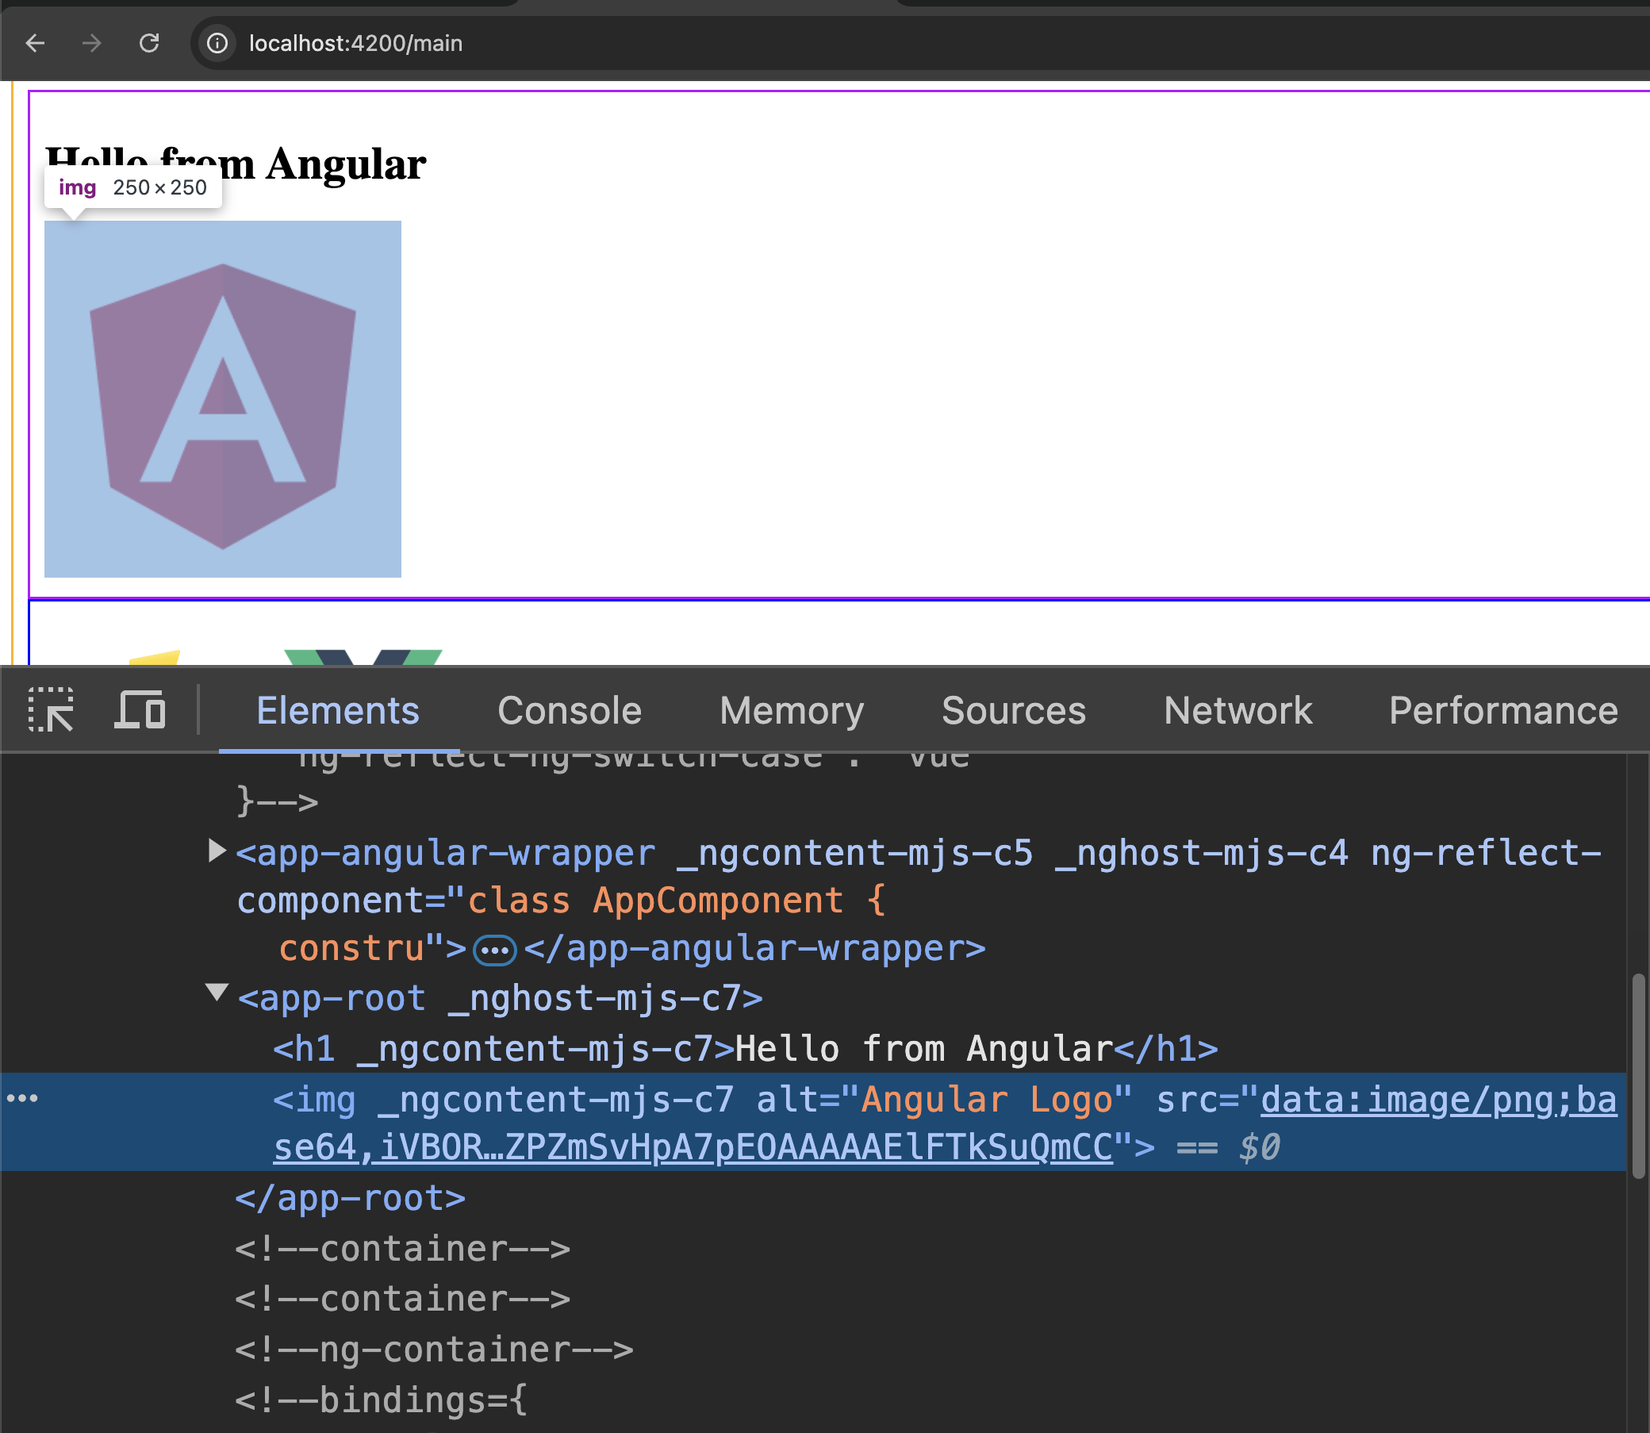
Logo Angular lên rồi 🥰🥰🥰, và ở đây nó được convert thành base64 + inline luôn.
Mặc định với các file < 8KB thì Webpack nó sẽ inline base64 luôn, còn lớn hơn 8KB thì sẽ giữ URL http://localhost...../image.png
Nếu ta chỉ muốn dùng URL thì update webpack.config.js đổi module.rules.type -> asset/resource nhé (hoặc asset/inline nếu ta chỉ muốn inline base64), ở đây mình để asset để Webpack nó tự quyết định
Tiếp theo, vẫn ở folder assets, ta tạo tiếp 1 file test.json và import vào xem nó có oke không nhé:
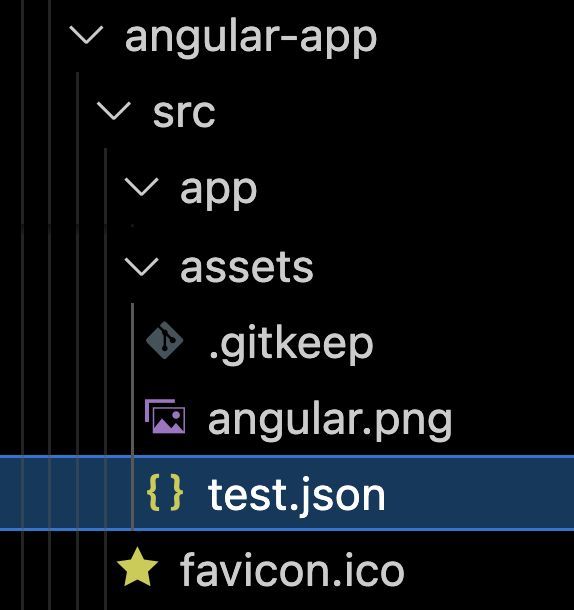
Nội dung như sau:
{
  "a": 1
}
Giờ ta quay lại app.component.ts và import file JSON vào:
import { Component } from '@angular/core';
import angularLogo from '../assets/angular.png';
import json from '../assets/test.json';

@Component({
  selector: 'app-root',
  templateUrl: './app.component.html',
  styleUrls: ['./app.component.scss']
})
export class AppComponent {
  angularLogo = angularLogo;

  ngOnInit() {
    console.log('json', json);
  }
}
Thì ở đây ta thấy nó in ra lỗi như sau:
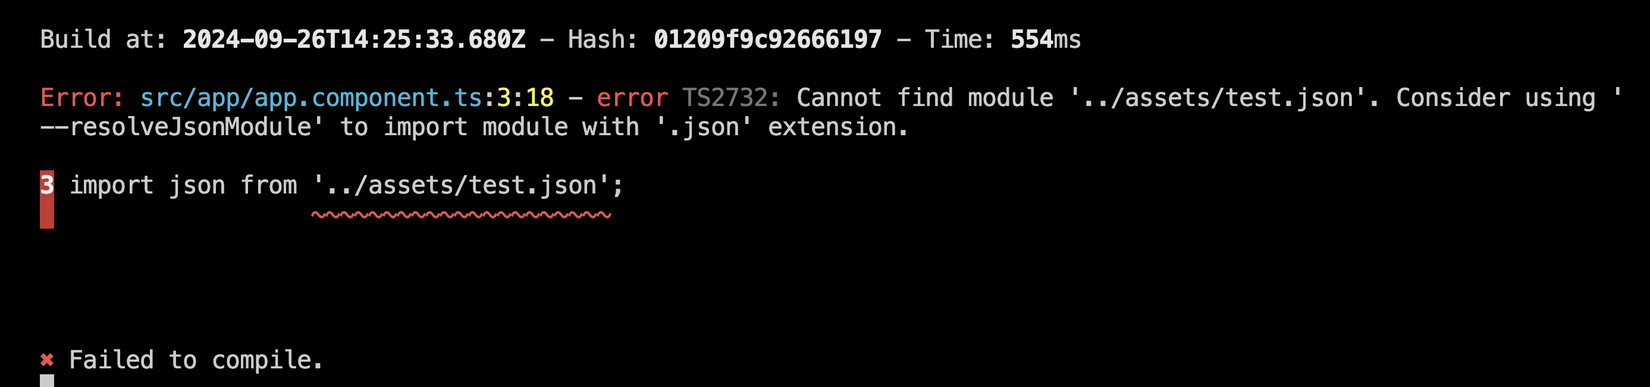
Ủa sao bên trên nói Webpack nó hiểu Javascript và JSON mà???? 😝😝
Thì thực tế lỗi này throw ra bởi Typescript, mặc định TS nó không support import JSON đâu, mà ta cần enable tính năng đó lên, ta update file angular-app/tsconfig.json, như sau nhé:
/* To learn more about this file see: https://angular.io/config/tsconfig. */
{
  "compileOnSave": false,
  "compilerOptions": {
    "baseUrl": "./",
    "outDir": "./dist/out-tsc",
    "forceConsistentCasingInFileNames": true,
    "strict": true,
    "noImplicitOverride": true,
    "noPropertyAccessFromIndexSignature": true,
    "noImplicitReturns": true,
    "noFallthroughCasesInSwitch": true,
    "sourceMap": true,
    "declaration": false,
    "downlevelIteration": true,
    "experimentalDecorators": true,
    "moduleResolution": "node",
    "importHelpers": true,
    "target": "ES2022",
    "module": "ES2022",
    "useDefineForClassFields": false,
    "lib": [
      "ES2022",
      "dom"
    ],
    "resolveJsonModule": true
  },
  "angularCompilerOptions": {
    "enableI18nLegacyMessageIdFormat": false,
    "strictInjectionParameters": true,
    "strictInputAccessModifiers": true,
    "strictTemplates": true
  }
}
Ở trên ta thêm "resolveJsonModule": true vào, ta lưu lại sau đó tắt terminal của angular-app đi lần nữa và start lại:
npm start
Pòm 🔫:
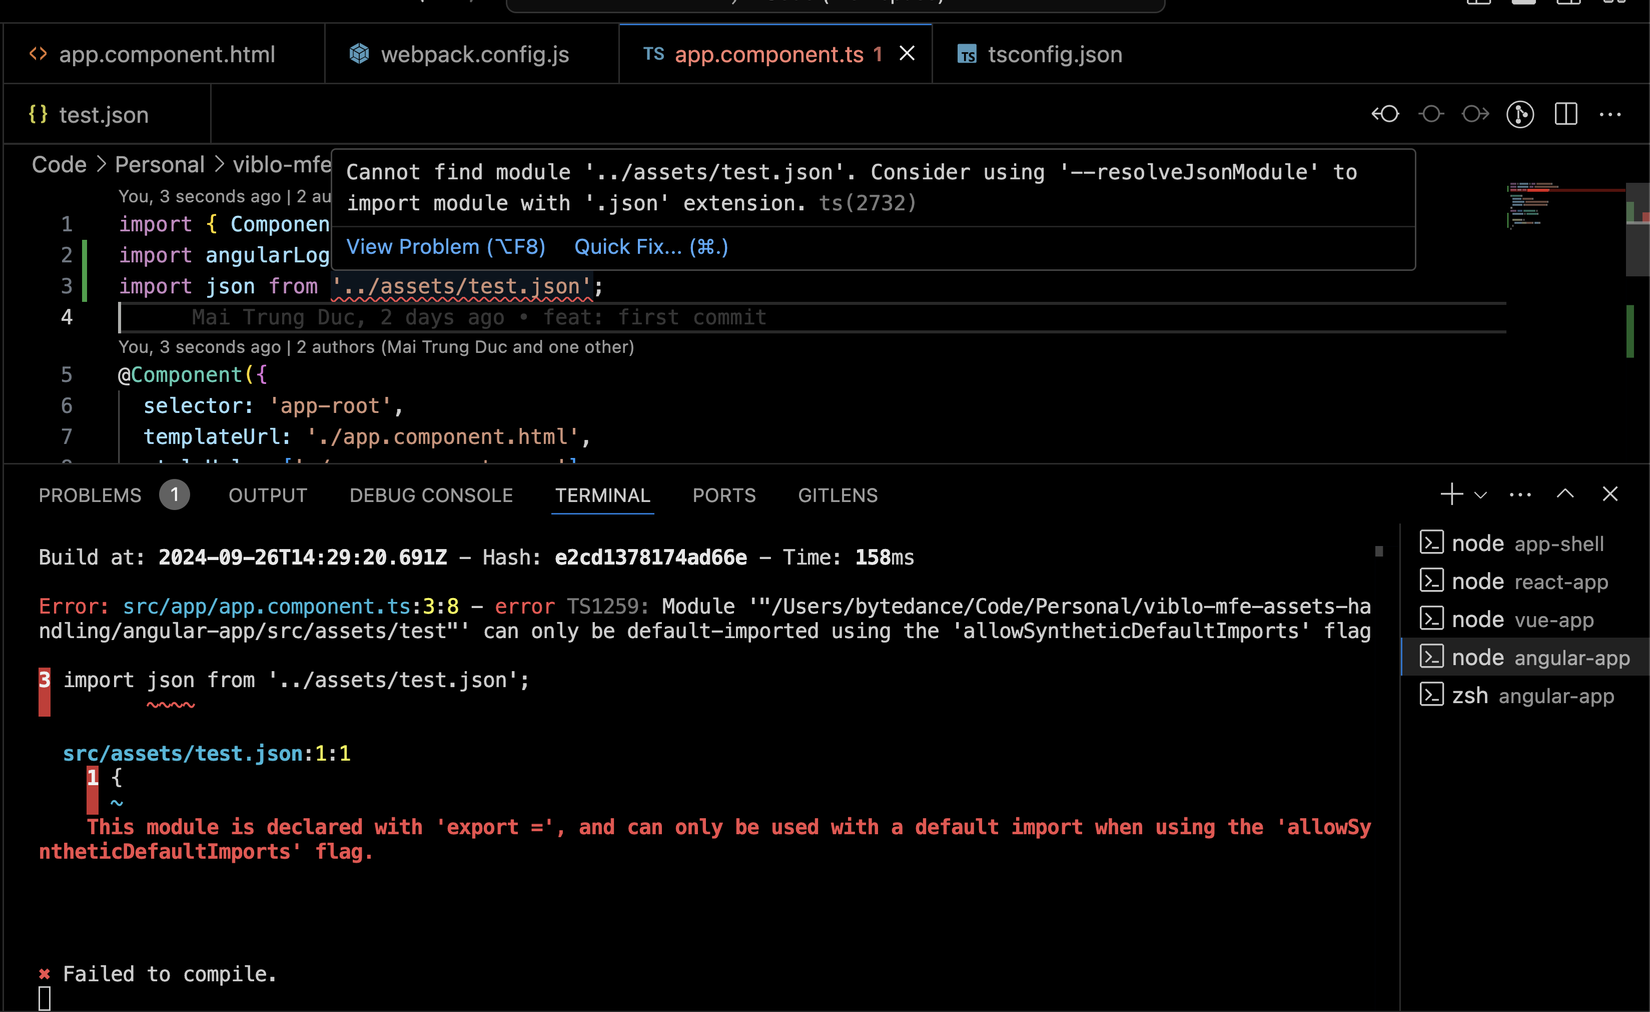
Lại lỗi nữaaaaaaaaa 🥲🥲
Tiếp tục ta lại làm như lỗi nó bảo, đấy là thêm allowSyntheticDefaultImports vào tsconfig.json:
/* To learn more about this file see: https://angular.io/config/tsconfig. */
{
  "compileOnSave": false,
  "compilerOptions": {
    "baseUrl": "./",
    "outDir": "./dist/out-tsc",
    "forceConsistentCasingInFileNames": true,
    "strict": true,
    "noImplicitOverride": true,
    "noPropertyAccessFromIndexSignature": true,
    "noImplicitReturns": true,
    "noFallthroughCasesInSwitch": true,
    "sourceMap": true,
    "declaration": false,
    "downlevelIteration": true,
    "experimentalDecorators": true,
    "moduleResolution": "node",
    "importHelpers": true,
    "target": "ES2022",
    "module": "ES2022",
    "useDefineForClassFields": false,
    "lib": [
      "ES2022",
      "dom"
    ],
    "resolveJsonModule": true,
    "allowSyntheticDefaultImports": true,
  },
  "angularCompilerOptions": {
    "enableI18nLegacyMessageIdFormat": false,
    "strictInjectionParameters": true,
    "strictInputAccessModifiers": true,
    "strictTemplates": true
  }
}
Lưu lại và khởi động angular-app lại lần nữa, cầu trời cho nó build thành công 🙏🙏
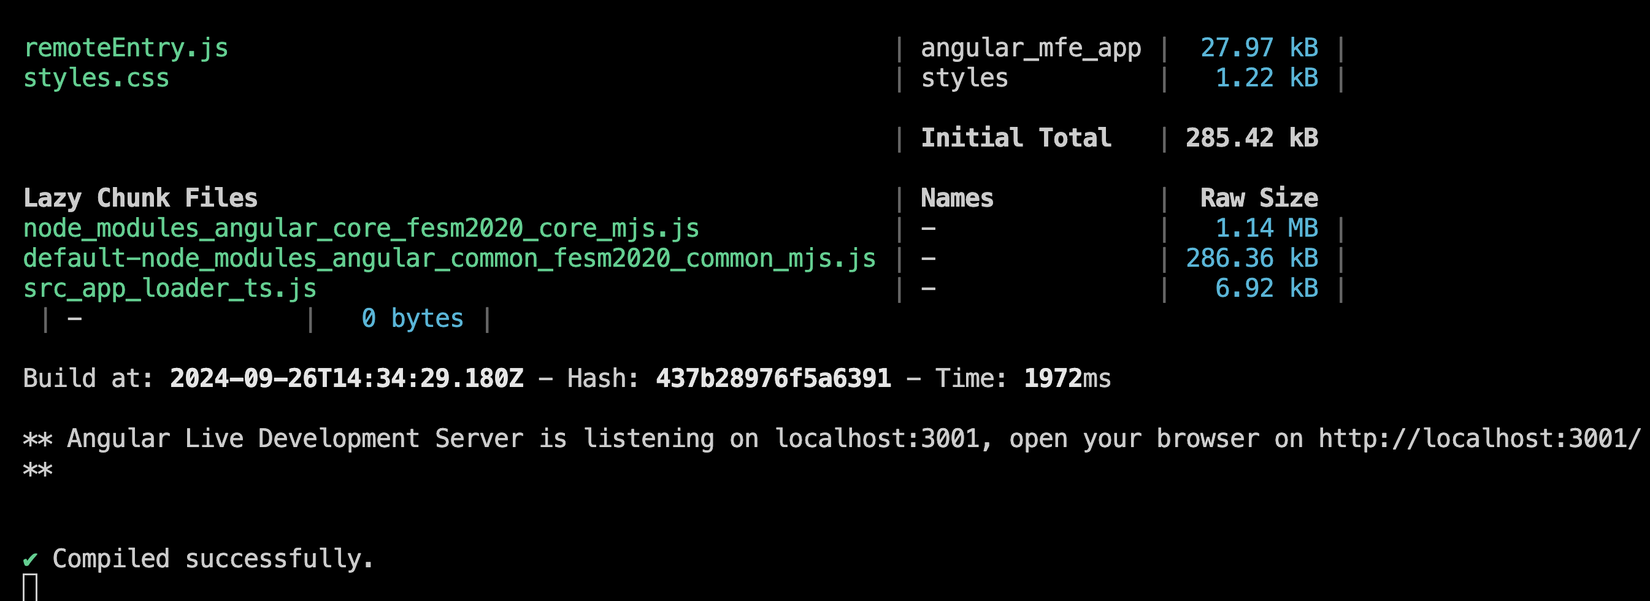
Build ngon rồiiiiiii 🎉🎉🎉
Sau đó ta quay lại app-shell, F5 login sẽ thấy ở console in ra giá trị của file JSON ta import nhé:

Review cuối ngày
Phewwww, như các bạn thấy, với mỗi bundler thì chúng hoạt động khác nhau, nên MFE nào dùng bundler nào thì ta cần hiểu bundler đó để có thể cấu hình cho đúng.
Tổng hợp lại bài hôm nay trong 1 câu: khi làm việc với Microfrontend mà cần xử lý static assets, thì ta phải nhớ luôn import file asset vào JS/TS rồi mới được dùng, không được dùng trực tiếp ở folder public 🙏
Nếu có lỗi không hiển thị được asset, thì Inspect lên xem đường dẫn của nó là gì, có đúng không trước đã, nếu sai thì phải check lại cấu hình của cái bundler mà mình đang dùng.
Chúc các bạn buổi tối vui vẻ, ta hẹn nhau gặp lại vào các bài tới nha 🥰🥰
All rights reserved
