Làm thế nào để thêm phím tắt Siri trong ứng dụng của bạn?
Bài đăng này đã không được cập nhật trong 6 năm
Với việc phát hành iOS 12, Apple cho phép các nhà phát triển tạo mục đích tùy chỉnh có thể được sử dụng với Siri. Tính năng mới này mang đến cho các nhà phát triển khả năng tạo hành động tùy chỉnh bên trong các ứng dụng có thể được kích hoạt bằng Siri mà không cần mở ứng dụng. Hôm nay trong hướng dẫn này, bạn sẽ học cách sử dụng một phím tắt đơn giản thực hiện một hành động khi được gọi với Siri.
Bắt đầu nào!
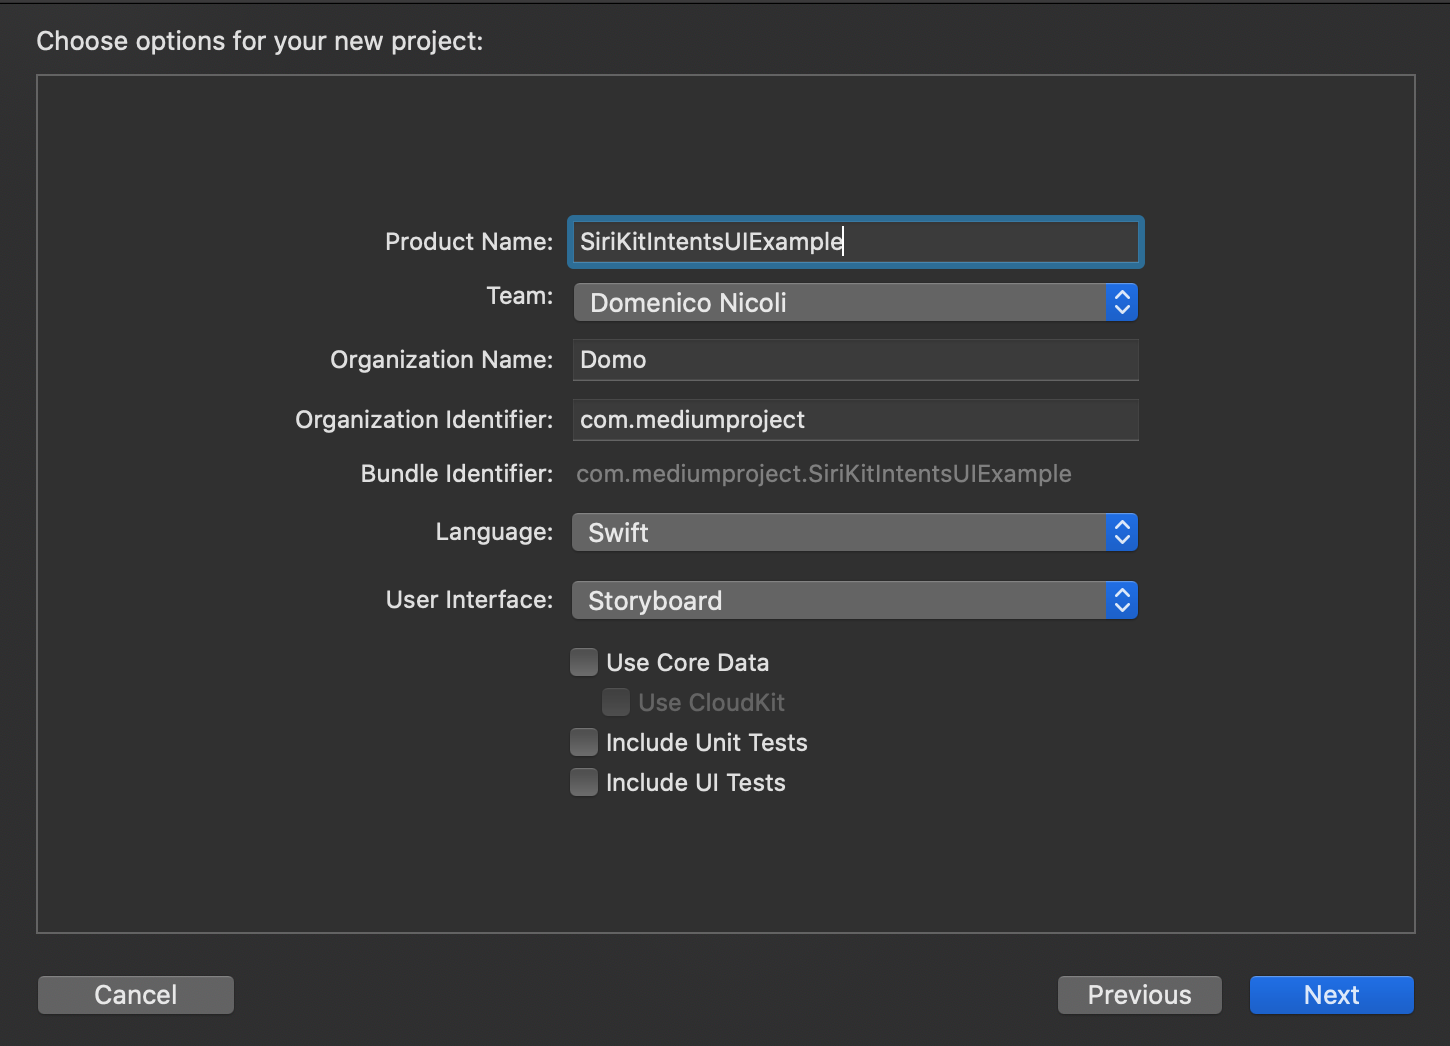
Trước tiên hãy mở Xcode vào tạo 1 project mới. Chọn Single View Application
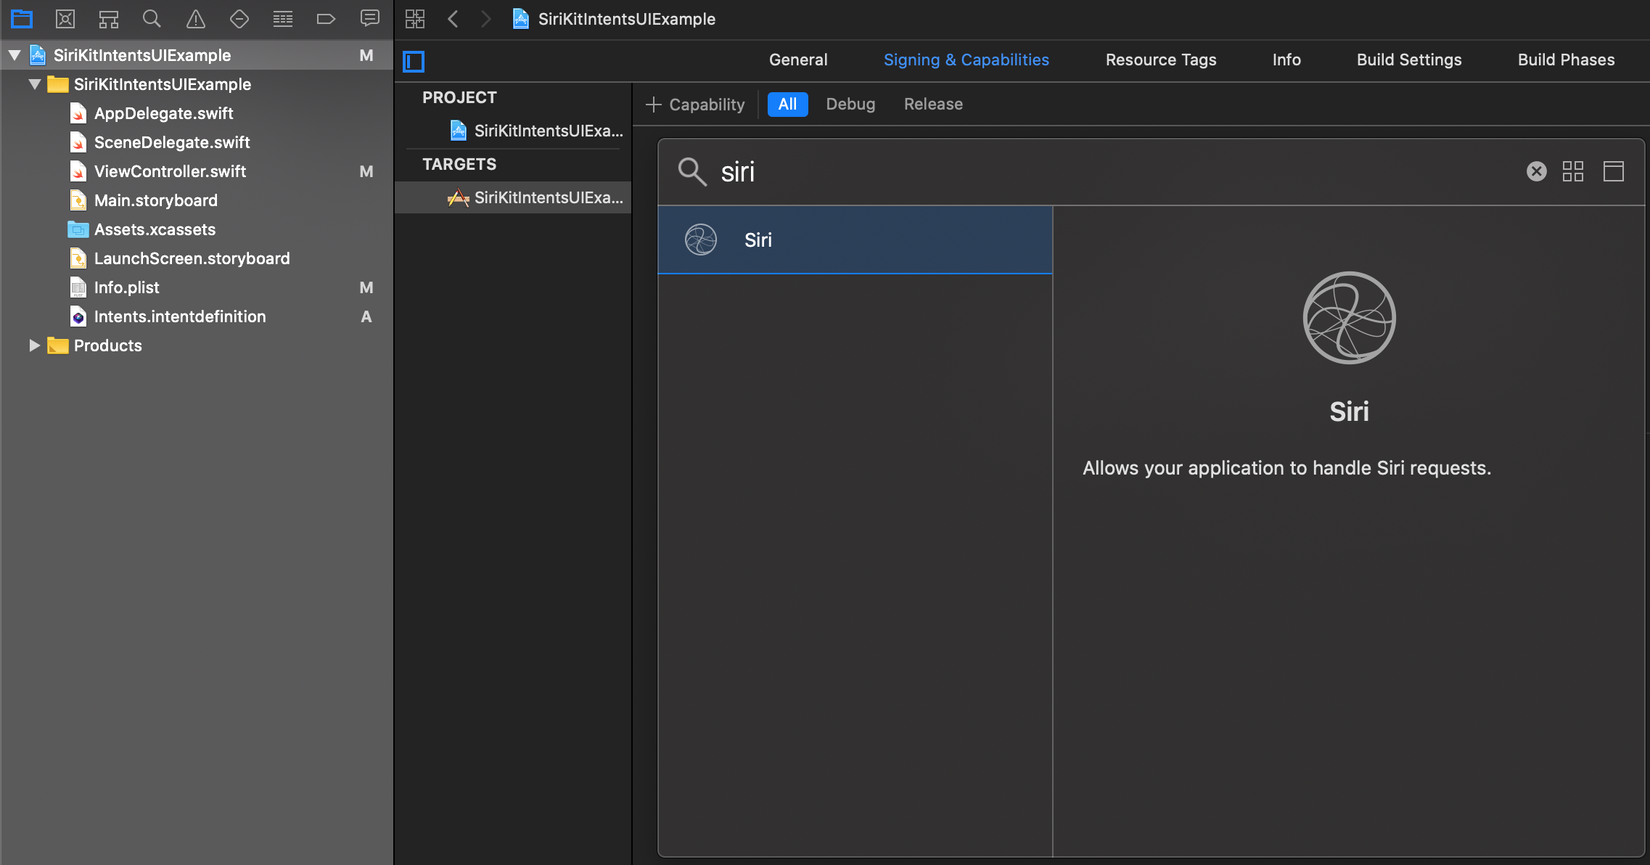
Chuyển đến Target Settings, Signing & Capabilities và thêm Siri.
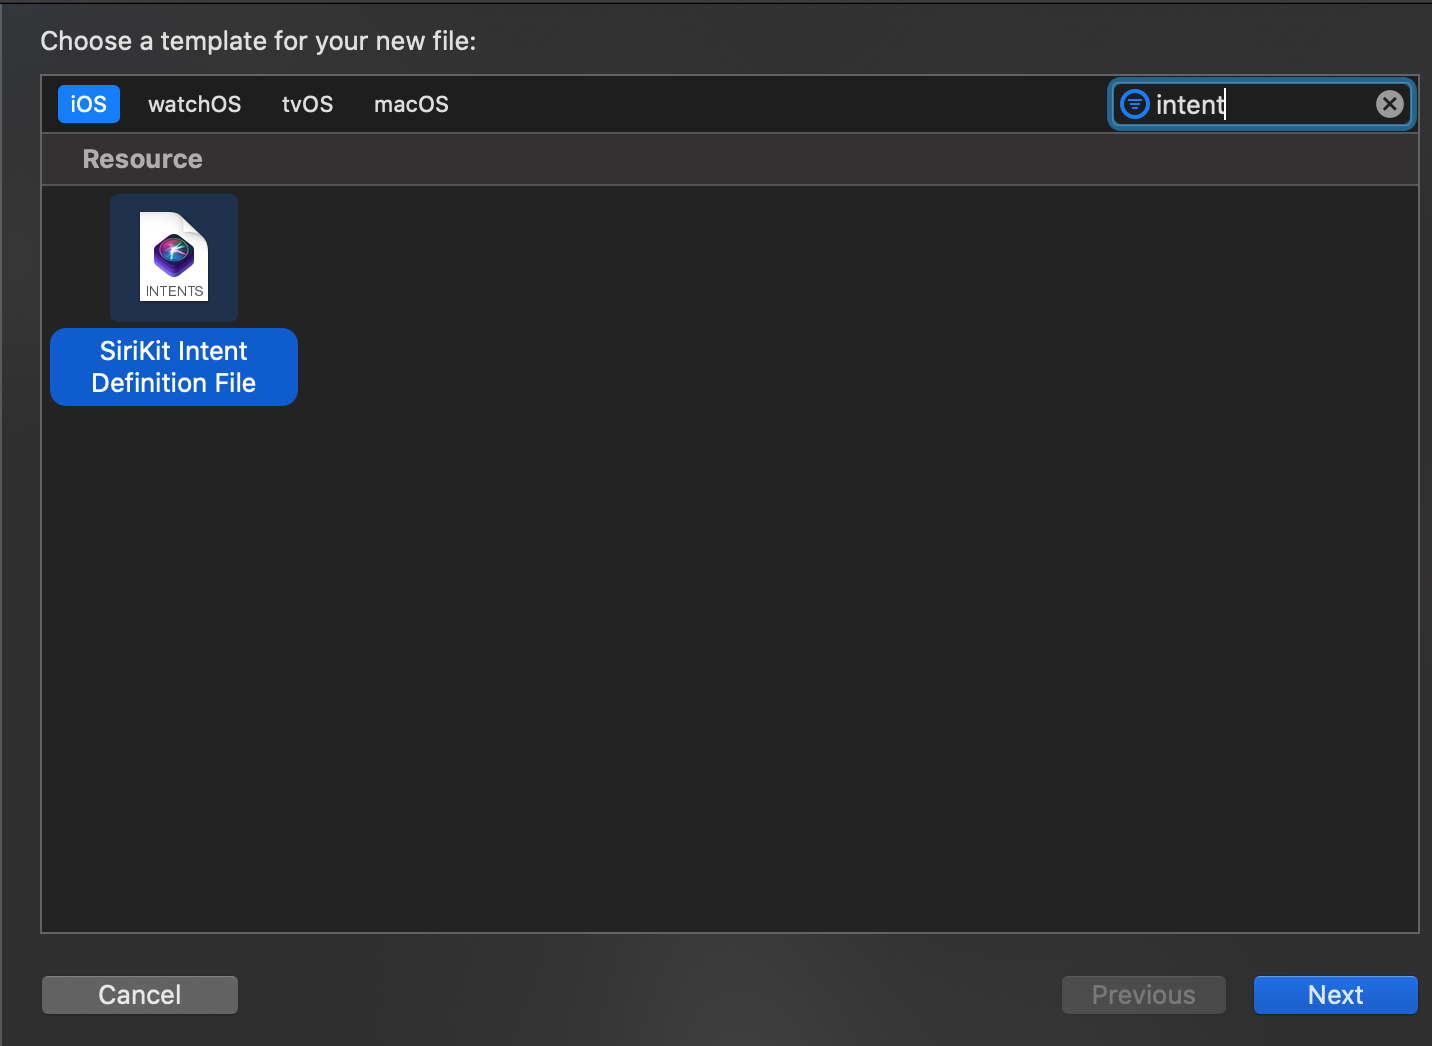
Bây giờ, nhấp chuột phải vào thư mục dự án và nhấp vào New File. Sau đó, tìm kiếm với từ khoá intent và nhấp vào tiếp theo để tạo SiriKit Intent Definition File, chúng ta sẽ sử dụng trong các bước tiếp theo.
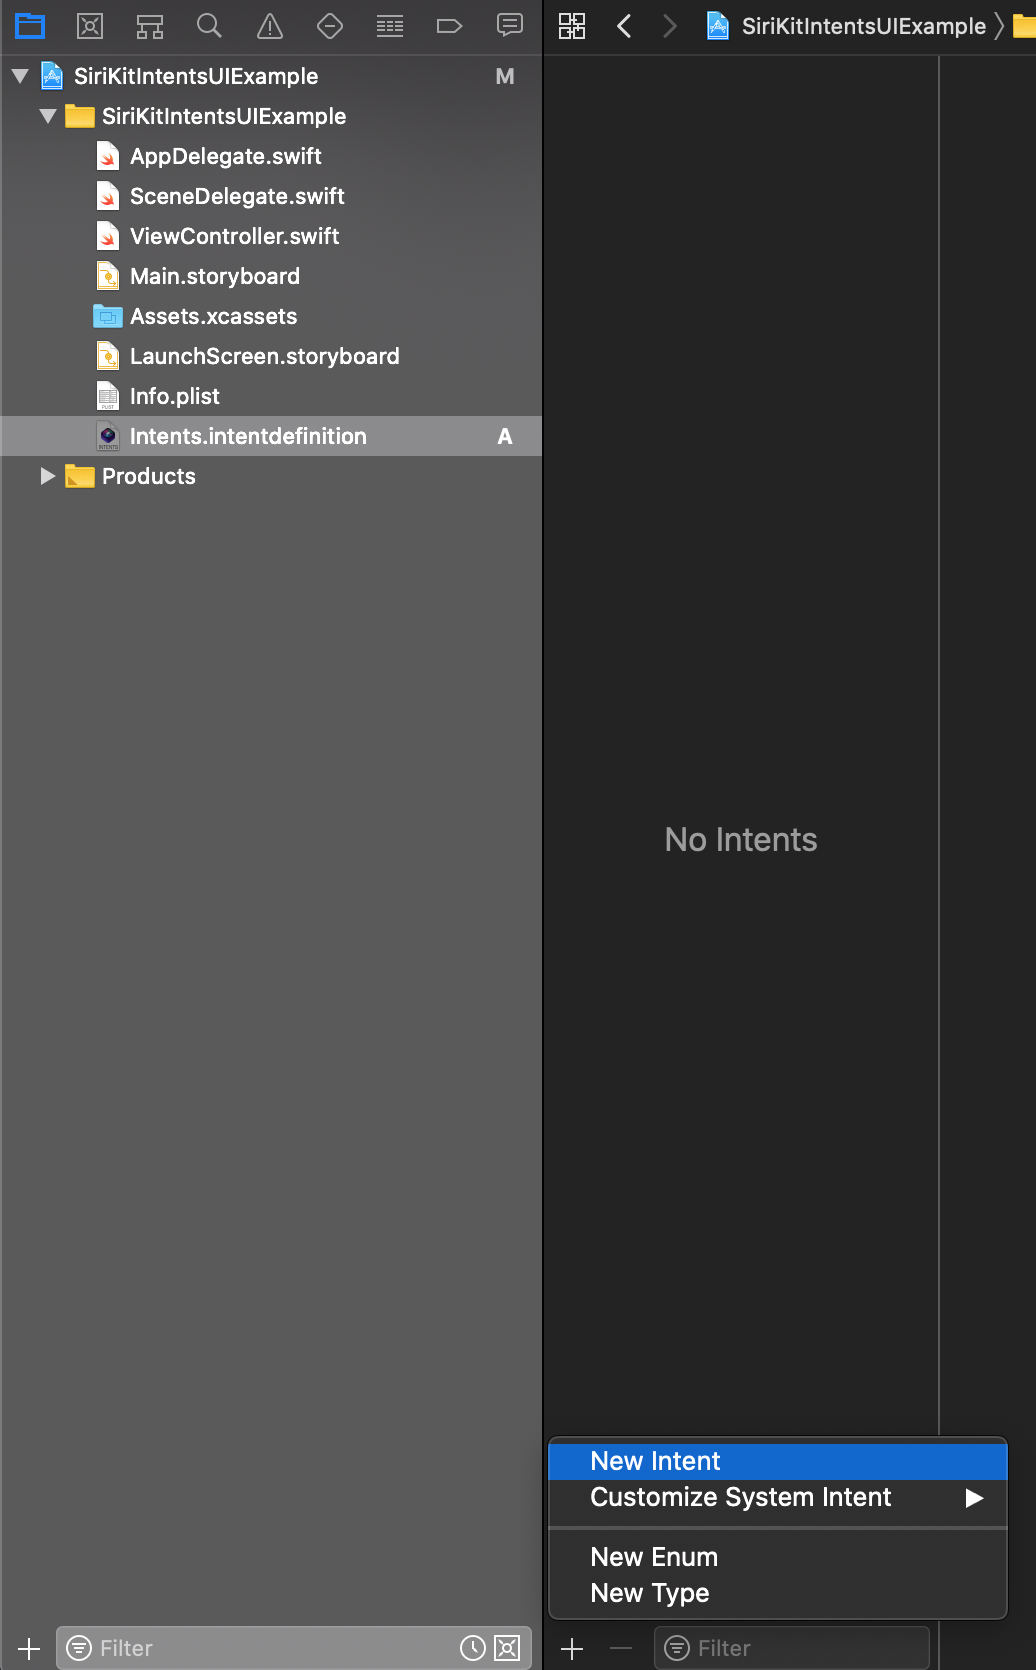
Chúng tôi bắt đầu tạo một intent mới. Chọn intents File, nhấp vào + ở dưới cùng của màn hình và sau đó chọn New Intent.
Bây giờ set lại Title và Description cho intent và lưu lại.
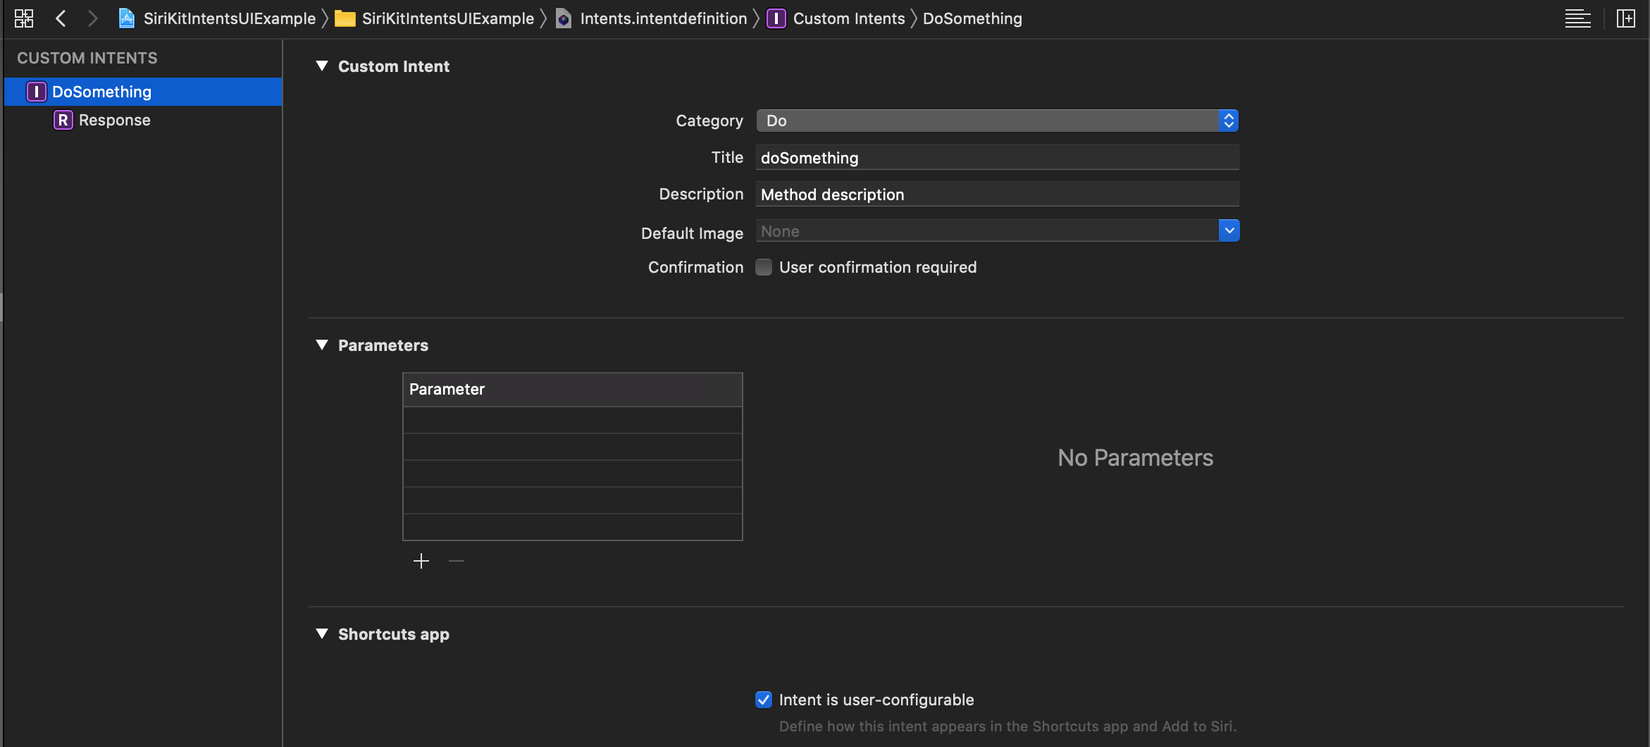
Mở ViewController và thêm đoạn code sau:
import UIKit
import IntentsUI

class ViewController: UIViewController {

    override func viewDidLoad() {
        super.viewDidLoad()
        // Do any additional setup after loading the view.
        addSiriButton(to: self.view)
    }

    func addSiriButton(to view: UIView) {
    if #available(iOS 12.0, *) {
        let button = INUIAddVoiceShortcutButton(style: .whiteOutline)
            button.shortcut = INShortcut(intent: intent )
            button.delegate = self
            button.translatesAutoresizingMaskIntoConstraints = false
            view.addSubview(button)
            view.centerXAnchor.constraint(equalTo: button.centerXAnchor).isActive = true
            view.centerYAnchor.constraint(equalTo: button.centerYAnchor).isActive = true
        }

    }

    func showMessage() {
        let alert = UIAlertController(title: "Done!", message: "This is your first shortcut action!", preferredStyle: UIAlertController.Style.alert)
        alert.addAction(UIAlertAction(title: "OK", style: .default, handler: nil))
        self.present(alert, animated: true, completion: nil)
    }

}

extension ViewController {
    @available(iOS 12.0, *)
    public var intent: DoSomethingIntent {
        let testIntent = DoSomethingIntent()
        testIntent.suggestedInvocationPhrase = "Test command"
        return testIntent
    }
}

extension ViewController: INUIAddVoiceShortcutButtonDelegate {
    @available(iOS 12.0, *)
    func present(_ addVoiceShortcutViewController: INUIAddVoiceShortcutViewController, for addVoiceShortcutButton: INUIAddVoiceShortcutButton) {
        addVoiceShortcutViewController.delegate = self
        addVoiceShortcutViewController.modalPresentationStyle = .formSheet
        present(addVoiceShortcutViewController, animated: true, completion: nil)
    }

    @available(iOS 12.0, *)
    func present(_ editVoiceShortcutViewController: INUIEditVoiceShortcutViewController, for addVoiceShortcutButton: INUIAddVoiceShortcutButton) {
        editVoiceShortcutViewController.delegate = self
        editVoiceShortcutViewController.modalPresentationStyle = .formSheet
        present(editVoiceShortcutViewController, animated: true, completion: nil)
    }


}

extension ViewController: INUIAddVoiceShortcutViewControllerDelegate {
    @available(iOS 12.0, *)
    func addVoiceShortcutViewController(_ controller: INUIAddVoiceShortcutViewController, didFinishWith voiceShortcut: INVoiceShortcut?, error: Error?) {
        controller.dismiss(animated: true, completion: nil)
    }

    @available(iOS 12.0, *)
    func addVoiceShortcutViewControllerDidCancel(_ controller: INUIAddVoiceShortcutViewController) {
        controller.dismiss(animated: true, completion: nil)
    }


}

extension ViewController: INUIEditVoiceShortcutViewControllerDelegate {
    @available(iOS 12.0, *)
    func editVoiceShortcutViewController(_ controller: INUIEditVoiceShortcutViewController, didUpdate voiceShortcut: INVoiceShortcut?, error: Error?) {
        controller.dismiss(animated: true, completion: nil)
    }

    @available(iOS 12.0, *)
    func editVoiceShortcutViewController(_ controller: INUIEditVoiceShortcutViewController, didDeleteVoiceShortcutWithIdentifier deletedVoiceShortcutIdentifier: UUID) {
        controller.dismiss(animated: true, completion: nil)
    }

    @available(iOS 12.0, *)
    func editVoiceShortcutViewControllerDidCancel(_ controller: INUIEditVoiceShortcutViewController) {
        controller.dismiss(animated: true, completion: nil)
    }
}
Bây giờ, nếu bạn chạy ứng dụng, bạn nên có một màn hình trống với một nút ở giữa để thêm phím tắt mà bạn vừa tạo cho Siri. Bạn có thể nhấn vào nút và sử dụng văn bản mặc định hoặc đặt một nút mới để kích hoạt các phím tắt. Bây giờ nếu bạn kích hoạt Siri và nói lệnh đã chọn, ứng dụng của bạn sẽ tự động mở!
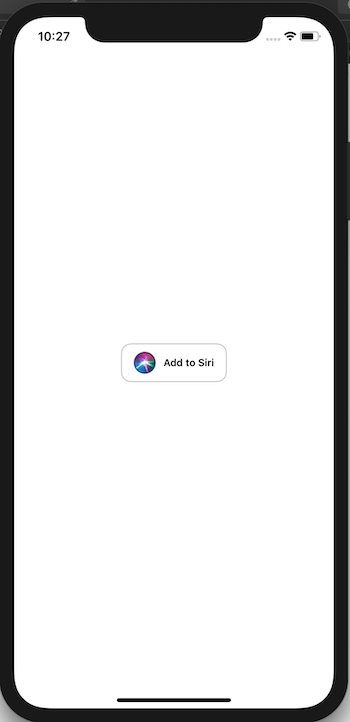
Bây giờ ứng dụng của bạn sẽ mở khi bạn nói lệnh với Siri, nhưng bạn phải làm gì để liên kết cụm từ này với một hành động cụ thể trong ứng dụng của bạn? Đầu tiên, hãy truy cập Main.storyboard và đặt ViewController cho thuộc tính StoryboardID.
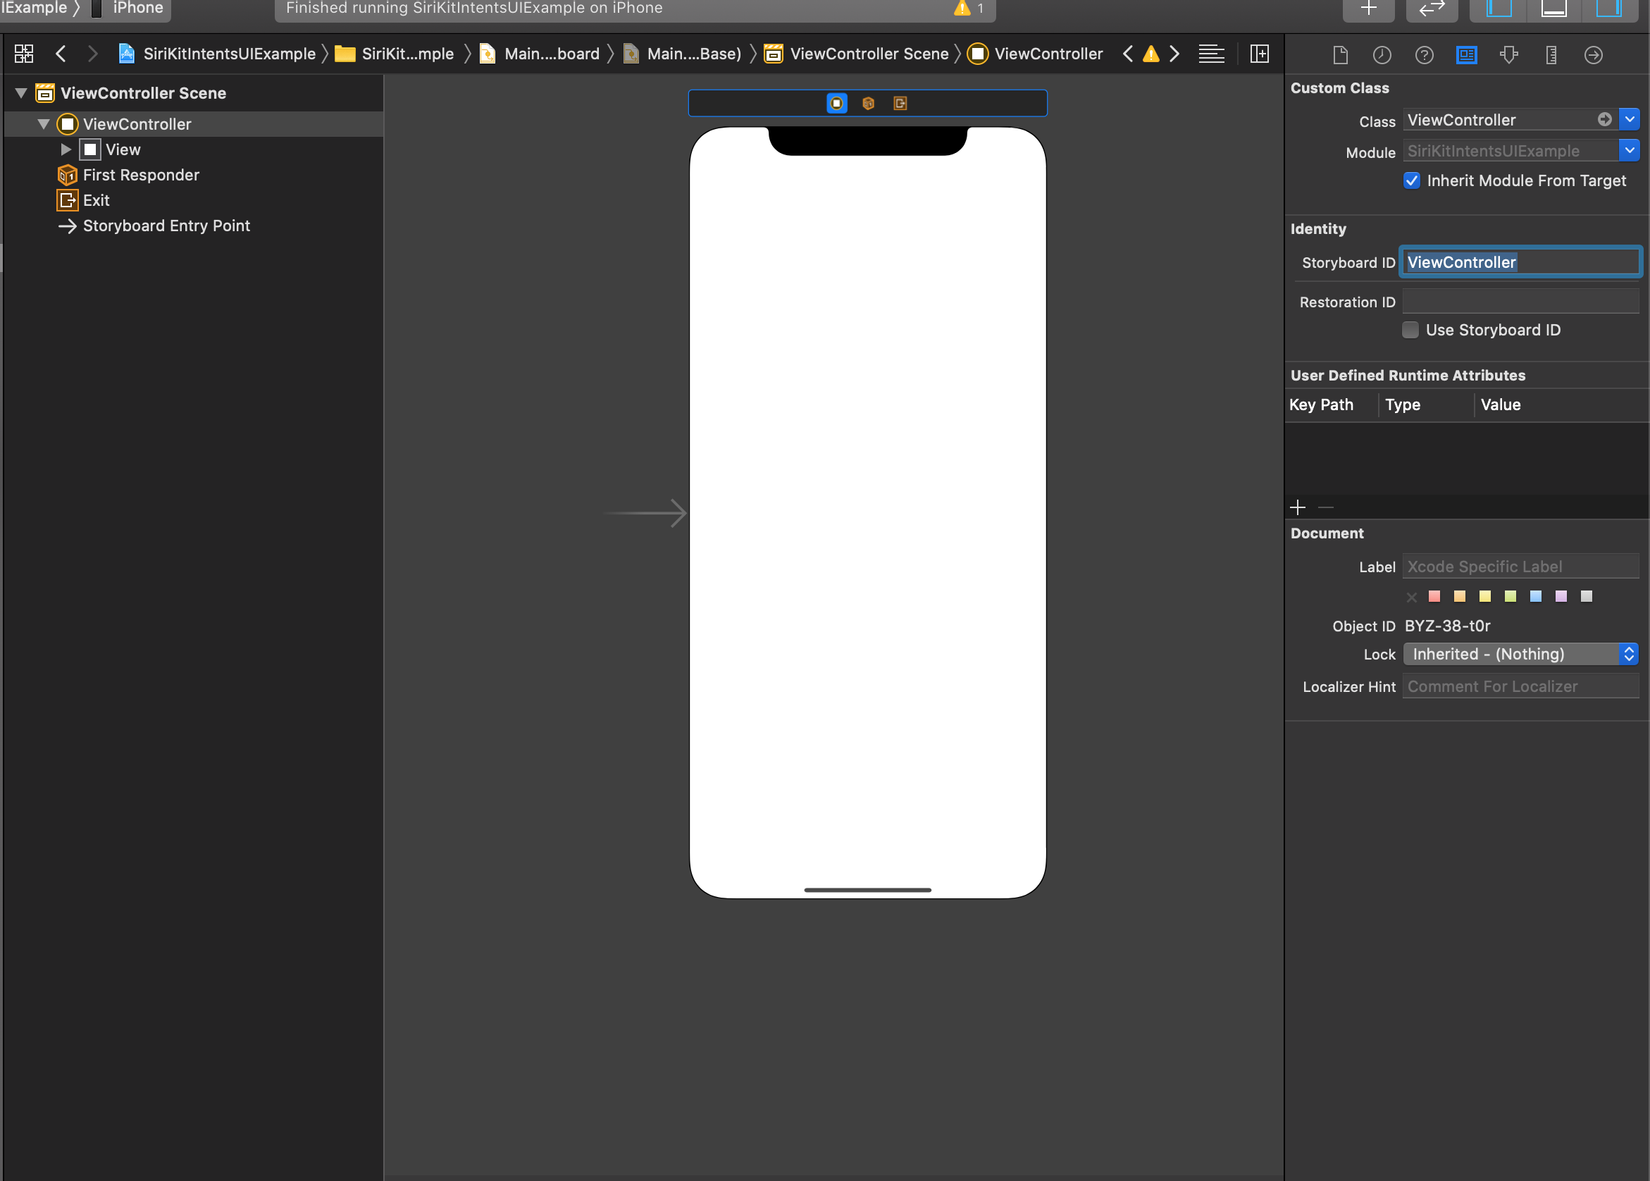
Bây giờ trên SceneDelegate.swift (trên iOS 13) hoặc trên AppDelegate.swift (trước iOS 13), hãy sao chép đoạn code sau (đây là phiên bản dành cho SceneDelegate, nhưng trên AppDelegate, phương thức để thêm tương tự):
func scene(_ scene: UIScene, continue userActivity: NSUserActivity) {
        if let _ = userActivity.interaction?.intent as? DoSomethingIntent {

            if let windowScene = scene as? UIWindowScene {
                self.window = UIWindow(windowScene: windowScene)
                let storyboard = UIStoryboard(name: "Main", bundle: nil)
                let initialViewController = storyboard.instantiateViewController(withIdentifier: "ViewController") as! ViewController
                self.window!.rootViewController = initialViewController
                self.window!.makeKeyAndVisible()
                initialViewController.showMessage()
            }
        }
    }
Kiểm tra nào
Cuối cùng, bạn đã sẵn sàng để kiểm tra ứng dụng của mình! Hãy cho Siri biết lệnh của bạn và đây sẽ là kết quả:
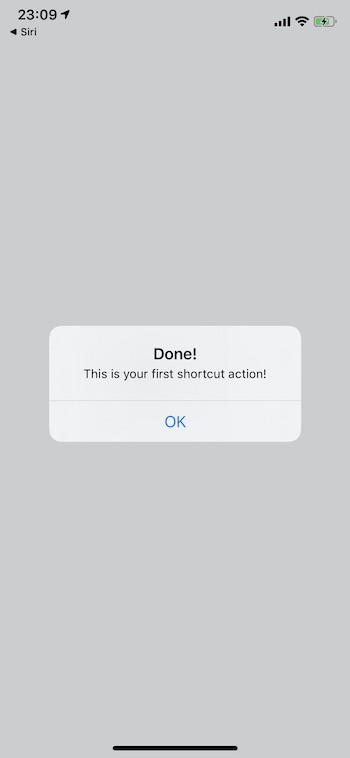
Bài viết được tham khảo tại đây.
All rights reserved