[iOS] Xây dựng ứng dụng thanh toán trực tuyến với Shopify mobile buy SDK [Phần 3]
Bài đăng này đã không được cập nhật trong 4 năm
Mở đầu.
Sau 2 phần đầu giới thiệu cũng như cách thức để lấy được thông tin các sản phẩm từ shopify store. Phần 3 này chúng ta sẽ bước đầu đến với một phần vô cùng quan trọng trong ứng dụng thanh toán trực tuyến đó là bước thanh toán. Trước hết, phần này mình sẽ giới thiệu cách add shipping address, billing address cũng như lựa chọn shipping rates khi dùng Shopify mobile buy SDK.
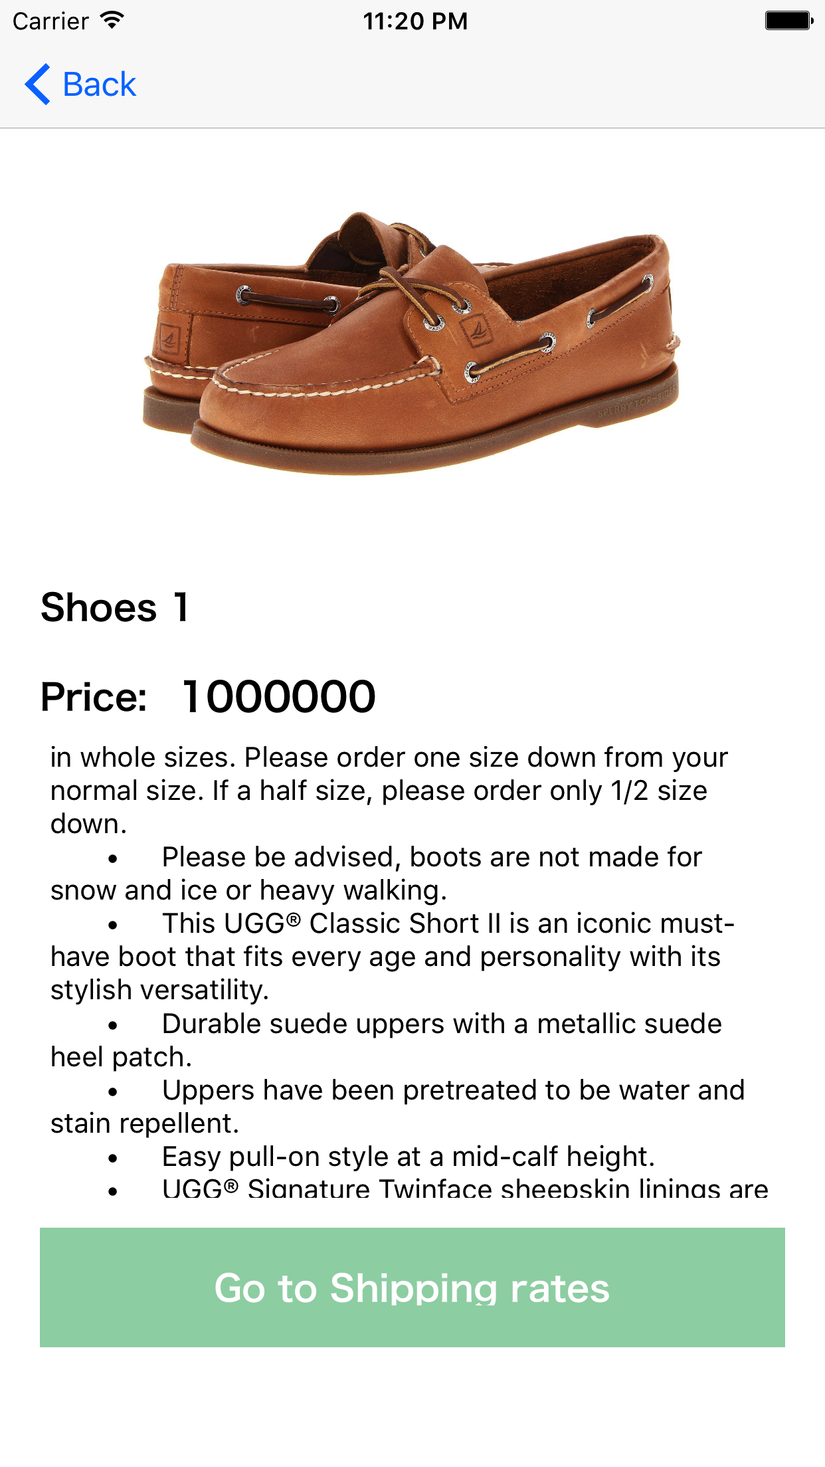
Tạo trang product detail.
- Tạo ProductDetailViewController như sau:
- Tạo 1 BuyCheckout với product mình muốn thanh toán.
Khai báo các biến toàn cục:
    var checkoutCreationOperation = Operation()
    var checkout: BUYCheckout!
Function create BUYCheckout:
func createBUYCheckoutWithProduct(productId: NSNumber, complete: @escaping (Bool) -> ()) -> Void {
        if (self.checkoutCreationOperation.isExecuting) {
            self.checkoutCreationOperation.cancel()
        }

        // init BUYCart
        let cart:BUYCart = BUYCart(modelManager: BUYClient.sharedClient.modelManager, jsonDictionary: nil)

        // get BUYProduct by SDK
        BUYClient.sharedClient.getProductById(productId) { (product, error) in
            guard let product = product else {
                print("Connect to shopify is error")
                return
            }

            if let variant = product.variantsArray().first {
                cart.add(variant)
            }

            // create a BUYCheckout
            let checkout:BUYCheckout = BUYCheckout(modelManager: BUYClient.sharedClient.modelManager, cart: cart)

            self.checkoutCreationOperation = BUYClient.sharedClient.createCheckout(checkout, completion: { [weak self] (checkout, error) in
                if error == nil && checkout != nil {
                    self?.checkout = checkout
                    print("Creating checkout success")
                    complete(true)
                } else {
                    print("Error creating checkout: \(error)")
                    complete(false)
                }
            })
        }
    }
Giải thích:
- checkoutCreationOperation: là một Operation, việc check .isExecuting và dùng .cancel() để tránh trường hợp tạo nhiều BUYCheckout không cần thiết.
- cart: là một object BUYCart nơi chứa 1 list các BUYProductVariant cần thanh toán. 1 Product có thể có 1 hoặc nhiều variant khác nhau. (Trong ví dụ này Product của mình chỉ có 1 variant)
- BUYClient.sharedClient: Chính là BUYClient(shopDomain: self.shopDomain, apiKey: self.apiKey, appId: self.appID) đã config ở [Phần 2]
Add shipping address và Billing address cho BUYCheckout:
- Đầu tiên chúng ta init một object BUYAddress bằng function:
func createBUYAddress() -> BUYAddress {
        let buyAddress:BUYAddress =
            BUYClient.sharedClient.modelManager.insertAddress(withJSONDictionary: nil)
        buyAddress.address1 = "421"
        buyAddress.city = "hhhhh"
        buyAddress.firstName = "thien"
        buyAddress.lastName = "tran"
        buyAddress.province = "NY"
        buyAddress.zip = "550000"
        buyAddress.country = "VN"

        return buyAddress
    }
P/S: Các bạn có thể tạo một màn hình khác để input thông tin địa chỉ vào. Ở đây mình tạm set cứng trong màn hình product detail lun. 
- Sau khi tạo xong chúng tiến hành update address vào BUYCheckout mà ở trên chúng ta đã tạo ra bằng function update được cung cấp ở shopify mobile SDK như sau:
func updateCheckoutWithAdress() {
        let address = createBUYAddress()
        self.checkout.shippingAddress = address
        self.checkout.billingAddress = address
        self.checkout.email = "abc@gmail.com"

        BUYClient.sharedClient.update(self.checkout) { [weak self] (checkout, error) in
            if error == nil && checkout != nil {
                print("Update address success")
            } else {
                print("Error apply: \(error)")
            }
        }
    }
P/S: Ở đây mình đang để shipping address và billing address là như nhau. Các bạn có thể add thêm 1 address khác cho phần billing address nếu cần.
Shipping rates
Như vậy chúng ta đã add thành công shipping address và billing address vào BUYCheckout. Bây giờ chúng ta sẽ lựa chọn shipping rate cho quá trình thanh toán.
- Tạo Shipping rates viewcontroller
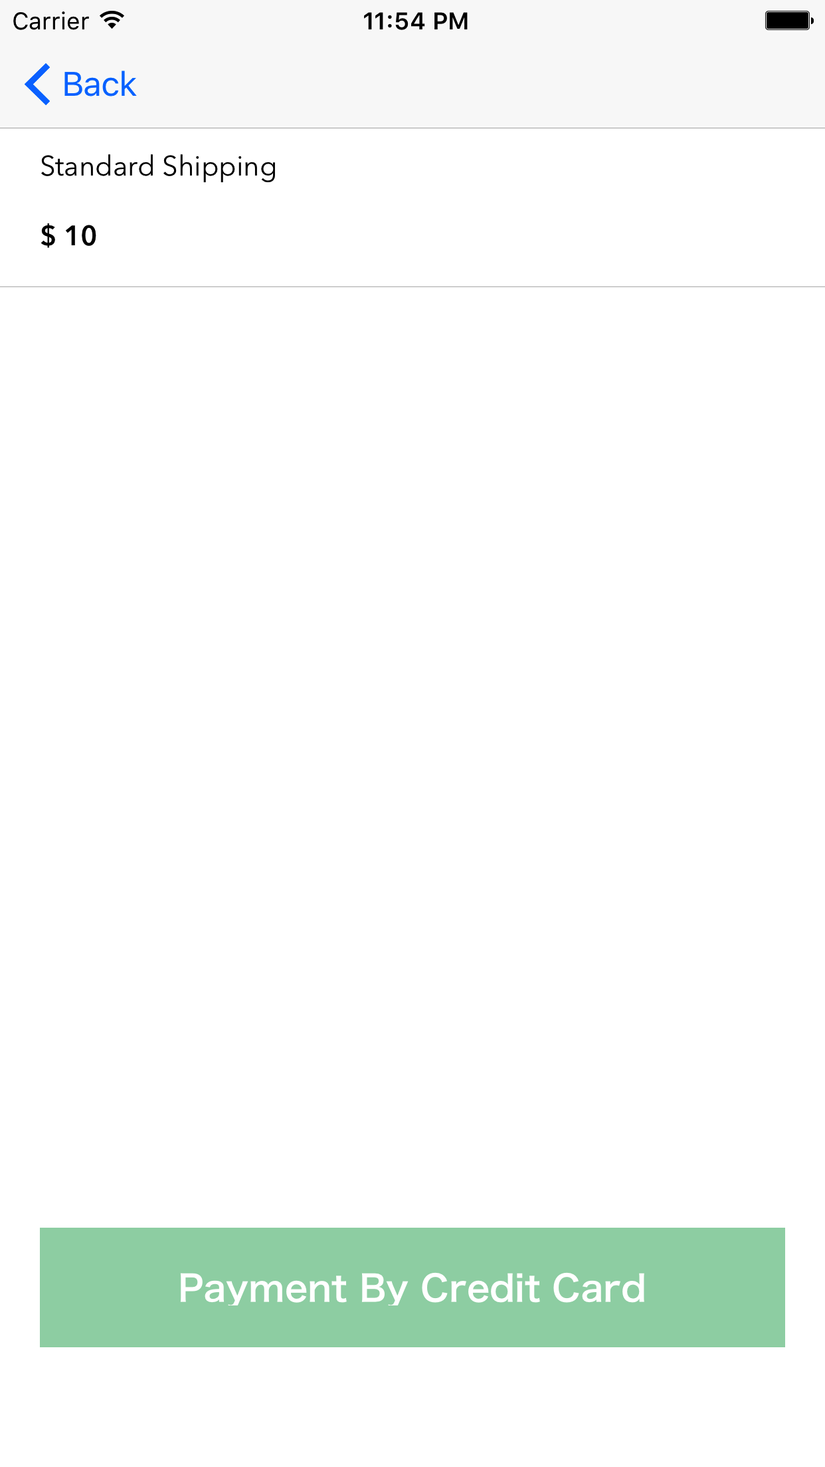
- Load all shipping rates: Load shipping rates bằng function getShippingRatesForCheckout của SDK
func getShippingRates() {
        BUYClient.sharedClient.getShippingRatesForCheckout(withToken: self.checkout.token) { [weak self] (shippingRates, status, error) in
            if let shippingRates = shippingRates, error == nil {
                self?.shippingRates = shippingRates
                self?.tableview.reloadData()
            } else {
                print("Failed to retrieve shipping rates: \(error)")
            }
        }
    }
- Select 1 loại Shipping rate và update vào BUYCheckout.
func selectShippingRates(index: Int) {
        let shippingRate = self.shippingRates[shippingRateSelectedIndex]
        self.checkout?.shippingRate = shippingRate

        BUYClient.sharedClient.update(self.checkout!) { [weak self] (checkout, error) in
            if error == nil && checkout != nil {
                print("AMOUNT : \(checkout?.buy_summaryItems().first?.amount)")
            } else {
                print("Error applying checkout: \(error)")
            }
        }
    }
Lưu ý: Shipping rates load được ở trên là tuỳ thuộc vào shipping address đã được nhập ở trên. Ứng với mỗi khu vực sẽ có các loại shipping khác nhau tuỳ chúng ta config ở trên shopify store. Các bạn có thể add thêm hoặc xoá bớt shipping rates. Cách thực hiện.
- Connect shopify store
- Go settings -> Shipping
- Select Add shipping zone để add thêm
- Edit để chỉnh sửa lại/xoá shipping zone

Kết luận:
Trên đây là các bước đầu để chúng ta tiến hành thanh toán, Phần tiếp theo cũng ta sẽ bắt đầu add credit card để thực hiện thanh toán. Hẹn gặp lại các bạn vào phần sau. Thanks!
All rights reserved
