iOS Animation - Phần 10: Tuỳ biến Presentation Animation
Bài đăng này đã không được cập nhật trong 4 năm
Phần tiếp theo mình xin giới thiệu với các bạn về tuỳ biến Presentation Animation khi thực hiện chuyển từ một ViewController này sang một ViewController khác bằng lệnh present(_:animated:completion:)
guard let webViewController = storyboard?.instantiateViewController(withIdentifier: "WebViewController") else {
	return
}

present(webViewController, animated: true) {
}
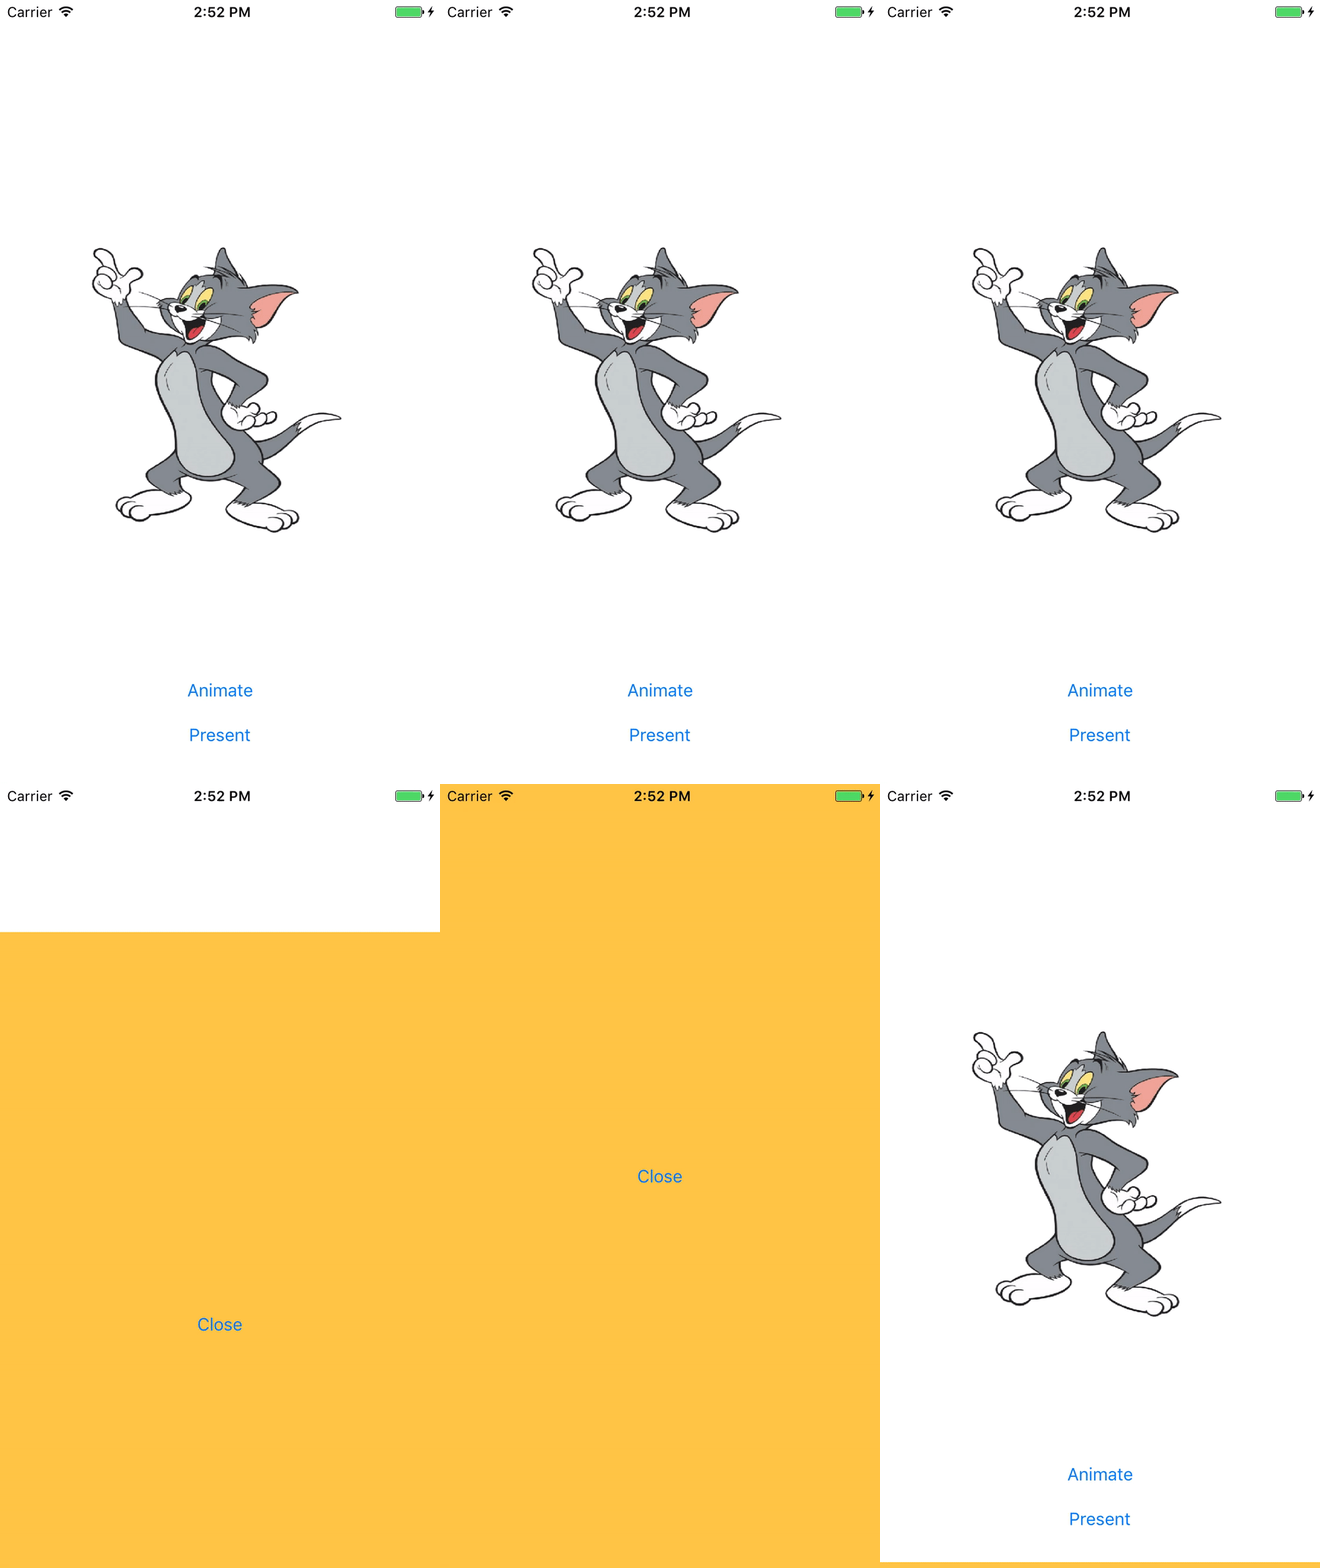
Presentation Animation mặc định của iOS chỉ đơn giản là trượt màn hình mới từ phía dưới lên phía trên, như hình bên dưới.
 Nhưng trong quá trình làm dự án, có một số các yêu cầu cần phải tuỳ biến hiệu ứng mặc định này để phục vụ một số mục đích nào đó giúp ứng dụng thân thiện và dễ sử dụng với người dùng hơn.
1. Thiết lập transition delegate
iOS cung cấp phương thức tuỳ biến presentation animation thông qua delegate pattern. Đầu tiên, chúng ta cần thiết lập thuộc tính transitioningDelegate của UIViewController được present là UIViewController thực hiện việc present
webViewController.transitioningDelegate = self
2. Conform các hàm của TransitioningDelegate
UIViewController thực hiện việc present phải conform các hàm của TransitioningDelegate
extension ViewController: UIViewControllerTransitioningDelegate {
    func animationController(forPresented presented: UIViewController, presenting: UIViewController, source: UIViewController) -> UIViewControllerAnimatedTransitioning? {
        let animator = Animator()
        return animator
    }
}
3. Tạo class thực hiện tuỳ biến animation
class Animator: NSObject, UIViewControllerAnimatedTransitioning {
    func transitionDuration(using transitionContext: UIViewControllerContextTransitioning?) -> TimeInterval {
        return 1.0
    }

    func animateTransition(using transitionContext: UIViewControllerContextTransitioning) {
        let containerView = transitionContext.containerView
        let toView = transitionContext.view(forKey: .to)!

        containerView.addSubview(toView)

        toView.transform = CGAffineTransform(scaleX: 0.2, y: 0.2)

        UIView.animate(withDuration: 1.0, delay: 0.0, usingSpringWithDamping: 0.3, initialSpringVelocity: 0.0, options: UIViewAnimationOptions.init(rawValue: 0), animations: {
            toView.transform = CGAffineTransform.identity
        }) { (_) in

        }

        transitionContext.completeTransition(true)
    }
}
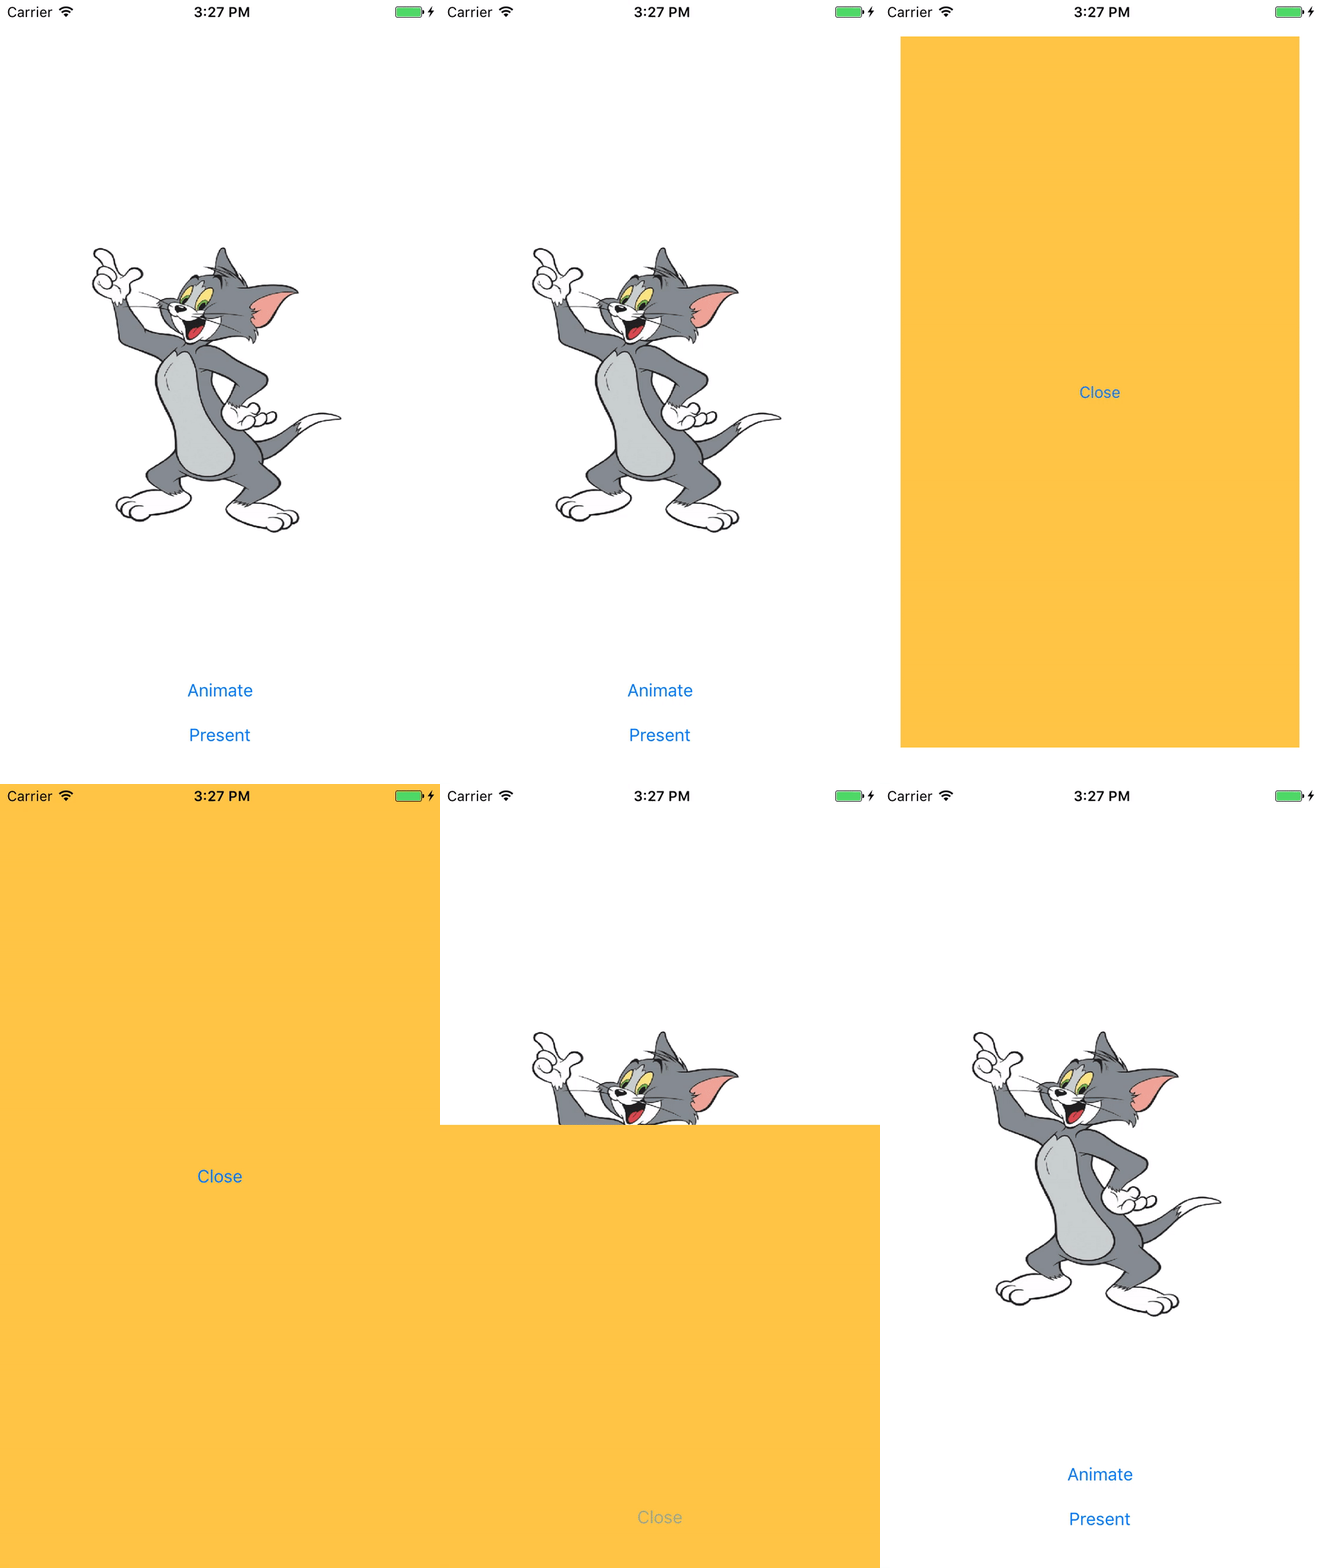
Và dưới đây là thành quả chúng ta thu được. Thay vì hiệu ứng mặc định trượt từ dưới lên trên, chúng ta sẽ có một hiệu ứng mới, màn hình được present sẽ scale với Spring Animation.

Chúc các bạn sẽ tuỳ biến được những hiệu ứng chuyển màn hình đẹp mắt và thân thiện!
All rights reserved