Interacting with Pointer on iPadOS 13.4
Bài đăng này đã không được cập nhật trong 6 năm
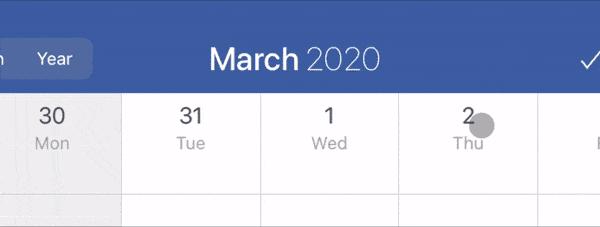
In March 2020, iPad OS 13.4 was released, and pointers were introduced. It can be used by connecting a mouse or trackpad to the iPad (wired or wireless).
Supported Devices
All Ipad Pro models
iPad Air 2 and above iPad (5th gen) and above iPad mini 4 and above
Supported devices ranged is wide because it also supports devices which are released 4-5 years ago
Magnetic Effect
When you move the pointer over the button, the pointer changes to a button with a jumping animation. There are also animations that cling to the buttons when the pointer leaves, these are called "Magnetic Effects".
3 kinds of effect
There are three types of effects when the pointer moves over the button.
Highlight:
The pointer changes to a button. It is used in toolbar icons and menus.

Lift
The button expands and the pointer disappears. It is used as an icon on the home screen.
Hover
An overlay (or underlay) is displayed. You can also enlarge the button, add a shadow, and change the shape of the pointer as an option. Various effects can be implemented by customizing.
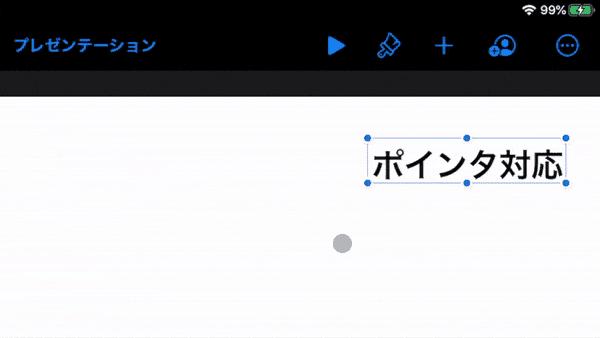
Free to choose pointer's shape
The pointer shape is compatible if it can be expressed by UIBezierPath. For example, in Keynote, the shape of the pointer changes when you resize the text.
UIPointerInteraction API
Use UIPointerInteraction API for pointer support.
However, in UIKit, UIButton, UIBarButtonItem, UISegmentedControl, UIMenuController, etc. already support pointers. For example, to make a UIButton correspond to a pointer, execute the following code.
if #available(iOS 13.4, *) {
    button.isPointerInteractionEnabled = true
}
By default, the Highlight effect is applied, but if you want to apply another effect or pointer shape, use pointerStyleProvider.
if #available(iOS 13.4, *) {
    button.pointerStyleProvider = { button, effect, shape in
        if case let .roundedRect(frame, radius) = shape {
// Expand the highlight area by 3pts from the default
            let rect = CGRect(x:frame.origin.x-3,
                              y:frame.origin.y-3,
                              width:frame.width+6,
                              height:frame.height+6)
            return UIPointerStyle(effect: effect, shape: .roundedRect(rect, radius: radius))
        }
        return nil
    }
}
Register UIPointerInteraction to accommodate pointers in other views. Usage is similar to UIDragInteraction / UIDropInteraction to implement drag and drop and UIContextMenuInteraction to implement context menu.
class TitleView: UIView {

    private func setupUI() {
        ...
        if #available(iOS 13.4, *) {
            enablePointer()
        }
    }

    ....
}

@available(iOS 13.4, *)
extension TitleView: UIPointerInteractionDelegate {

    func enablePointer() {
        isUserInteractionEnabled = true
        addInteraction(UIPointerInteraction(delegate: self))
    }

    func pointerInteraction(_ interaction: UIPointerInteraction, regionFor request: UIPointerRegionRequest, defaultRegion: UIPointerRegion) -> UIPointerRegion? {
        // return the frame the pointer should react to
        return UIPointerRegion(rect: rectForTitle())
    }

    private func rectForTitle() -> CGRect {
        // returns the rect where the AttributedText is displayed
        return ...
    }

    func pointerInteraction(_ interaction: UIPointerInteraction, styleFor region: UIPointerRegion) -> UIPointerStyle? {
// Returns the pointer effect (UIPointerEffect) or shape (UIPointerShape)
        let targetedPreview = UITargetedPreview(view: self)
        let effect: UIPointerEffect = .highlight(targetedPreview)
        let shape: UIPointerShape = .roundedRect(rectForTitle(), radius: UIPointerShape.defaultCornerRadius)
        let pointerStyle = UIPointerStyle(effect: effect, shape: shape)
        return pointerStyle
    }
}
The actual movement is as follows. The pointer now works properly in UIView.
In the above example, the Highlight effect is used, but if you want to display an overlay with the Hover effect, implement pointerInteraction(_:styleFor :) as follows.
@available(iOS 13.4, *)
extension TitleView: UIPointerInteractionDelegate {

    func pointerInteraction(_ interaction: UIPointerInteraction, styleFor region: UIPointerRegion) -> UIPointerStyle? {
        let targetedPreview = UITargetedPreview(view: self)
        targetedPreview.parameters.visiblePath = UIBezierPath(roundedRect: rectForTitle(), cornerRadius: 10.0)
        // use Hover effect
        let effect: UIPointerEffect = .hover(targetedPreview, preferredTintMode: .overlay, prefersShadow: false, prefersScaledContent: false)
        let pointerStyle = UIPointerStyle(effect: effect)
        return pointerStyle
    }
}
The movement looks like this. Unlike Highlight, Hover does not change the shape of the pointer, only the overlay is displayed. Magnetic Effect is also not applied.
If you want to apply a completely different effect other than Highlight, Lift, Hover, you can implement your own animation by using UIPointerInteractionDelegate's pointerInteraction (_:willEnter: animator:)/pointerInteraction (:willExit:animator:).
@available(iOS 13.4, *)
extension TitleView: UIPointerInteractionDelegate {

    func pointerInteraction(_ interaction: UIPointerInteraction, willEnter region: UIPointerRegion, animator: UIPointerInteractionAnimating) {
// called when the pointer moves over the view
        showEventResizingHandler(true)
    }

    func pointerInteraction(_ interaction: UIPointerInteraction, willExit region: UIPointerRegion, animator: UIPointerInteractionAnimating) {
// called when the pointer moves out of view
            animator.addAnimations {
            self.showEventResizingHandler(false)
        }
    }
}
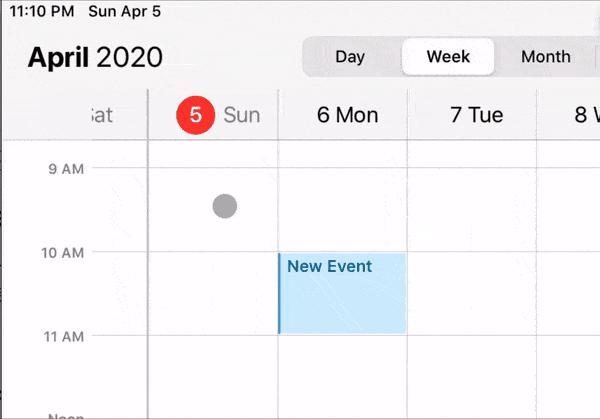
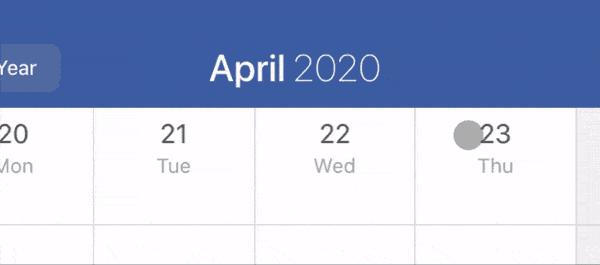
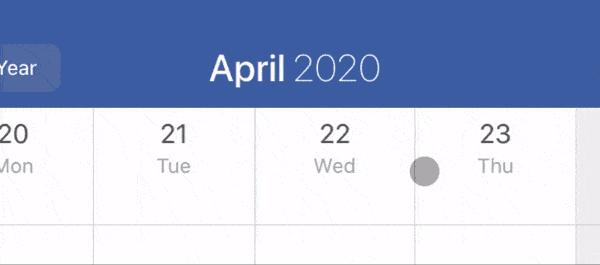
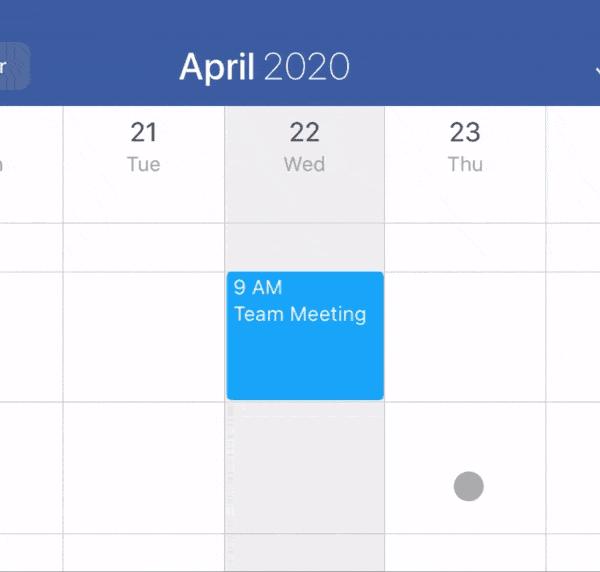
In my work calendar app, a handler is displayed when the pointer is moved to the appointment, and it is used to implement the function of changing the length of the appointment by dragging it.
Finally, you may want to distinguish between finger and pointer input. For example, the function "Change the length of the appointment by dragging the edge of the appointment" above is a convenient function when using the pointer, but dragging the edge of the appointment with your finger is This is a difficult technique. There is also the problem that the handler for resizing is not displayed when operating with your finger.
In such a case, by adding the UIApplicationSupportsIndirectInputEvents key to Info.plist, the value of UITouch.type will be UITouch.TouchType.direct if it is a finger, and UITouch.TouchType.indirect if it is a pointer.
class CalendarView: UIView {

    override func touchesBegan(_ touches: Set<UITouch>, with event: UIEvent?) {
        if #available(iOS 13.4, *), touches.first?.type == .some(.indirectPointer) {
            // behavior with pointer
            ...
        } else {
            // behavior with finger
            ...
        }
    }
}
However, if you add this key, for example, when implementing a custom UIGestureRecognizer, UIGestureRecognizer.numberOfTouches may be 0, resulting in a side effect such as a crash at UIGestureRecognizer.location (ofTouch:in:). , You need to test the app again. See this document for more details.
Preferences
Human Interface Guideline: Pointers (iPadOS)
All rights reserved
