Hướng Dẫn Tạo UITableView Trong Xcode 5 Sử Dụng Storyboard
Bài đăng này đã không được cập nhật trong 4 năm
Trước khi bắt tay vào UITableView tutorial.
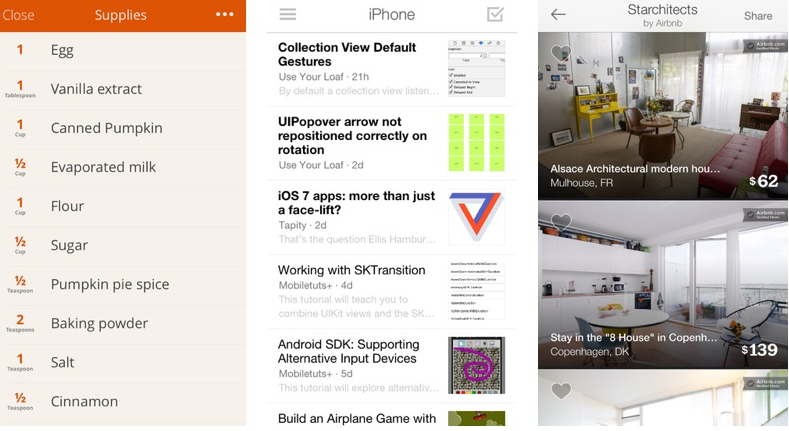
Table View là gì? Table view là một trong những thành phần UI cơ bản của iOS. Table View không chỉ thiết kế để hiển thị Text mà còn hiển thị hình ảnh. Youtube... là một trong những ứng dụng nổi tiếng ví dụ cho việc sử dụng Table View.
Tạo Project
Bạn đã có khái niệm về Table View, bây giờ hãy bắt tay vào tạo một project sử dụng Table view. Tôi nghĩ rằng đừng chỉ đọc không thôi, nếu bạn thực sự học lập trình iOS một cách nghiêm túc. Mở Xcode và code luôn là cách tốt nhất để học lập trình iOS.
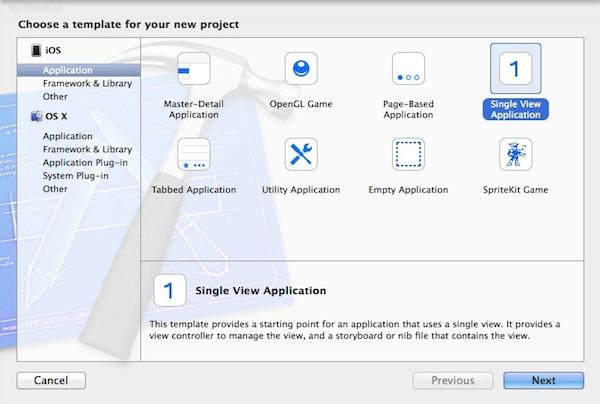
Create new project sử dụng template “Single View application”
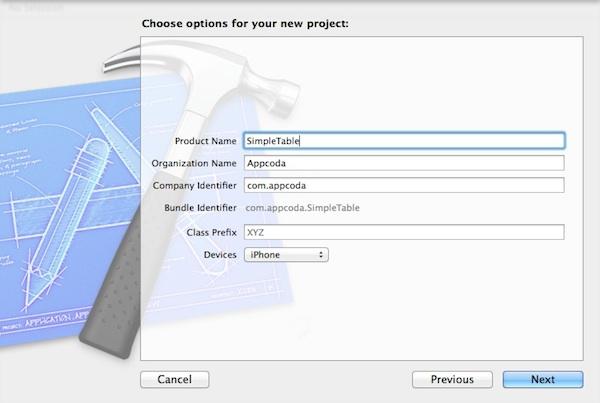
Click Next và nhập thông tin project:
Product Name: SimpleTable – Tên của apps Company Identifier: com.appcoda – Như trước đã nói, cái này đặt tùy các bạn, các bạn có thể đặt "edu.seft". Class Prefix: SimpleTable Device Family: iPhone – Hãy chọn iPhone cho dự án này.
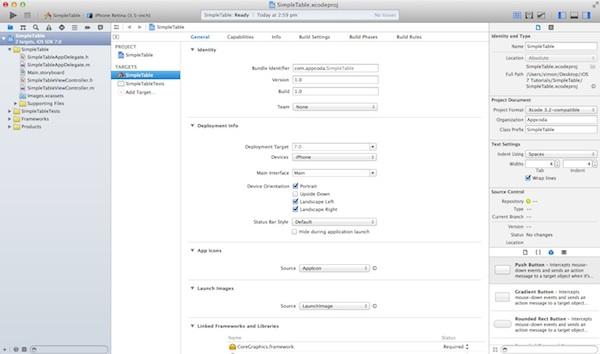
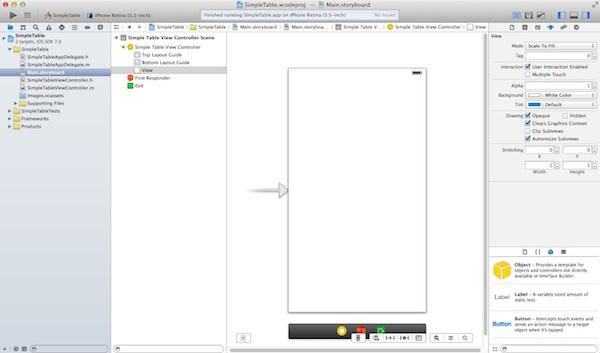
Chọn Next để tiếp tục, chon folder để lưu project, uncheck source control. Sau khi hoàn thành các bạn có màn hình như bên dưới:
Tạo View
Chúng ta sẽ tạo giao diện và add table view vào. Chọn Main.storyboard các bạn sẽ nhìn thấy giao diện Storyboard.
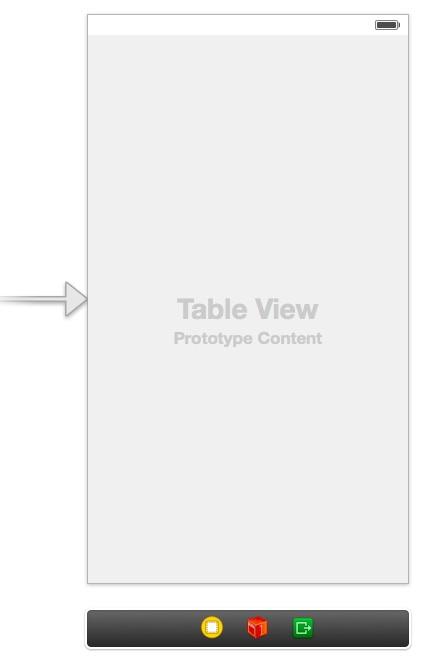
Trong Object Library bên tay phải, tìm và chọn “Table View” rồi kéo vào trong view.
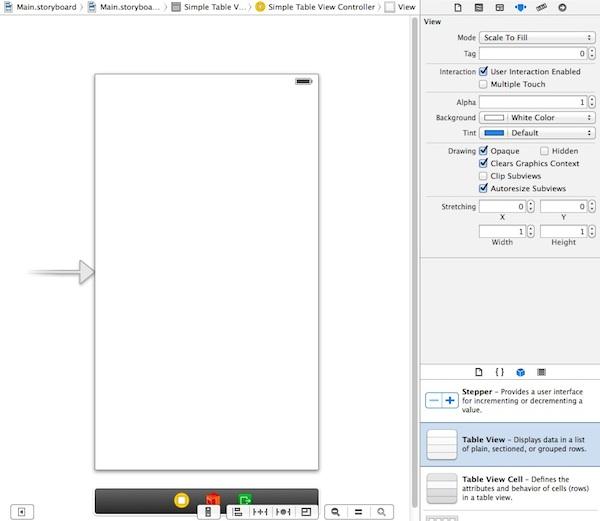
Chỉnh cái chiều cao đi một tí, cho nó đỡ che mất thanh status trên cùng như bên dưới.
Chạy App Lần Đầu
Trước khi tiếp tục các bước tiếp theo, thử chạy app trên Simulator xem ta có gì. Các bạn sẽ thấy màn hình như bên dưới sau khi chạy app trên Simulator.
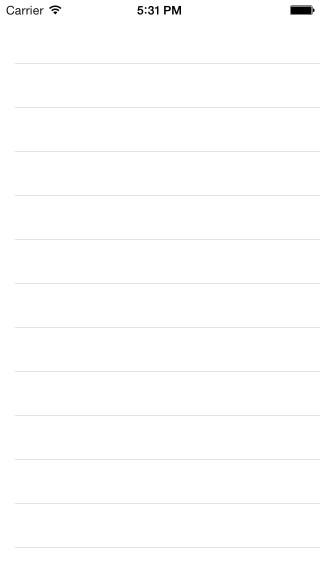
Khá đơn giản nhỉ? Table view của bạn hiện tại chưa có dữ liệu. Tiếp theo ta sẽ view code để nhồi dữ liệu vào table này.
Adding Table Data
Chọn file “SimpleTableViewController.h” trong project. Thêm đoạn code phía sau UIViewController như bên dưới:
#import
@interface SimpleTableViewController : UIViewController
@end
tiếp tục nào. Chọn “SimpleTableViewController.m” định nghĩa một array để chưa data như bên dưới.
-(void)viewDidLoad
{
[super viewDidLoad];
// Initialize table data
recipes = [NSArray arrayWithObjects:@"Egg Benedict", @"Mushroom Risotto", @"Full Breakfast", @"Hamburger", @"Ham and Egg Sandwich", @"Creme Brelee", @"White Chocolate Donut", @"Starbucks Coffee", @"Vegetable Curry", @"Instant Noodle with Egg", @"Noodle with BBQ Pork", @"Japanese Noodle with Pork", @"Green Tea", @"Thai Shrimp Cake", @"Angry Birds Cake", @"Ham and Cheese Panini", nil];
}
Bây Giờ Add Code Cho 2 Hàm: TableView:numberOfRowsInSection Và TableView:cellForRowAtIndexPath. Đây Là 2 Hàm Của UITableViewDataSource. Bạn Bắt Buộc Phải Viết 2 Hàm Này. Hàm Đầu Tiên Trả Về Số Dòng Của Table.
-(NSInteger)tableView:(UITableView *)tableView numberOfRowsInSection:(NSInteger)section
{
return [recipes count];
}
Hàm bắt buộc tiếp theo là.
-(UITableViewCell *)tableView:(UITableView *)tableView cellForRowAtIndexPath:(NSIndexPath *)indexPath
{
static NSString *simpleTableIdentifier = @"SimpleTableCell";
UITableViewCell *cell = [tableView dequeueReusableCellWithIdentifier:simpleTableIdentifier];
if (cell == nil)
{
cell = [[UITableViewCell alloc] initWithStyle:UITableViewCellStyleDefault reuseIdentifier:simpleTableIdentifier];
}
cell.textLabel.text = [recipes objectAtIndex:indexPath.row];
return cell;
}
Hàm cellForRowAtIndexPath sẽ được gọi khi mỗi Row của table được hiển thị. Sơ đồ giải thích bên dưới sẽ giúp bạn hiểu rõ hơn về hoạt động của UITableView và UITableDataSource.
Bây giờ thử chạy xem có gì mới. Bạn sẽ vẫn nhận được 1 màn hình table rỗng như ban đầu. Tại sao thế nhỉ? Thực ra vẫn chưa xong, ta phải kết nối DataSource và Delegate với TableView nữa.
Kết Nối Với DataSource Và Delegate
Chúng ta sẽ thiết lập kết nối giữa Table View với 2 hàm mà chúng ta vừa tạo.
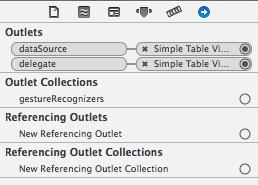
Mở Main.storyboard. Chọn table view. Bấm và giữ phím control key trên keyboard, click vào table view keos nó vào “Simple Table View Controller” icon trên thanh Dock như hình dưới:

Thả cả 2 buttons sẽ hiển thị popup dataSource & delegate. Chọn “dataSource” để kết nối giữa Table View và data source. Lặp lại thao tác đó với delegate. Để đảm bảo kết nối đã được thiết lập đúng, chọn Table View chọn “Connection Inspector” ở bên cùng tay phải như bên dưới.
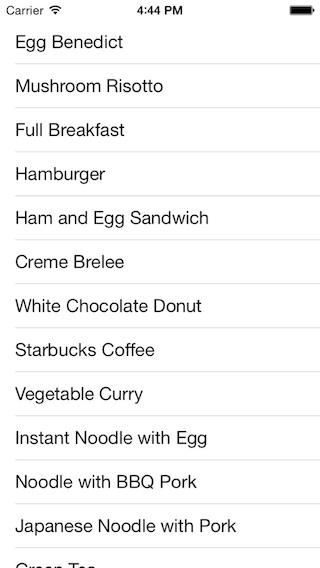
Test App
Bây giờ chúng ta test apps thôi. Nếu không có gì sai thì các bạn sẽ nhìn thấy màn hình như bên dưới:
Thêm Ảnh Vào Table View Bây giờ add ảnh vào mỗi Row. Với iOS SDK thì việc này thật đơn giản. Bạn chỉ cần thêm một dòng code. Chọn “Add Files to SimpleTable…”.
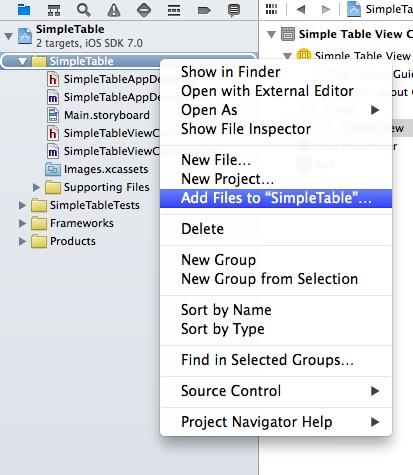
Chọn file ảnh bạn cần add, check “Copy items to destination group’s folder” checkbox.

Thêm dòng code sau vào SimpleTableViewController.m
cell.imageView.image = [UIImage imageNamed:@"creme_brelee.jpg"];
Code của bạn sẽ như bên dưới:
-(UITableViewCell *)tableView:(UITableView *)tableView cellForRowAtIndexPath:(NSIndexPath *)indexPath
{
static NSString *simpleTableIdentifier = @"SimpleTableCell";
UITableViewCell *cell = [tableView dequeueReusableCellWithIdentifier:simpleTableIdentifier];
if (cell == nil) {
cell = [[UITableViewCell alloc] initWithStyle:UITableViewCellStyleDefault reuseIdentifier:simpleTableIdentifier];
}
cell.textLabel.text = [recipes objectAtIndex:indexPath.row];
cell.imageView.image = [UIImage imageNamed:@"creme_brelee.jpg"];
return cell;
}
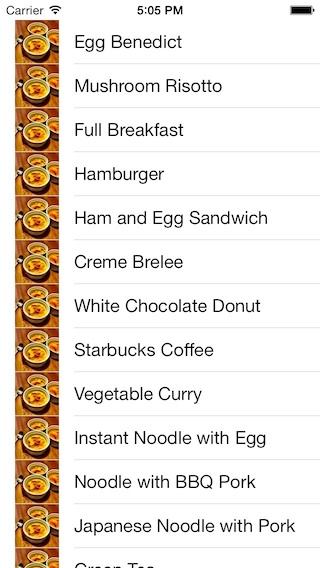
Test app bây giờ bạn sẽ nhận được màn hình như bên dưới.
source code: Download
All rights reserved
