Hướng dẫn kéo thả upload file với dropzone.js
Bài đăng này đã không được cập nhật trong 7 năm
Kéo thả để upload với dropzone.js
1.Dropzone là gì ?
Hôm nay mình xin chia sẻ với 1 cái bạn 1 thư viện javascripts khá hay để hỗ trợ việc upload file (có ảnh thumnail hiển thị) bằng cách kéo thả. Nghe rất cool phải không 

Bạn nào đã từng làm web với cái input file thì chắc cũng biết nếu dùng thì hơi xấu chưa kể chức năng nó cũng hạn chế. Thư viện này thì tùy biến lại cực mạnh nên mang lại cho website của bạn 1 diện mạo mới.
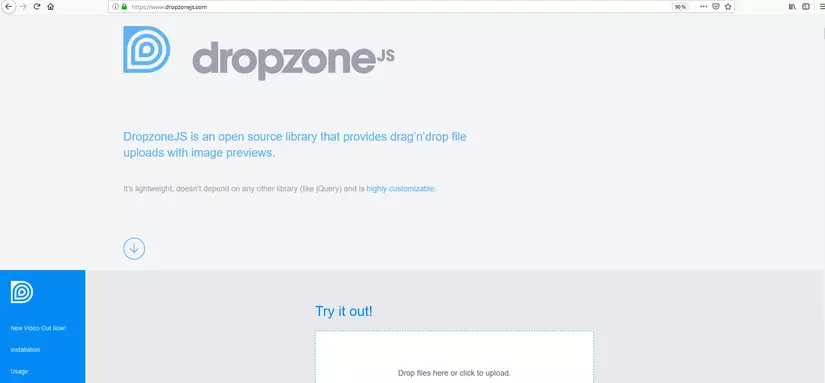
Để sử dụng thì bạn có thể truy cập địa chỉ sau :
**Hoặc sử dụng Lệnh để cài đặt **
npm install dropzone
Lưu ý: Dropzone không xử lý file upload của bạn trên server chính vì thế bạn phải tự code phần nhận và lưu file trên server nhé.
Cách Sử dụng :
Cách sử dụng của mình đối với thằng MVC thì các bạn có thể tham khảo link sau :
http://venkatbaggu.com/file-upload-in-asp-net-mvc-using-dropzone-js-and-html5/
Bài viết đến đây hết là vừa rồi nhỉ 
 Đùa mọi người tí thôi Cách làm của mình thì mình thấy trên trang chủ và link cho MVC khá là đẩy đủ rồi nên mình không nói chi tiết cách dùng mà sẽ nói tập trung cho 1 số phần vướng mà mình đã gặp.
Mình sẽ ví dụ 1 đoạn code mà mình đã sử dụng ở đây nhé 


    Dropzone.options.photo = {

    // The camelized version of the ID of the form element

    // The configuration we’ve talked about above
    paramName: “inputFiles”,
    autoDiscover: false,
    autoProcessQueue: false,
    uploadMultiple: true,
    parallelUploads: 100,
    maxFiles: 100,
    dictDefaultMessage: “Bạn có thể kéo ảnh hoặc click để chọn”,
    previewsContainer: “#photo > .modal-body”,

    // The setting up of the dropzone
    init: function () {
         var myDropzone = this;

        // First change the button to actually tell Dropzone to process the queue.
        this.element.querySelector(“button[type=submit]“).addEventListener(“click“, function (e) {
       // Make sure that the form isn’t actually being sent.
                 e.preventDefault();
                 e.stopPropagation();
                 myDropzone.processQueue();
        });

        // Listen to the sendingmultiple event. In this case, it’s the sendingmultiple event instead
        // of the sending event because uploadMultiple is set to true.
          this.on(“sendingmultiple“, function () {
        // Gets triggered when the form is actually being sent.
         // Hide the success button or the complete form.
         });
         this.on(“successmultiple“, function (files, response) {
             location.reload();
         });
         this.on(“errormultiple“, function (files, response) {
         // Gets triggered when there was an error sending the files.
        // Maybe show form again, and notify user of error
});
}

}
-
Bước 1:: Nếu giao diện hiển thị không được đẹp như ở trang chủ của nó thì bạn cần tải file css theo hoặc mình tự chế biến nó theo ý của mình nhé. đường dẫn

-
Bước 2: Nếu bạn muốn sử dụng bootstrap để responsive cho phần upload thì lại tham khảo. link

-
Bước 3: mặc định thì dropzone khi bạn kéo thả thì nó sẽ tiến hành upload luôn lên server. Nếu bạn muốn ấn vào 1 nút rồi mới submit form lên thì thêm trong option của dropzone ở đoạn init.
var myDropzone = this;

    // First change the button to actually tell Dropzone to process the queue.
    this.element.querySelector(“button[type=submit]“).addEventListener(“click“, function (e) {
    // Make sure that the form isn’t actually being sent.
           e.preventDefault();
           e.stopPropagation();
           myDropzone.processQueue();
});
- Bước 4: Khi upload xong thì trang web không tự động refresh lại thì bạn cần thêm đoạn js khi upload xong.
    this.on(“successmultiple“, function (files, response) {
              location.reload();
});
- Bước 5: Lưu ý phần upload để xử lý trên server thì muốn mapping với method đối với thằng MVC thì các bạn cần cấu hình trong option.
paramName: “inputFiles”,
Hiện tại thì mình mới tìm hiểu và sử dụng đến thế. Cảm ơn mọi người đã đọc bài viết của mình !!!!
All rights reserved
