How to send mail using queue in Laravel 5.8 and using Mailtrap
Bài đăng này đã không được cập nhật trong 6 năm
Giới thiệu
Xin chao mọi người hôm nay mình xin chia sẻ về chủ đề gửi mail trong laravel và sử dụng mailtrap để test một cách nhanh chóng và hiệu quả nhất . 
Setup Mailtrap
- Truy cấp https://mailtrap.io/signin tạo 1 tài khoản hoặc login tài khoản Google or Github tùy các bạn
![]()
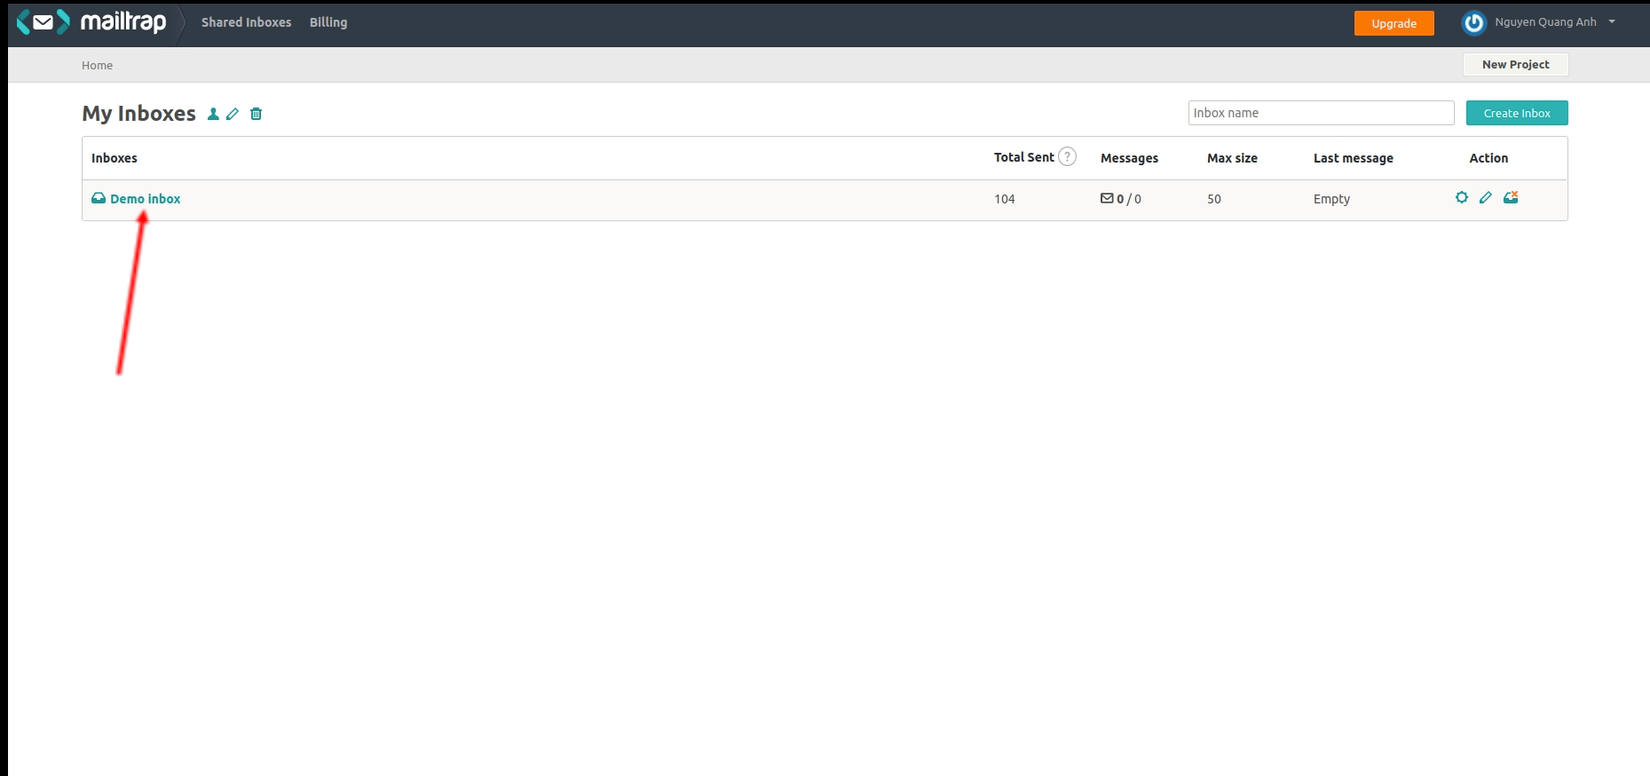
- Tiếp theo click vào Demo inbox
-
![]()
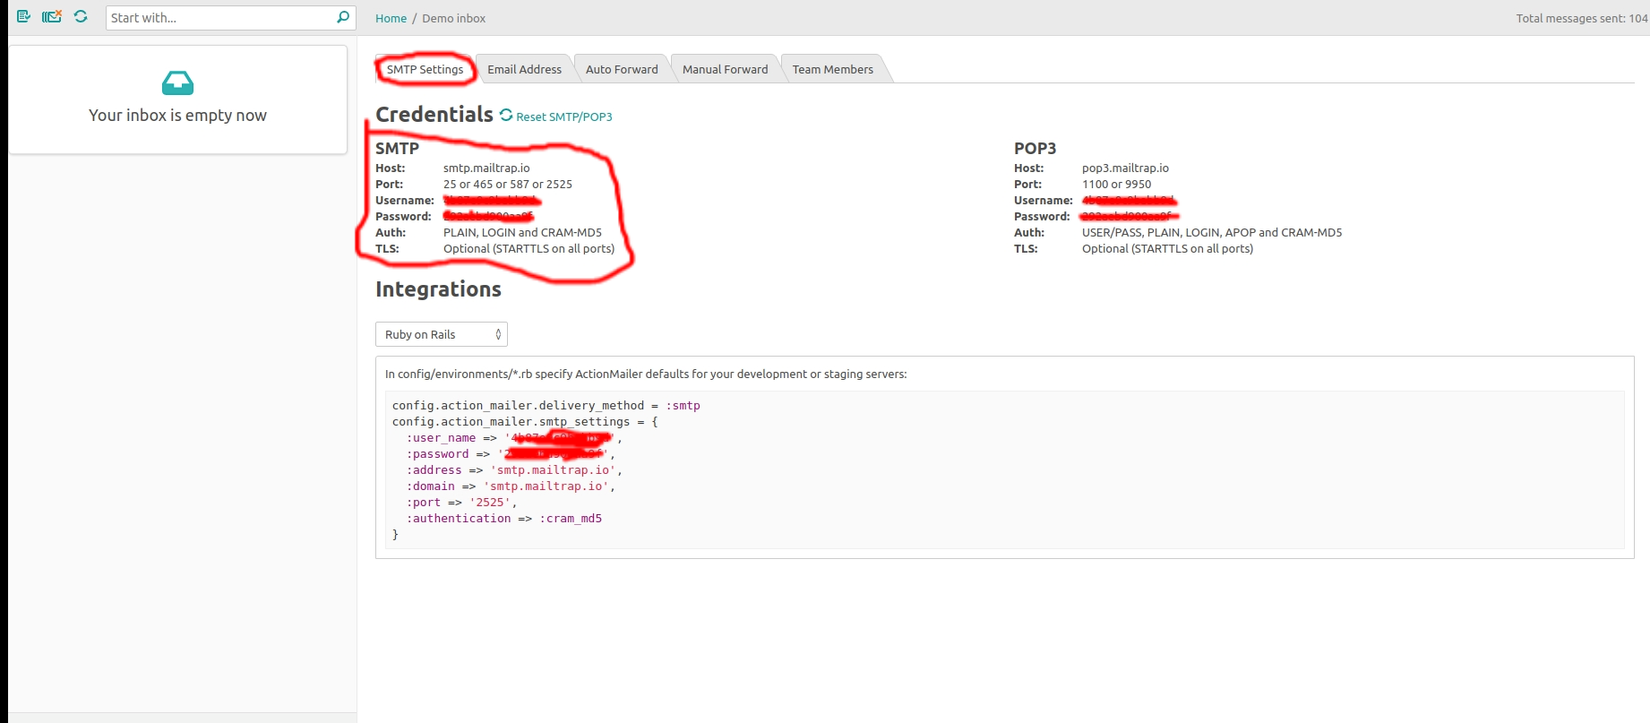
- Kết quả đây là tất cả các thông tin để các bạn cấu hình trong file .env
MAIL_DRIVER=smtp
MAIL_HOST=smtp.mailtrap.io
MAIL_PORT=2525
MAIL_USERNAME=yourMailtrapUsername
MAIL_PASSWORD=yourMailtrapPassword
MAIL_ENCRYPTION=tls
- Khá là ez phải không giờ thì chúng ta sẽ đi vào vấn đề chính của bài viết là chức năng gửi 1 email và multi email sử dụng queue nhé .
Sending mail using queue
- Trong hướng dẫn này, mình sẽ trình bày cách gửi email bằng cách sử dụng hàng đợi với laravel 5.8. mình sẽ chỉ cho bạn cách sử dụng các công việc xếp hàng trong laravel từ đầu. chúng sẽ đơn giản tạo email gửi bằng cách sử dụng hàng đợi trong bài viết này.
- Vấn đề là mới đây mình có làm 1 chức năng về gửi mail là một giáo viên sẽ gửi email tới nhiều học sinh khi click sẽ đưa đến màn hình reset password để thiết lập lại mật khẩu ( như là 1 hình tức đăng ký tài khoản ). nhưng ở đây mình chỉ làm giới hạn mỗi lần tối đa giáo viên đó gửi cho 20 sinh viên . Là newbie nên có gì đó sai sót, chưa tốt mọi người có thể đóng góp ở dưới comment nớ ! Các bước mình thực hiện như sau đây .
Step 1: Setup Laravel 5.8
- Setup 1 project lavel :
composer create-project --prefer-dist laravel/laravel blog
Step 2: Using Notifications
- Ở đây mình sử dụng Notifications để gửi mail
- Creating Notifications :
php artisan make:notification ResetPasswordfile được gen trong App/Notifications/ResetPassord.php - Nội dung sẽ là thế này :
- Creating Notifications :
            <?php

            namespace App\Notifications;

            use Illuminate\Bus\Queueable;
            use Illuminate\Notifications\Notification;
            use Illuminate\Contracts\Queue\ShouldQueue;
            use Illuminate\Notifications\Messages\MailMessage;

            class ResetPassword extends Notification
            {
                use Queueable;

                protected $token;

                /**
                 * Create a new notification instance.
                 *
                 * @return void
                 */
                public function __construct($token)
                {
                    $this->token = $token;
                }

                /**
                 * Get the notification's delivery channels.
                 *
                 * @param  mixed  $notifiable
                 * @return array
                 */
                public function via($notifiable)
                {
                    return ['mail'];
                }

                /**
                 * Get the mail representation of the notification.
                 *
                 * @param  mixed  $notifiable
                 * @return \Illuminate\Notifications\Messages\MailMessage
                 */
                public function toMail($notifiable)
                {
                    $urlInvite =  url('/reset-password/' . $this->token);

                    if ($notifiable) {
                        return (new MailMessage)
                            ->subject('Reset Password Student')
                            -> markdown('mail.student.multi-student', ['url' => $urlInvite, 'notifiable' => $notifiable]);
                    }

                    return (new MailMessage)
                            ->subject('Reset Password')
                            ->markdown('mail.reset', ['url' => $urlInvite, 'notifiable' => $notifiable]);
                }

                /**
                 * Get the array representation of the notification.
                 *
                 * @param  mixed  $notifiable
                 * @return array
                 */
                public function toArray($notifiable)
                {
                    return [
                        //
                    ];
                }
            }
- Ở trên là mình đã sử dụng notifications thay cho việc tạo mới 1 module Mail để setup và trả về một trang view . Ở đây vì mục đích của mình là đưa sinh viên về màn ResetPassWord nên mình đã sử dụng luôn Notification vì trong đây cũng có thể sử dụng Queue bạn có thể thấy mặc định khi tạo xong đã use Queueable; chứ .
Step 3: Create View In Resouce
-
Chúng ta sẽ tạo file multi-student.blade.php và có nội dung như sau:
@component('mail::message') # Create Password Student Create your password for account {{ $notifiable->name }}! @component('mail::button', ['url' => $url]) Set password @endcomponent Thanks,<br> {{ config('app.name') }} @endcomponent -
Sau đó mình cấu hình file .env để cho công việc gửi mail ( nhớ rằng các thông số nhập là ở trong Mailtrap nhé ) .
    MAIL_DRIVER=smtp
    MAIL_HOST=smtp.mailtrap.io
    MAIL_PORT=2525
    MAIL_USERNAME=yourMailtrapUsername
    MAIL_PASSWORD=yourMailtrapPassword
    MAIL_ENCRYPTION=tls
Step 4: Configuration of Queue
- Tiếp tục bạn ném QUEUE_CONNECTION=redis, QUEUE_DRIVER=redis ở đây mình sử dụng redis để cấu hình gửi mail
- Giờ chúng ta sẽ generate migration :
php artisan queue:table-> Run Migration:php artisan migrate
Step 5: Create Queue Job
-
chạy lện này
php artisan make:job StudentMultiMailta sẽ thấy 1 folder Jobs với nội dung trong file sau đây mình sẽ giải thích :<?php namespace App\Jobs; use Illuminate\Bus\Queueable; use Illuminate\Queue\SerializesModels; use Illuminate\Queue\InteractsWithQueue; use Illuminate\Contracts\Queue\ShouldQueue; use Illuminate\Foundation\Bus\Dispatchable; use App\Models\Student; use App\Services\AuthService; class StudentMultiMail implements ShouldQueue { use Dispatchable, InteractsWithQueue, Queueable, SerializesModels; /** * @var Student */ protected $student; protected $authService; /** * Create a new job instance. * * @param Student $student */ public function __construct(Student $student, AuthService $authService) { $this->student = $student; $this->authService = $authService; } /** * Execute the job. * * @return void */ public function handle() { echo 'Start send email'; $this->authService->queueMailResetPassword($this->student->email, 'student'); echo 'End send email'; } }- Ở trên đây mình truyền vào ở function __construct() là Model của bảng Student , và tham số thứ 2 là một hàm xử lý gửi mail để Reset Password , Mình sử dụng broker() hàm này nó sẽ tự động sinh token khi mình submit kêt quả thì token đó sẽ die khi reset thành công .
-
Tiếp theo đó là hàm handle() sẽ thực hiện quá trình xử lý từ Controller dispatch() về đây và thực hiện gửi mail .
-
Đây là Hàm tạo nhiều sinh viên và gửi mail cho các sinh viên đó Controller của mình :
   public function createMultiStudent(Request $request)
    {
        try {
            $studentsInput = $request->get('students', []);
            $students = $this->studentRepository->createMultipleStudents($studentsInput);
            foreach ($students as $student) {
                $job = (new StudentMultiMail($student, $this->authService))->delay(Carbon::now()->addSeconds(5));
                dispatch($job);
            }

            return $this->response(['status' => true]);
        } catch (Exception $e) {
            return $this->response($e->getMessage(), 400);
        }
    }
-
Đầu tiên mình sẽ nhận vào là 1 mảng các sinh viên . Sau đó số sinh viên đó đc thêm mới và mình lặp chúng ra dispacth chúng về StudentMultiMail để thực hiện quá trình gửi mail . Ở đây mình delay quá trình gửi mỗi 1 mail là 5s ;
-
Sử dụng
php artisan queue:workđể kiểm soát quá trình gửi mail .
Kết thúc
- Trên đây là những gì mình làm và chia sẻ cho mọi người hi vọng nó sẽ giúp ích trong công việc của các bạn . Có thiếu xót ở đâu xin mọi người đóng góp ở comment nhé ! Thanks for watching
All rights reserved
